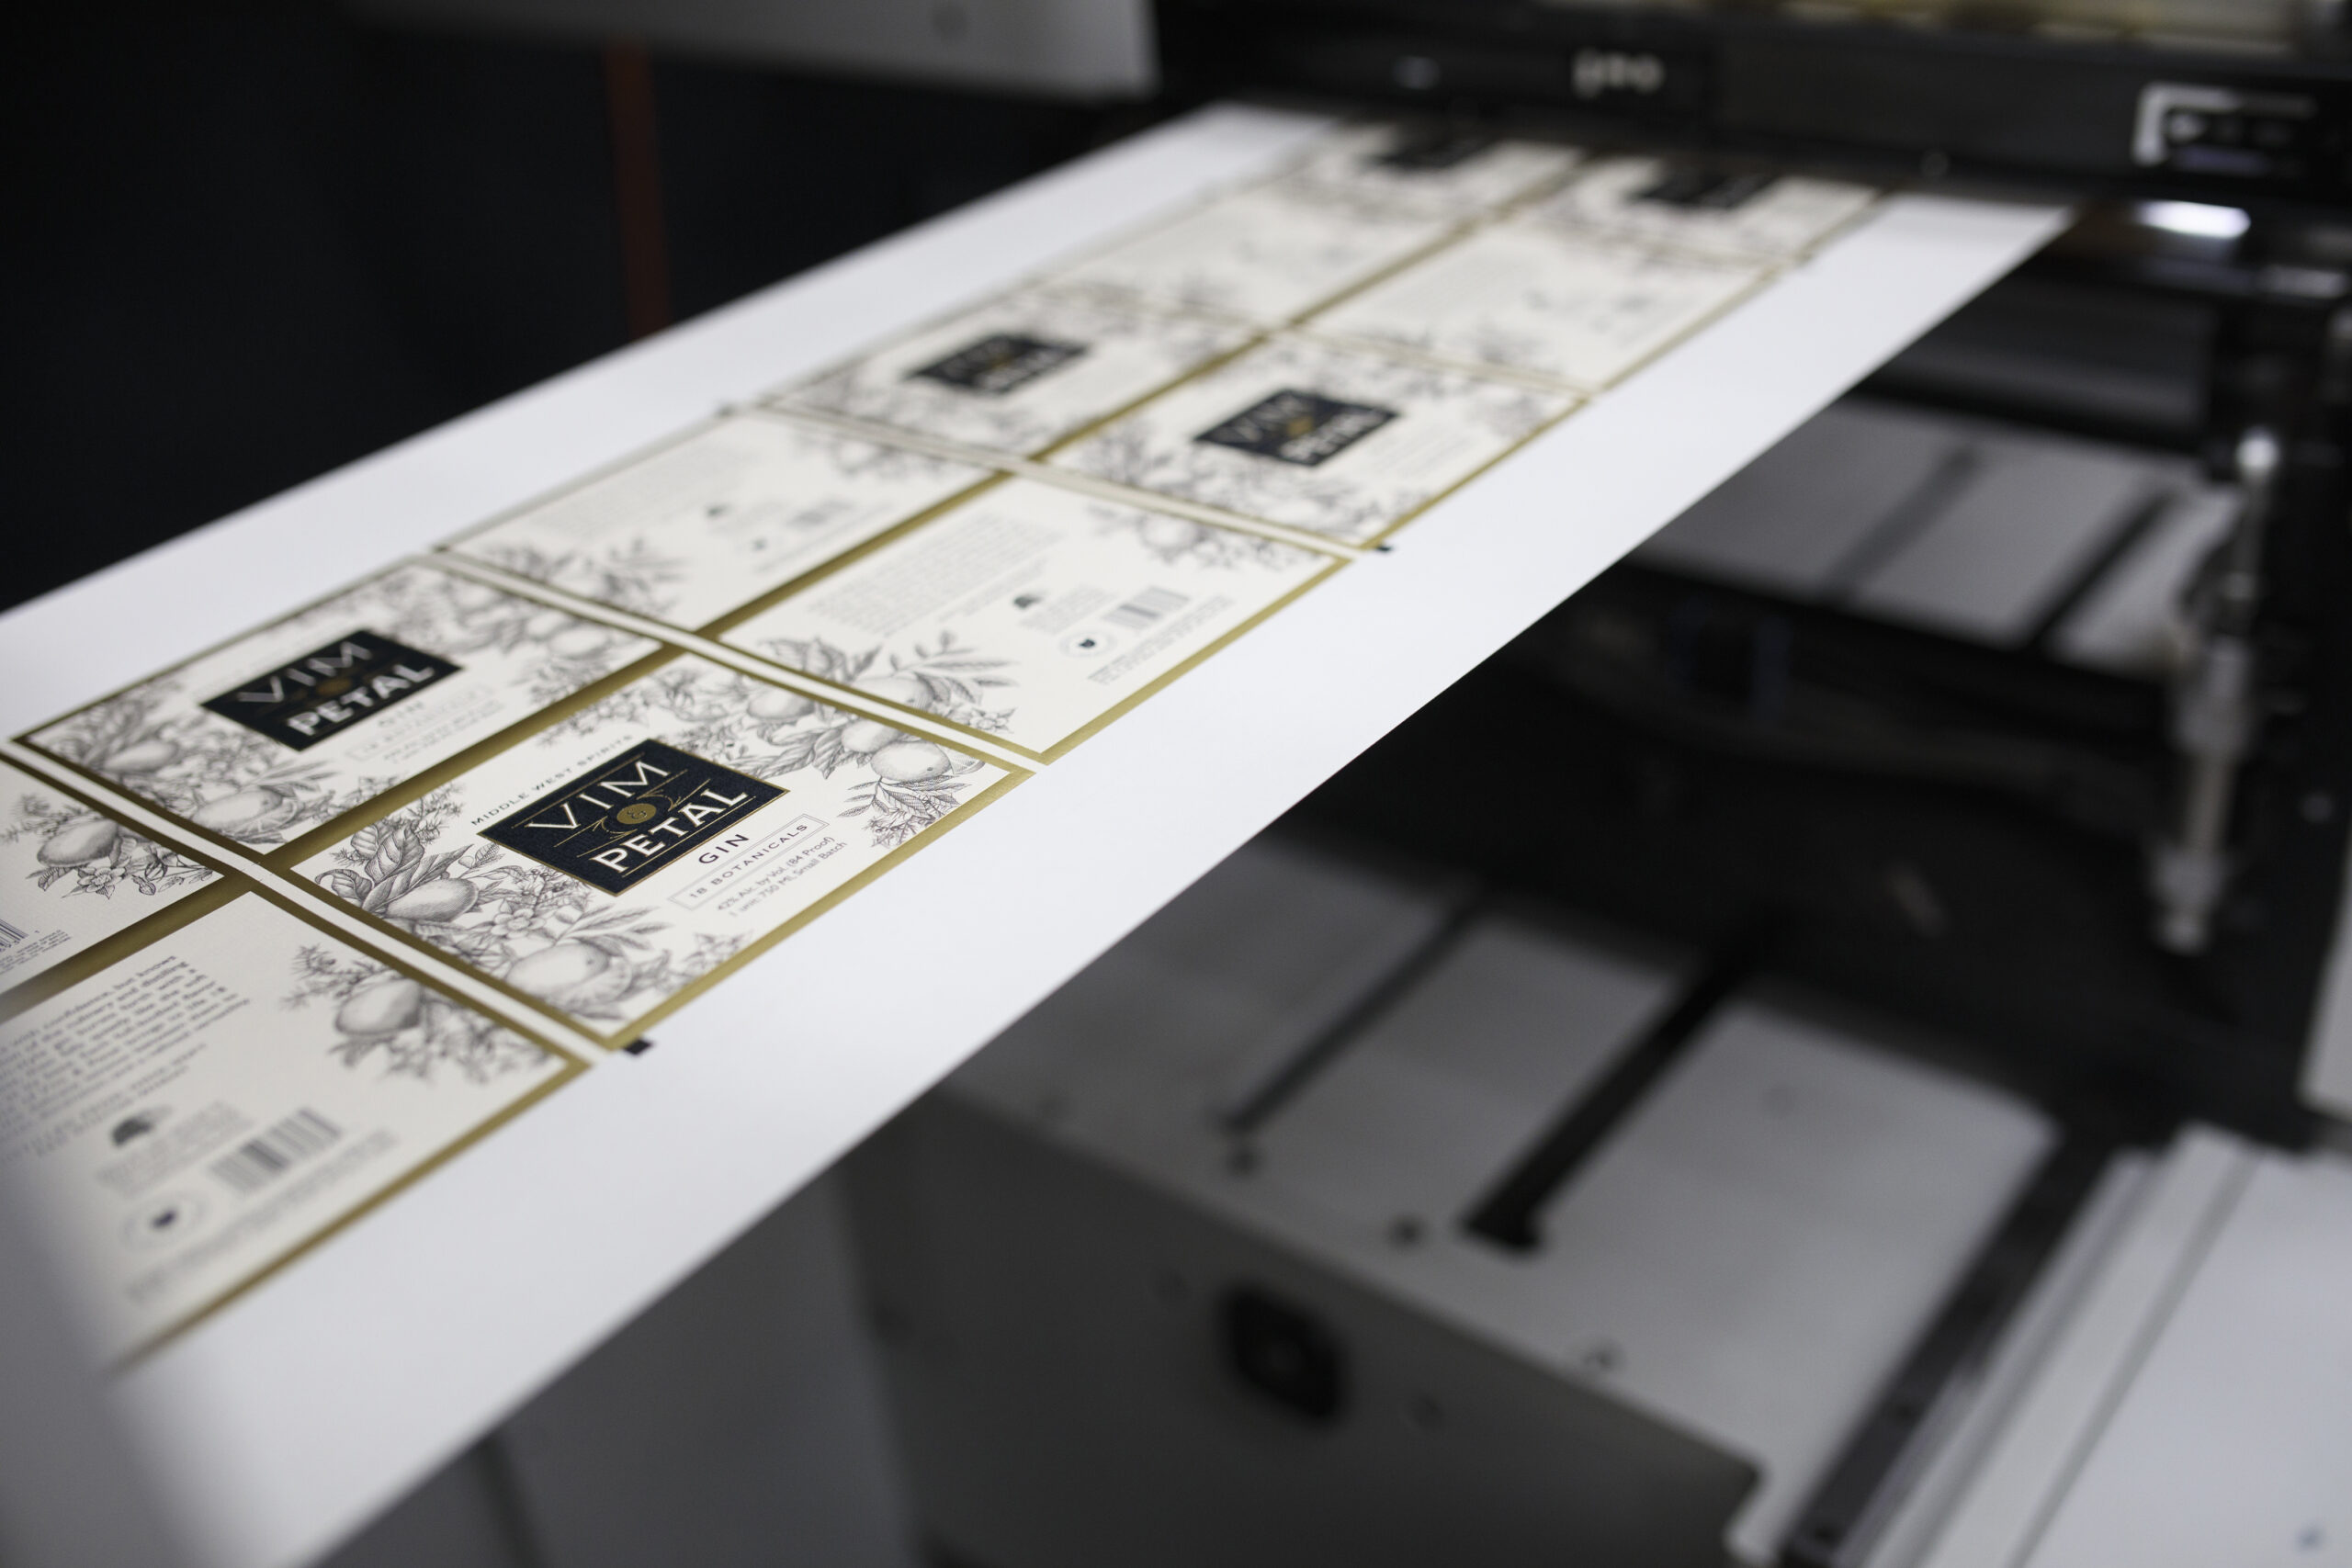
4 Ways Labels Improve Consumer Perception of Product Quality

It’s no surprise that the typical consumer is looking to high quality products. The problem is that you don’t have a lot of time to make an impression. Customers take an average of 13 seconds to make a purchase decision, so it’s essential to make sure your goods stand out compared to competing products.

Fortunately, a good product label makes a direct impact on how potential customers view your products. Here are four ways that your labels can improve the perceived quality of your products.

Mind the Materials

Think of your label material as your product’s coat – an attractive topcoat is going to exude more class and luxury than a basic windbreaker. Your choice of label material makes a direct impact in how consumers perceive your product. If you’re aiming to convey the quality of your product, you’ll want to match your product with the right material.

Of course, the right type of “quality” material depends greatly on your product. Some product need to look expensive to present themselves as quality goods, which is why textured and matte-coated paper stocks are excellent choices for wine labels and other products that need to radiate elegance. Meanwhile, a shrink sleeve can create a very professional, 360-degree look that appears very official and clean.

Simply put, your material needs to both look good and match the vibe of your product. By combining those factors, your labels will be set up for a great introduction for customers seeking quality products.

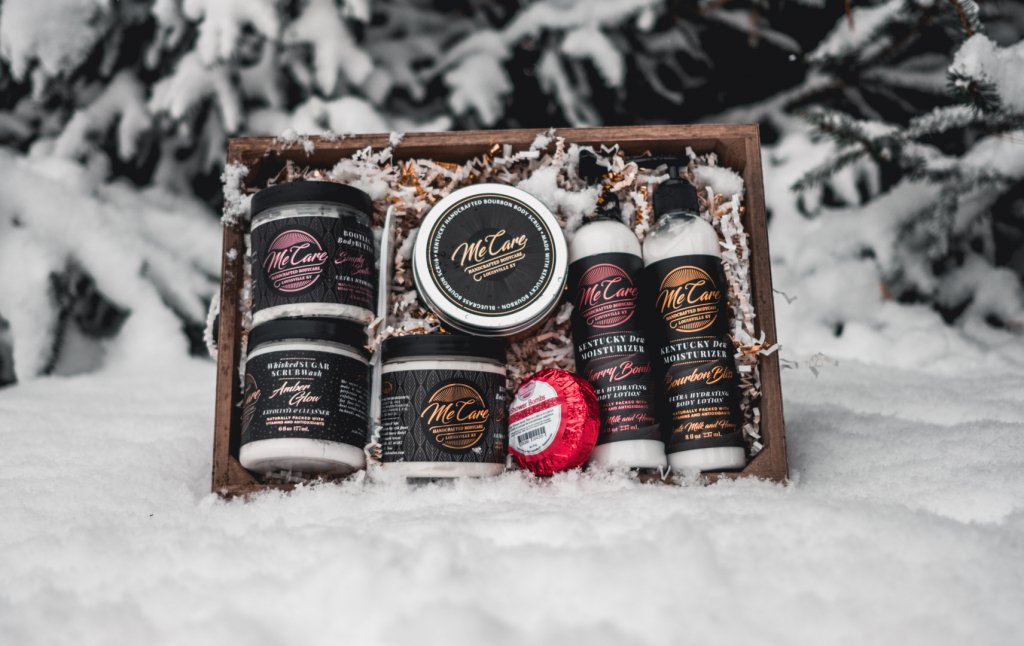
A slection of Me Care products with quality labels.

Color Them Impressed

The right color can help sway consumers to your side. More than 90% of buying decisions are impacted by visual factors. What’s more is that different color choices impact how people perceive your products. By utilizing certain colors in your label design, you can present your product in the right light.

Of course, there are always exceptions based on your particular product and your intended audience. Different genders have varying color preferences, so purple packaging tends to be more effective for women, while men gravitate toward striking black labels. You’ll want to tailor your color choices to your brand, market, and audience, but the right combinations can help you communicate quality before people ever touch your product.

Elevate Your Packaging Through Decoration

A little decoration goes a long way toward people’s perception of product quality. Remember that coat analogy earlier? Decorations are the little touches that enhance your look – tailoring, embroidering, etc. Decorative additions can completely overhaul how people view your product, which is why the following capabilities can help showcase product quality.

Each of these processes allow you to add new, intriguing elements to the look and feel of your label. An embossed pattern or soft touch varnish give customers a different tactile experience. Stamping metallic, holographic, and other foils add a new dimension that takes your packaging to a new level. Adding these extra details takes your packaging beyond that of a simple, boring label. That extra attention to detail isn’t lost on customers.

Eliminate Label Damage and Application Issues

Even the best labels can be derailed by a simple defect. It’s hard to convey quality you’re your label is damaged or has visible application issues. It’s like that proverbial coat we keep mentioning – a visible tear is going to overshadow even the snazziest jacket.

There are a few measures that companies can take to prevent label damage and defects. Print protection plays a pivotal part in proactively protecting product labels. No matter what type of product you sell, any form of friction could damage your design. Add in potential threats like water, oil, and other substances make print protection essential for defending your product labels.

As for application issues like air bubbles, wrinkles, and more, it’s important to work with your label printing and applicating partners to identify potential issues ahead of time. There are plenty of potential reasons for label application defects, so you’ll want to address the following factors.

  • The container – Your container’s dimensions and surface can lead to issues. For example, you may need to properly taper your label or use a specific adhesive for different types of containers.
  • The applicating environment – Factors like temperature, moisture, and potential contamination can all dictate which materials and adhesives will best help you avoid application issues.
  • Liner issues – Different applicators are built for paper or clear liners, so you’ll need to identify which is best suited for your process.
  • Improper storage – It’s best to store labels in a temperature controlled environment based on your specific label. This is especially true for shrink sleeves, as they are more susceptible to potential damage prior to application.

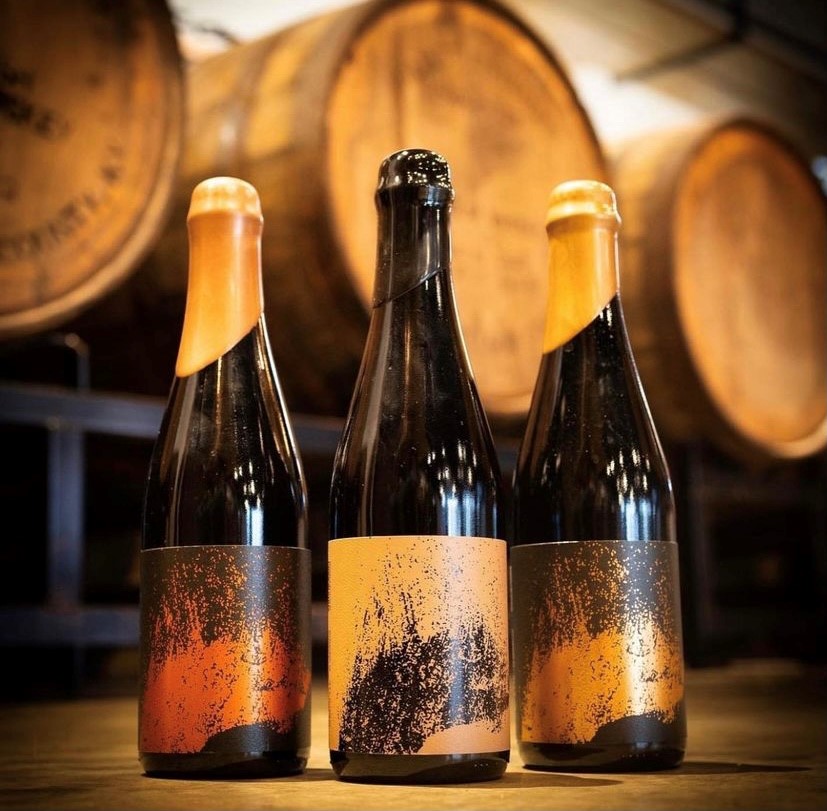
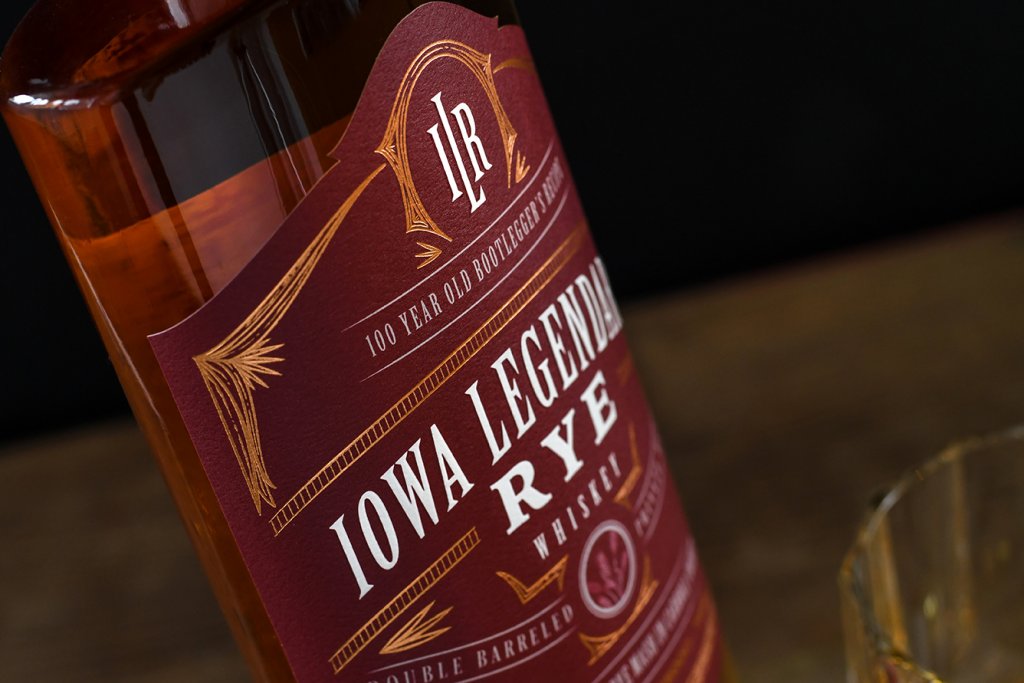
A trio of stunning bottle labels that convery the perception of product quality.

Showcase the Quality of Your Products with Stunning Labels

The right label makes a direct impact on driving consumer behavior, but it takes a good printing partner to turn your designs into a reality. Blue Label combines state-of-the-art digital printing technology with unmatched customer service to enhance your labels and showcase the quality customers want to see in their products.

Want to elevate your product packaging? Contact us today to get the stunning labels and unmatched customer service your products deserve.

Professional vs. DIY Label Applicators: Which is Best for Your Business?

Stunning product labels come in all shapes, sizes, and styles. Of course, they all need to go through the application process at some point.

There are a multitude of options for label application. Some businesses opt to handle application themselves through means that range from sophisticated machinery to the most manual tools of all – your hands. Other business turn to professional applicators, such as a mobile canner.

Simply put, it’s essential to identify the best applicator for your business. However, the most effective option depends on your exact needs. Let’s break down the different types of applicators that are available and which route makes the most sense for your needs.

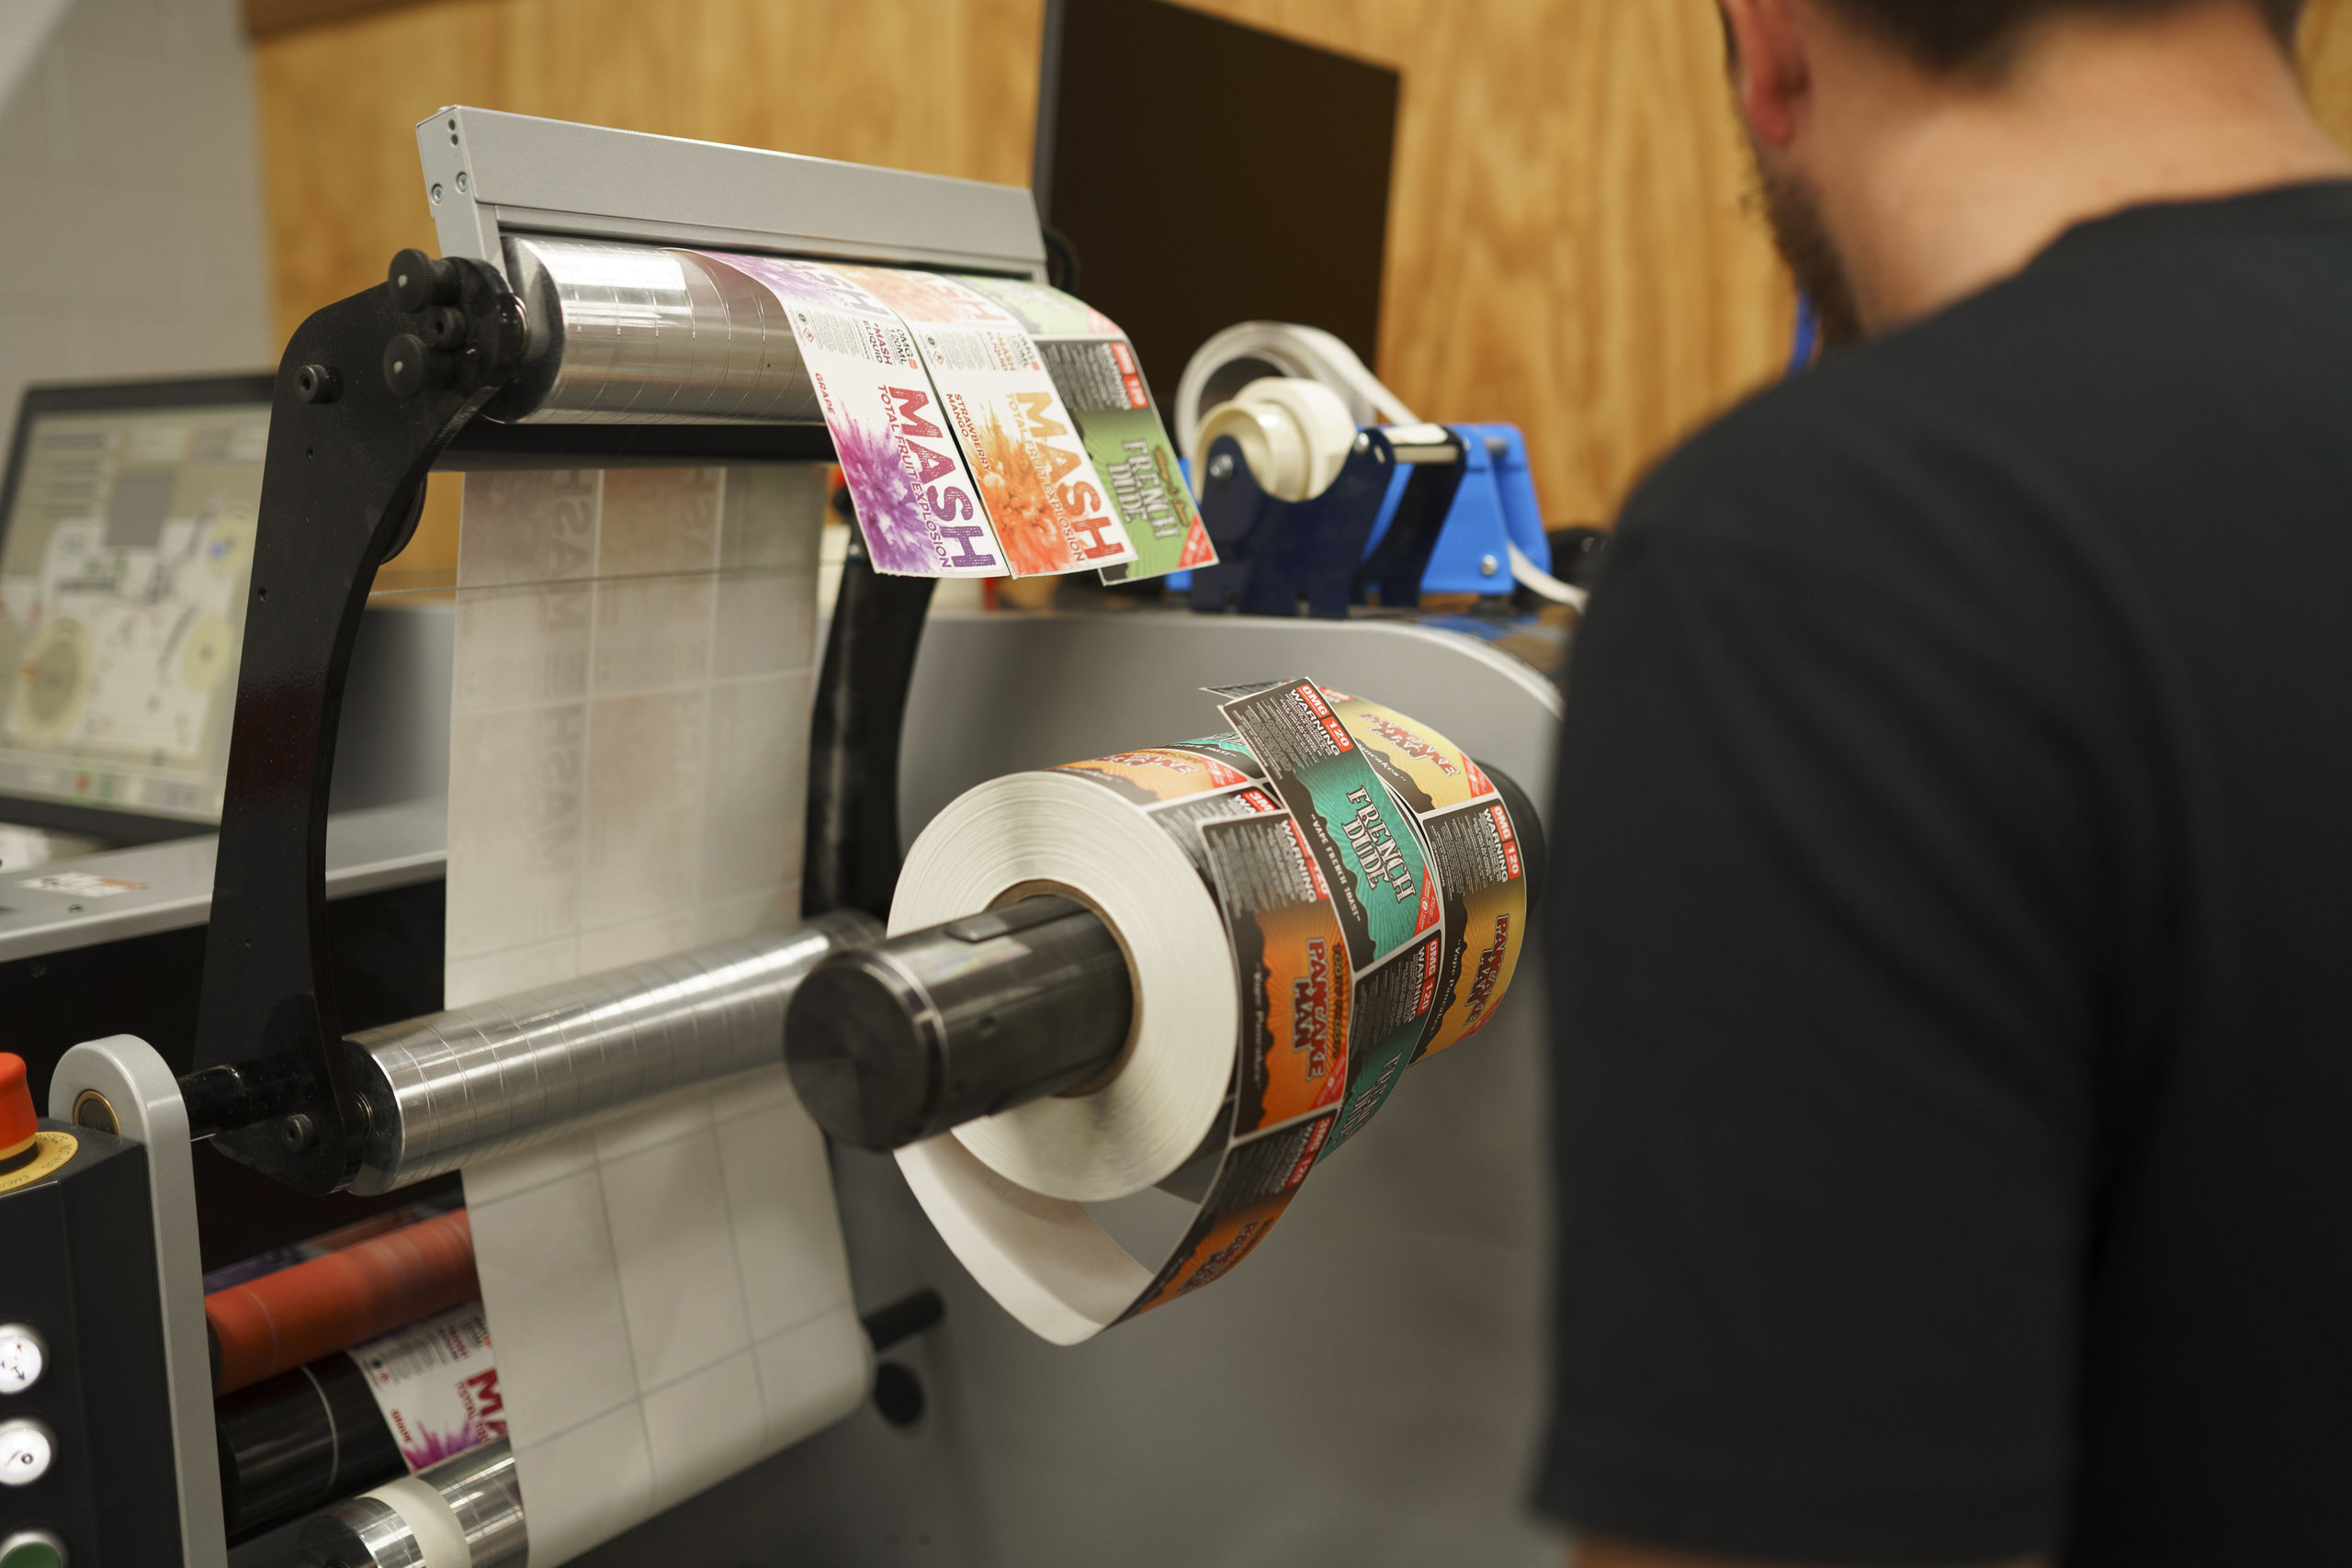
Product labels being placed on a roll for future application.

The Different Types of Label Applicators

When you’re tired of applying labels by hand, there are two main routes your company can take – handling application internally and hiring an outside vendor.

There are plenty options available if you want to handle label application internally. DIY applicators range from tabletop devices to fully-automated machines. There are also applicators made for specific types of labels and containers. For example, a shrink sleeve applicator is vastly different from a machine made for wraparound bottle labels.

As you may expect, the more automated machines are typically more expensive. Those extra costs typically translate in added efficiency, with some automated machines applying more than a thousand labels per hour. However, even tabletop devices will speed up your process compared to hand application. That investment in applicating equipment will also produce more consistent results, effectively limiting application issues like bubbling and wrinkles.

If you aren’t interested in handling the label application process internally, an outside vendor can take on that work for you. Companies like mobile canners and bottlers will come to your brewery, distillery, or other type of business and set up temporary application lines. Other professional applicators have internal systems where you can have them label your packaging in their own facility.

How to Choose Between Different Label Applicators

Both DIY and professional label application are viable options. However, each route offers certain advantages and disadvantages. A big brewery or a small specialty foods company will have different pain points that may make one option more attractive than the other. As such, it’s important to weigh what matters most for your business.

Advantages of DIY Label Applicators

Long-term financial viability.

Your budget is arguably the biggest factor when it comes to choosing the right label applicator for your business. It’s no secret that investing in labeling equipment is a notable investment, especially if you opt for automated machines. Manual machines are more affordable, but less efficient and consistent. Your financial flexibility can dictate exactly what you can get or if you’d prefer to pay as you go for professional application.

Of course, that initial investment is a big reason why in-house label application is best for long-term savings. You invest that capital up front on equipment, training, and space, but you’ll make that money back over time.

Flexibility in terms of timing.

One of the biggest benefits of investing in your own applicators is that you don’t need to rely on outside schedules. Using a mobile canning company or some other professional label applicator means that you need to work around their timelines. If you have a filler-applicator in house, you dictate when it’s time to fill your containers and apply your labels.

Advantages of Professional Label Applicators

Capital and space.

While taking a DIY label application approach can save you long-term, they do require an initial investment. Professional applicators can help businesses that either aren’t in a position to make that investment or want to keep their cashflow flexible for the near future.

Professional label applicators also help businesses that struggle with space. It’s not uncommon that businesses simply don’t have room for permanent canning or bottling lines and other sizable equipment. Mobile canners and bottlers make it so that you only need to clear space for a day before it’s returned to a normal work area.

No extra labor.

Sometimes your business doesn’t have the staff to accommodate label application in house. It takes a lot of time to make your product, clean, work the floor, handle accounting, and complete every other essential job. With professional label applicators, you don’t have to worry about training people and dedicating their and your valuable time to yet another task.

Less responsibility.

There’s a lot of value in not having to incur the cost when something goes wrong. Professional vendors are responsible for any issues or other problems that occur with their equipment. Those issues can range from fixing application issues to cleaning up messes and maintaining machinery. If you don’t own the equipment, you won’t need to spend your valuable time addressing those issues.

A decorated spirits label applied with a DIY label applicator.

Make Sure Your Labels Match Your Applicator’s Requirements

Whether your invest in DIY equipment or hire an outside company, your labels will likely need to meet certain specifications.

As such, you’ll need to ensure that your equipment of professional applicator can accommodate certain label specifications. Details like roll sizes, container shape, and unwind requirements should all align with your choice of applicator. If they don’t, your labels will end up with visible issues – and that’s if they can even be applied in the first place.

No matter your choice of applicator, a good label printing company can help you quickly match your label specifications and set you up for success. Blue Label works directly with you to identify these criteria and quickly produce durable, eye-catching labels for your products. Your labels need to tell your story. Our team can make sure your story isn’t derailed by application issues and other problems.

Ready to invest in labels tailored for your exact needs? Contact us today to talk to one of our experts about your next label project.

How to Determine Your Label Unwind Position

The last thing you want is an upside-down label. It’s extremely frustrating to invest time and creativity in stunning labels only to have an improper unwind lead to application issues. Let’s break down how to figure out the proper roll direction and make sure your labels are correctly applied to your containers.

What is Unwind?

Unwind, also known as label roll direction, is the dimension or edge of the label that comes off the roll first. Labels come in long rolls that are fed through an applicator. As the roll runs through the machine, the labels will come off the roll in a specific direction.

If you hand apply your labels, the roll direction isn’t all too important – you’ll simply peel off the labels and place them appropriately on your container. The machine application process isn’t so simple.

Different applicators place labels onto containers in different ways – left to right, top to bottom, etc. Your unwind needs to accommodate your applicator so that the roll feeds your labels into the machine in the appropriate label wind direction every single time. If it doesn’t, you could end up with labels that are upside down or sideways.

A selection of label rolls with different unwinds.

How to Choose Which Unwind is Best for You

Improper label orientation is a major issue for any business. Fortunately, it’s pretty easy to address the problem and determine your proper label roll direction.

When you don’t know which unwind is right for your business, it’s best to go straight to the source. Each label application machine will have specific instructions on the correct label roll direction. If you apply the label in house, you can refer to the label applicator’s instruction manual or contact the manufacturer. If you have a third-party applicator, they should be able to tell you which unwind is needed for your label rolls.

The Different Label Unwind Positions

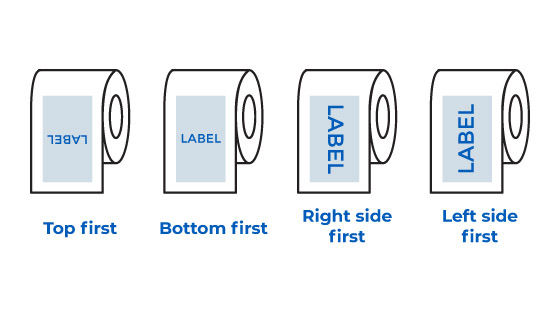
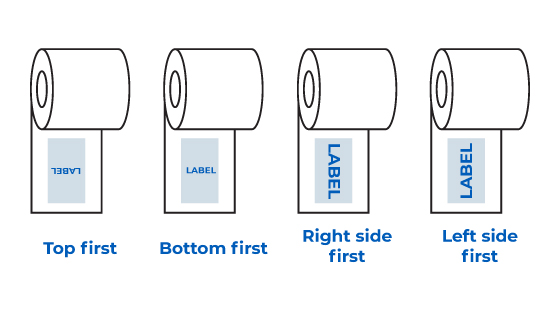
There are a variety of unwind directions for labels. These unwinds are named after the edge of your label that will come off the roll first. You can use this handy label unwind chart to visualize the different roll directions.

A label unwind chart with the four different label roll directions.

The unwind direction for labels on the underside of a label roll.

It’s also important to remember that the labels can be placed on the inside or the outside of the roll depending on the applicator. Labels printed on the outside of the roll are considered “wound out” while labels printed on the inside of the roll are “wound in.” Because of this, there are eight possible label unwind directions for your setup. As always, you’ll want to double-check your applicator’s instructions before assuming that the labels should be printed and die cut on the outside of the roll.

Maximize Your Label Costs Associated to Unwind

The unwind isn’t the only way your applicator impacts your product labels. Applicators can require a specific roll size, also known as “Max OD” (Maximum Outer-Diameter). The roll size and unwind position have a direct impact on the efficiency of your label printing process.

The dimensions and positioning of your custom label can lead to unused roll space that will add to your total label costs if you’re not careful. That’s why it’s important to partner with a label printing company that help you maximize label space and mitigate any application issues ahead of time.

At Blue Label, we work directly with you to identify potential issues and provide cost-effective solutions to ensure you get the best possible eye-catching labels for your products. Contact us today to get your next product label project underway.

The Cost of Beer Labels: How Does Commercial Pricing Work for Professional Beer Labels?

When it comes time to invest in beer labels, there are a lot of questions you may want to ask your label printing company. Of these, there’s one particular question that every one wants to know: how much will professionally printed beer labels cost?

The immediate answer to that question is, it depends. There simply is no quick answer to how much beer labels cost because every project is so different. Instead, it’s important to have a general understanding of how commercial beer label pricing works and all the factors that can impact the cost of your project.

How Craft Beer Labels are Priced

The main reason why it’s tough to provide a quick custom beer label estimate is that each project is a custom process. Each order is manufactured from scratch, so there are no pre-made products to ‘save’ cost with. Every beer label features an original design and uses different materials per your specifications. At Blue Label, we rarely see a project cost less than $150 total (simply due to the costs associated with setting up equipment) and will scale up depending on your specifications.

Once you do get a beer label estimate, it’s also important to evaluate your investment in understandable numbers. While some people may want to break down cost on a price per unit basis, we find that it’s generally better in print to evaluate your label cost per thousand pieces. This perspective allows you to avoid the fractional cents in per unit costs and helps provide a clearer visual of the sliding scale in total cost. For instance:

A chart that break down beer label costs on a price per unit basis.

**Note: This chart does not reflect any pricing at Blue Label. For demonstration of pricing breakdown only**

So between 1,000 and 2,000, you can get twice the amount of labels for $61.40 more. The ‘Price per Thousand’ (sometimes notated as ‘Price per M’) category is intended to give a more clear ‘apples to apples’ comparison on items that have a small unit price.

The Factors That Impact Beer Label Costs for Craft Brewers

As a digital label printing company, we gather a lot of information to estimate the overall cost for your beer label project. There are multiple factors that can impact your costs. These factors include:

  • Product type
  • Material
  • Size
  • Quantity
  • Multiple versions
  • Lamination / varnish
  • Tooling
  • Decoration
  • Application
  • Variable content

Product type

The very first step in the pricing process is to determine what you want to accomplish with your beer labels. Depending on your product, design, and environment, you may be in the market for pressure sensitive labels, shrink sleeves, double sided labels, or hang tags.

For example, shrink sleeves have a special production process and may require certain quantities to help maximize your invest in them. Meanwhile, pressure sensitive labels have a multitude of material options and decorating capabilities that can be applied to them. Our experts can offer advice on which label type is ideal for your brewery.

Material

Your label material of choice is going to be a notable contributor to your overall label costs. Each label is made with multiple layers that include a top layer (face stock) , an adhesive, and a liner. Some label materials will cost more per linear foot than others, so a more expensive material will lead to overall higher project costs.

When it comes to beer labels, there are two main types of material options: film and stock paper. Films for pressure sensitive labels are a natural choice as they’re more resistant to fluids.

Paper materials can provide a distinct look for beer containers, but can be two to five times more expensive than standard semigloss or white BOPP films. Given that materials make up a significant percentage of your total beer label costs, that distinctive paper material could lead to a cost increase of up to 40 percent overall.
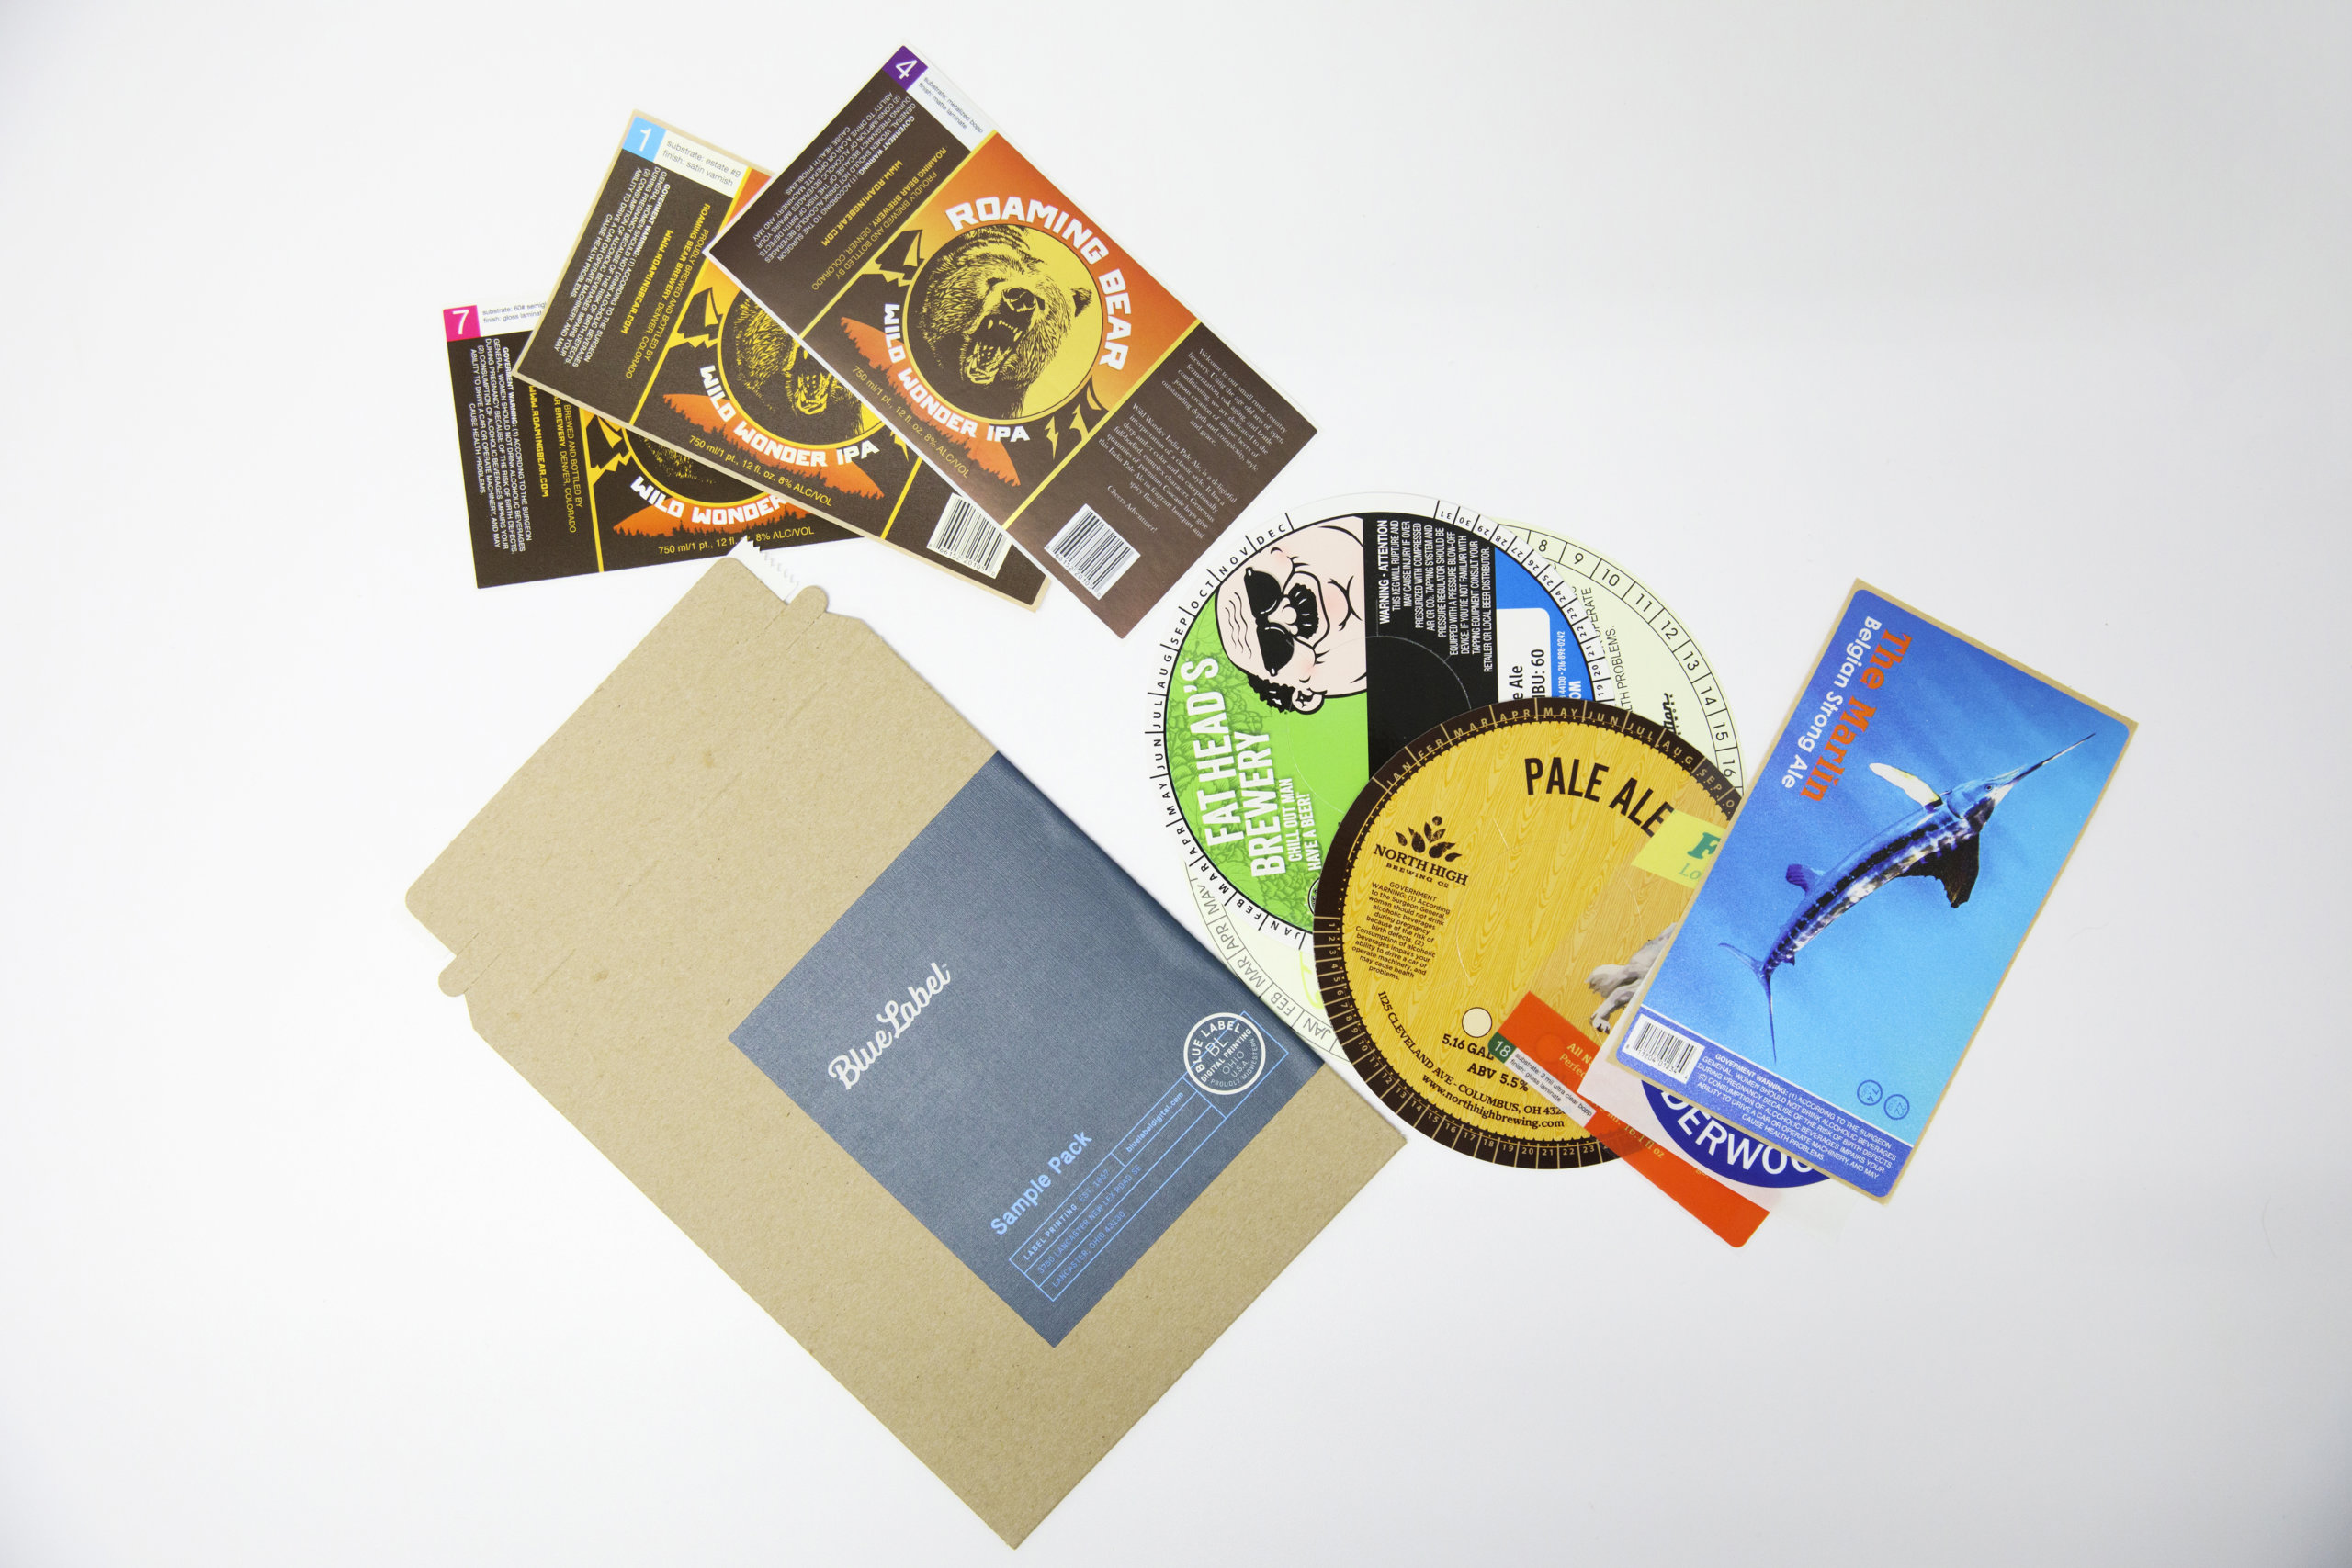
An assortment of materials used for professional beer labels.

Size

The overall size of your label is another major factor for beer label costs. Label size dictates how much material is required. Simply put, the more material we use, the more expensive your label project will be. As such, larger labels can cost more than smaller labels from a raw materials standpoint.

Print layout is also another major factor that can influence label sizing costs. Label materials come in long rolls that are fed through a machine that prints your design onto the face stock of the roll. Depending on the size of your design, you may be able to fit multiple labels across the width of the roll.

By fitting more labels on a roll, you can improve printing efficiency and limit label material waste. This amount of material waste isn’t too noticeable in smaller orders, but a 20 percent difference in material costs is a noticeable change for larger quantities of labels.

Fortunately, there are measures you can take to help maximize space and minimize waste. Work with your designer and printing company to adjust the size of your label, especially if a fraction of an inch is the difference between a 15 to 30 percent bump in material costs. Our Beer Sizing and Dimensions Guide also includes optimal measurements for the most cost-effective sizing for printing your beer labels.

Quantity

The total number of labels printed in a project has a massive impact on your final project price. As expected, projects with higher label quantities will have a higher total cost simply because they consume more material. However, there is a potential for savings that isn’t as straightforward as you may expect.

While digital label printing allows breweries the flexibility to invest in lower quantities of beer labels, higher quantity runs can help you drive down your cost per thousand. Every project includes initial costs to set up the printer, calibrate colors, set up die cutting, and complete other tasks to start the manufacturing process.

Regardless of whether you need 200 or 200,000 labels, we have to go through those same processes. However, that setup time can be amortized much more efficiently over a long print run of labels, which means that higher quantities of labels actually drive down label costs.

While larger quantities can drive costs down, there are some potential cost advantages of buying lower numbers of beer labels. Digital label printing allows you to avoid the hidden costs of labels of obsolescence – regulation changes, brand updates, and other events that can make your beer labels outdated. That flexibility can be very valuable when you’re dealing with future events that could lead to unnecessary label waste.

Multiple versions

One notable cost factor is the ability to group multiple label versions together in a single project. While plate-based printing will require added fees for each label version, digital label printing can group these different labels together as long as there are 500 copies of each.

Maybe you don’t can 50,000 of one flagship… but maybe you do can 10,000 of your top five beers and have some seasonal releases to add in as well. Instead of placing five separate orders of 10,000 labels, digital technology allows you to place one order of 50,000 labels to take advantage of the lower ‘per thousand’ unit cost. Since everything is done digitally, we have the ability to mix and match your various versions into one production run, which helps save on setup and minimize waste.

Lamination / varnish

Every beer label needs some form of print protection. The average beer label is going to face several potential issues. Fluids like water and beer can wreak havoc with paper labels. Shipping and handling can rub off ink without a laminate or varnish layer.

Standard laminates and varnishes aren’t an additional cost, as much as they are something that’s baked into your starting project price. Every film label project is made with some form of laminate, while wine stock papers will require a basic varnish. There are also decorative laminates and varnishes available as well for an additional cost. Finishes such as soft-touch or textured laminates can serve a dual role of protecting your beer labels while adding to the overall look and feel of your packaging.

Tooling costs

Beer label costs may also include tooling fees, but these can vary depending on your label design and how they’re printed. Older printing methods, like offset or flexographic printing, use unique sets of plates to create your beer labels. As such, you’ll need to pay for a new set of plates for every piece of artwork. Digital printing doesn’t require plates, which cuts out those costs and any additional lead time required to manufacture plates.

Custom label shapes can also add tooling costs. Specialized pieces of metal called dies are used to cut specific shapes out of label materials. While digital label printing companies often have a wide range of existing dies, specialty shapes may require a newly manufactured part.

Depending on the size and shape, a new die can cost around $200. Of course, that die will then be freely available for any future label runs. At Blue Label, we have dies for most standard beer sizes in-house and can provide them for no extra cost to our customers. Our Beer Sizing and Dimensions Guide can walk you through the options and provides visual aids.

Decoration

While your choice of material, label size, and total quantity are the three biggest factors for project price, label decoration can add some additional costs depending on your needs. These added features can enhance the look and feel of your beer labels, which can add to your overall price per thousand and lead times based on your desired decoration.

Digital finishing equipment can apply many different decorative elements to beer labels. Foil stamping presses special foils into your material to create a raised image that stands out from other labels. Embossing imprints a special pattern or image into the label material, creating a pattern that consumers can see and feel. Spot varnishes allow you to coat specific parts of your design to make those elements pop. Each of these finishes can help capture consumers’ attention for an added cost.

Application

Your application process can also impact the beer label pricing as well. Your exact application process determines a few different factors:

  • Roll size
  • Unwind
  • Liner

Applicators can require a specific roll size or “Max OD” (Maximum Outer-Diameter). Your application process can determine how big the roll is, which can require more rewinding. Smaller rolls will also require your printing company to break your labels down into more manageable quantities for your machinery. These efforts won’t make for large changes in price for most customers, but they’re another potential reason why you might see an uptick in beer label pricing.

The required unwind can also affect potential cost efficiencies. The unwind determines which edge of the label first comes off the roll. This unwind can change how your printer needs to position your labels during printing. Depending on the dimensions of your label, that new positioning can yield a more or less efficient print layout.

Certain applicating equipment may also require a specific type of label backing. The backing, also called a liner, is the bottom layer of a pressure sensitive label. Applicators have sensors that read the label gaps during application, but certain sensors may only be able to read paper or film liners. As such, you may need to invest in a film liner which could slightly increase your project price if your applicator requires it.

Variable content

Variable data printing is another way that digital label printing allows you to change certain elements in a design without having to create entire new art files. Essentially, variable data printing utilizes a spreadsheet or some other file format to modify a variety of design elements, such as a headline, image, name, or color. Variable data printing can also incorporate variable images and patterns, allowing you to alternate or serialize label designs.

Variable data is a very useful tool for batch numbering, product tracking, or creating individualized items. It does require a good deal of setup and administration, so adding variable data printing to a label can increase costs.
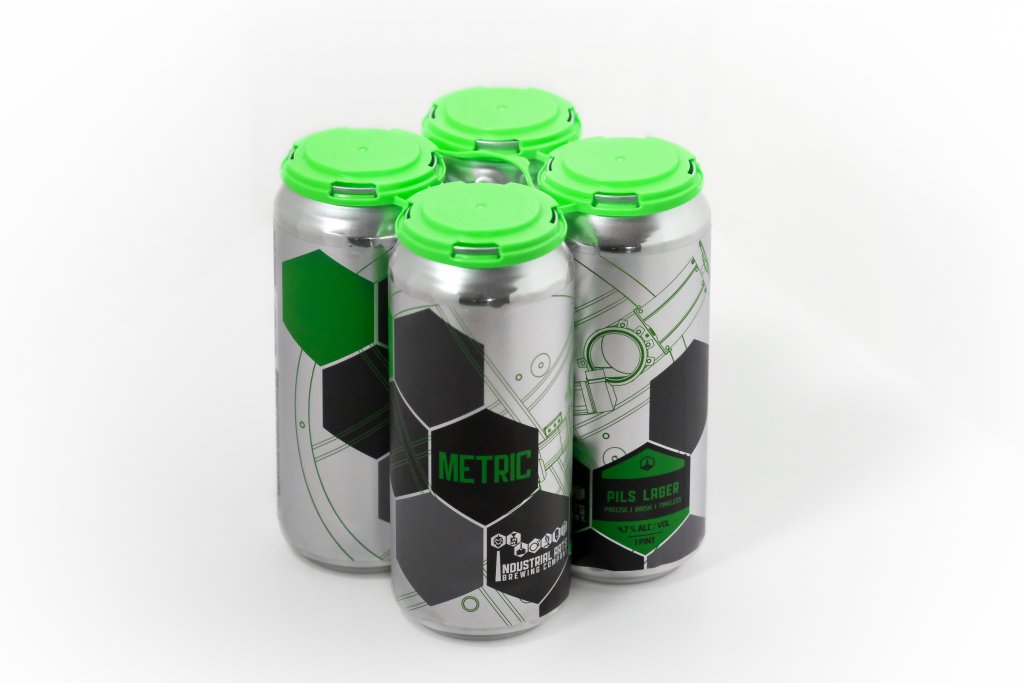
Beer can labels made with a film material, print protection, and other factors that impact beer label costs.

Added Value Opportunities for Beer Labels

While there are several factors that can add to your overall project price, it’s important to also identify potential value opportunities as well. There are a lot of services that won’t show up on your bill, but can make a massive difference for your company. Each of the following factors can not only help your business save time and money, but also spare you from avoidable headaches when it’s time to invest in beer labels.

Artwork prep and readiness

Every beer label starts off as an art file before it’s printed. Unfortunately, there are a litany of artwork issues that can pose problems for your labels. Common concerns like incorrect file formats, low-res images, and improperly built bleeds will lead to problems with printed products without prior attention.

The level of artwork assistance depends on the label printing company. A lot of printers will charge you for that time to make sure your art is ready. Others will provide artwork prep for free and guide you through the printing process from start to finish.

Label printers can also provide press proofs for a small fee so that you have a physical example of your product before investing in the full run. Artwork can translate very differently from a computer screen to printed product. Though they might add a little time and money in the short term, artwork prep and press proofs can help avoid costly errors or artwork issues on a full production run.

Shipping and turnaround times

While shipping isn’t a part of the label production process, it’s important to keep it in mind for your overall label costs. You’ll want to examine the turnaround times and whether or not there will be any additional charges if you need your beer labels sooner than the standard turn-time and standard shipping propose. Blue Label commits to five-business day turnarounds, but others may tack on rush fees that range from $100 to $350 depending on how quickly you need your beer labels.

Customer service and satisfaction guarantees

We don’t live in a perfect world. At some point you will inevitably run into an issue, be it a misspelling in the artwork or color not translating properly. If these issues occur, it’s important to find a label printing partner that won’t leave you stranded with faulty packaging.

A good quality department won’t change your beer label bill, but it’s priceless when you do run into any issues. Evaluate potential printing companies to see if they have any warranties and satisfaction guarantees to make sure you’re not stuck with an improper print job. You’ll want to talk to a live, friendly label expert whenever you call with any questions or concerns. If a potential label printer limits access to real people, they might not be there when you do have any issues.

Internal resources

Customer service representatives aren’t the only resources that can help you out with your beer label project. Some label printing companies offer additional internal resources that can help add value without increasing the costs of your beer label.

For example, Blue Label has several helpful blog posts, resources, and guides available online to help you prepare your labels for success. In addition, our designer directory can help you find a designer who understands the intricacies of the beer market and can create the perfect custom beer label design for your products.
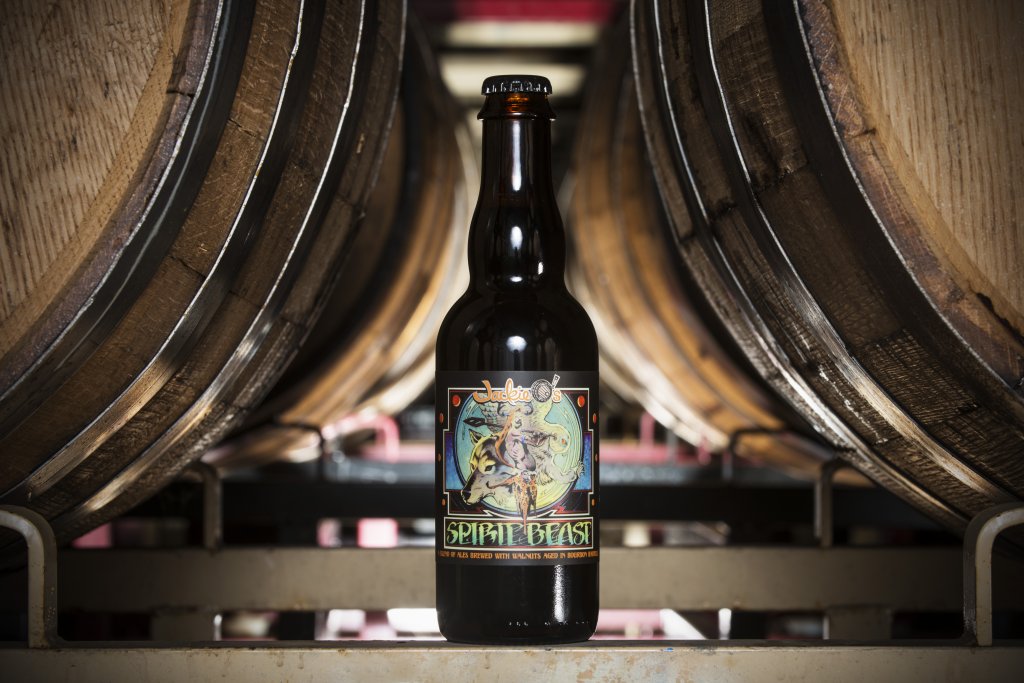
A custom label design made with commercial beer label pricing.

What Breweries Can Do to Help Control Beer Label Costs

Proper packaging is an important investment for any brewery. Unfortunately, there are scenarios where you may end up paying more for your labels than necessary. Situations such as last-minute orders or unforeseen problems can lead to extra charges or delayed shipments.

The best way to avoid these issues and control your beer label costs is to prepare early. The sooner you start talking with a label printing company about your needs, the better. This head start will allow you and the printing company to identify any potential issues, avoid expedited shipping, and have everything ready to go for when you actually need your beer labels. You can also ask for test rolls to ensure that your labels work with your applicating equipment ahead of time instead of troubleshooting problems at the last minute.

Order your labels ahead of time. As long as they are properly stored, label adhesives won’t lose effectiveness for several months. Because of this, you can have your labels shipped to you a week ahead of when your applicator arrives and stil be good to go. This will give you plenty of leeway and a lot less stress when it’s time to label your beer bottles or cans.

Finally, the best way to help you invest in the perfect beer labels for your products is to work with the right label printing company. At Blue Label, we promise to deliver unmatched quality and service to help you create the best, most cost-effective beer labels for your exact needs. Contact us today to talk about your next beer label project.
Label Application Issues: How to Prevent Common Label Defects

A good label makes an important statement to potential customers. Unfortunately, improper application can turn a promising opportunity into a bad look for your product. Label defects come in a variety of forms ranging from minor errors to complete failure. Typical issues include:

  • Wrinkles
  • Darting
  • Air bubbles
  • Cupping
  • Edge lift
  • Tearing during application
  • Adhesive not sticking

Whether it’s due to improper adhesives, applicator issues, or a harsh environment, one thing is certain: defects detract from your product labels. Each fault will negatively impact the appearance of your brand (and that’s if the labels are able to stick to your container in the first place). As such, it’s important to identify the source behind these issues and take steps to solve the situation.

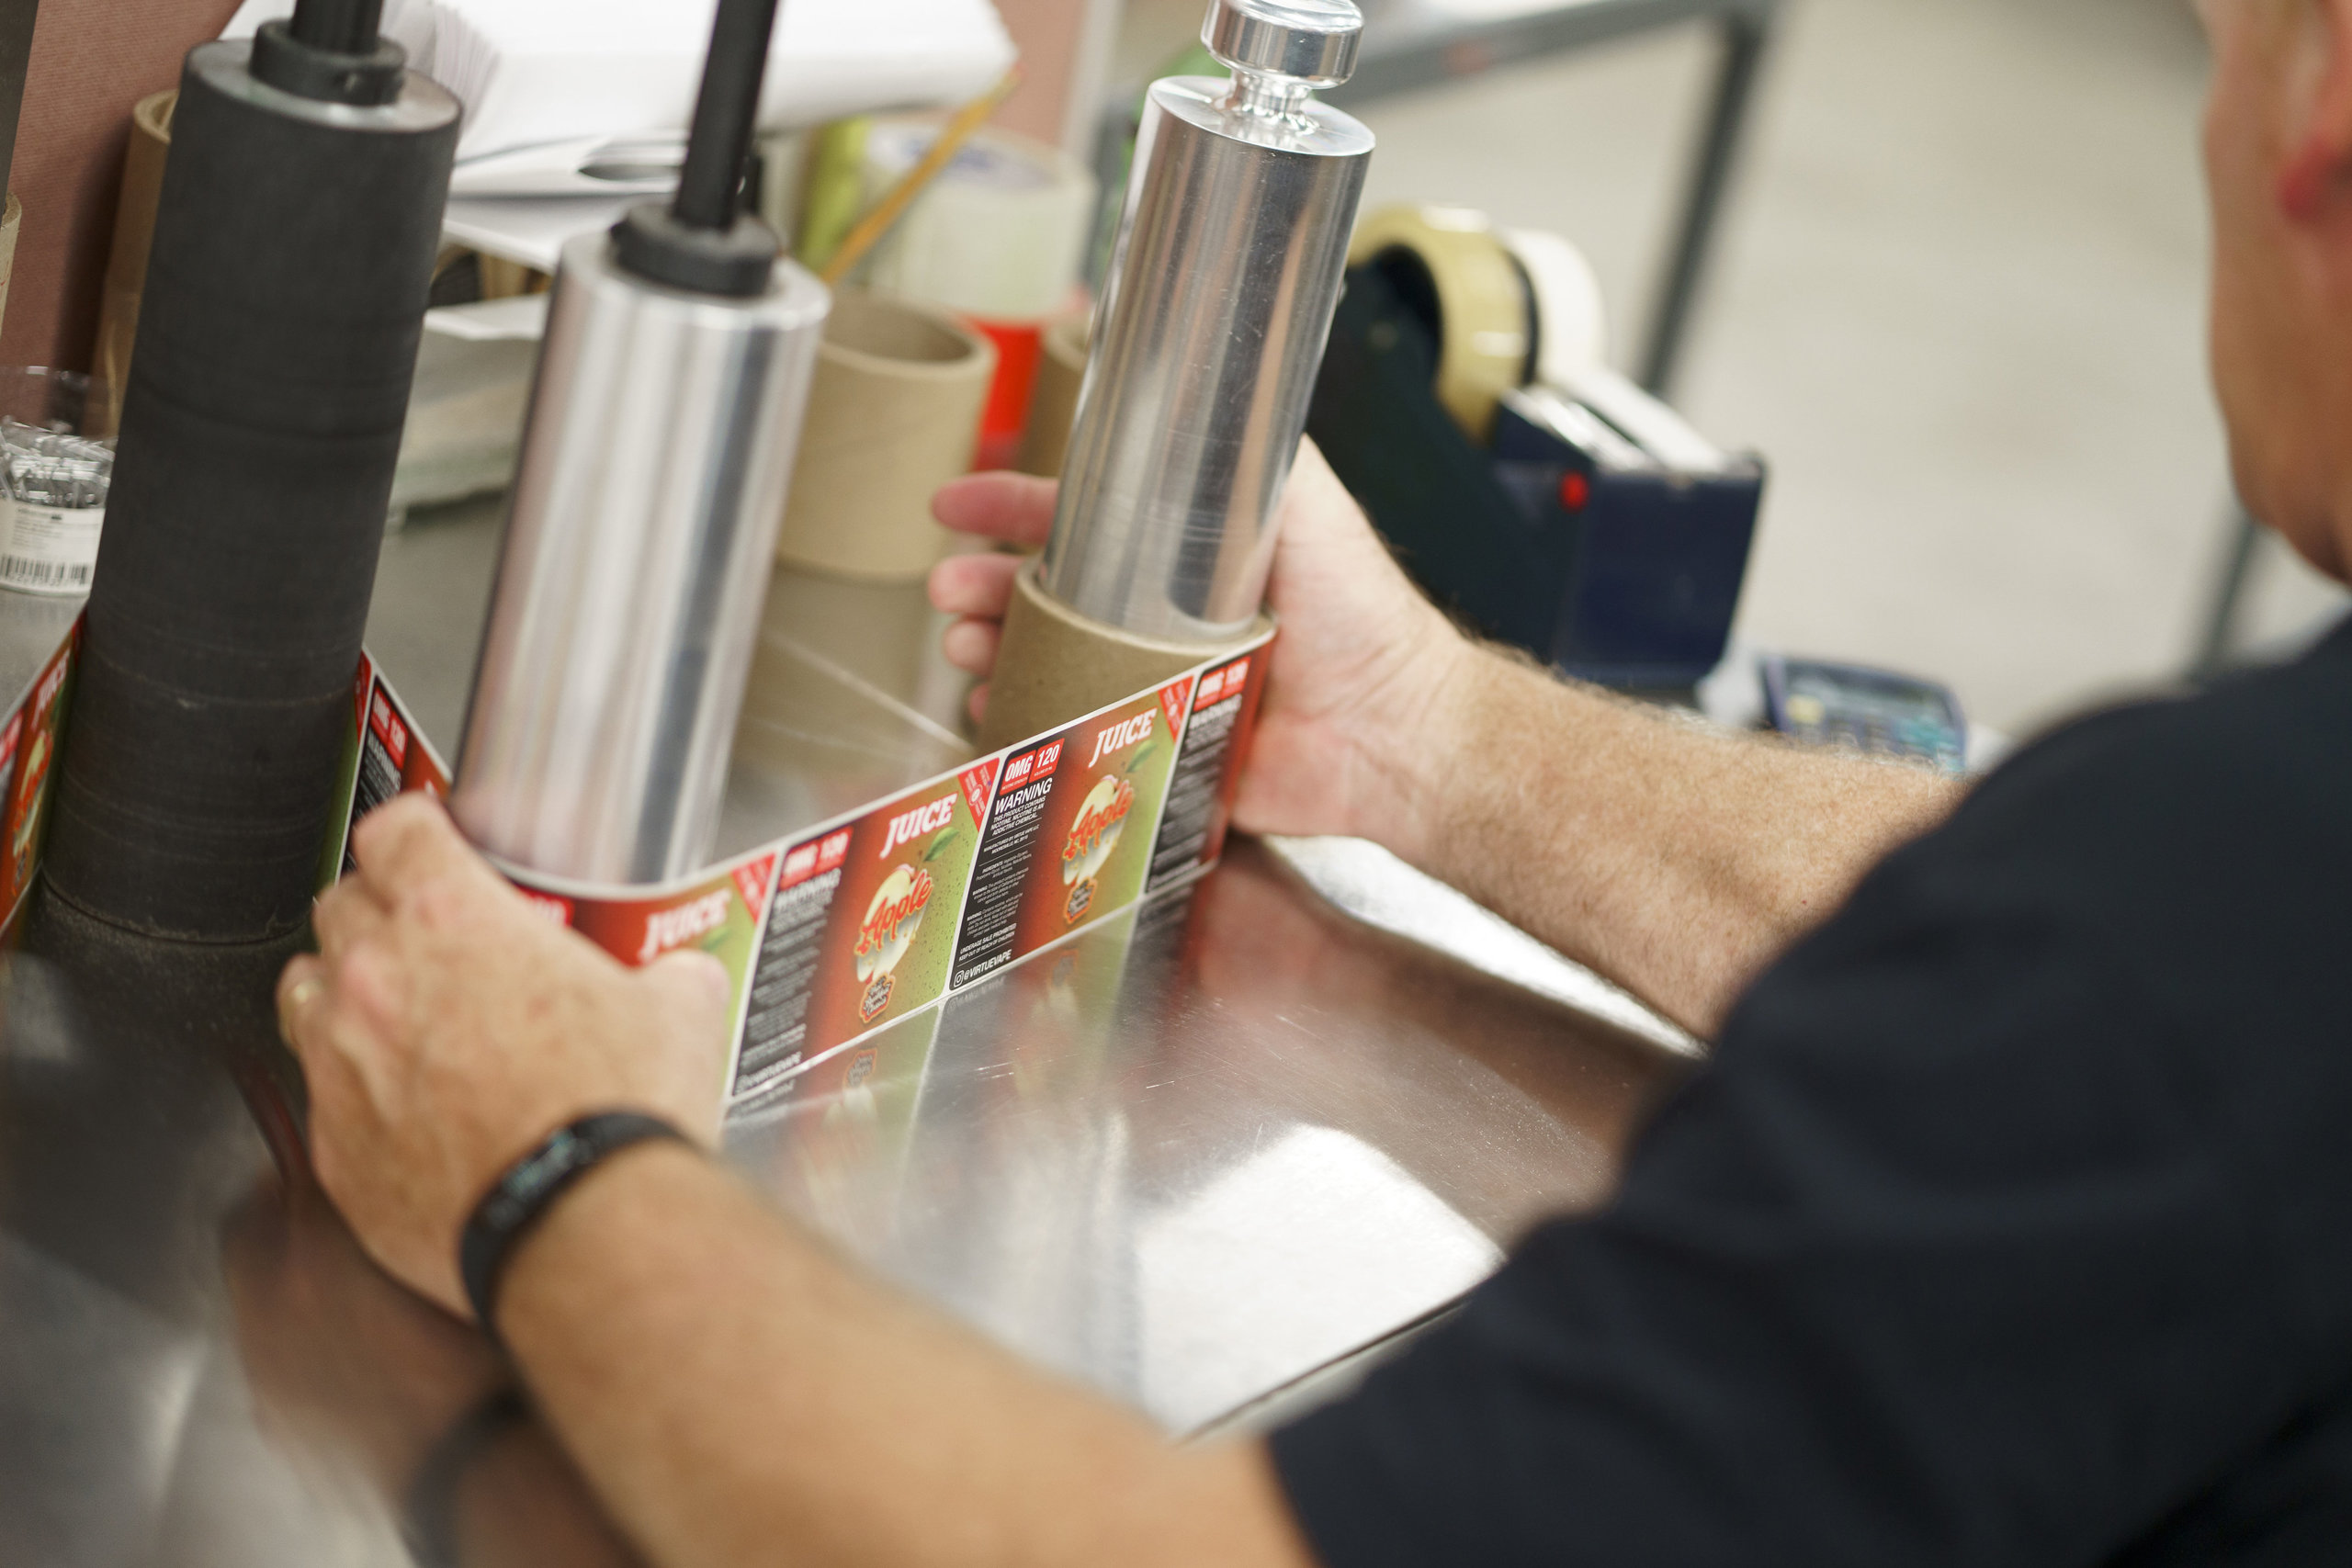
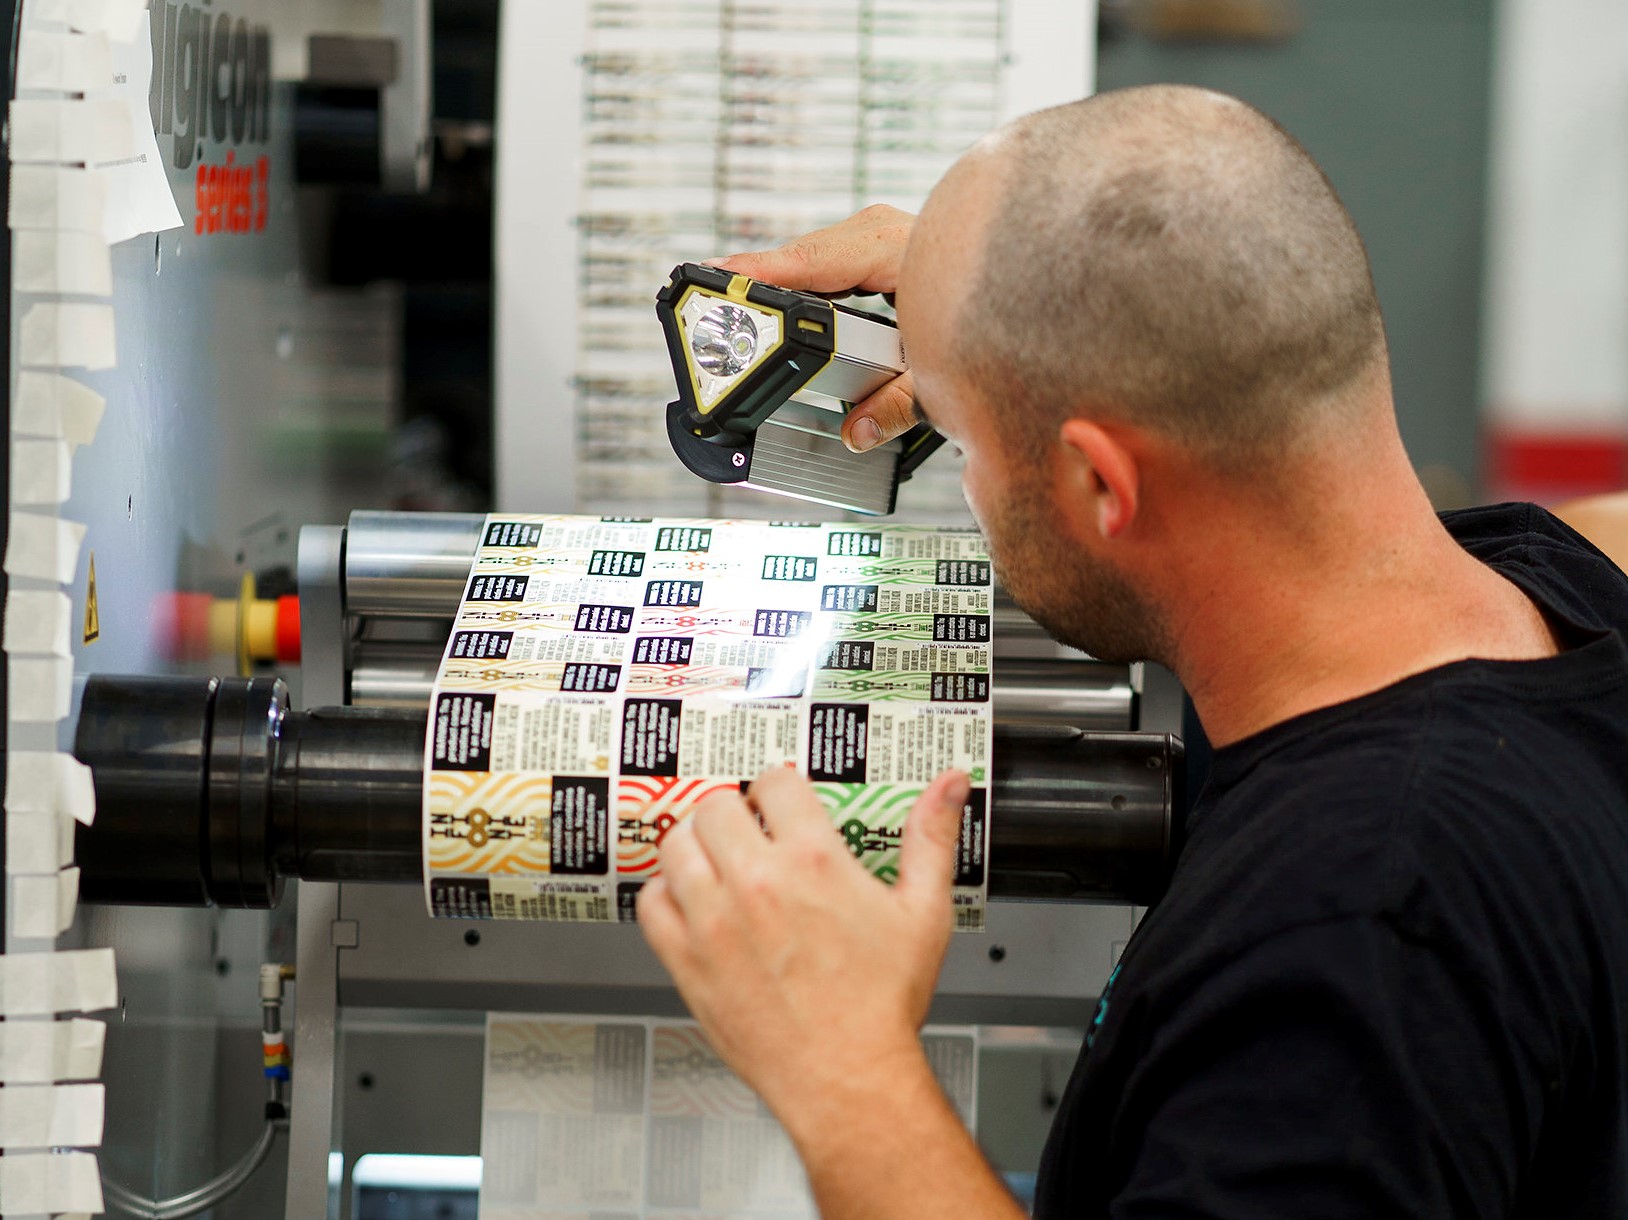
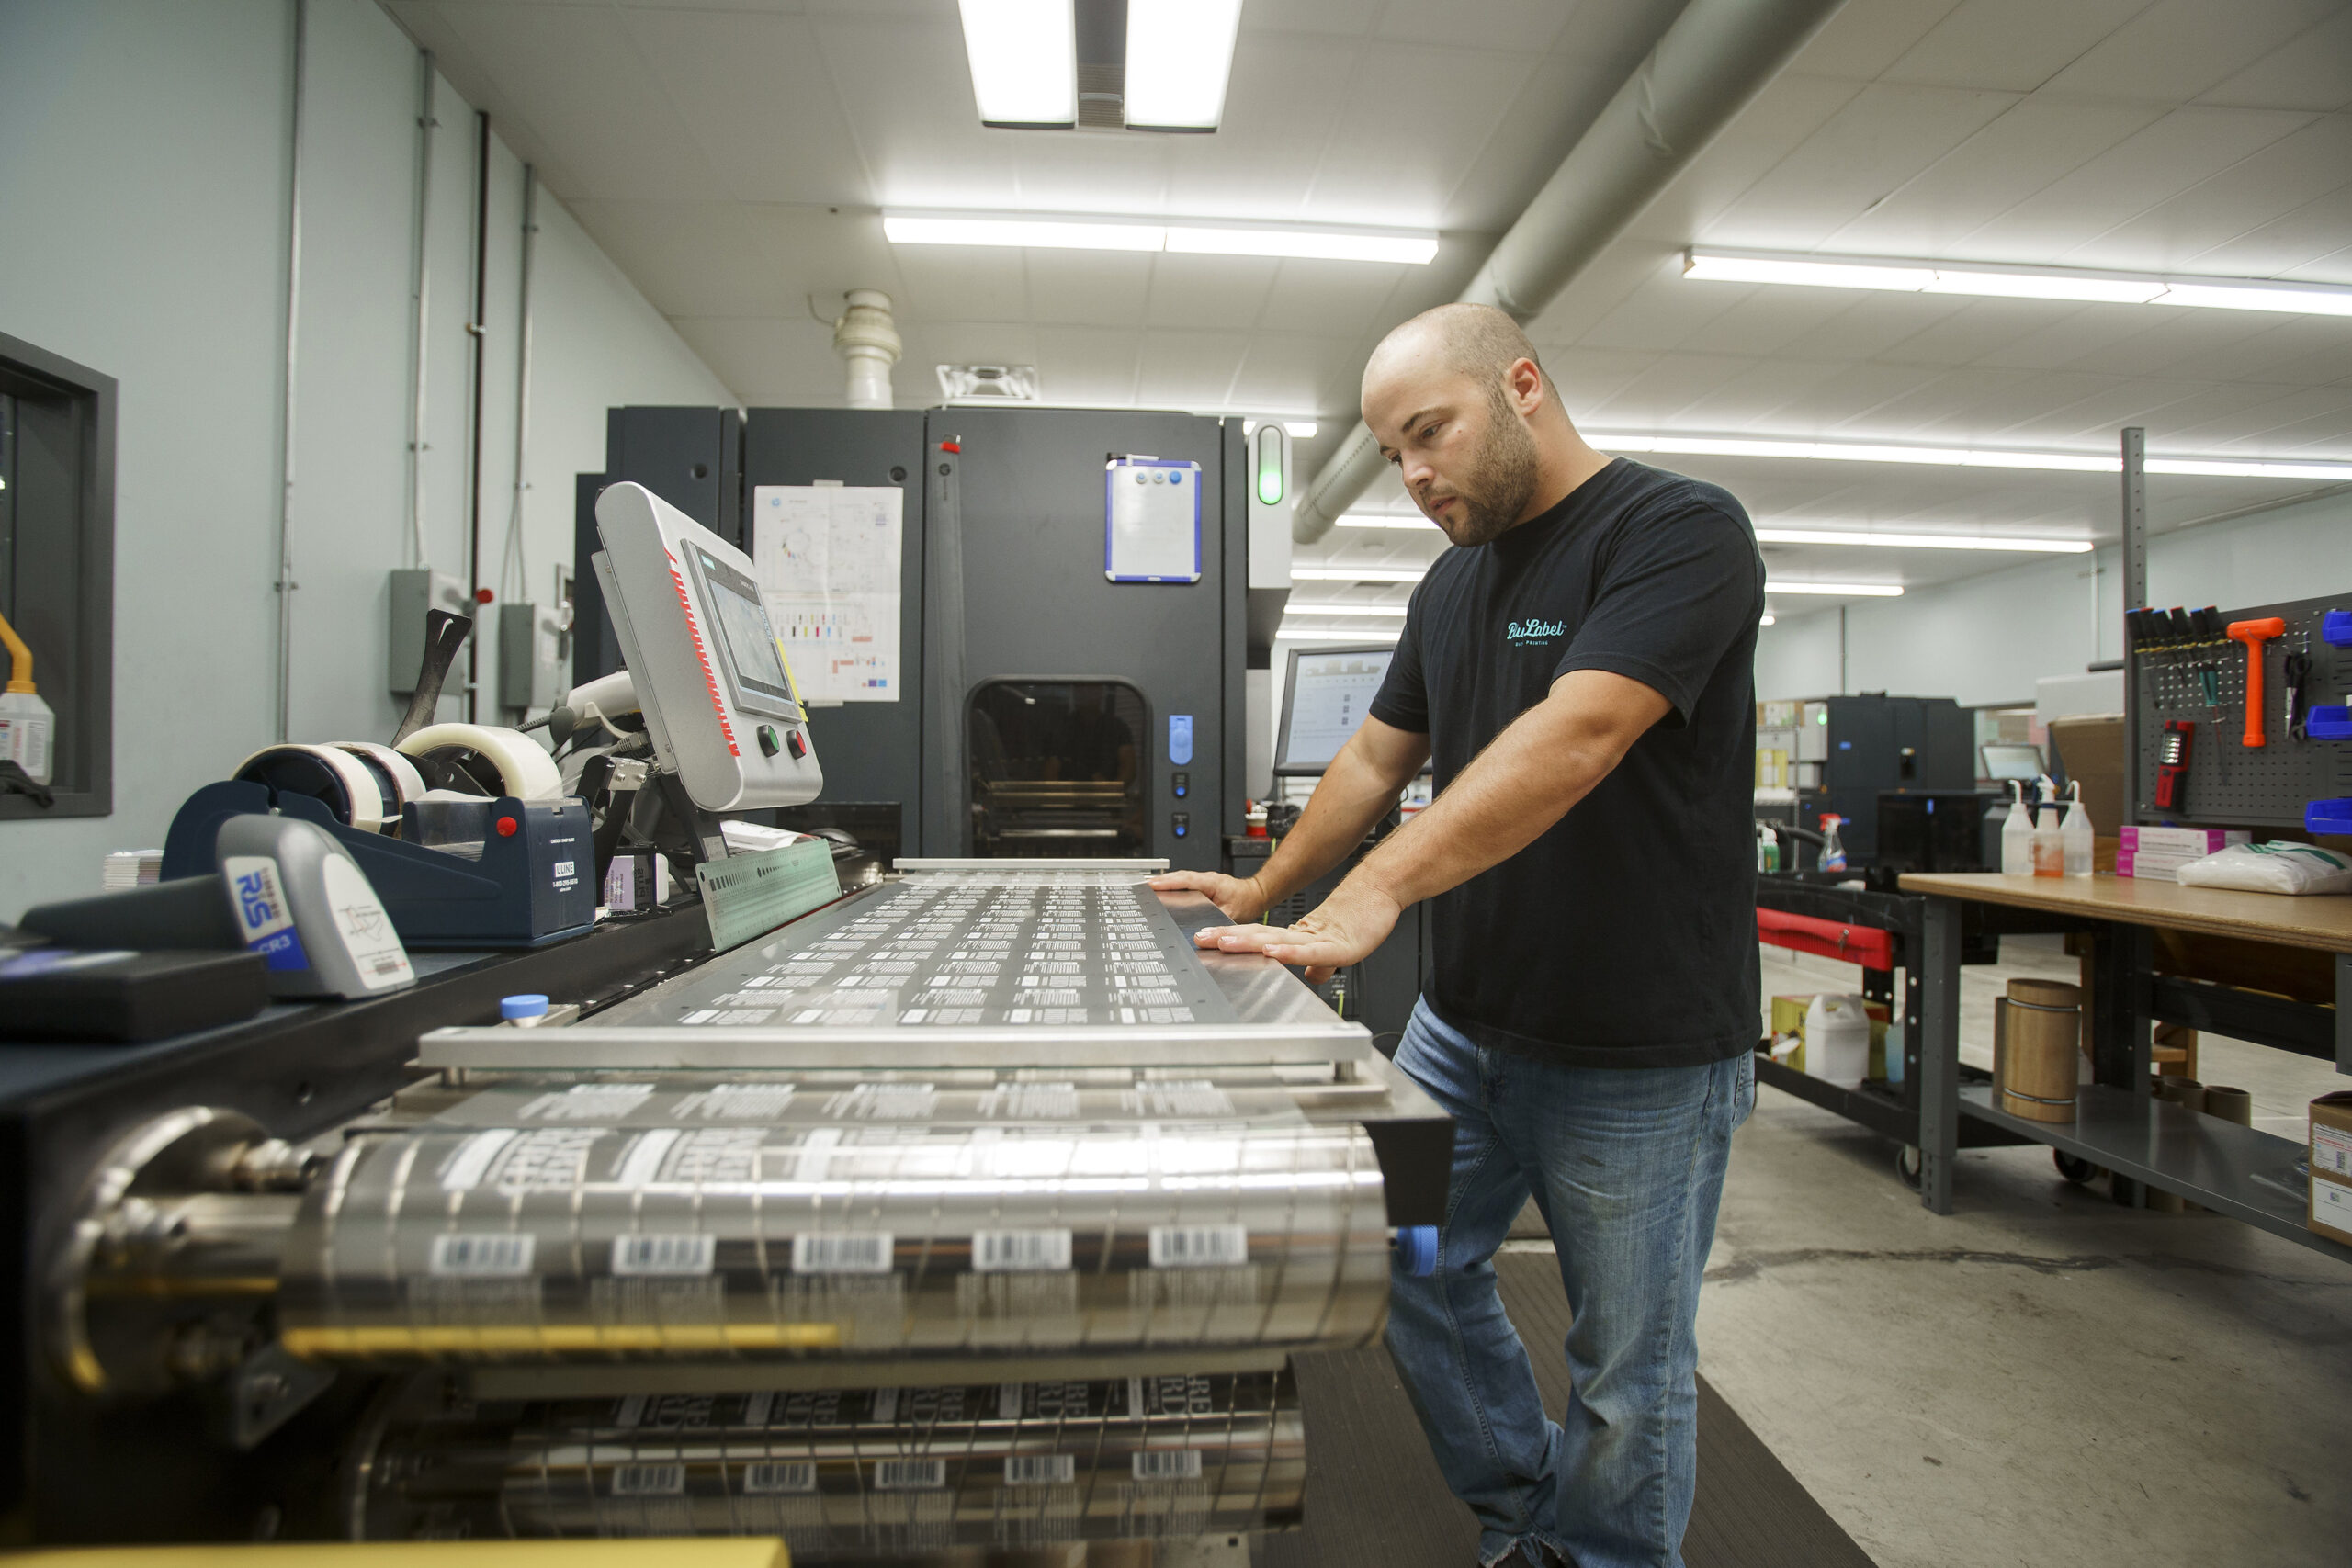
A man examining printed labels for defects.

Potential Causes of Label Application Issues

There are several different reasons why a label would wrinkle, cup, or fall off entirely. Of course, each situation can depend on multiple factors, to name a couple: the type of product you sell or the material and adhesive combination chosen for your label. Once the issue is identified, your label manufacturer and applicator can make the appropriate adjustments to help ensure optimal label performance. To identify the source of your label failure, you’ll want to consider the following potential reasons for label defects.

The container

One of the early steps in identifying potential issues involves knowing your container. It’s important to know the dimensions of your container so that you can base your design around them. The downfall of not knowing your container’s dimensions is that your label could wrinkle or trap in air bubbles upon application. For example, a square label won’t properly apply to a tapered bottle without issue. By tapering your label to fit your dimensions, you can help prevent darting or wrinkles early on in the process.

If you need these dimensions, you should contact the manufacturer of your container for this information. If you use glass bottles, you may have already received something called a “mechanical,” which is essentially a spec sheet for your containers.

It’s also important to recognize that the surface of your container can impact label application. For example, lower quality glass may be pitted or more rigid than smooth. These little peaks and valleys on the surface of your container will trap air under your label upon application, which will result in a higher likelihood of visible bubbles.

The applicating environment and process

In addition to considering the container itself, it’s also important to weigh the condition of the container and the environment surrounding it during application. Environmental factors make a massive impact on which materials and adhesives are right for your labels. Factors like temperature, the presence of moisture, and potential contamination will directly cause peeling or label failure if you don’t plan for them.

Beer labels are a common example of this issue. If a brewery prefills the can and applies a lid, there’s a rinse in the process that makes the cans wet. This situation would call for some type of wet apply adhesive. These options aren’t bulletproof given the nature of water and adhesive, but it will be much more successful than a standard adhesive. If existing moisture is still an issue, you can add what’s called an air knife to blow condensation off the can and lessen the chances of label defects.

Of course, these issues can’t be addressed until you examine your applicating environment and share these details with your label manufacturer. Even small details may help you avoid lengthy troubleshooting. For example, you may need a different adhesive or material solution for a sour beer compare to a standard lager because the acidity from the fruit in the sour beer can cause oxidation between aluminum can and a metallic BOPP material.

Belt problems

Another area of potential concern involves the wrap belt on an applicator. In certain instances, the belt can create a static charge as it moves the cans forward. That static charge can tug on the label and make the label crooked or completely pull it off in the belt area. As this happens, whoever is at the end of the applicator will need to fix affected containers – and that’s if you have an adhesive that you can remove after application.

This static charge can be caused by a few factors. In some cases, there may be too much pressure on the belt. In other, there may not be enough pressure on the belt. Certain circumstances may also call for some form of anti-skid tape to limit the amount of friction and static on the belt. This process is especially helpful for labels with matte or soft touch laminations. These laminations are very hydrophilic, which can cause the wipe down pads to accidentally suck labels off containers. Adding anti-skid tape or even sandpaper will give the backing pad lower surface energy than the lamination, which in turn lowers the odds of accidental label removal.

Liner issues

In some situations, your liner label can be the source of application issues. Labels have either paper or clear plastic liners, but some applicators can’t use one type of liner and vice versa.

Your choice of liner doesn’t cause a lot of issues, but it does impact the die cut. When you cut out the shape of the label, you’re basically pushing down on that liner. You can push down harder on the clear liner because it’s plastic. If you push too hard on the paper, it can make a small hairpin split that’s hard to see. However, if that slightly split paper line is hooked up to an applicator, the pressure and tension used in that applicator can rip the liner and force you to stop production and splice the roll back together.

In this situation, the solution would be to opt for a clear liner as long as your applicator can handle a change. Each applicator has a sensor, but some aren’t set up to work correctly with clear liner. Imagine if you’re trying to scan something that’s clear – it doesn’t always register. In this case, you may need to get a special sensor to avoid potential tearing.

Improper storage

Another potential source of label defects stems from the way labels a stored before application. Certain environmental factors can impact the success of your labels, such as keeping them in a place that’s too hot, cold, dry, or wet. Typically, you want labels stores in a temperature controlled environment – the exact temperature and humidity varies based on your specific label, so make sure to get these details from your label printer if you plan on storing them before use.

While environmental factors can impact all labels during storage, shrink sleeve labels are particularly tricky. Shrink sleeves are made with special materials that make them more susceptible to potential damage prior to application. Excess heat, cold, or other uncontrolled environmental factors can cause shrink sleeves to warp or even melt, leading to distortion or complete failure. As such, these labels require refrigerated trailers for shipping and have particular storage needs to prevent avoidable waste.

Shelf life is another key consideration for potential defects. Typically there’s a one-year warranty on labels, so you don’t want to wait past that time because the adhesive can lose effectiveness if you let it sit that long.

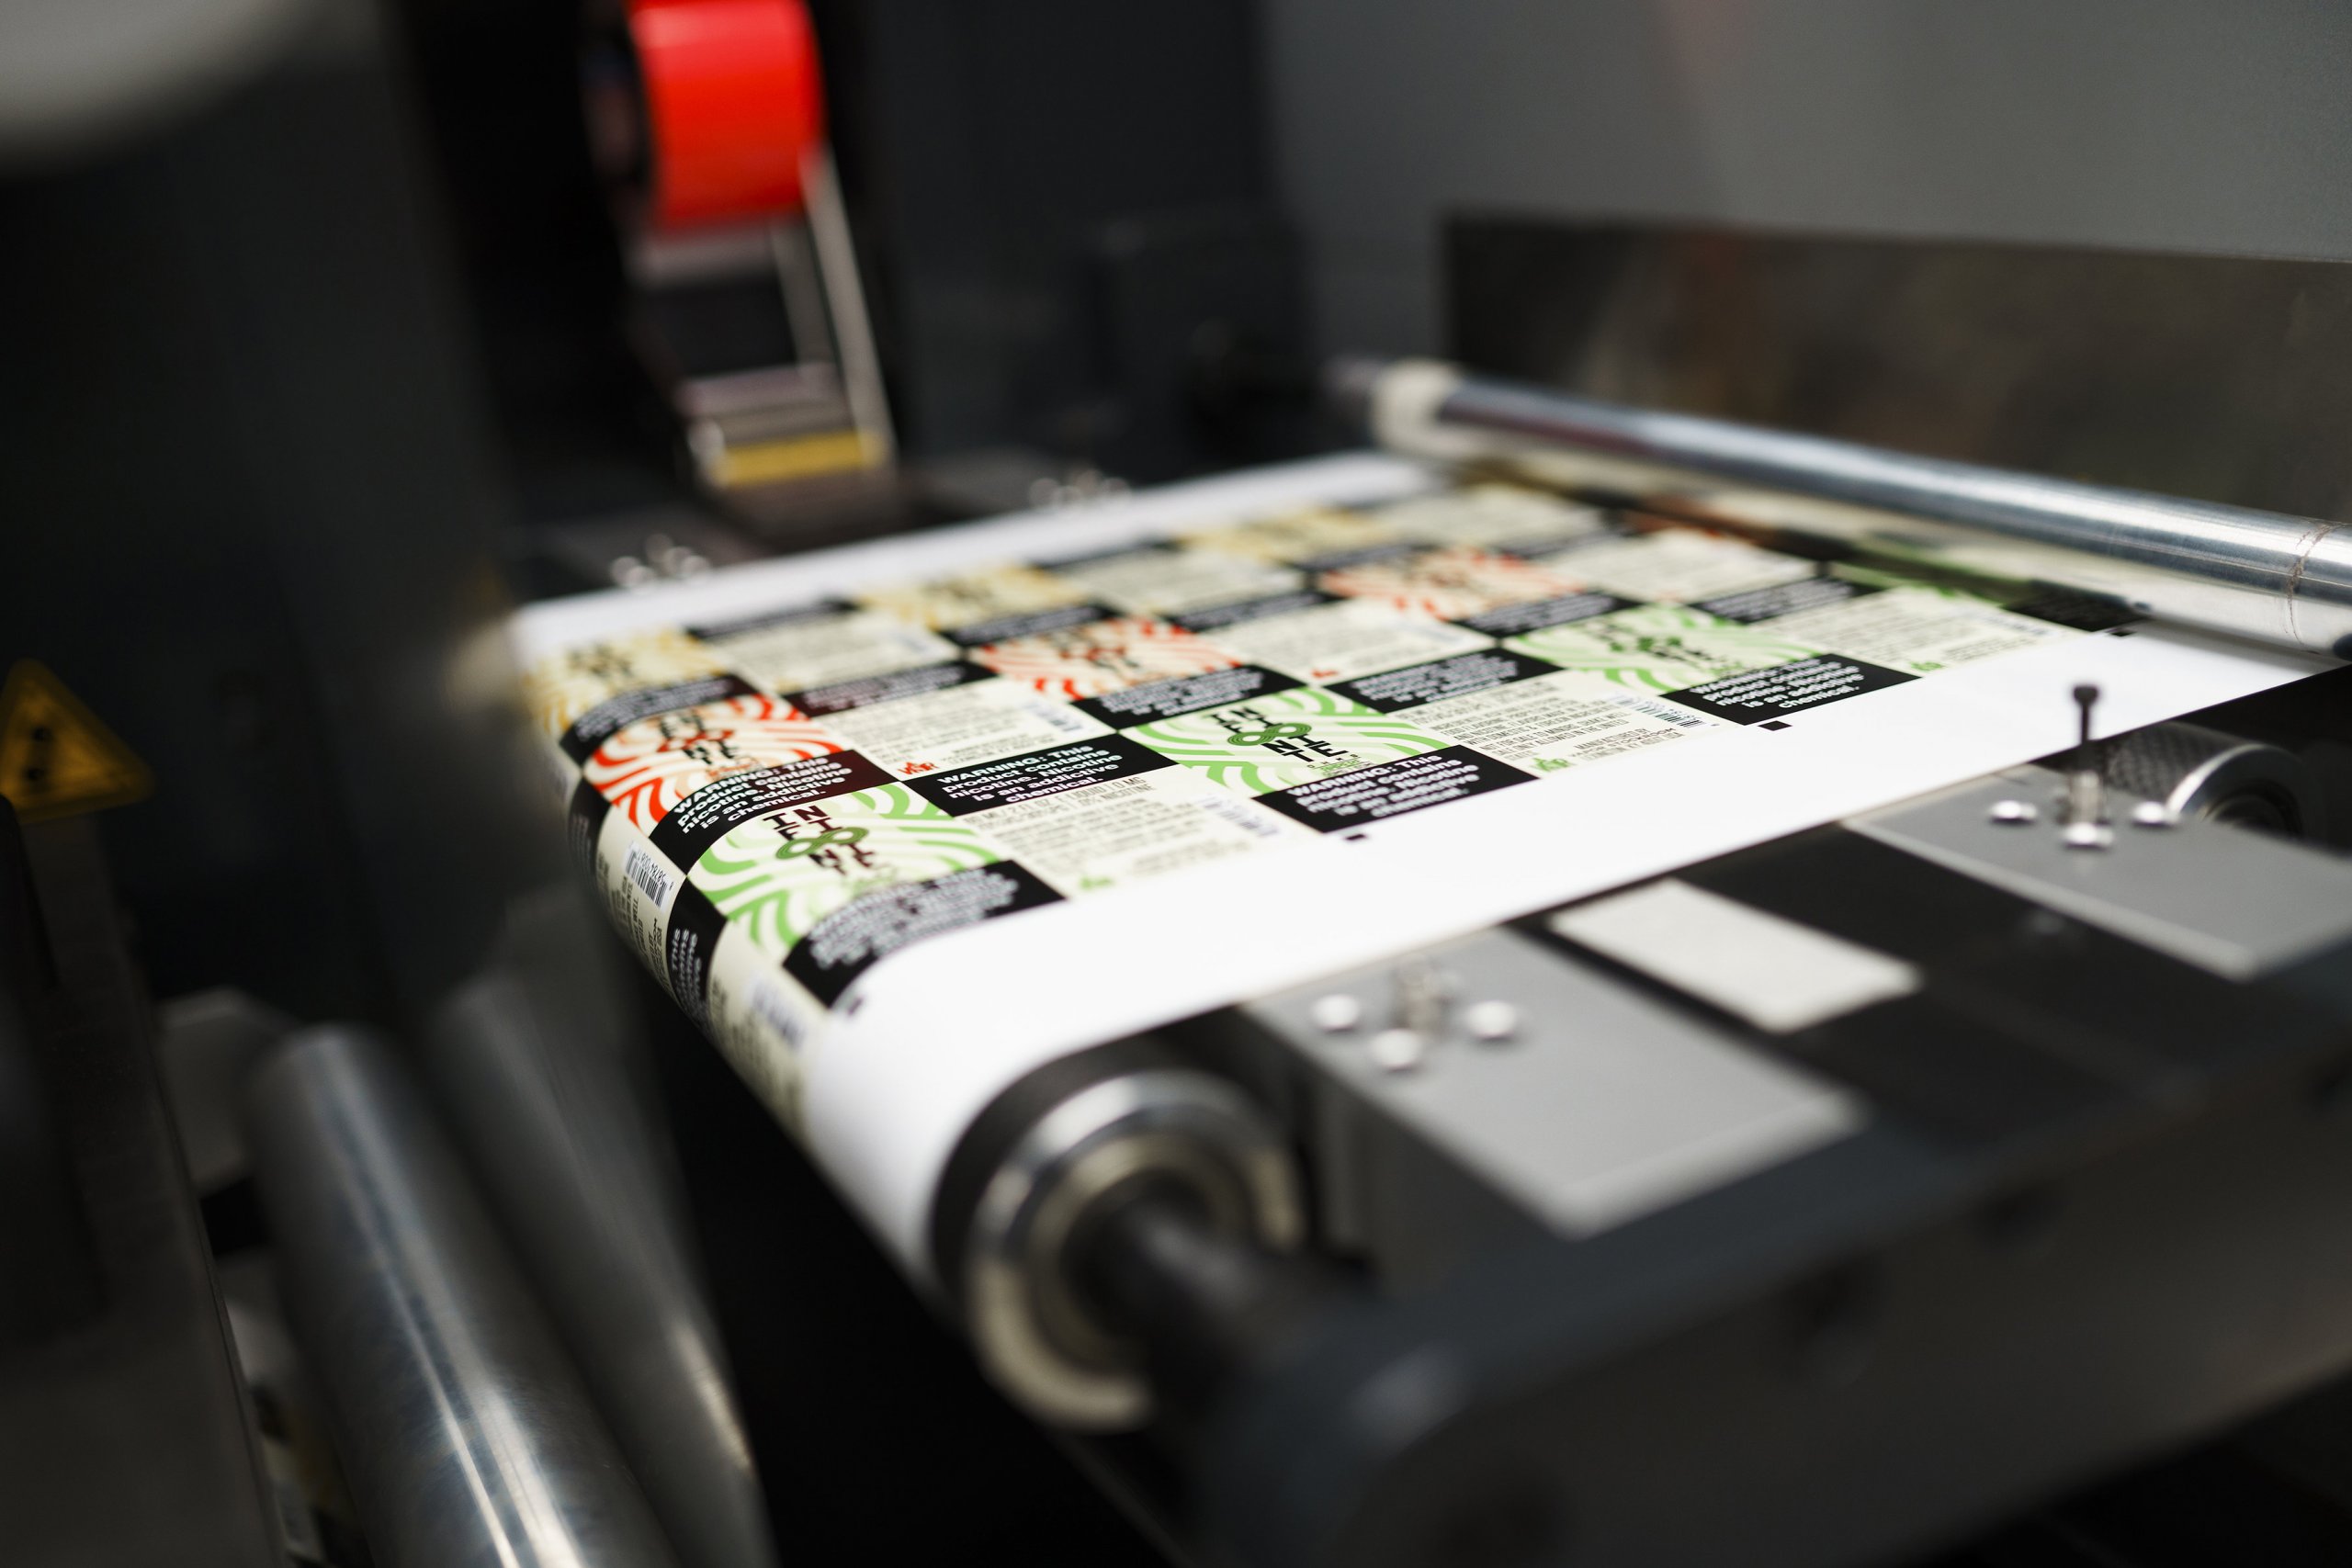
A run of labels made with a collaborative digital label printer.

Work with a Collaborative Label Printing Company

The best tool for preventing label defects is communication. From air bubbles to wrinkles, Blue Label works with you to identify potential hazards and deliver solutions for your label problems. Our experts develop a collaborative relationship with our customers to understand the ins and outs of their label process to avoid issues ahead of time or troubleshoot defects over time.

Ready to work with a collaborative label printing company for your product labels? Contact us today to request label samples or talk to one of our experts about your needs.

4 Key Candle Label Considerations

Whether your candles are sold at your local farmers market or in stores across the country, high-quality candle labels play an important role in the success of your brand. Candle labels may seem simple at first, but there are several factors that can make your investment go up in smoke. Here’s what you should consider when investing in new labels for your candles.

Include Valuable Basic Information

While various products need to share different information depending on the nature of the components, there are some details that are pretty standard for every product label. As such, you’ll want to start by including the following pieces of information on your candle labels:

  • Product name
  • Company name and logo
  • A unit of measurement (in this case, candle weight)
  • Contact information/website

Once those are covered, there are some candle-specific details you should add. The following information will provide consumers with some specific details that will help them decide which of your products is right for them.

  • Candle scent
  • Type of wax used
  • Projected burn time (hours the candle will last)
  • Container specifications

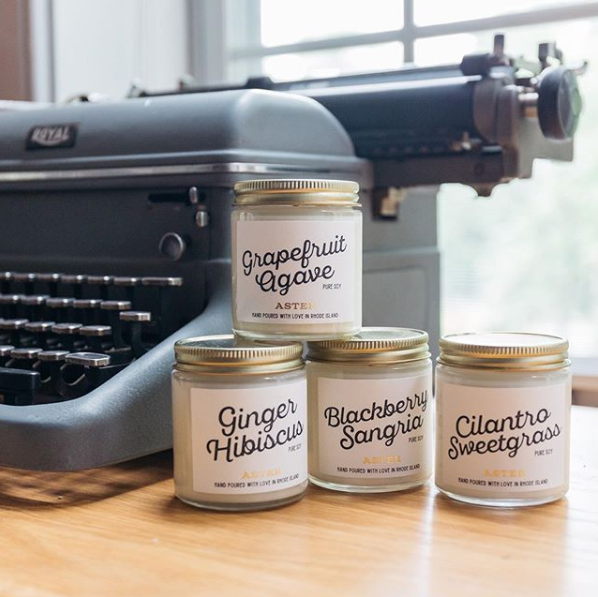
Four candles with custom labels.

Add Recommended Fire Safety Details

While candles aren’t as closely regulated as products like alcohol, CBD/THC goods, or other items, there are some label standards in place. As the major trade association representing U.S. candle manufacturers and suppliers, the National Candle Association (NCA) notes that every candle should include the following three fire safety rules included on its packaging:

  • Burn within sight
  • Keep away from things that can catch fire
  • Keep away from children

The NCA isn’t too specific on where this information should be listed, so the label, a tag, or even a dust cover are acceptable places for listing the warnings. In addition to the three rules, the NCA also suggests adding graphic safety symbols to represent each rule. Those symbols are available for downloaded on the NCA site.

While the fire safety rules and graphics are a good start – and mandatory for any NCA members – it’s also good practice to include some form of manufacturer instructions for burning your candles properly. Candles are tested according to the ASTM F2417 Fire Safety Standard, which will allow you to provide customers with instructions about burn length, which type of container to use (if one is not provided), and other important details.

Optimize Label Placement

Between branding and information, you may reach a point where you’re tight on label space. Fortunately, you may be able to utilize the size, shape, and packaging or your candle to improve your branding.

It’s no surprise that the side of your candle – or the container it sits in – is a prime spot for label placement. However, you shouldn’t overlook the underside of your product. While the side of your panel is a great spot for basic product info and special design elements, you can include fire safety and other less brand-heavy details on a separate label applied to the bottom of your candle or container. Container lids also offer more potential for labeling space. If it has a surface, there’s an opportunity for branding as long as your label can survive in that space.

Identify the Right Label Material and Adhesive for Candles

Your customers aren’t the only ones who need to be careful with fire. The heat created by your candles also plays a direct role in your choice of label material and adhesive. While you don’t have to stay close to the flame, your label doesn’t have a choice. This close proximity to the heat the flame emits means your label needs to withstand temperatures up to 1,500 degrees Fahrenheit depending on your product.

In addition, candle labels must handle repeated fluctuations in temperature, i.e.when your candle is lit or put out. The right choice of material and adhesive can help prevent premature label failure. For example, a thick biaxially oriented polypropylene (BOPP) material and an acrylic adhesive is more likely to withstand the heat.

Your application surface and process also plays a part in your choice of materials and adhesive. Every surface creates different challenges. For example, the wax of a candle has a different surface energy and adhesive needs than a glass jar. Your choice of hand or machine application will also play into which labels are right for you (along with other key details like unwind direction that can impact application).

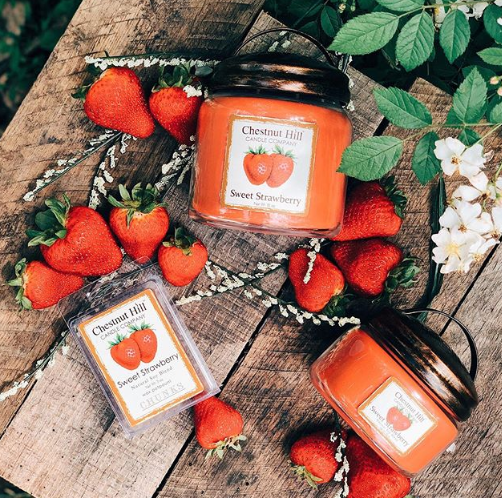
Sweet strawberry candles with custom labels.

Invest in the Best Labels for Your Candles

From design to application, there are several variables that can impact the success of your labels. However, it can be difficult to identify the right solution for your exact product without an expert.

Fortunately, Blue Label can help you figure out how to get the most out of your candle labels. Our experts can work with you to not only determine the right materials and adhesives for your labels, but also how to enhance your designs through special printing capabilities. Contact us today if you’re ready to invest in custom candle labels for your business.

Shrink Sleeves: Storage and Shipping

Shrink sleeves are an increasingly popular labeling option for a variety of businesses that want 360-degree coverage for their products. However, shrink sleeves are more delicate than other types of labels, which can pose some problems during shipping and storage.

The special materials used for shrink sleeves makes these labels more susceptible to potential damage, especially when they’re being transported or saved for future use. Fortunately, a little preparation can help you protect your shrink sleeve labels ahead of application, especially when it comes to environmental concerns and handling.

Maintain Temperature Control

One of the challenges involved with shipping and storing shrink sleeves is that these labels are very sensitive to environmental changes. If the shrink sleeves get too hot, cold, wet, dry, or anything else, it can cause the material to react and distort the labels or worse, make them completely unusable. It’s important to make your shipping and storage areas as climate controlled as possible to keep your investment safe.

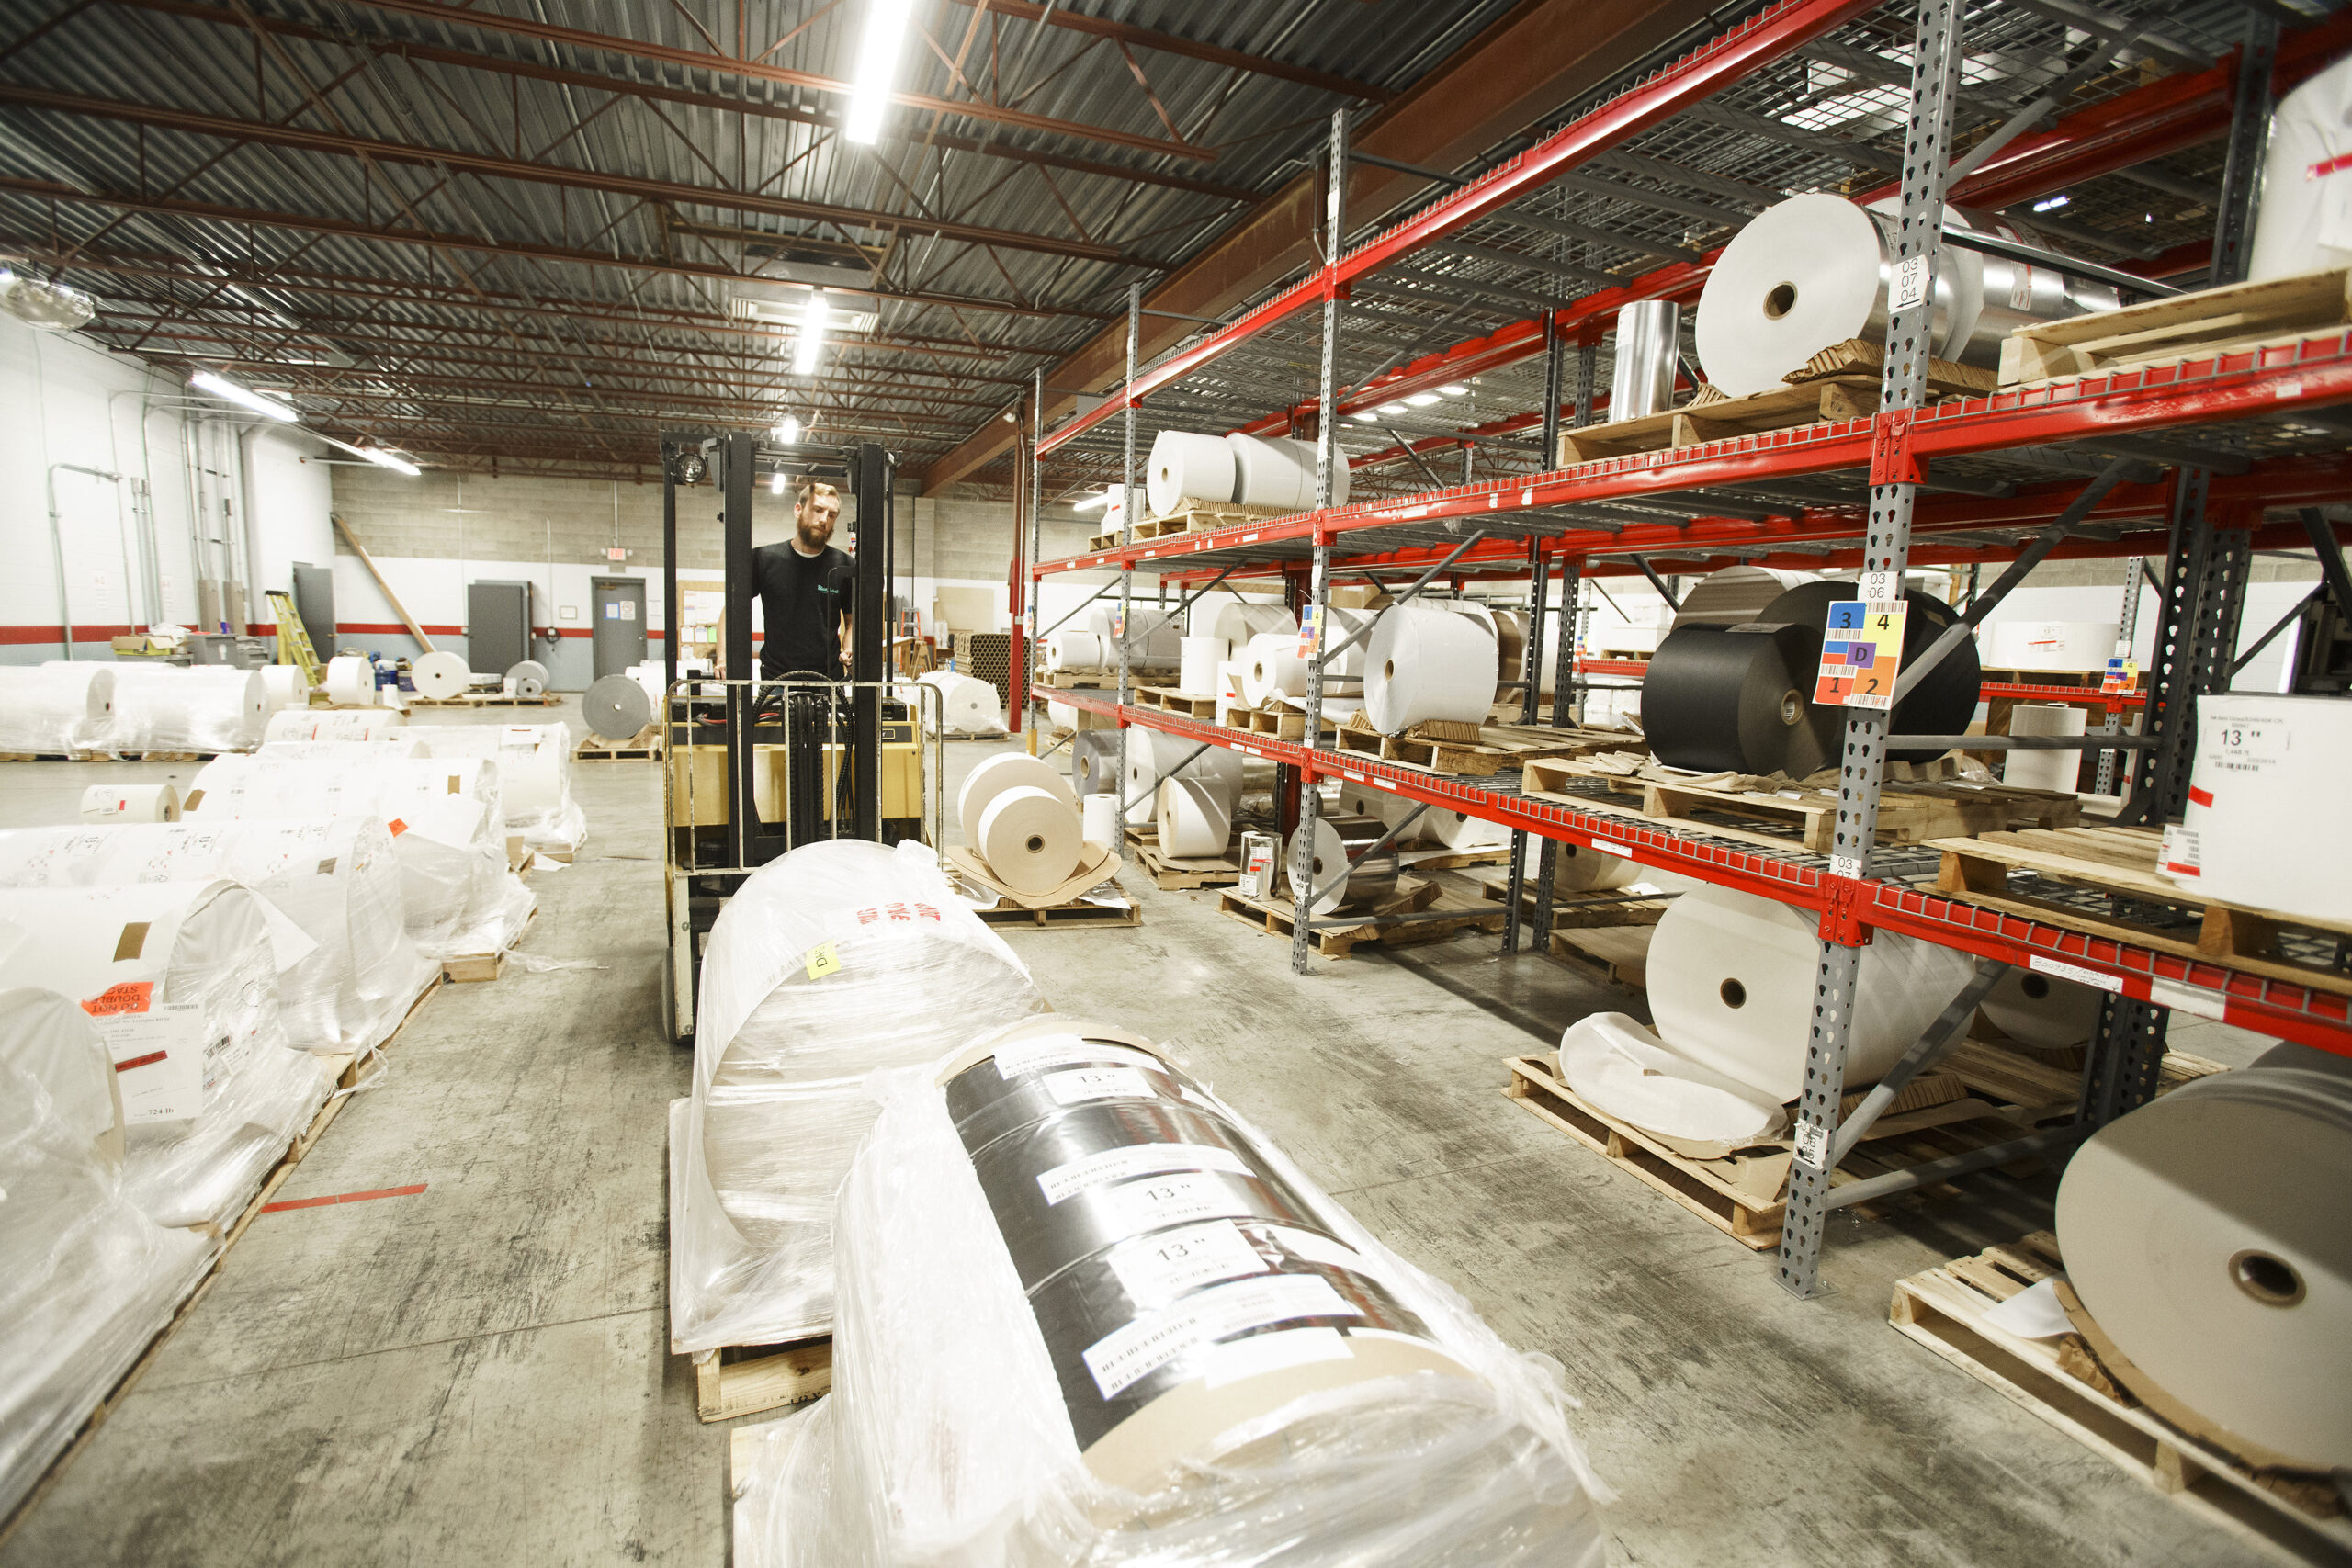
A warehouse with shrink sleeves and other product labels.

These environmental factors can be a major concern when it comes to shipping. If it’s a hot month, it can get be sweltering in an unprotected truck bed. In the winter, the opposite can happen. In some cases, companies will even used temperature-controlled shipping to transport shrink sleeves to protect against any damage that can happen during transit. Some applicators will also require temperature gauge labels that will display if a shipment got too hot or cold. This way they’ll know that a shipment was compromised right away and won’t waste production time trying to apply warped shrink sleeves on containers.

Storage can also be an issue without some planning. Warehouses or other storage facilities can undergo fluctuating temperatures and humidity levels. Both of these can affect the ink on the shrink sleeves or warp the label material over time. As such, its encouraged that you or your applicator have climate-controlled storage area if you plan to have any extra shrink sleeves on standby or if there will be a delay between delivery and application.

Handle Shrink Sleeves with Care

Environmental factors aren’t the only potential danger to shrink sleeves. Improper handling can also cause scrapes, scuffs, and other unsightly damage.

One advantage of shrink sleeves is that the ink is printed on the inside of the label. This process protects the ink from scratches after the sleeve is applied to a can or some other container. However, the ink isn’t protected until after application – remember, heat will make the sleeves warp prematurely – which means there’s not a lot protecting that ink until that step. As a result, it’s important to delicately handle sleeves before application.

Of course, shrink sleeves can require a lot of handling after they’re printed. Depending on your vendors, your printer may need to send the rolls to a converter to seam them into sleeves. After that, the sleeves are shipped to an applicator, also known as a decorator, that apply them to your containers.

Since shrink sleeves need a little extra protection before application, it’s important to take steps to help limit the potential of damages caused by improper handling. Some label printing companies have converting equipment in house, which will cut down on the number of times your labels are shipped and handled. Your printer can also put labels on boxes containing shrink sleeves so that everyone knows the contents are delicate.

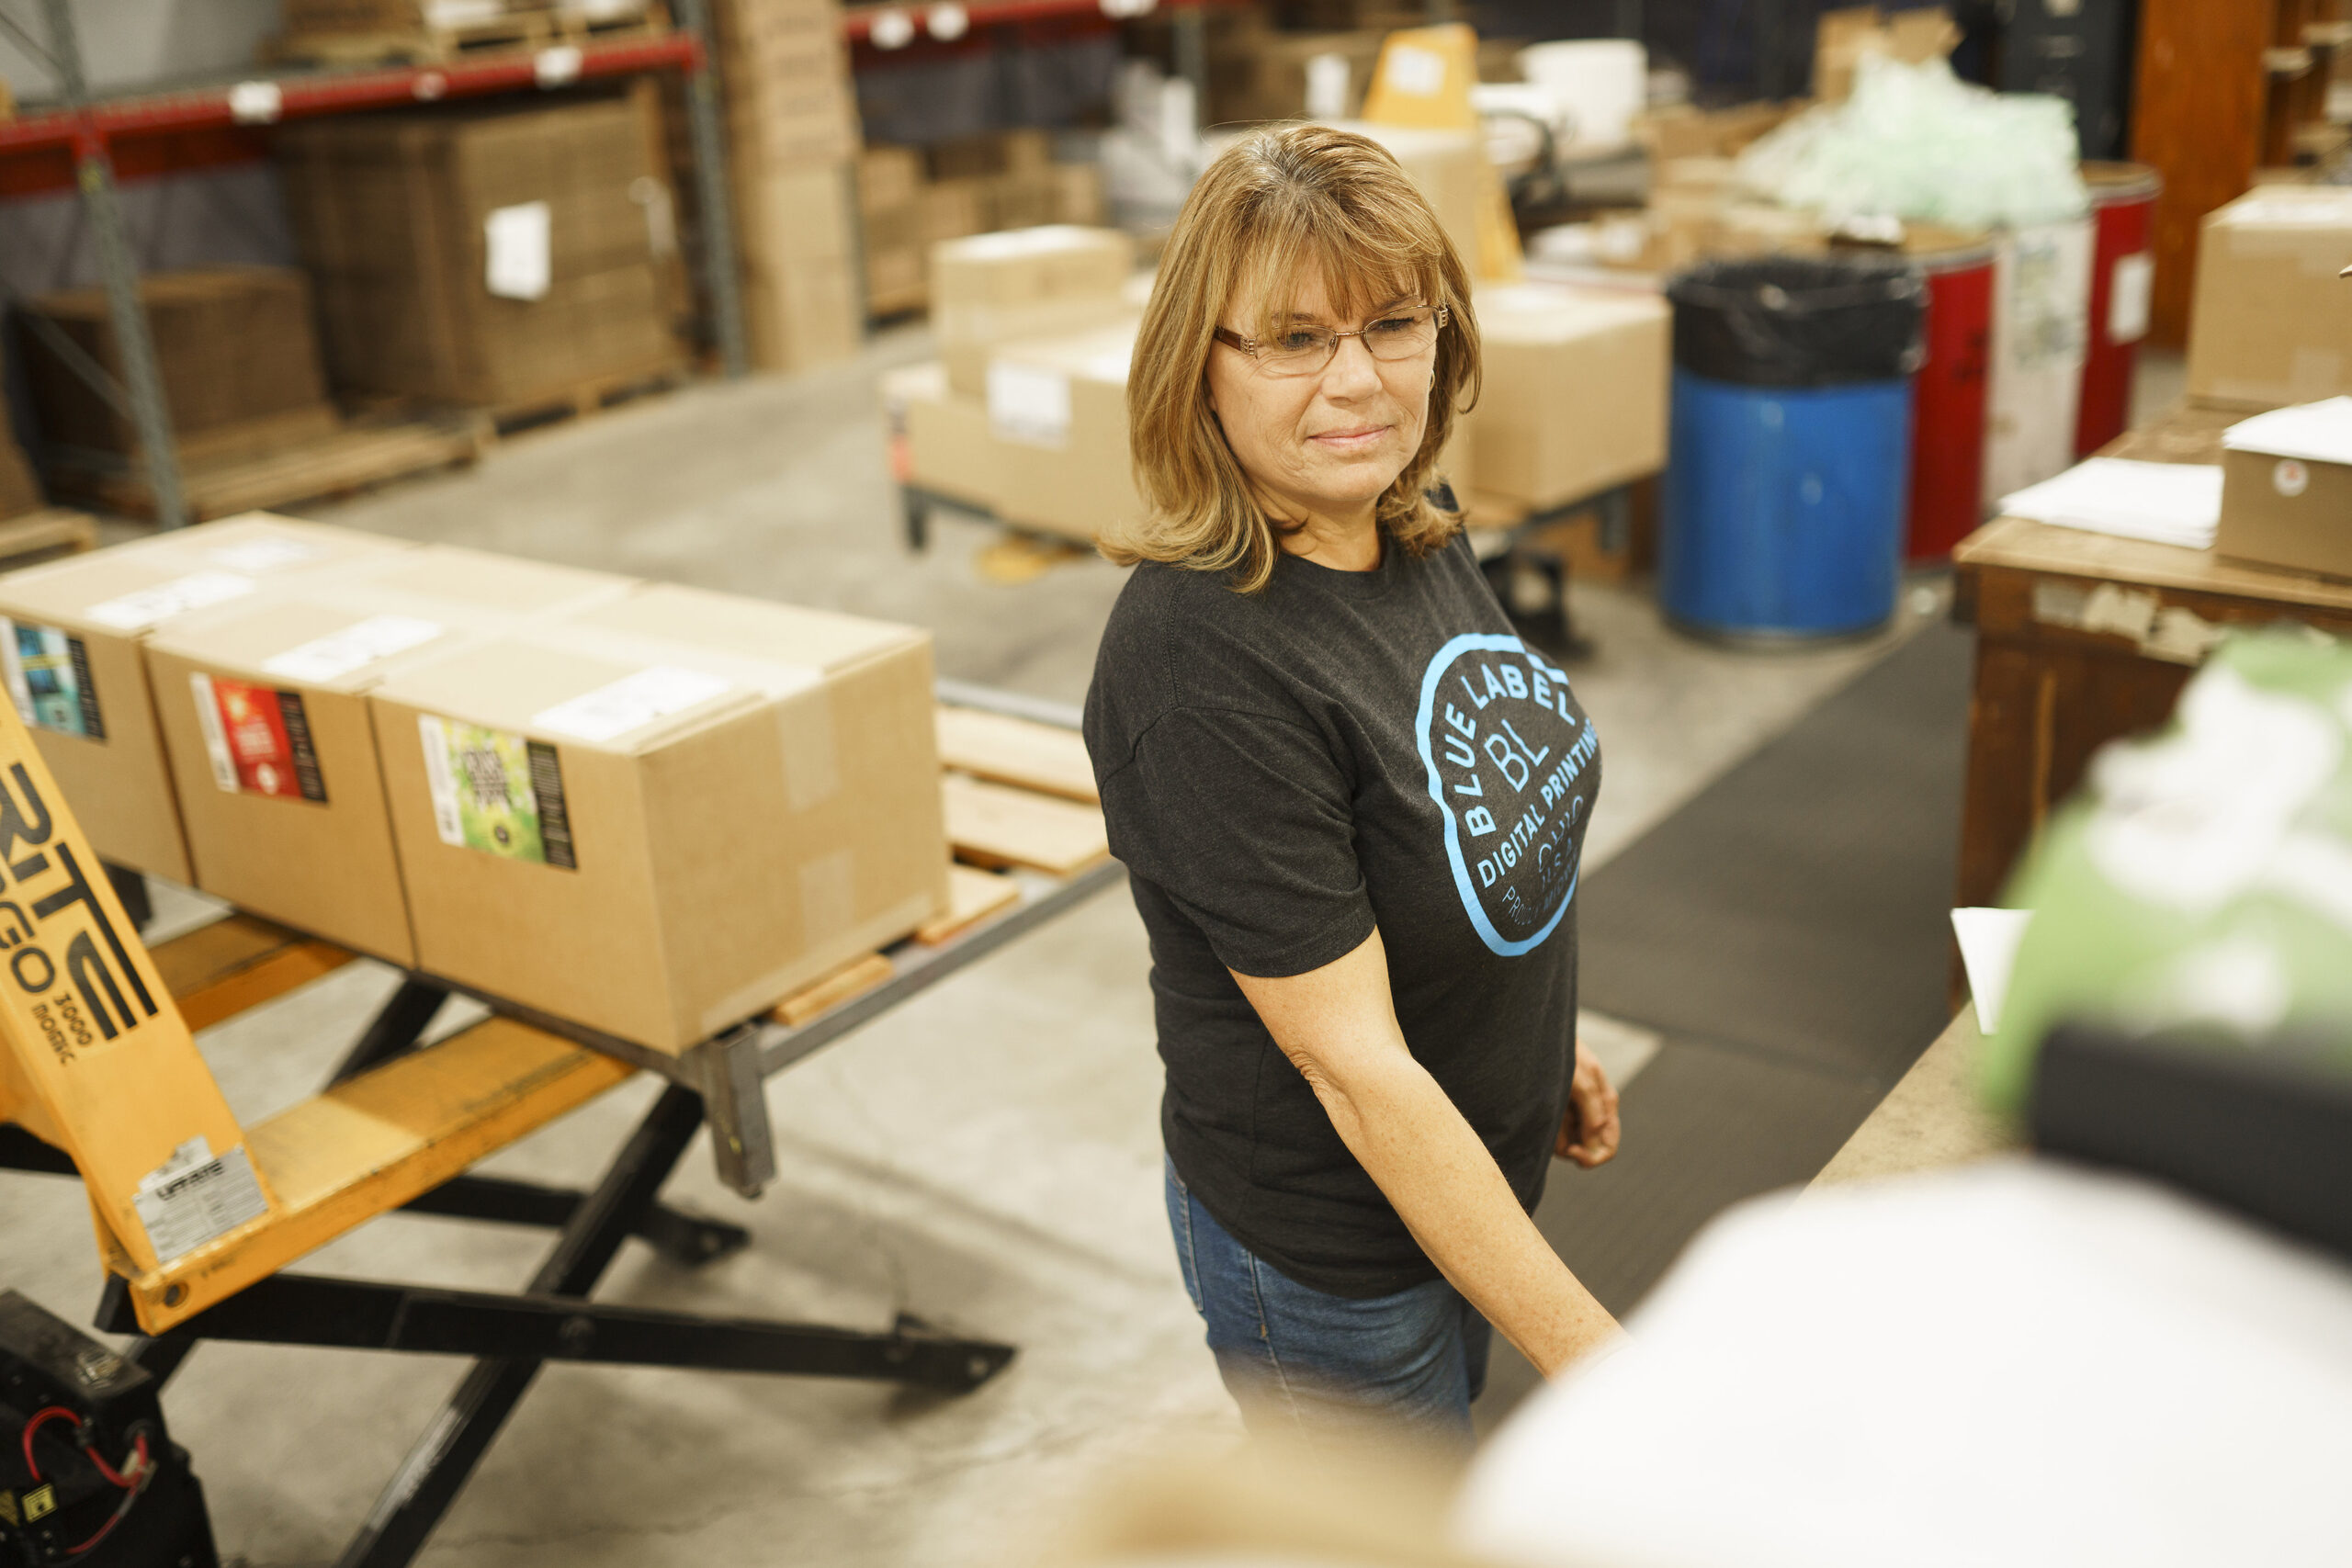
A woman carefully handling shrink sleeves for new products.

Work with a Printing Company that Takes Care of Your Shrink Sleeves

Shrinks sleeves can help you achieve a special look for your products, but it’s important to work with a label printing company that gives you the labels you need to succeed. At Blue Label, we’ve invested in both state-of-the-art digital printing presses and shrink sleeve converting equipment. That means we can not only print quality shrink sleeves, we can also help you cut down on the number of vendors you’ll need, the amount of times your shrink sleeves are handled, and the length of production time.

Ready to invest in quality shrink sleeves for your products? Contact Blue Label today to talk to our experts about your next label project.

Common Labeling Mistakes to Avoid: Application Issues

Before your labels can wow anyone, you need to apply them to your products. However, improper application can make your labels stick out for all the wrong reasons.

Application issues come in many forms and lead to a range of problems. Misapplication could lead to tearing, wrinkling, flagging, or peeling. Other factors can wreak havoc with the actual application process itself. No matter the problem, you can take measures to prevent each problem ahead of time. Here are some notable reasons why you’d encounter label application issues.

Your Label isn’t Right for Your Container Surface

What you apply your labels to can play as much of a role in label issues than the application process itself. Each surface has its own challenges, which can call for a different adhesive or label material. For example, a glass wine bottle has a different surface energy and adhesive needs than a polyethylene pouch for candy. This means that you need to identify potential surface issues to ensure that your labels stay on your products during – and long after – the application process.

Custom product labels printed out for rolls.

The Applicating Environment Poses Problems

Even if you have the right label material and adhesive for your container, they may not be a good fit for your applicating environment. There are a variety of factors that impact label application. Certain adhesives won’t work nearly as well at different temperatures, which can be a major issue if application is performed in a hot or cold environment. As a result, you’ll want to take these conditions into consideration when selecting the right label adhesive.

There’s also potential for contaminants like dirt, dust, and moisture to prevent proper adhesion. The product itself can even pose a problem for the application environment. Spilled oil or soap won’t make it any easier for an adhesive to take hold. No matter the potential problem, it’s important to try and keep your containers and environment as clean as possible for application.

The Unwind Direction is Wrong

Even if you have the right label adhesive and your applicating environment is clean, you can still have major issues if your rolls aren’t oriented correctly. Since your labels are printed on rolls, it’s crucial that you consider both how those labels are printed on the substrate and how they’ll be applied to your container. If you don’t, you’ll likely end up with an incorrect unwind direction that results in improper label placement.

Simply put, the unwind direction is the orientation of your labels as they come off a roll. Depending on your container or application equipment, you will need a specific unwind direction. For example, one machine may dispense labels on the left side first or require your design to be turned 90 degrees for proper placement. It’s key that you take the application process into account and visualize how your labels are applied to your product. That way you can communicate the correct unwind direction to your printer so that you avoid issues before they happen.

Spirit bottle labels printed with the right unwind direction.

Your Label Rolls Aren’t Right for Your Equipment

Unsurprisingly, your applicating equipment could be the source of application issues. Certain machines only handle certain roll sizes. That means equipment designed to use 8-inch rolls won’t accommodate larger sizes. As a result, improper roll sizes can cause your application process to come to a complete stop.

Incorrect roll sizes are fixable, but it still requires your printer to resize and rewind them. In turn that costs you more time and money for an entirely preventable problem. Whether you use your own equipment or work with a co-packer, make sure you know what size rolls your equipment can handle. This size issue is typically referred to as “maximum outer diameter” or “max OD,” That way you can communicate these sizes to your printer and be proactive in preventing issues.

Work with the Right Label Printing Company

No matter the application issue you want to avoid, a good printer can help you find potential solutions to your label problems. That’s why Blue Label develops a collaborative relationship to work with our customers so that we understand their needs and identify ways to avoid issues ahead of time.

Ready to talk about your next custom product label project? Contact Blue Label today to get in touch with one of our experts.

How to Taper a Label for Your Products

Are you wondering how to put a label on a curved surface and how to apply them straight? Designing for a flat surface is pretty straightforward. A straight edge will still be straight, a square will still be a square, etc. Curved or inclined surfaces are more difficult. Depending on the shape of your container, especially if it’s tapered, this can be trickier than you expect.

A container is tapered when it isn’t perfectly cylindrical and gradually changes in width. An easy way to tell if your container has a tapered shape is tapered is to compare it to something that’s completely flat or straight, whether it’s something like a rectangular box or a ruler. If you stand both items next to each other and the side of your container isn’t flush against something flat, it has some degree of tapering to it.

Why Can’t You Use Rectangular Labels on Tapered Containers?

Tapered labels can create some problems for even the most basic of label shapes. Straight lines appear uneven when placed on tapered containers, even if the change in width is very slight. This can lead to crooked label placement or noticeable creases or bulges that result in an unprofessional overall packaging design.

While it may seem easy to simply switch to a non-tapered container, these labeling challenges shouldn’t scare you away from utilizing uniquely-shaped packaging that stands out to your consumers. Even standard beer bottles feature a tapered neck, so you may not be able to avoid some form of tapering depending on your container.

You also may not want to change your container. Tapered shapes can attract eyes and create an exclusive silhouette for your brand. Instead of settling for standard containers, you can create a curved dieline that will allow your custom product labels to account for the gradual tapering of your container.

Labels that were tapered for custom-shaped bottles.


Looking for Custom Labels?

We put our all into every custom label we make. No exceptions. And with no minimum order quantities and a 5-day turnaround for digital label printing, we take pride in helping you perfect your first impression.

Request a Quote    Get a Sample Pack


How to Adjust Your Label to Fit a Tapered Container

One option is to downsize your label so that the effect of the tapering isn’t as noticeable. However, this limits the amount of label space you have to showcase your brand, describe your product, and include any necessary regulatory information.

The other option is to tailor your label to better suit the shape of your container or tapered bottle. If you still want your label to look rectangular, you’ll need to create a curved dieline. You’ll need to do some math to figure out the right shape, but the process may not be as tricky as you think.

Step 1: Decide where your label should go

Before you can solve anything, you’ll need to acquire some information. First, figure out exactly where you want your label to stick to your container. Since the width of your container gradually changes, it’s important to measure exactly where a label needs to go or else your measurements could be wrong. This also means you should have an idea of whether you want a partial or full wrap for your label as that will greatly impact the width. Once you’re set, use a pen, pencil, tape, or some other item to mark where the top, bottom, and sides of your label should go.

Step 2: Measure your dimensions

Once you have your container marked, you’ll want to measure the following:

  • Width of the top of your label
  • Width of the bottom of your label
  • Height of your label

Regular rulers won’t be too helpful in this stage since you’ll need something that can curl around your container and measure the top and bottom parts of your label. If you don’t have a loose tape measure, contact your Blue Label representative and request a custom flexible ruler or you can download and print a paper ruler. Another is to wrap string around your container and mark or cut it to fit the right lengths.

Please note that if you measure completely around your container, those measurements will make for a full wrap label dieline. If you don’t want a full wrap label, you’ll want to factor in your desired gap into the measurements. Once you’re all set, you can use your measurements to create a curved shape in Adobe Illustrator.

Step 3: Use Adobe Illustrator to create a curved dieline

In order to turn your measurements into an actual curved shape, you’ll need to do some geometry. Fortunately, there’s a convenient online cone calculator that will do the hard work for you. All you need to do is plug in the height and widths from your container to generate the following measurements.

  • Arc angle
  • Radius 1
  • Radius 2

A cone with measurements used to taper product labels.

These numbers will allow you to create your exact custom container label shape in Illustrator. First, take each radius and create a pair of circles that share a common center (also known as concentric circles). Now you can use the drawing and transform tools to create a triangle that shares an apex point with the center of the two circles. The triangle should use the arc angle generated by the calculator and extend past the larger of the two circles. In the end, the two circles and triangle will intersect to create a curved dieline for your container.

Example dielines for rectangular and tapered labels.

Step 4: Identify an ideal rectangular shape

Even though you have a curved dieline, you still need to figure out how to warp your design to fit your container. To start, you’ll want to convert your curved dieline into an ideal rectangular shape.

Before you find your shape, make sure to add a bleed area that extends your design artwork at least 1/16” past the edges of your curved label dieline. This will add some extra insurance that your labels don’t have any accidental white spaces once they’re cut. It’s also important to add this now because you’ll need to measure the top and bottom chords of your label to identify your ideal rectangular shape. A chord is the straight line between two corners of a curved dieline.

Once you use Illustrator to find these measurements, you’ll then need to average the top and bottom length together. You can now build out your ideal rectangular shape with the measurements for the average chord length and your original height and use the Illustrator warp tool to curve your artwork.

Make Sure Your Labels Stay Ahead of the Curve

Preparing a label for a tapered container may seem like a lot of work, but it doesn’t mean you have to settle for something you don’t want. At Blue Label Packaging Company, our experts work directly with you to ensure that your tapered labels are catered to your needs. That way, you don’t have to sacrifice your container or other important aspects of your packaging. If you need a professional designer to help you create a specific look for your products, we can even point you toward our approved designer directory.

Ready to wow your customers with tapered product labels by using our custom label printing? Contact us today to talk to one of our experts about your label design and project.

What to Consider When Selecting a Pressure Sensitive Label Adhesive

A container and a label each play pivotal roles in selling your product, but the adhesive is literally the glue that holds it all together. However, there really isn’t one standard option. There are many different types of label adhesives, and each of them can offer certain advantages and drawbacks.

There are many different factors that can help you determine which type of adhesive would be best for your pressure sensitive labels, such as environmental and material concerns. Here are some things you should consider when choosing which adhesive would be best-suited for your label’s needs.
(more…)