What Does Die Cut Mean?
- Custom Designs
- die cutting
⚞ The Highlights:
- Die cut is a fabrication process that uses a specialized metal tool (a “die”) to cut a custom shape out of a material. Like a cookie cutter for label stock.
- For product labels, die cutting lets you make any shape you want: contour cuts that match the product silhouette, decorative shapes, custom outlines, anything beyond a basic rectangle.
- Three common die cutting processes: flatbed (low-volume, heavy materials), rotary (high-volume, simple shapes), and semi-rotary (the standard for most label runs because it handles complex shapes efficiently).
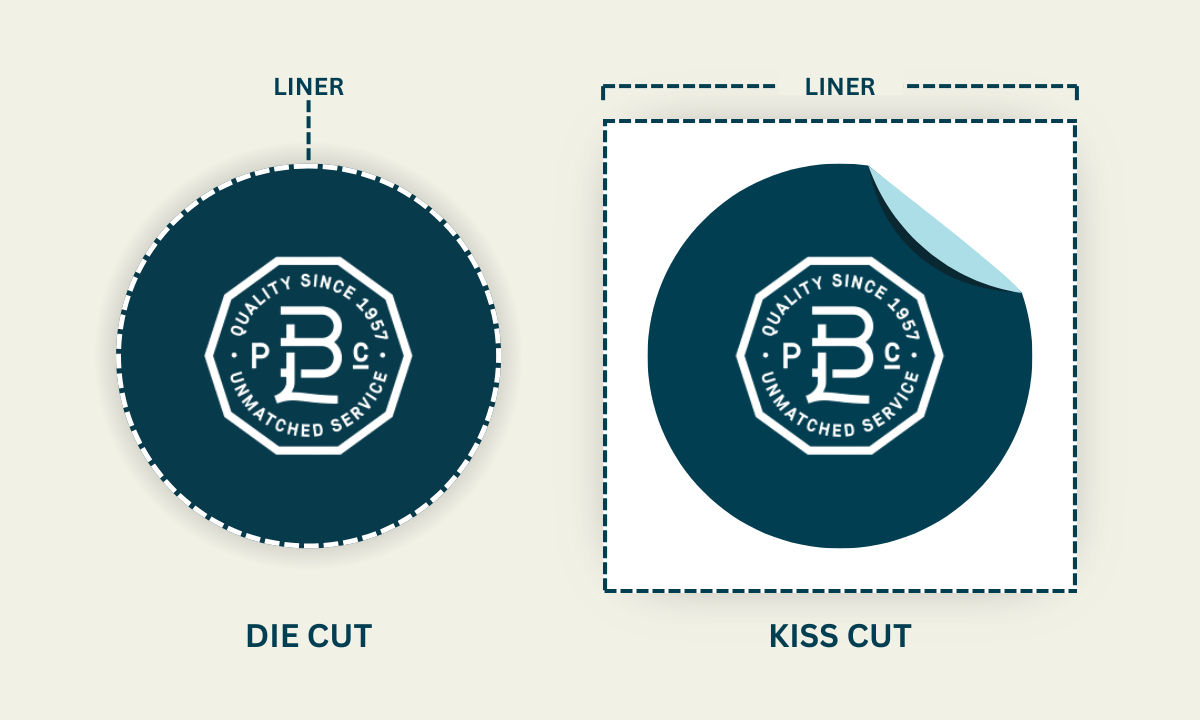
- Die cutting is different from “kiss cutting”. Die cut goes through both the vinyl and the backing; kiss cut goes through the vinyl only.
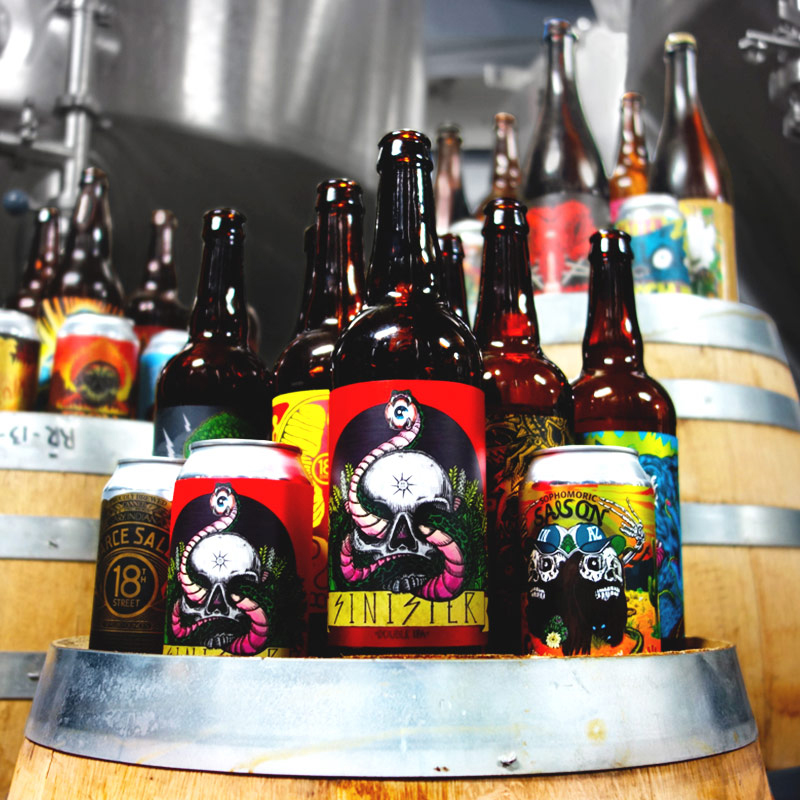
Die cutting is the process that lets your label come off the press in any shape you design. Not just a standard rectangle. Whether you want a contour cut that matches your product’s silhouette, a decorative shape that adds personality to the package, or a custom outline that no off-the-shelf label can give you, die cutting is the manufacturing step that makes it happen. Below is how the process works, what to think about when designing for it, and what it tends to cost.
Die cut vs. kiss cut vs. standard label
Die cut is one of three common label cutting approaches. The differences come down to how the cut is made and what you end up with.
| Format | How it’s cut | What you get | Best for |
|---|---|---|---|
| Die cut | Through both the vinyl and the backing | Individual labels in your exact custom shape | Premium product packaging, decorative cutouts, contour-shaped labels |
| Kiss cut | Through the vinyl only; backing stays intact | Custom-shaped sticker on a backing sheet | Sticker sheets, promotional packs, multi-design batches |
| Standard label | Cut to a basic rectangular or rounded shape | Pre-set stock shapes (rectangle, oval, rounded square) | Most cylindrical bottle and jar labels; lowest cost option |
For a deeper comparison of die cut vs. kiss cut specifically, see Kiss Cut vs. Die Cut Labels: Understanding the Difference.
What is die cutting in printing?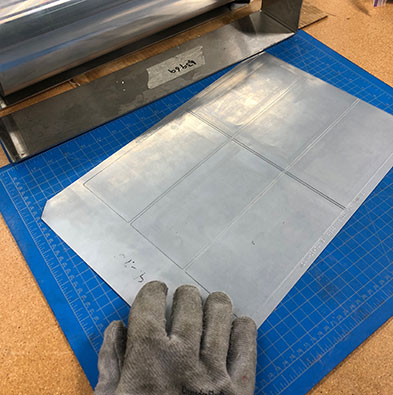
Die cutting is a fabrication process that uses specialized machines and tools to convert stock material by cutting, forming, and shearing. In label printing, die cuts are used to create custom shapes for products that need more than a basic rectangle.
It starts with a part called, unsurprisingly, a die. A manufactured die is a specialized piece of metal tooling used to cut a specific shape out of a material. Think of it as a cookie cutter, except instead of a sheet of cookies, it’s a sheet of label material. The die presses or rolls over the material, cuts the label, and the excess material around the cut (called the “matrix”) is removed. The “die line” is the outline of where the die will cut. In artwork proofs, it usually shows up as a thick colored line so the printer can see exactly where the cut will land.
Die cutting comes in several forms, but three processes dominate label production. Below is the practical difference between them.
Flatbed die cutting
Flatbed die cutters use hydraulic presses and lifting systems to press a die down vertically onto a sheet of material. Generally, flatbed cutting is used for low-volume projects or for larger products. Flatbed presses are better suited to heavier materials over 1/8″ thick. Felt, fiber, fabrics, metals. Than to most label stocks.
For most product label work, flatbed isn’t the process you’d use. It tends to come up for specialty pieces, packaging components, or thick-gauge materials.
Rotary and semi-rotary die cutting
Both rotary and semi-rotary die cutting use rollers to pass webs (long, flexible sheets of label material) through a machine, where a rolling die attached to a magnetic cylinder makes cuts as the web moves through.
For label production, semi-rotary tends to be the better fit. The cylindrical die rolls in a single direction, but the press moves the web back and forth as cuts are made. That movement lets a single cylinder make multiple cuts on the same web, which means more complex shapes can be cut faster than they could on a standard rotary setup. After the cuts, the excess material is pulled away, leaving just the labels.
Rotary and semi-rotary machines can use either solid or flexible dies. Solid dies are steel cylinders with the design machined into the body of the die. Durable and precise but expensive to make. Flexible dies are thin steel sheets that wrap around a magnetic cylinder. They’re less expensive than solid dies, which makes them more accessible for small or mid-size brands ordering custom shapes.
Common die cut label shapes
Die cut labels can take any shape you can design, but a few categories show up over and over:
- Contour cuts. The label outline matches the silhouette of an illustration, logo, or character. Common for premium product labels where the label itself is the brand mark.
- Decorative shapes. Stars, hearts, banners, badges, ribbons. Common for promotional stickers, holiday packaging, and limited-edition releases.
- Custom geometric shapes. Hexagons, parallelograms, asymmetrical cuts, rounded corners with notches. Common for modern, design-forward packaging that wants to feel different from off-the-shelf shapes.
- Wave or organic edges. Softer, hand-drawn-feeling outlines that depart from straight edges. Common for natural, artisan, or wellness-positioned brands.
- Brand silhouettes. The cut matches the shape of the brand mark or product itself. The label looks like a piece of the brand identity, not a sticker stuck on top.
What to Consider for Die Cut Labels
The die cut process can vary based on what you’re making. The label design dictates a lot about how the process plays out. Some shapes are simple. Circles, ovals, squares. And we have dies for those readily available. For custom shapes or unusual elements, work with a label printer that knows the ins and outs of die cutting before you finalize the design.
A few practical tips for prepping artwork for die cut labels:
- Avoid acute angles and sharp corners. They can tear when the matrix is removed after cutting. Round any corner that doesn’t have to be sharp.
- Mind the spacing around holes or interior cuts. If your design has cutouts inside the label (a window, a hole), leave enough material around them. Thin strips between a hole and the edge tear easily during matrix removal.
- Add bleed. Extend your design artwork at least 1/16″ past the edge of the label outline. Bleed prevents accidental white edges if the cut lands a hair off-register.
- Set up the die line correctly in your artwork file. In Adobe Illustrator, mark the die line as a specific spot color and put it on its own layer as a joined line. This is what tells the printer where to cut.
- Round critical corners with a small radius. Even on shapes that look angular, a 1–2pt corner radius makes peel-and-stick cleaner and reduces edge curling over time.
Seeing die cutting in person tells you more than any mockup. Request a free sample pack and we’ll include examples of our custom die-cut labels cut to real product shapes.
What do die cut labels cost?
There’s no single price for a die cut label. The factors that drive cost:
- Quantity. Like all printing, per-label cost drops as the run grows. Setup costs amortize across more labels.
- Material. Vinyl and BOPP are mid-priced; paper is typically lower; specialty films, foils, and eco-friendly materials run higher.
- Number of colors and finishes. Standard CMYK is the baseline; metallics, spot UV, embossing, and special inks add cost.
- Shape complexity. Simple shapes (circles, ovals, rounded rectangles) use existing dies and are inexpensive. Custom or intricate shapes may require a new die to be made, which is a one-time cost amortized over the run.
- Whether a custom die needs to be made. A flexible die for a custom shape costs less than a solid die but still represents an upfront cost. We have over 2,000 dies on hand, so for many shapes there’s nothing to make from scratch.
For a real number, send us your design, run size, and material preference and we’ll quote it.
Frequently asked questions
What does “die cut” mean for product labels?
Die cut means the label has been cut into a custom shape using a specialized metal tool called a die. Instead of a basic rectangular outline, the label comes out of the press in whatever shape your design calls for. A contour matching the product, a decorative shape, or any custom outline.
What’s the difference between die cut and kiss cut?
Die cut goes all the way through both the vinyl and the backing, so each label comes out as an individual piece in its custom shape. Kiss cut goes through the vinyl only, leaving the backing intact, so the labels stay on a backing sheet that can be peeled later. Die cut is the standard for individual product labels; kiss cut is common for sticker sheets and promotional packs.
What’s the difference between die cut and a standard label?
A standard label is cut to a basic stock shape. Usually a rectangle, oval, or rounded square. Using common dies that most printers have available. A die cut label is cut to a custom shape designed for the specific product. Standard labels are cheaper because they don’t require any new tooling; die cut labels cost slightly more but give you a custom outline that fits the brand.
How much do die cut labels cost?
Cost depends on quantity, material, number of colors and finishes, and shape complexity. Simple shapes that use existing dies are about the same cost as standard labels. Custom shapes that require a new die have a one-time die-making cost amortized over the run. Per-label cost drops as the run grows. For a real number, send your design, quantity, and material preference and your printer can quote.
Can you die cut any shape?
Almost any shape, with a few practical limits. Acute angles, sharp corners, and very thin strips between cuts can tear during matrix removal. Highly intricate cutouts may also be at the edge of what flexible dies can handle reliably. For most custom shapes. Contours, decorative outlines, geometric forms. Die cutting works well as long as the artwork is set up correctly.
Do I need to provide a die line in my artwork?
Yes. The die line is the outline that tells the printer where to cut. In Adobe Illustrator, set up the die line as a specific spot color and place it on its own layer as a joined line. The printer uses this line to position the die and to confirm the final shape before production. Send your artwork with the die line clearly marked.
What materials can be die cut?
Most label materials can be die cut: vinyl, BOPP, polypropylene, paper, polyester, and specialty films. The die cutting machine and die type may vary based on the material’s thickness and flexibility. Heavier materials over 1/8″ thick (like felt, fiber, or metal) typically use flatbed dies; standard label stocks use rotary or semi-rotary.
Need a die cut label printer?
If you’re considering custom-shaped labels, work with a label printer that understands die cutting from artwork prep through matrix removal. We have over 2,000 different dies on hand, and if none of those match your shape, we have the capabilities to make a custom die for your brand.
Take a look at our custom die-cut labels page for more on what we offer, or request a sample pack to see real die cuts on actual label stock. If you have specific questions about your design, get in touch and we’ll talk through it.