Five Common Label Mistakes
- adhesives
- application
- color consistency
- design
- digital calibration
- Labels
- materials
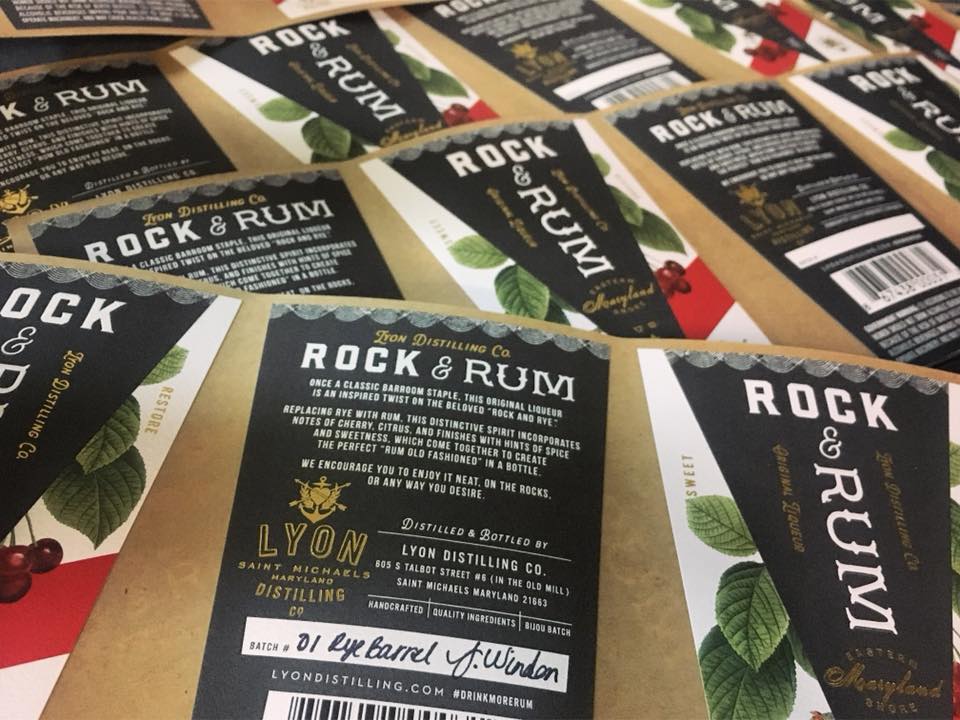
1. Colors are Off
Cause: There is almost no end to reasons that the color of your finished label could be different than the color of the artwork on your screen. Things like bad color configuration on the designer’s monitor, files that are built with the wrong color makeup, a press that wasn’t calibrated properly, or a laminate, varnish, or substrate that distorts the color. Needless to say, getting color right is a big deal. From brands with signature PMS colors, to simply matching one batch of products to the next, color uniformity is crucial to consistent branding.
Remedy: Most printers have a color control process. This usually involves calibrating presses to match PMS colors, using spectrophotometers to match printing to existing samples, and having experienced operators that watch for variation. But good color management relies on good communication, which means that you have to be clear about what colors need matched, what gradients need to be monitored, and if there are any spot colors to hit. If you are using a laminate or substrate that could affect color, make sure to get a press proof to see what it looks like before ordering a production run. In the age of digital printing there are plenty of mechanisms to make sure color is spot on, but it still requires you to be clear about your color quality expectations.
2. Image is Blurry
Cause: There are a number of things that can cause blurry images, but most likely it’s one of two things: a print error or a file error. Print errors can happen due to faulty plates or errors in how the PDF was saved. File errors, on the other hand, are largely a result of using photographic images that are not high enough resolution (JPEG, TIFF, or PNG). Since they are not vector images, they might have been enlarged beyond their maximum resolution, resulting in blurry, pixelated images.
Remedy: Ensure file resolution and use vector images wherever possible. Vector images are a designer’s best friend. Since the image has been reduced to curves instead of dots, it can be resized at will and the resolution will still be crisp. Of course, Photoshop will still be need to be used, and as long as the resolution is above 300 dpi it should be fine. If you can, use a dpi over 600, which should ensure the image is crisp and clean. If you’re not sure about the quality of an image, send it to a printer and ask, they will be able to tell in short order if the file is printable or not
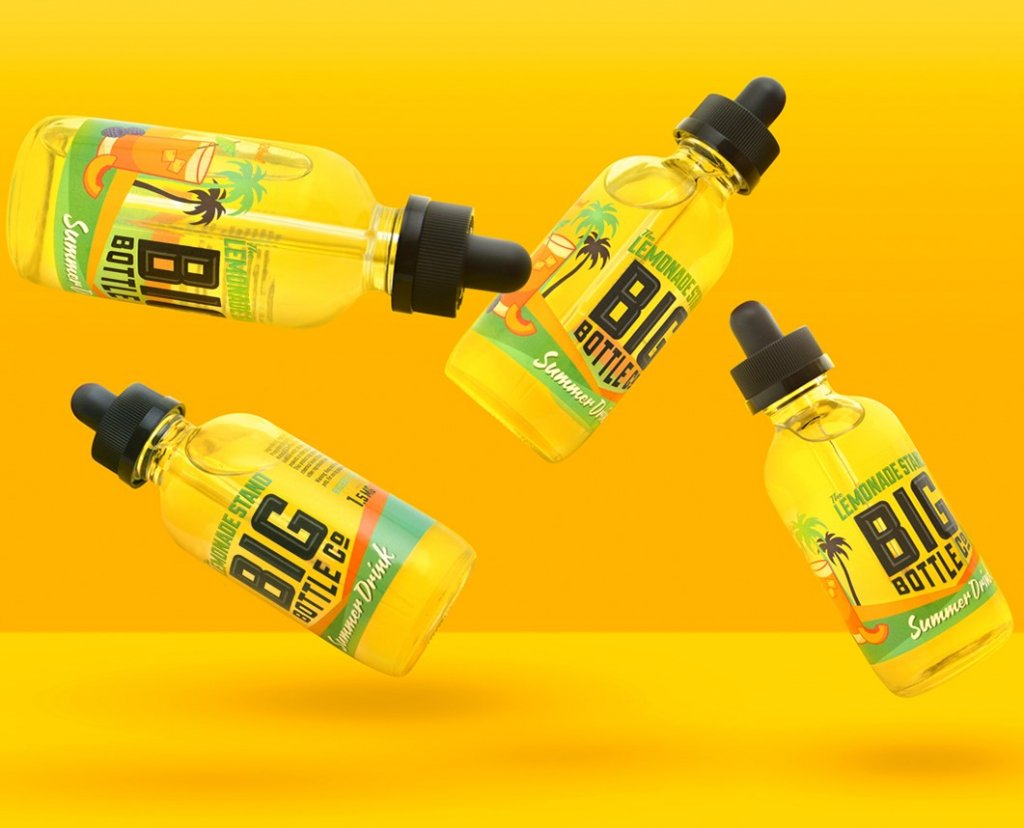
3. Doesn’t Perform
Cause: Your label might look great when you get it, but not hold up to use very well. Whether it’s falling off when wet, getting scratched during shipping, or turning colors in the sun, no one likes to be stuck with boxes full of faulty labels. This can sometimes be a result of a material defect or failure, like a bad batch of adhesive or varnish. Most often, however, it is a result of poor communication with your label printer.
Remedy: Some material defects can’t be avoided, but most printers have processes in place to catch bad product before it goes out the door. The second, and more common cause of poorly performing labels can be solved fairly easily, with a little patience. Make sure you explain, in as much detail as possible, the application of your label and what people do with your product. Will it be refrigerated? Is it shipped around? Does it come packed with other products, or by itself? Is it used indoors or outdoors? Exposed to heat? You don’t have to think of the questions, just explain the use and application of your product and your label provider should be able to help select the substrate and adhesive appropriate for your project.
4. UPC Isn’t Right
Cause: UPC codes have become a common feature on retail products in the last few decades. It is a good business practice to make sure that your UPC is contributing to your product. The most common causes we see for poor UPC scans relate to the sizes of barcodes and the print contrast.
Remedy: In order for us to ensure the quality of barcodes, we verify them throughout the printing process. A verifier is designed to see barcode symbols in a manner similar to scanners and allows us to predict successful scans on a variety of scanners. Verifiers evaluate multiple attributes of barcodes in a single scan. The nominal size of a UPC code is 1.469” wide x 1.02” high. The minimum recommended size is 80% of this or 1.175” wide x .816” and the maximum recommended size is 200% of the nominal size or 2.938” wide x 2.04” high. If you are reducing the size of your UPC, make sure you maintain the aspect ratio by reducing the width and height proportionally. An element included in this size is the quiet zones on both the left and right sides of the UPC. Quiet zones measure .125” and should be clear of any stray marks or graphics.
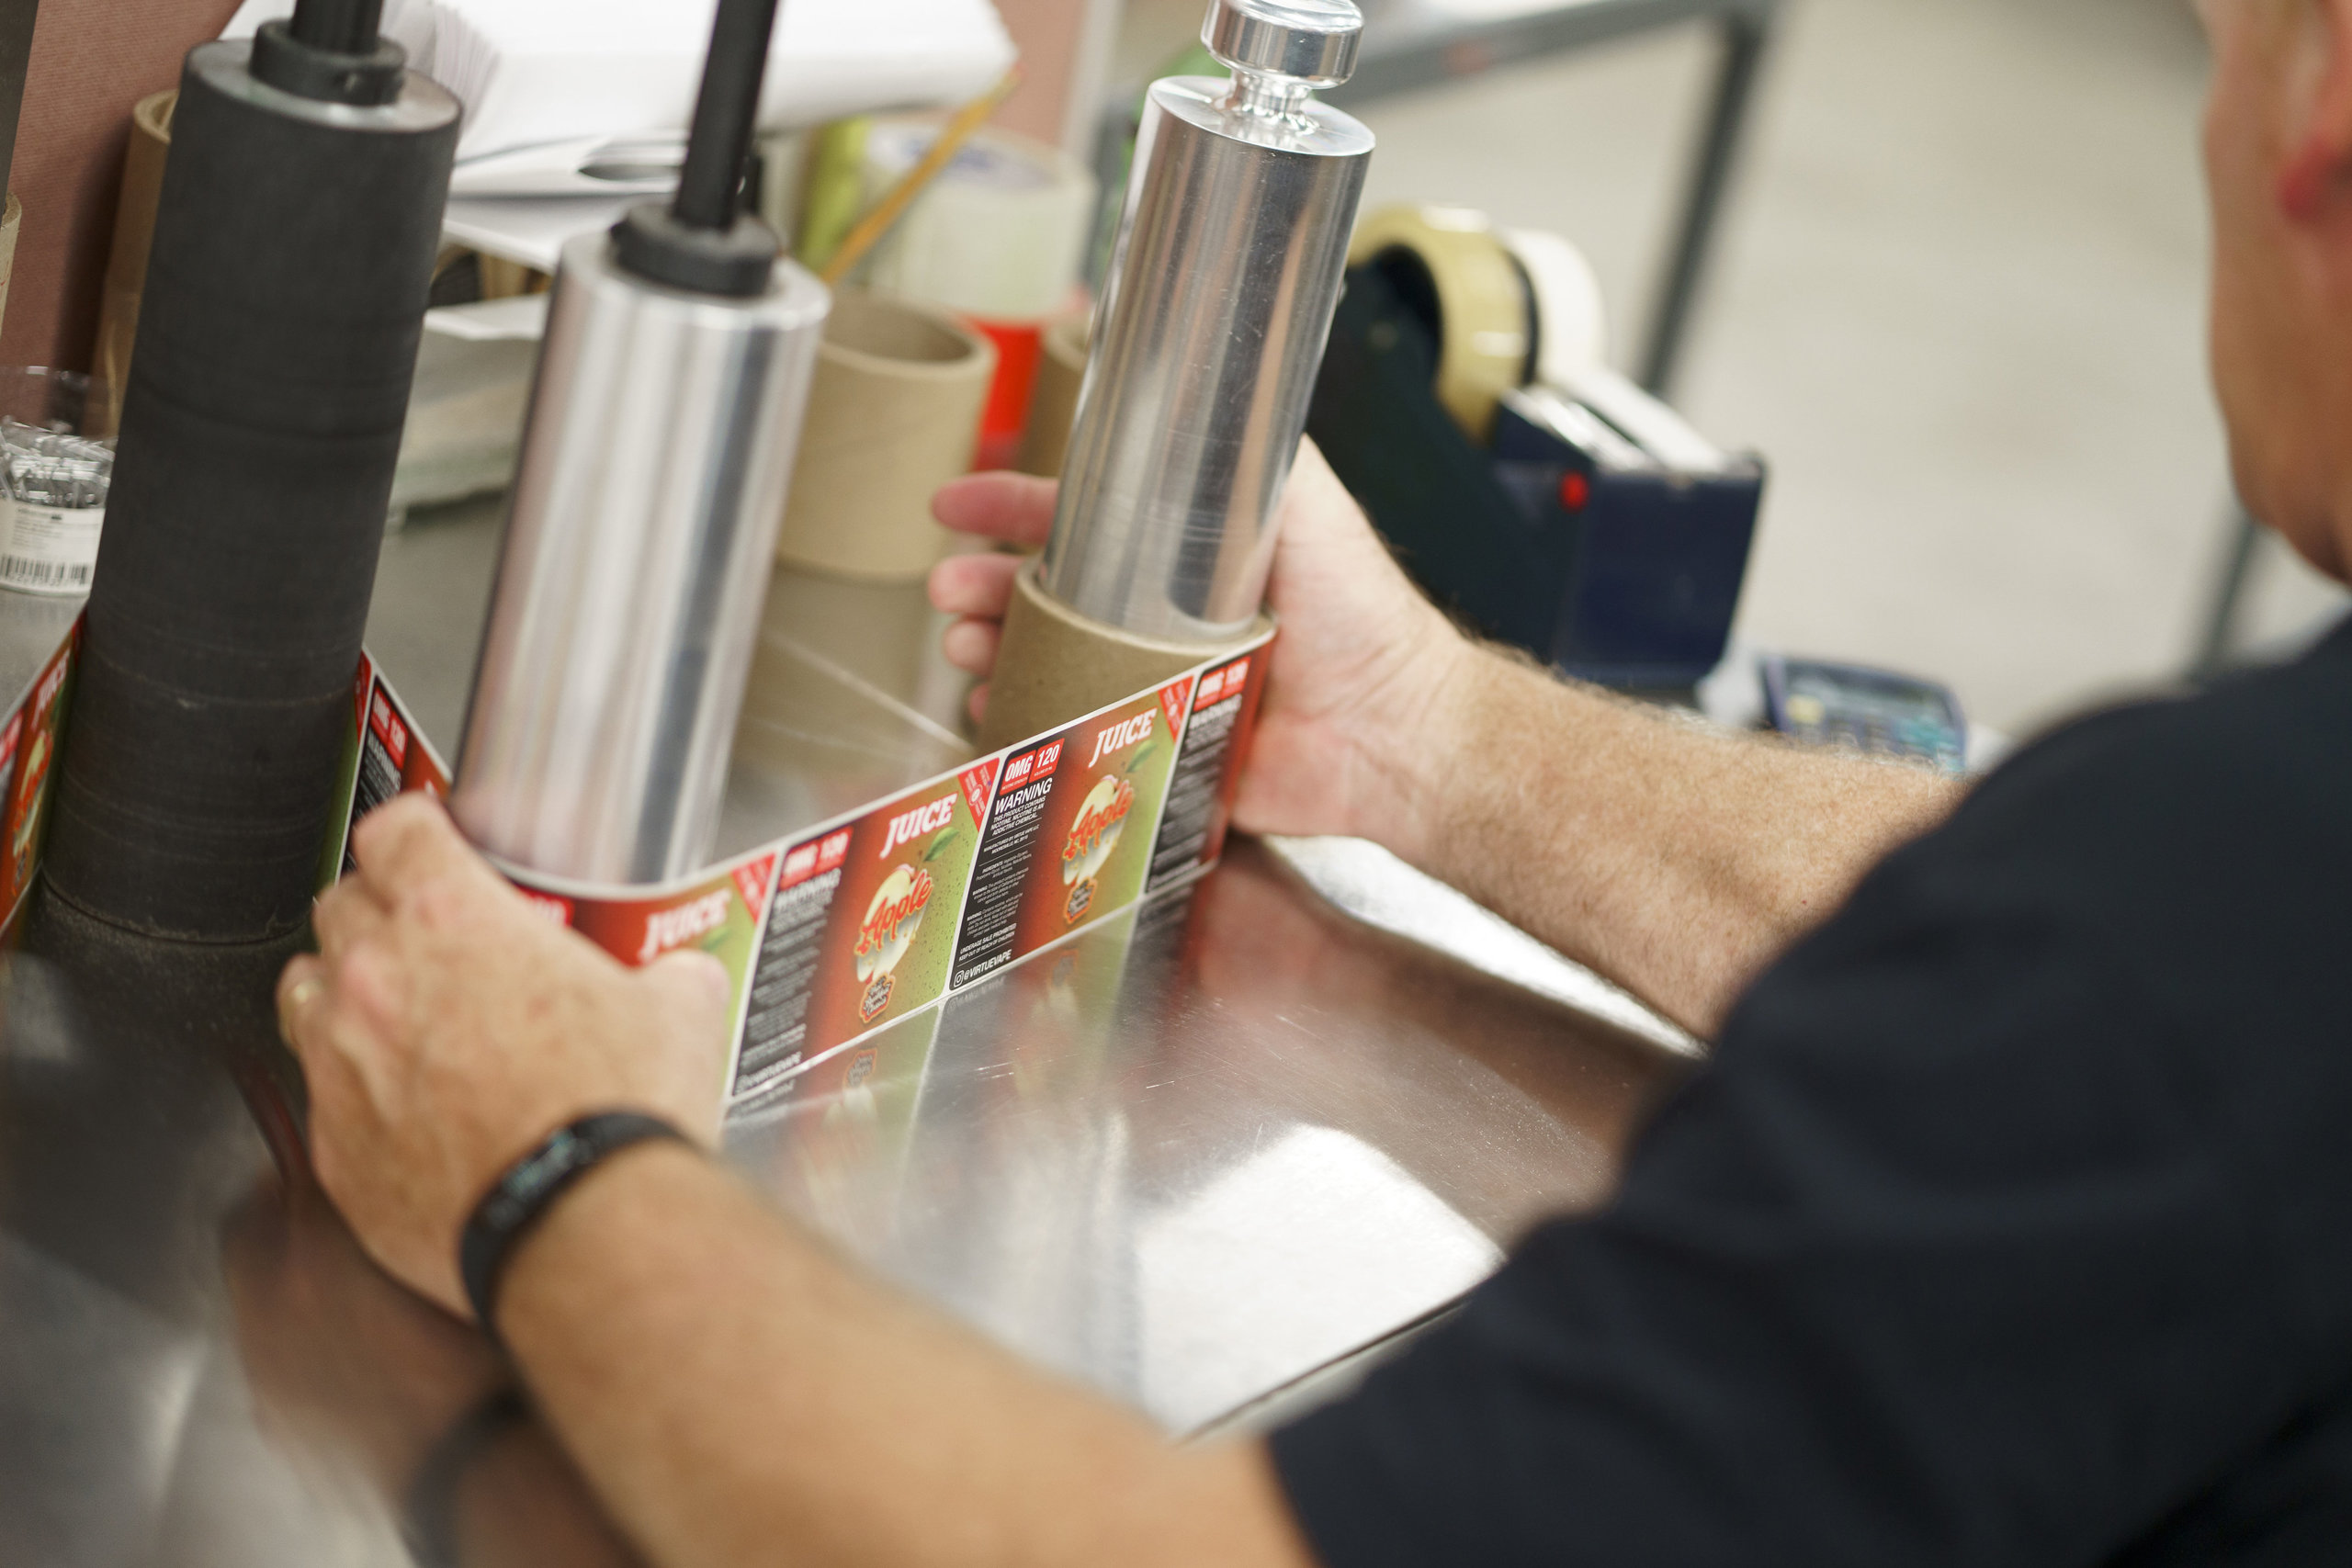
5. Application Problems
Cause: The most common issues with automatic application of labels is that the unwind direction is incorrect (the labels are coming off the roll the wrong way) or the rolls that you are using are not the correct size for your applicator. These details are often overlooked when planning your job because the customer is so focused on getting their artwork finished and getting their labels produced. Luckily, both of these issues can easily be avoided.
Remedy: Communicate with your printer and packager. Try to visualize the entire process when starting your project, how you get your labels on your product is very important. If you know how this is going to be done, either in your facility or at a co-packer, let your printer know how your rolls need to be delivered to you. Left side off first, top off first, etc, this is a simple adjustment that can be made before your order is printed. Also if you are using your own equipment, make sure you know what size rolls your equipment can handle. Most semi-automatic machines can only take an 8” outside roll diameter. Your printer most likely will produce your job the most efficient way, if you do not specify and that will mean larger rolls in most cases. If you are working with a co-packer, make sure that you have their specifications and pass them along to your printer. These issues can normally be fixed, but not without taking the time to ship them back to the printer to be rewound, which is costly in both time and money.