Barcode Basics: What to Know About Barcodes and UPCs for Product Labels
⚞ The Highlights:
- What is a UPC barcode? A UPC (Universal Product Code) is a 12-digit barcode found on retail products that stores scan to quickly identify and track items at checkout.
- For reliable scanning, a UPC barcode (1.469 inches wide by 1.02 inches tall at 100% magnification) should be sized between 80% and 200% of this standard and include at least a 0.25-inch quiet zone on each side.
- To get a UPC barcode, you sign up with a barcode standards organization (like GS1), register a unique number for your product, and use the resulting barcode on your packaging.
A barcode and a UPC may not be the most attractive part of your product label, but they play an important role for your business. A good barcode with an appropriate UPC will make it easy for you or a separate vendor to scan your labels and sell your goods. This makes it very important to make sure your barcodes are set for success. Here’s what you should know to make sure your barcodes and UPCs are ready to head out into the market.
What Goes into a Barcode and UPC?
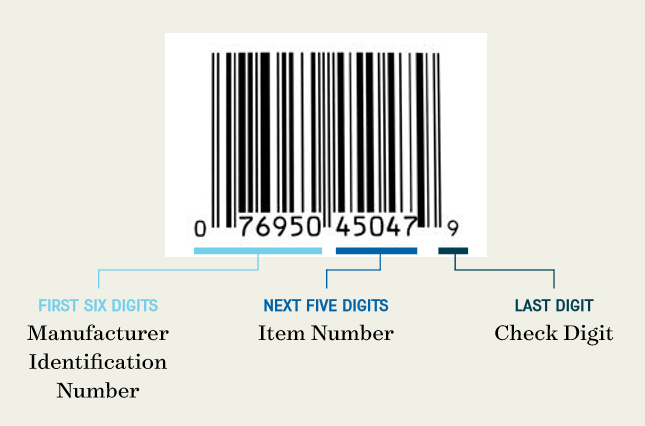
A barcode and a UPC are two different elements that work together to identify a product. The UPC, which stands for universal product code, is a 12-digit number assigned to merchandise, while the barcode is the machine-readable version of that number. Different parts of that 12-digit code play different roles.
- First six digits – the manufacturer identification number
- Next five digits – the item number
- Last digit – the check digit
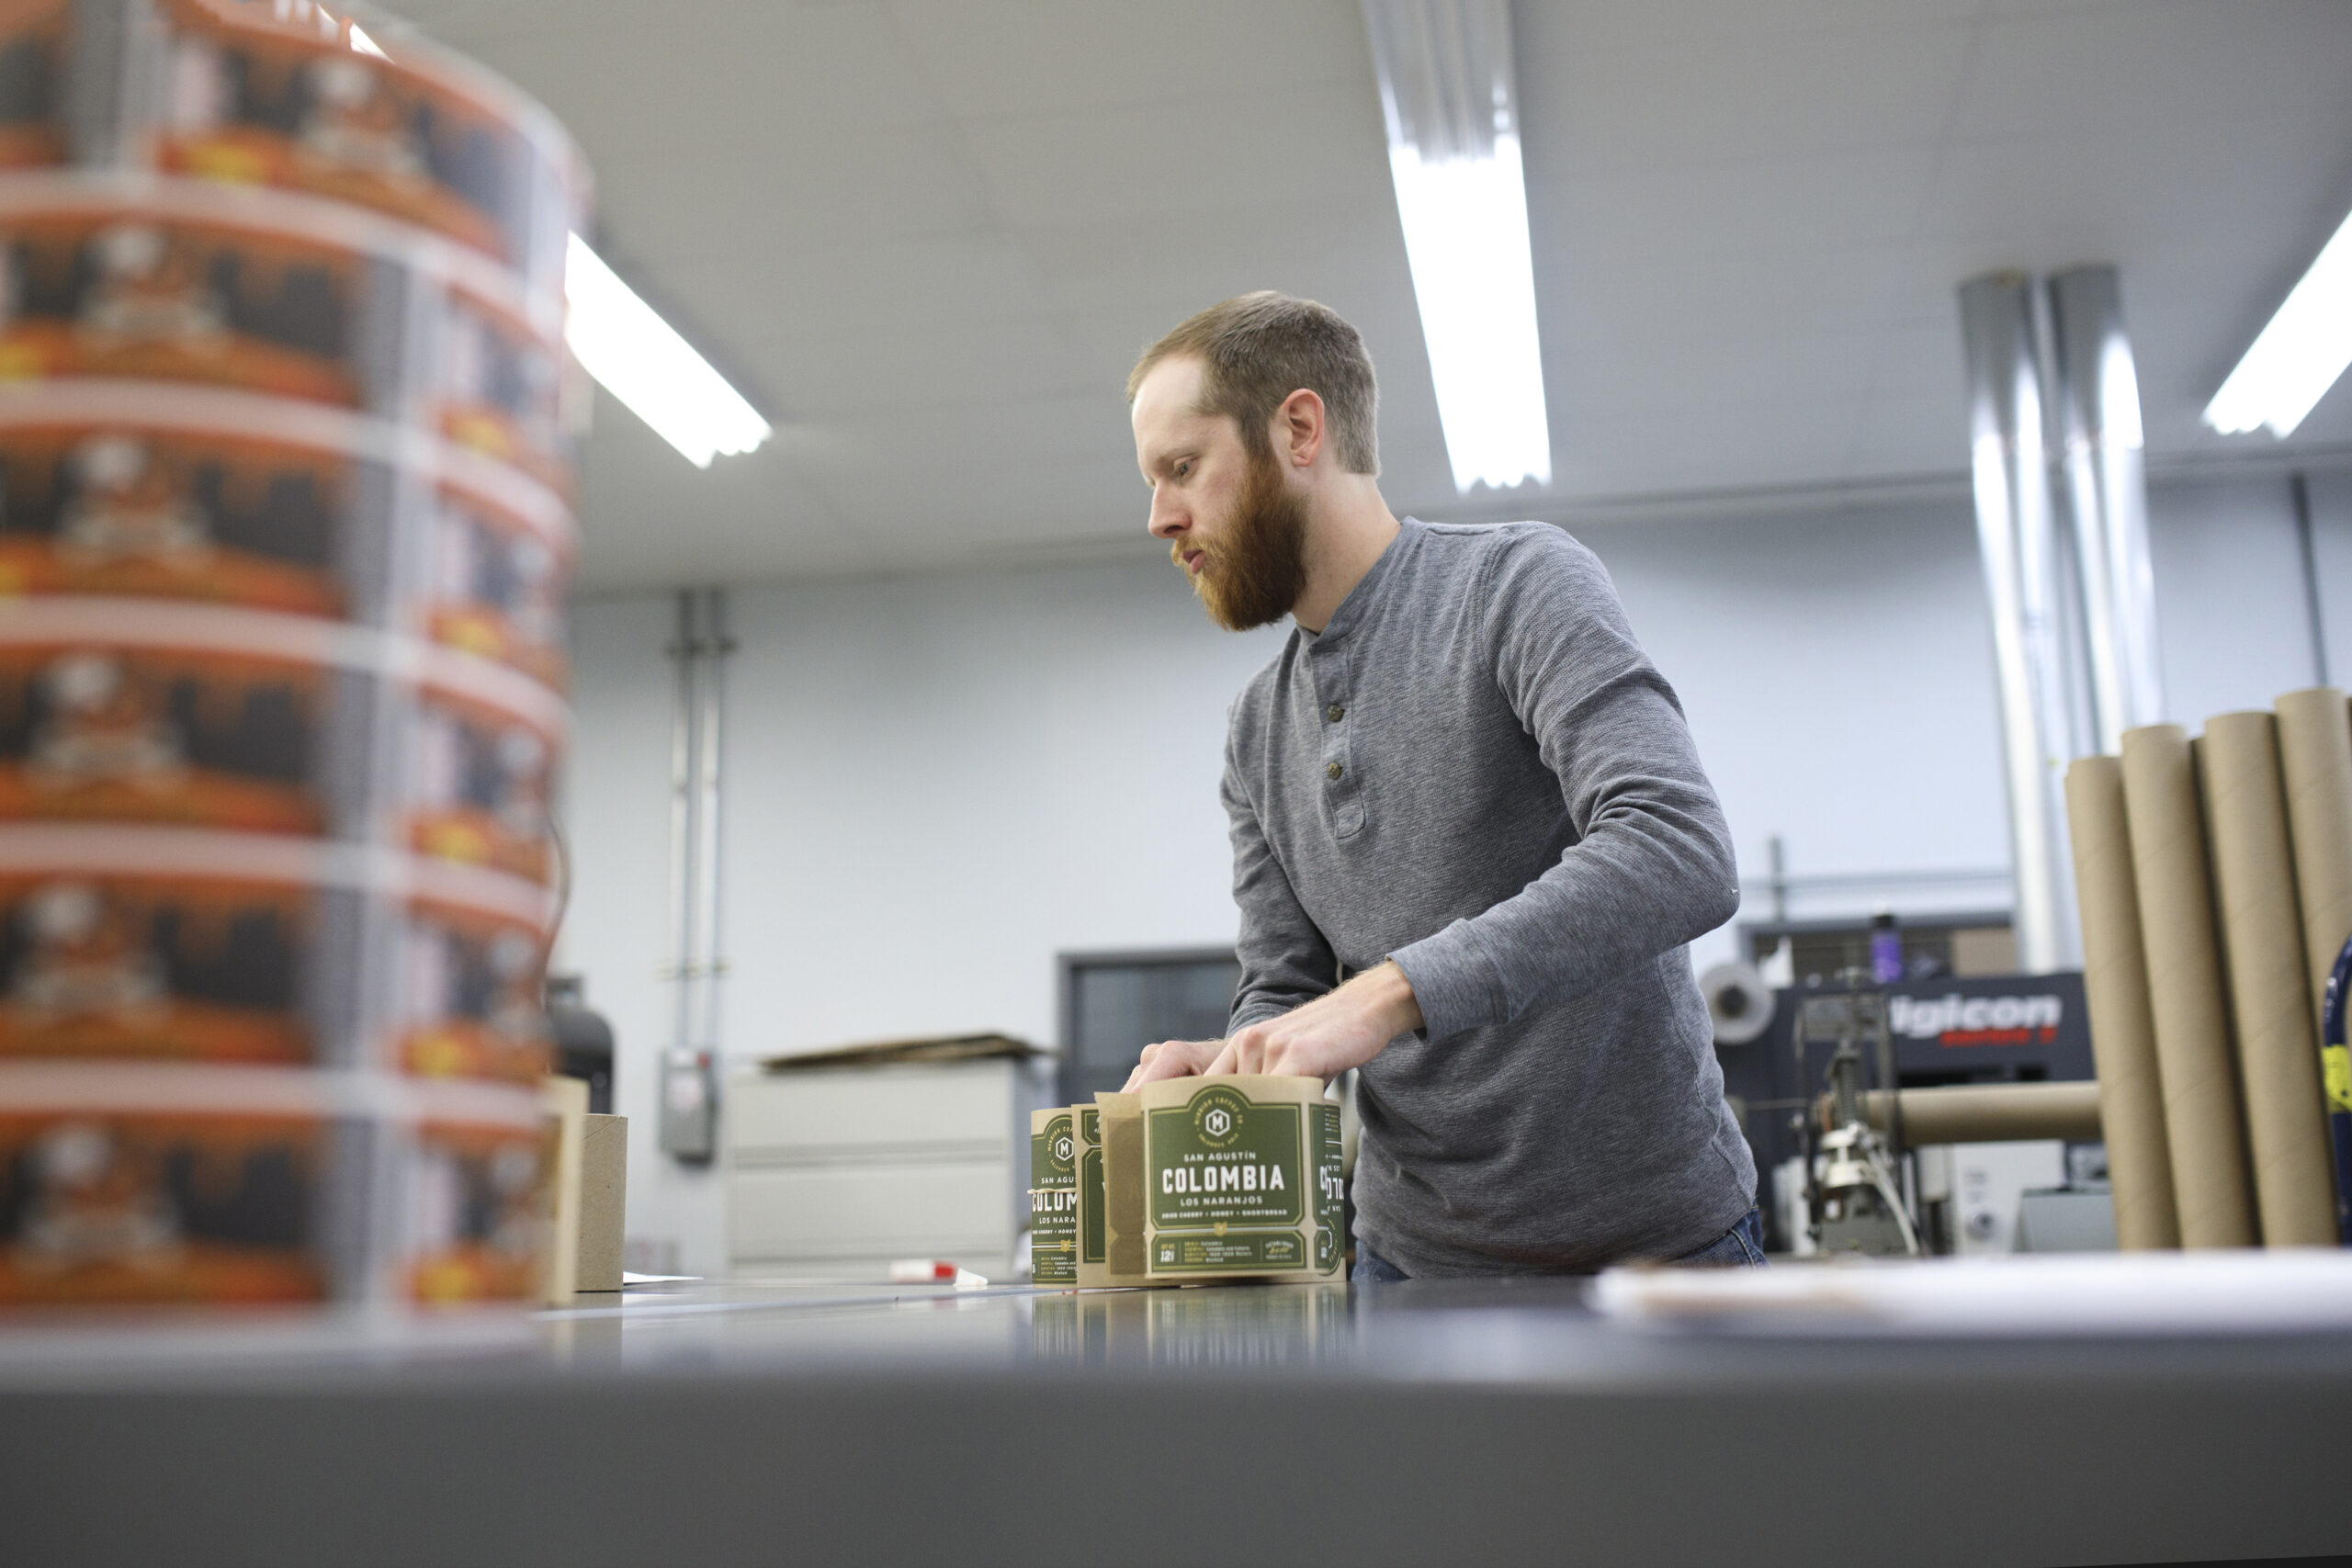
Looking for Custom Labels?
We put our all into every custom label we make. No exceptions. And with no minimum order quantities and a 5-day turnaround for digital label printing, we take pride in helping you perfect your first impression.
Request a Quote Get a Sample Pack
Manufacturers can apply for UPCs from the Uniform Code Council. After approval, a manufacturer can pay an annual fee to become a part of the UPC system and get its unique manufacturer identification number that will be used for all its barcodes. The item number is specific to each product. The manufacturer is responsible for issuing those numbers and avoiding any duplication of numbers for different SKUs. Finally, the digit check is a single number to confirm the integrity of your barcode number. You can determine the exact number for a product with GS1’s check digit calculator.
Other Types of Barcodes
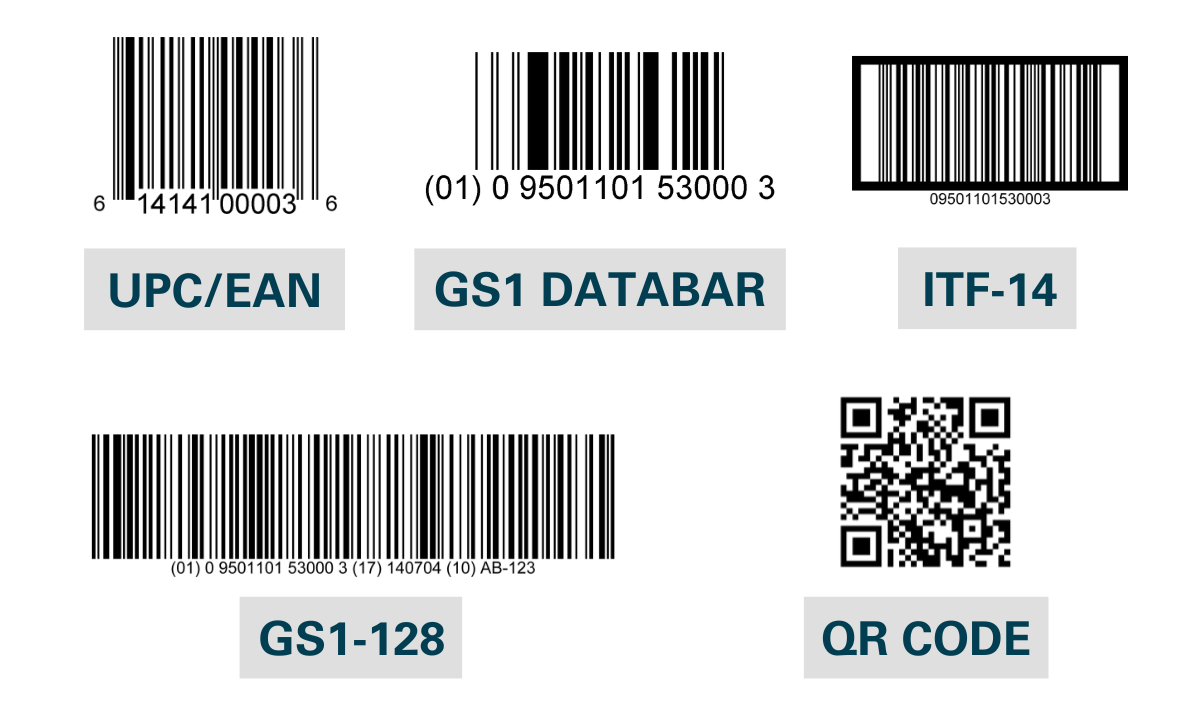
While EAN/UPC barcodes are the most common and widely-used barcodes, GS1 uses several other types of barcodes for different business requirements:
- GS1 Databar: The GS1 DataBar is a family of barcodes designed to provide a compact yet comprehensive solution for encoding data in smaller items that cannot accommodate traditional barcodes. They’re capable of carrying extensive information including product identification, batch numbers, and expiration dates, making them ideal for fresh foods and healthcare products where space is limited but detailed data is essential.
- GS1-128 and ITF-14: The GS1-128 barcode is a high-capacity symbol that allows the inclusion of various data elements by utilizing application identifiers, making them ideal for complex supply chain needs. On the other hand, the ITF-14 barcode is designed specifically to encode a Global Trade Item Number (GTIN) on corrugated materials, making it important in tracking trade items in bulk through distribution channels.
- Two-dimensional (2D) barcodes: Think of two-dimensional (2D) barcodes as the evolved form of the typical one-dimensional barcodes you see on product packaging. You’re likely familiar with the most common 2D barcode, the QR Code. These compact squares are cleverly designed to hold a wealth of information by encoding data both horizontally and vertically. They offer a great way to store more in less space.
Should You Use QR Codes for Product Labeling?
While a QR code might not fit the design (or even size) of every label, a study published in Sustainability evaluated the use of QR codes (in this case on food labels) and published some interesting findings:
- Nearly 39% of respondents wanted to see QR Codes used more broadly in the future
- 67% of the respondents agreed that these codes make life easier
The study found that, “QR Codes included in product packaging, on labels, and in commercial spaces (shelves, showcases, posters, etc.), are considered particularly effective in providing timely product and brand information given their capacity to reach consumers when and where they are ready to purchase with relevant, targeted, and interactive information.”
How to Make Sure Your Label’s Barcode and UPC Work
Barcodes are graded on a scale from A to F. As you may expect, the higher your grade, the better your barcode and UPC will be for business. Here are some key considerations to help improve your barcode and UPC for your product labels.
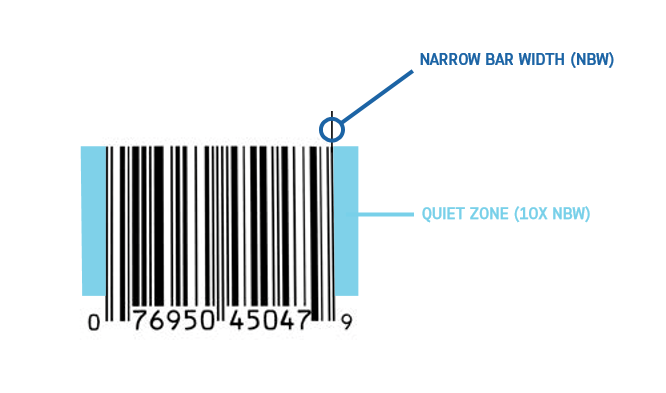
Respect the quiet zone
Every barcode has what’s called a “quiet zone.” This space is the area around the barcode that should be clear of any texts, graphics, or other printed elements. If you don’t leave a barcode a proper quiet zone, a scanner can accidentally read some other element in the surrounding artwork and cause an error.
To prevent any issues, it’s important to give each barcode the proper amount of space. In general, the quiet zone should be the larger of the following two measurements.
- 10 times the width of the most narrow bar in the barcode
- An eighth of an inch
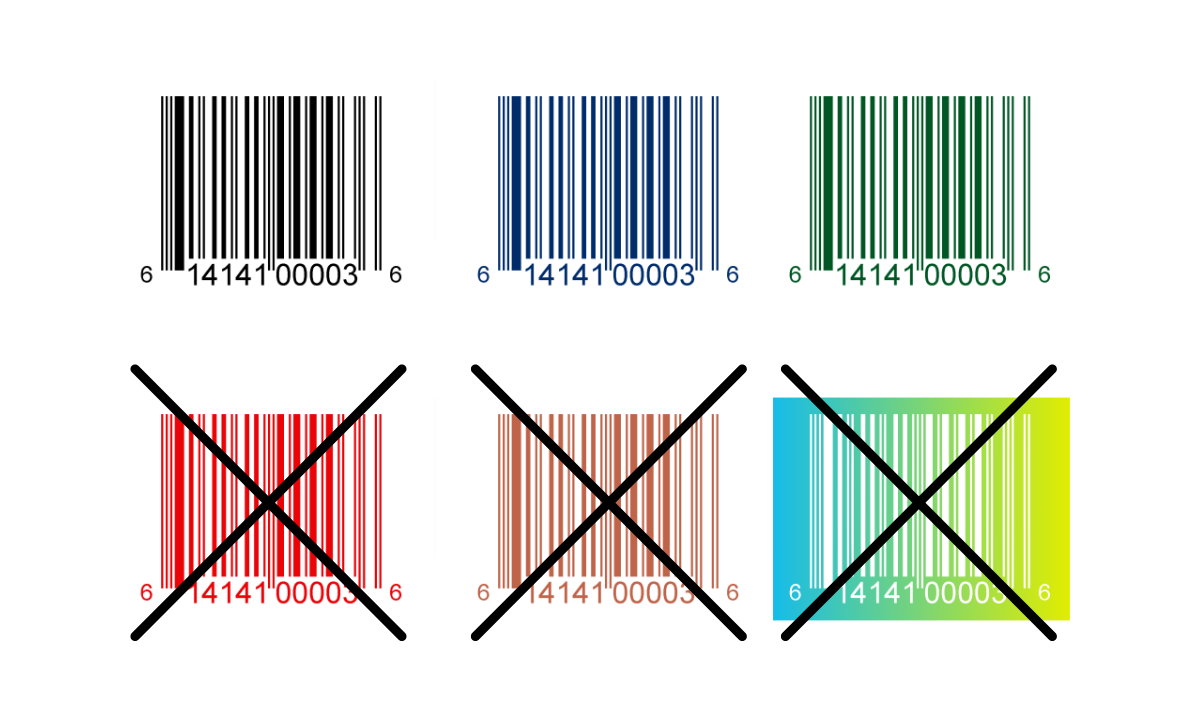
Use the right colors for your barcode
While utilizing various colors can help lead to an eye-catching label, barcodes should follow a very simple color scheme.
- Bars: Use a single color, ideally black or a dark color, and avoid warm colors like red or brown (they won’t work well with red laser scanners)
- Background: Typically the background of the barcode is not printed, meaning the background takes on the color of the label or packaging; if necessary to print the background, use a light color like white for the background and quiet zone
Pay attention to barcode size
Just like labels come in custom sizes, so do barcodes. It’s important to make sure that your barcode isn’t too big or too small for both your label and scanners. In general, bigger barcodes and UPCs are easier to scan, but your options may depend on your design and total label space.
A typical barcode measures 1.469 inches wide by 1.02 inches high, but you can adjust the size as necessary as long as you stay between the following minimum and maximum recommended barcode sizes.
- Minimum – 1.175” wide by .816” high
- Maximum – 2.938” wide by 2.04” high
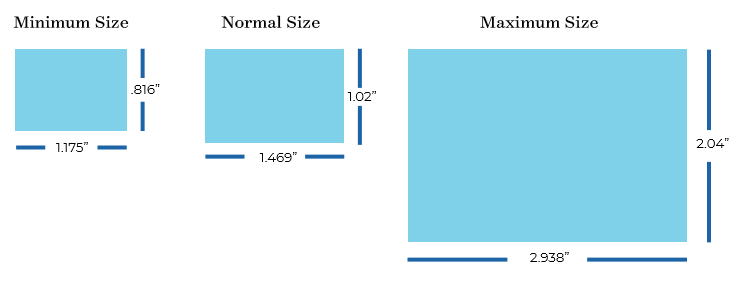
When considering sizing, create your barcode to fit your label size. Be sure to avoid adjusting it by making it bigger or smaller—this could cause issues for its scanning ability. If you need a different size, start fresh and design the barcode in that new dimension.
Ensure proper barcode placement
It’s important to consider where you place a barcode on your label. For products getting scanned at checkout, aim to place the barcode in the lower right corner of the backside. Be sure to keep it away from edges and make sure there’s enough white space around it—this helps the barcode scan easily.
We know that packaging and containers come in a wide variety of shapes, but make sure that the printing surface for the barcode is relatively flat—any bumps or irregularities could cause issues with how well scanners can read your barcode.
GS1 has published Guidelines for Bar Code Symbol Placement for reference.
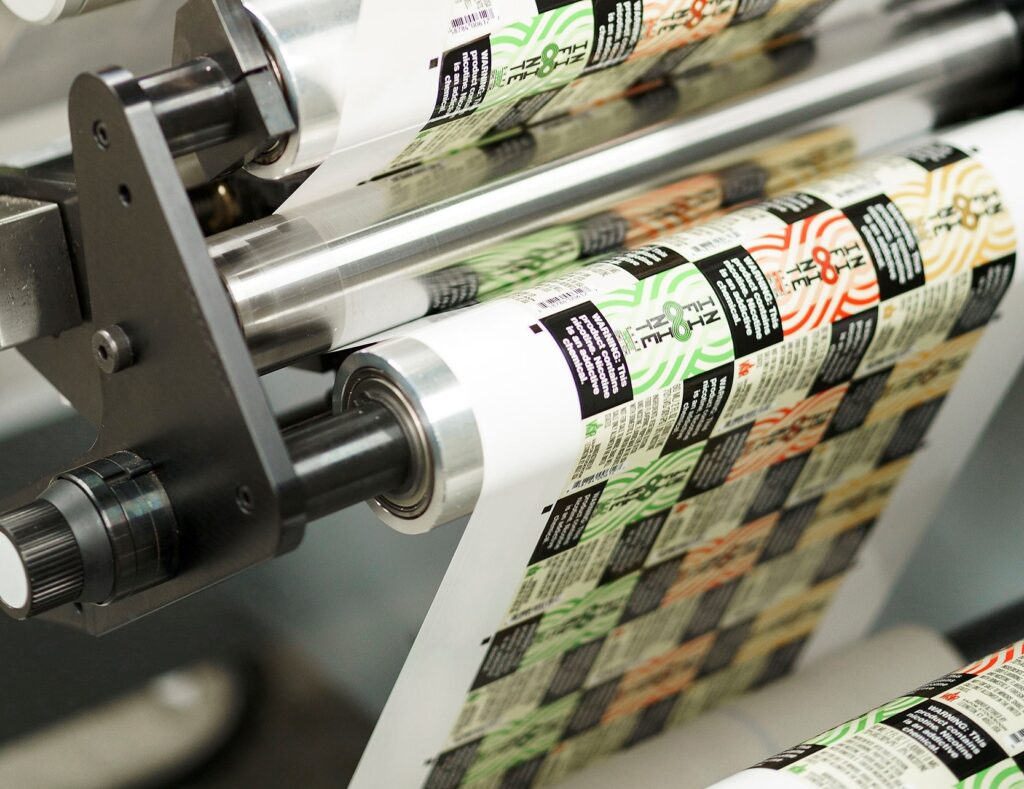
Send your barcodes to the printer in the right format
Once you have your label design with an appropriate barcode, it’s time to send It along to a printing company. However, there are specific rules as to how you should send that information. In addition to sending the appropriate art files for your label, you’ll also need to deliver the barcode(s) in one of the following forms.
- An image file of the barcode you’ve received from the provider
- An Excel document with a list of UPC numbers
- A PDF or EPS of the barcodes

It’s important to work with a label printer with premium printing capabilities—if a barcode fails to scan, it could lead to lost sales and frustration on the part of both customers and vendors. Even worse, it could lead to charge-backs from retailers if they can’t scan your products.
A label expert will know how to choose the right materials and printing techniques to avoid smudges, defects, abrasions, and low-resolution printing.
Thinking of using printable label sheets on an inkjet printer or laser printer at home? Be careful—home printers may not be able to provide the resolution needed for barcode labels. Plus, paper labels compatible with home printers typically aren’t suitable for most product environments (i.e. durable label materials, tear-resistant, water-resistant labels, etc.).
How to Get a Barcode
We’ve talked about different types of barcodes as well as design considerations, but you may be wondering how you actually obtain a barcode in the first place? The best place to start is the GS1 website.
In the U.S., you can either start with an individual GTIN or register multiple barcodes at a time. Luckily, GS1 provides a helpful barcode estimator to identify exactly how many (and what kind of) barcodes you’ll need.
The process of obtaining a barcode is pretty simple:
- Choose either a GS1 US GTIN or GS1 Company Prefix
- Input your contact information
- Pay (price will vary depending on quantity and type of barcode)
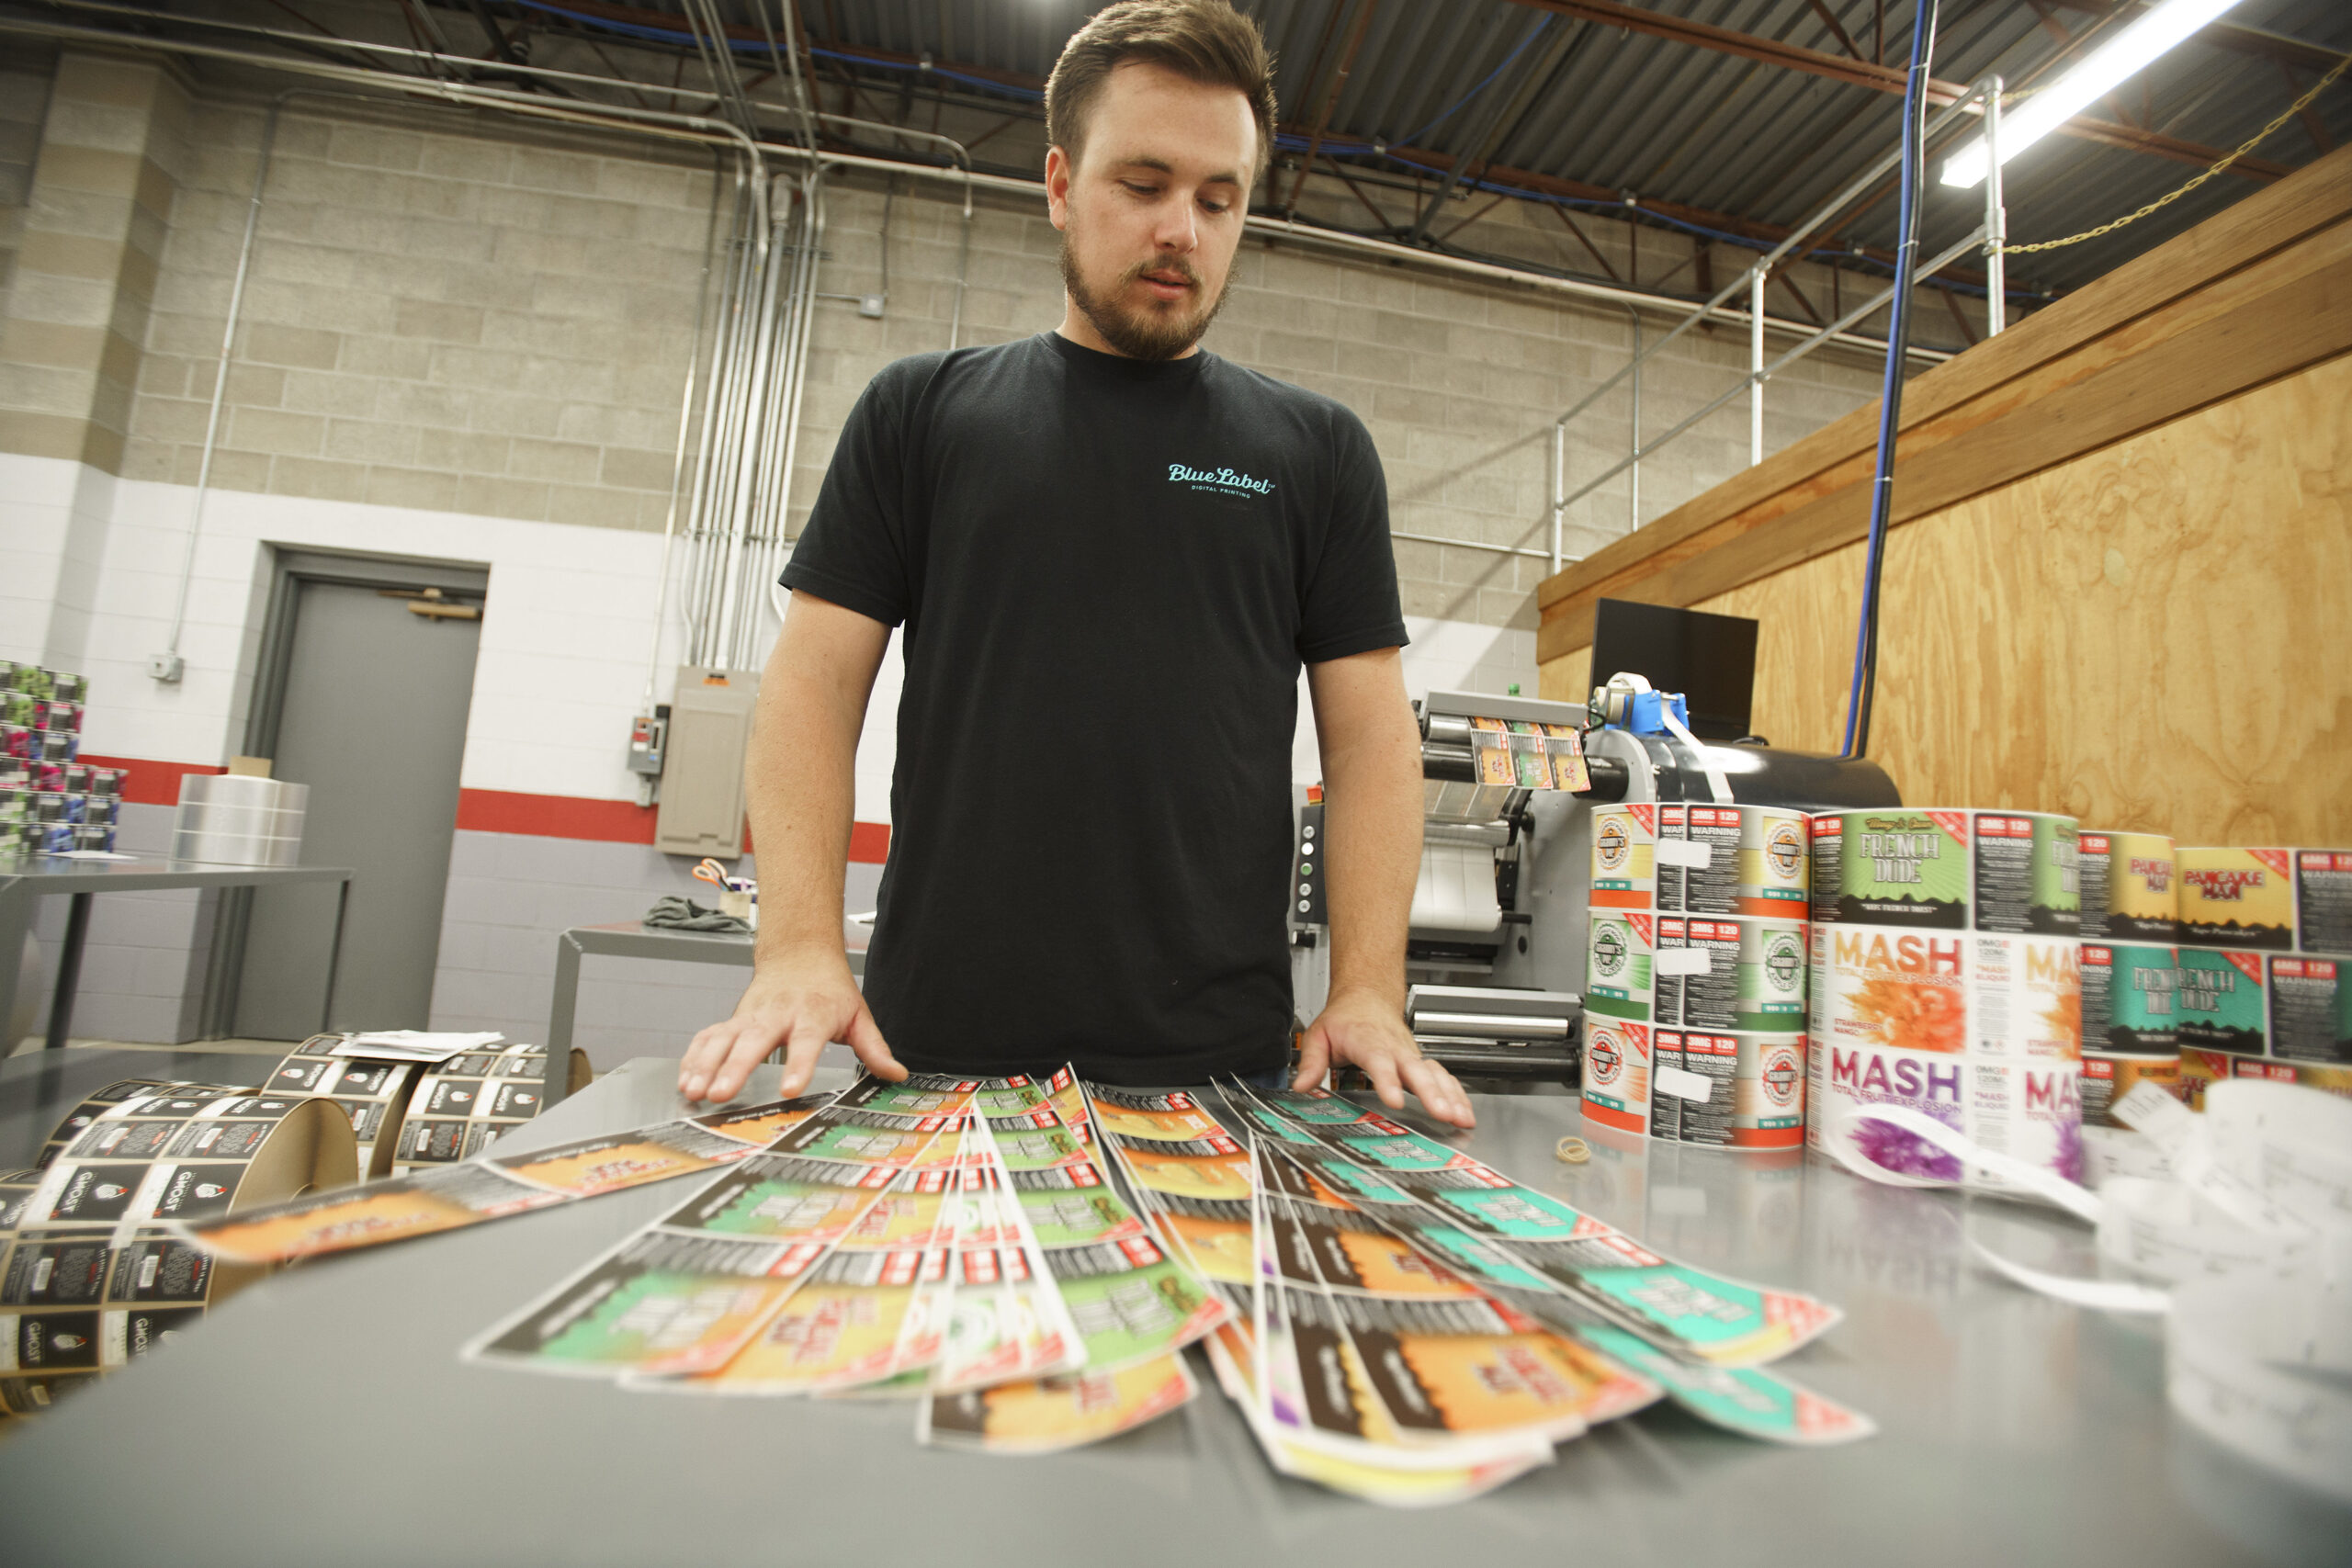
Make Sure Your Labels are Perfect for Your Products
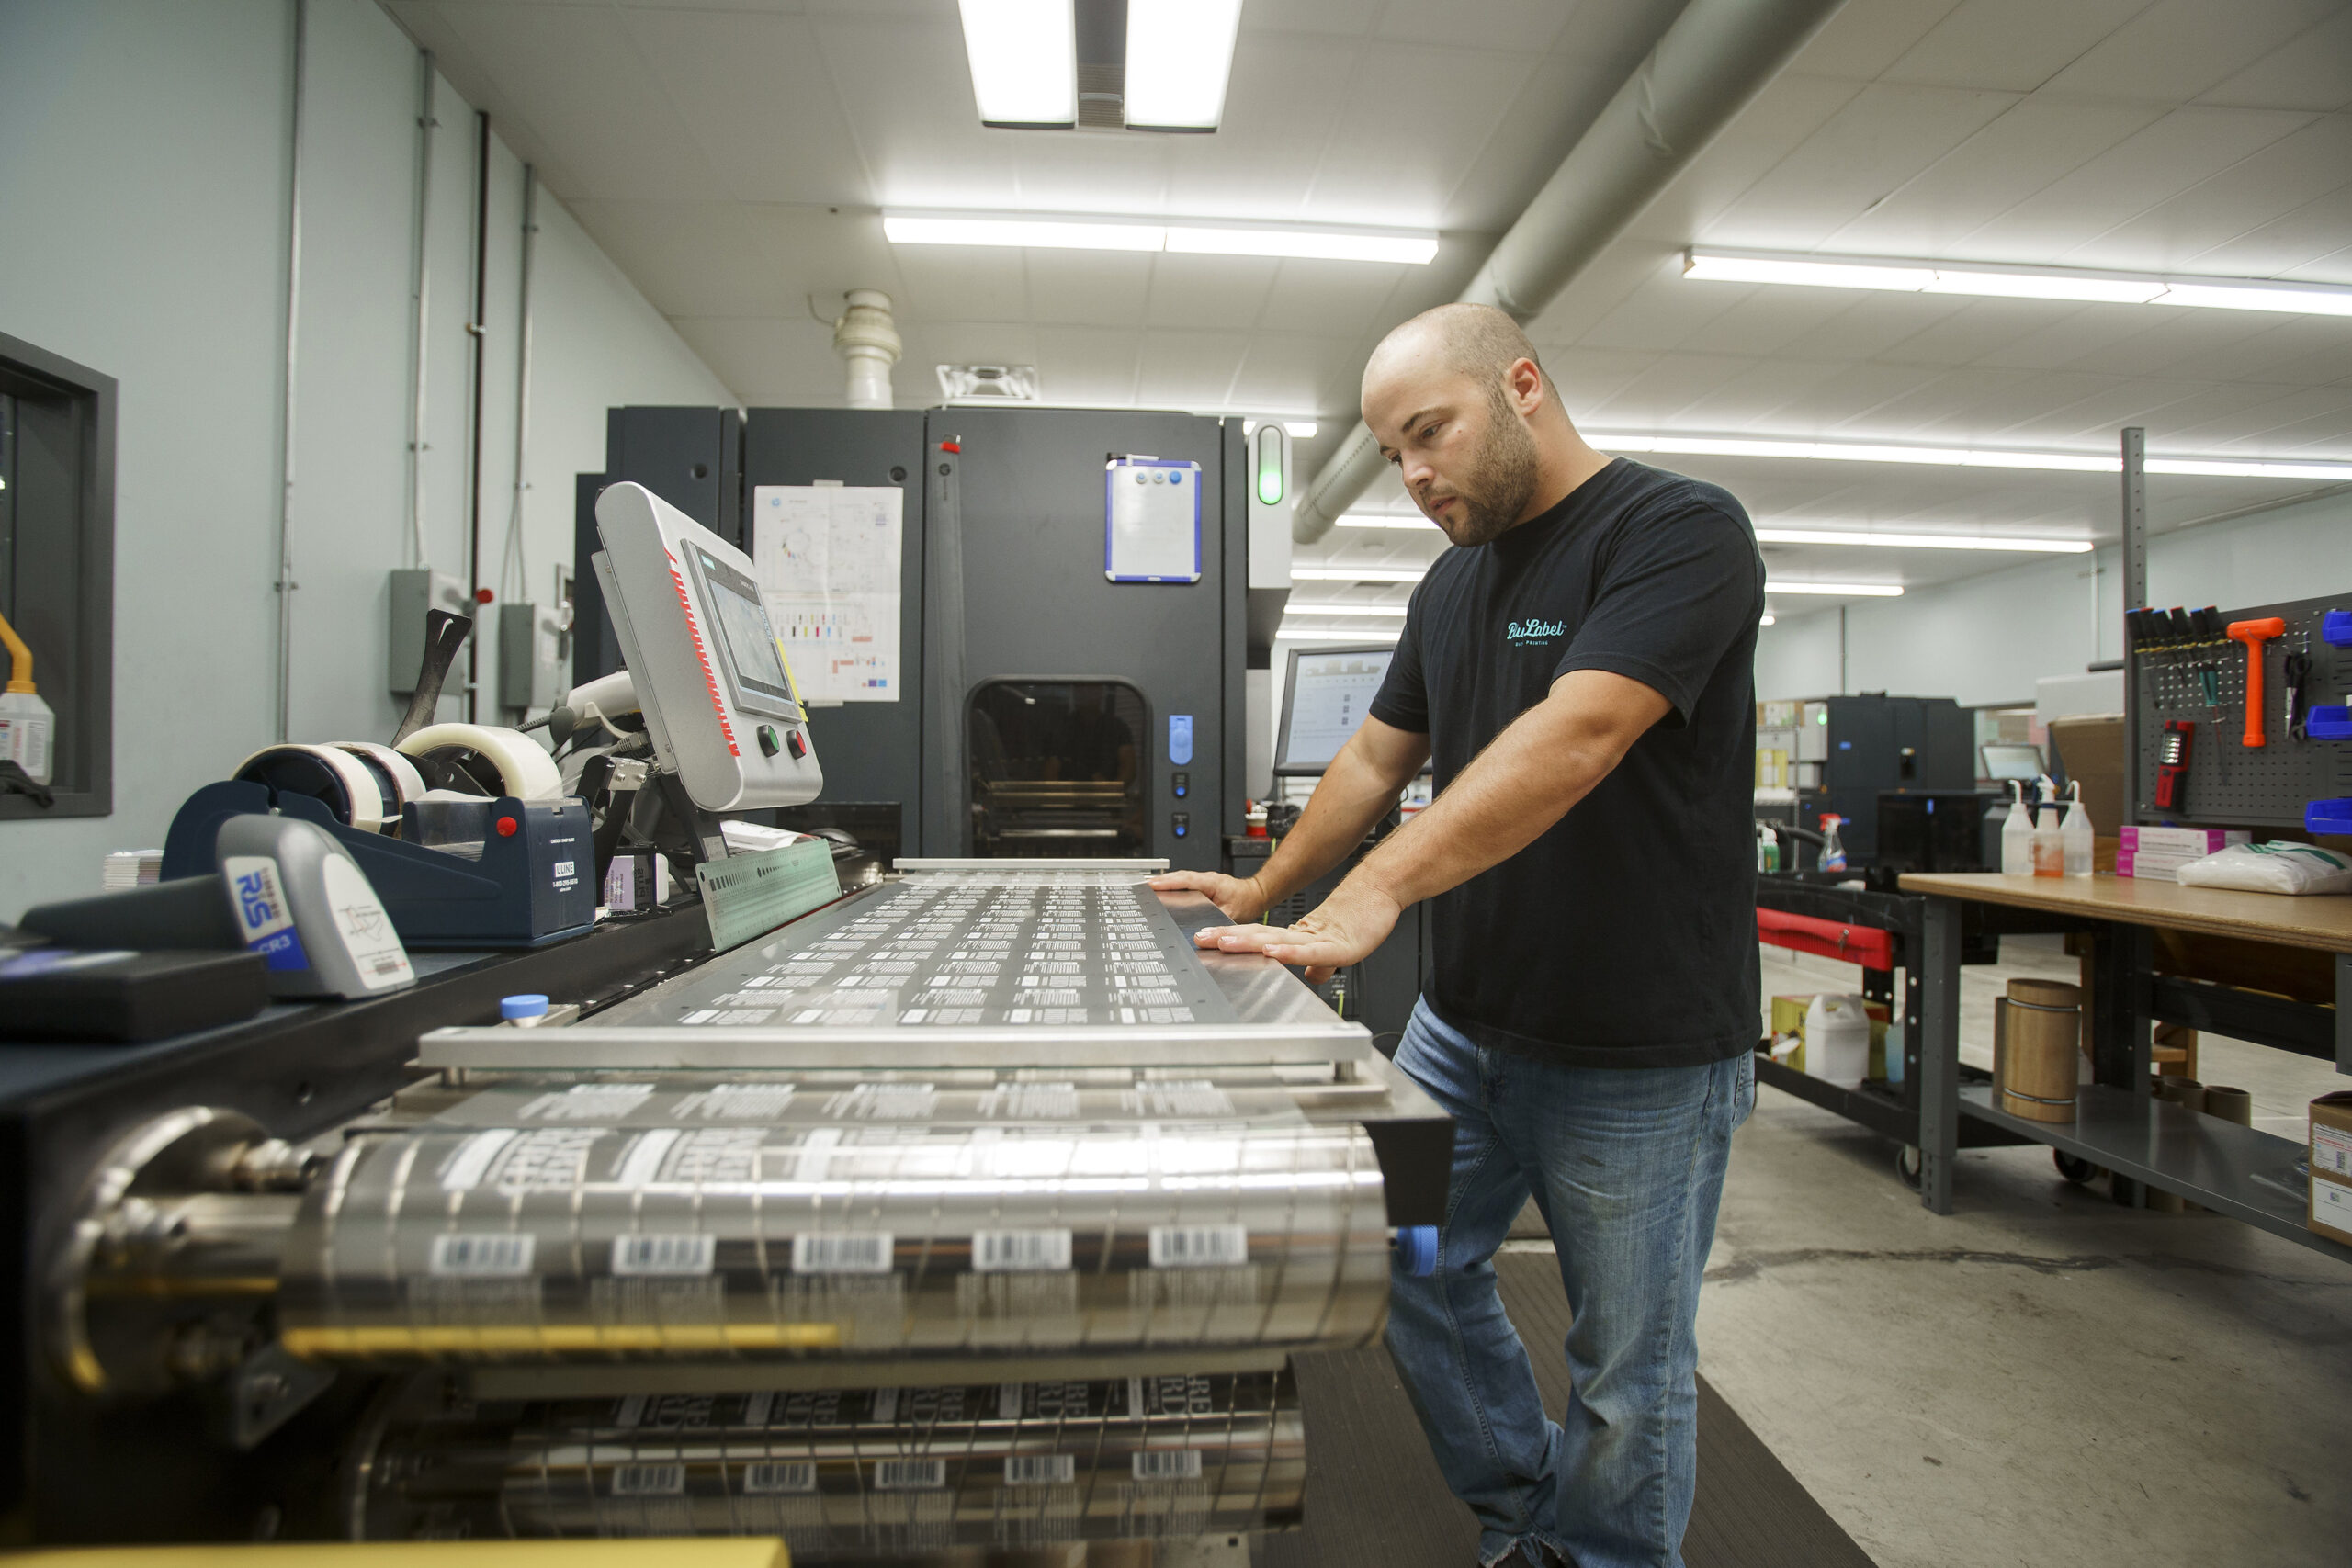
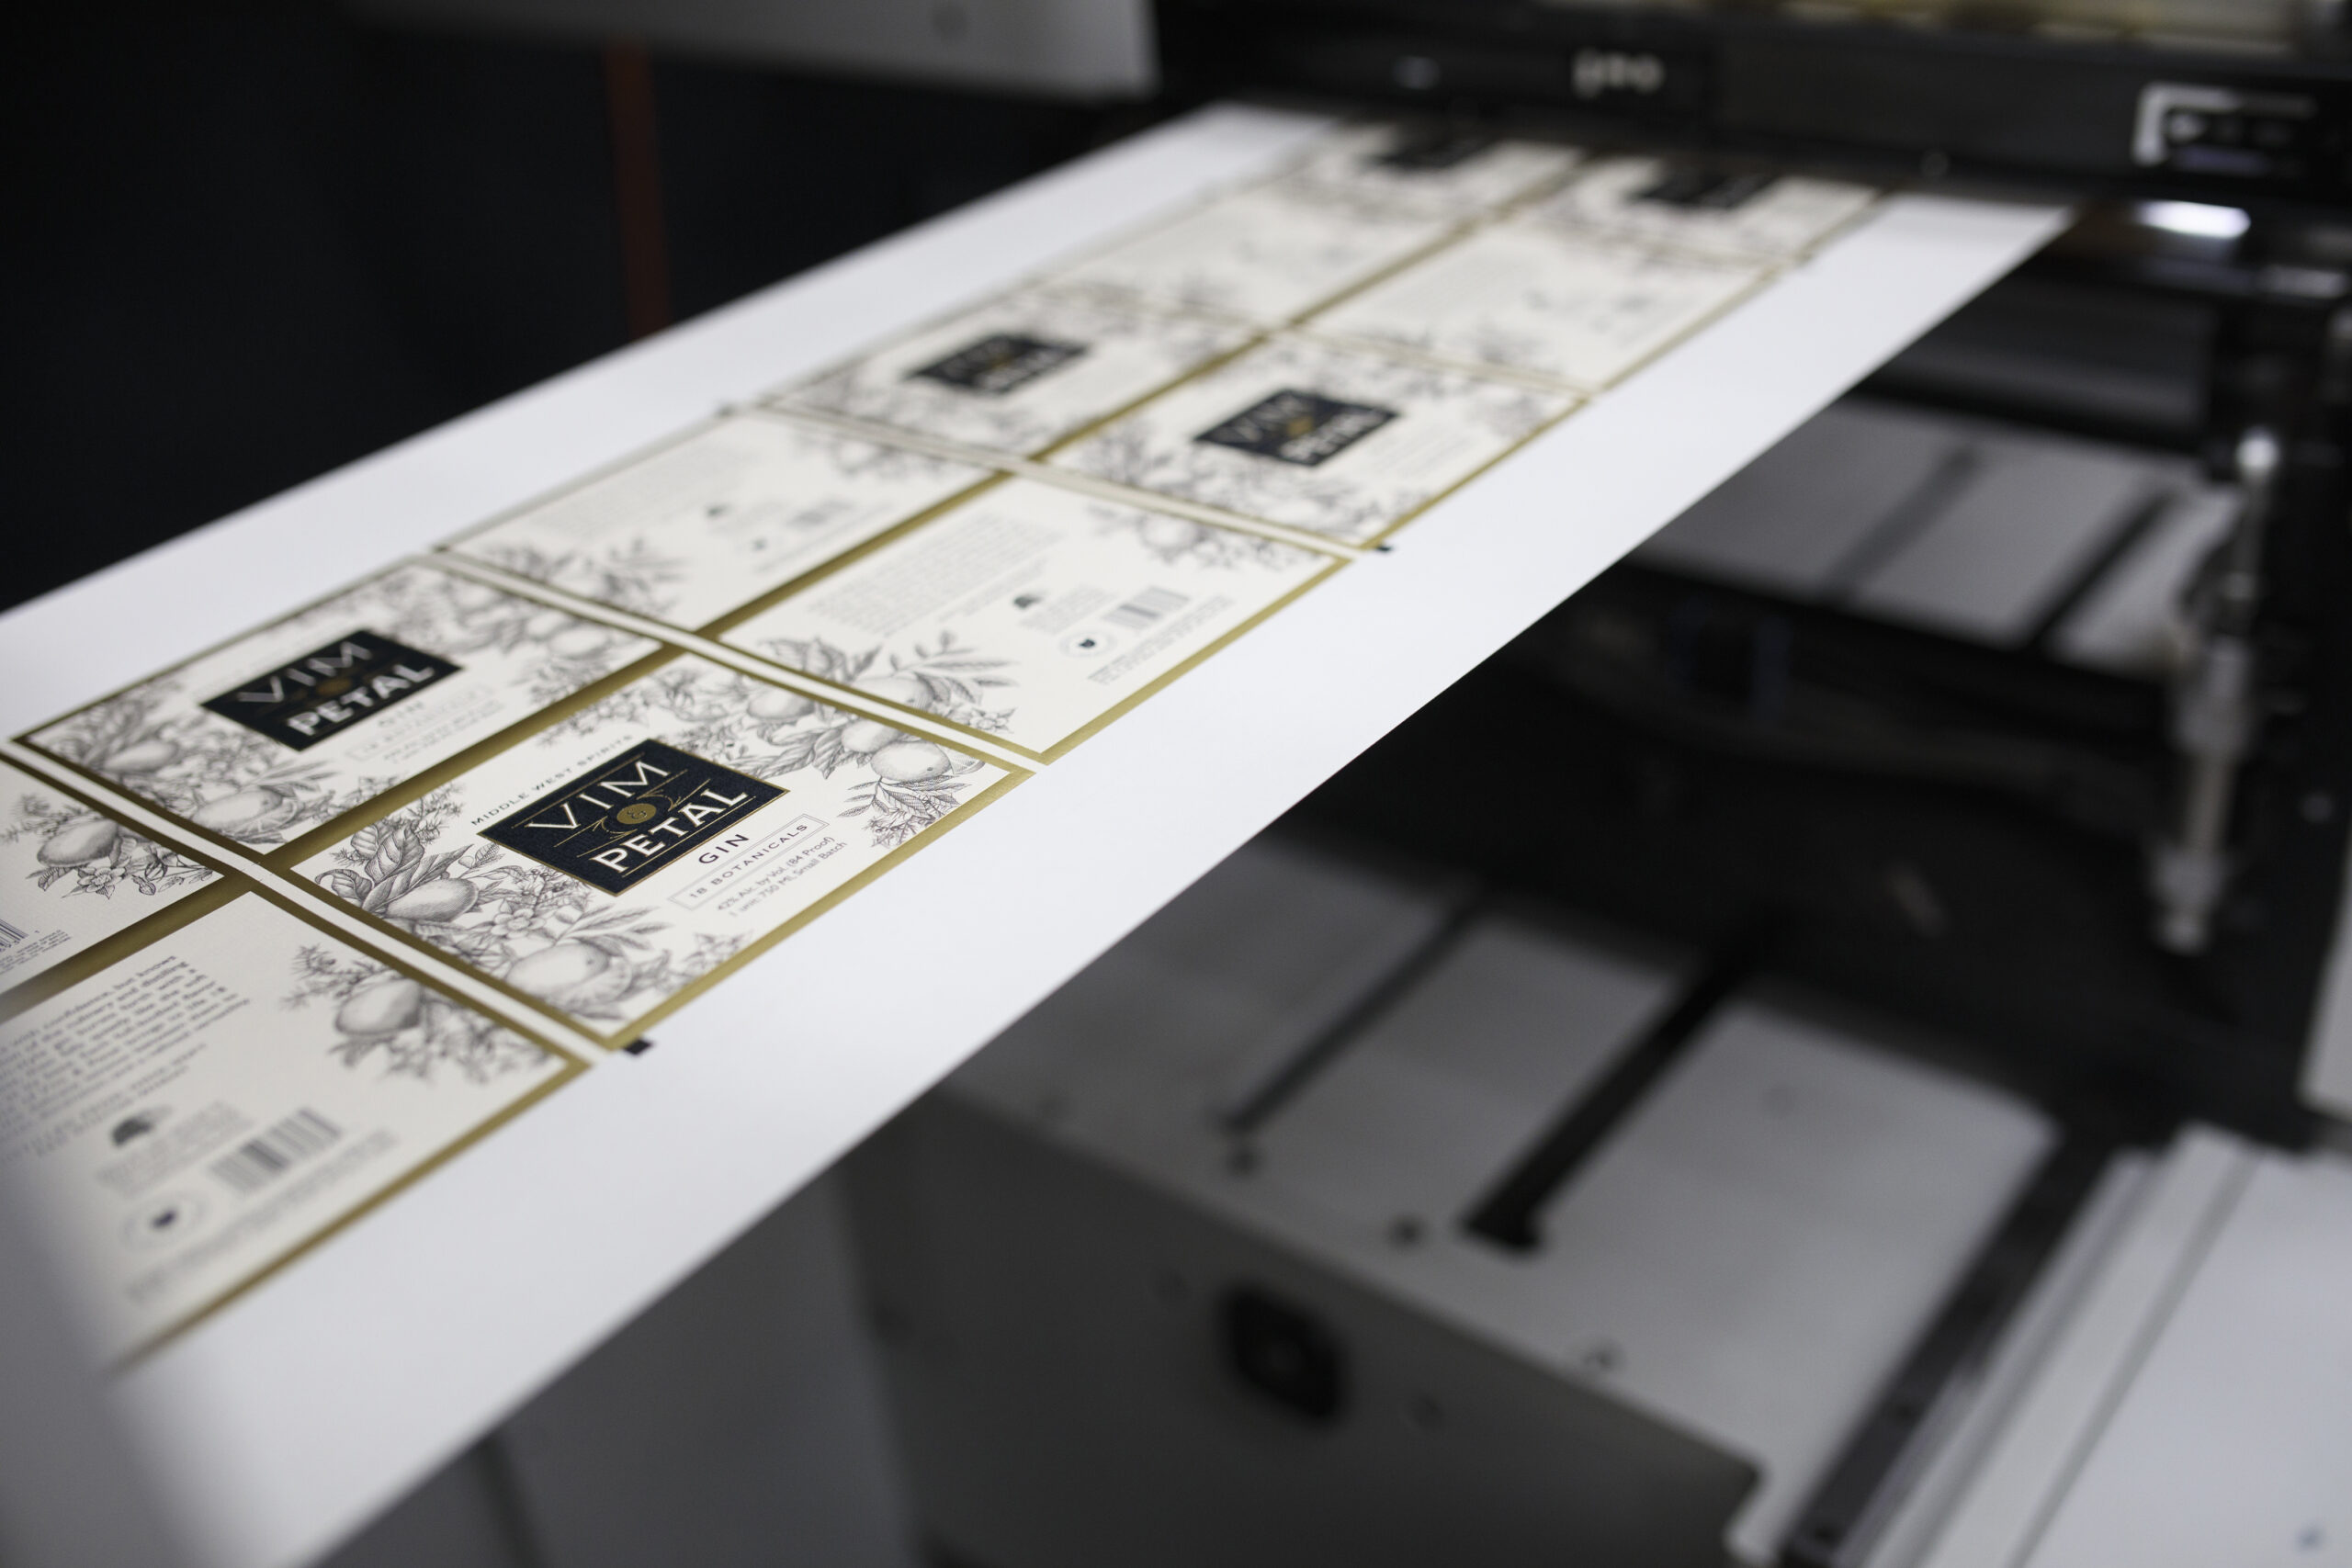
Preparing a barcode and UPC for a product label is one of many important parts in the labeling process. Once you take all the steps to make sure your design is ready for production, it’s time to find a good printing company to give you the quality labels you deserve.
At Blue Label, we take all the steps necessary to not only print stunning labels, but also to check and make sure that everything is right before we print your full order. To help ensure that your barcodes are ready for the market, we’ll print out example labels and test them with scanners to make sure they work. After review, we’ll grade your barcodes and double check that your UPC matches the bars. If we notice any problems, we’ll notify you so that you can amend the issue before we print your run.
Ready to invest in quality product labels for your business? We’re happy to help. Contact us today to talk to us about your next labeling project.