The Different Types of Label Lamination and How to Pick One

Label lamination is a thin, clear film applied over your label after it’s printed. The film works like a second skin over your design and takes the scuffs, splashes, and sunlight that would otherwise wear down the ink. If your product gets wet, oily, or handled a lot, a laminate is worth considering.

At Blue Label, we offer gloss, matte, and soft touch laminates, each also available in a thermal transfer version, through our laminated label printing. There’s no minimum order, quotes come back in under 24 hours, and most labels print in 5 business days or less after you approve the artwork.
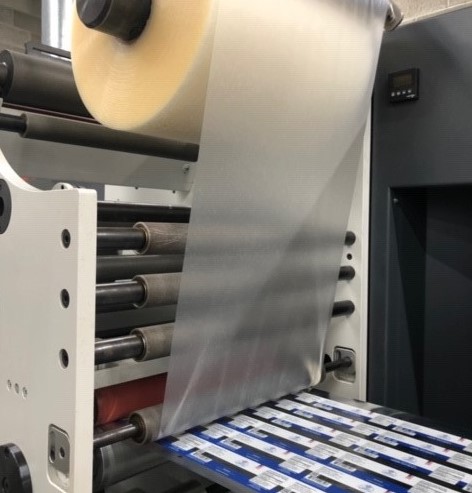
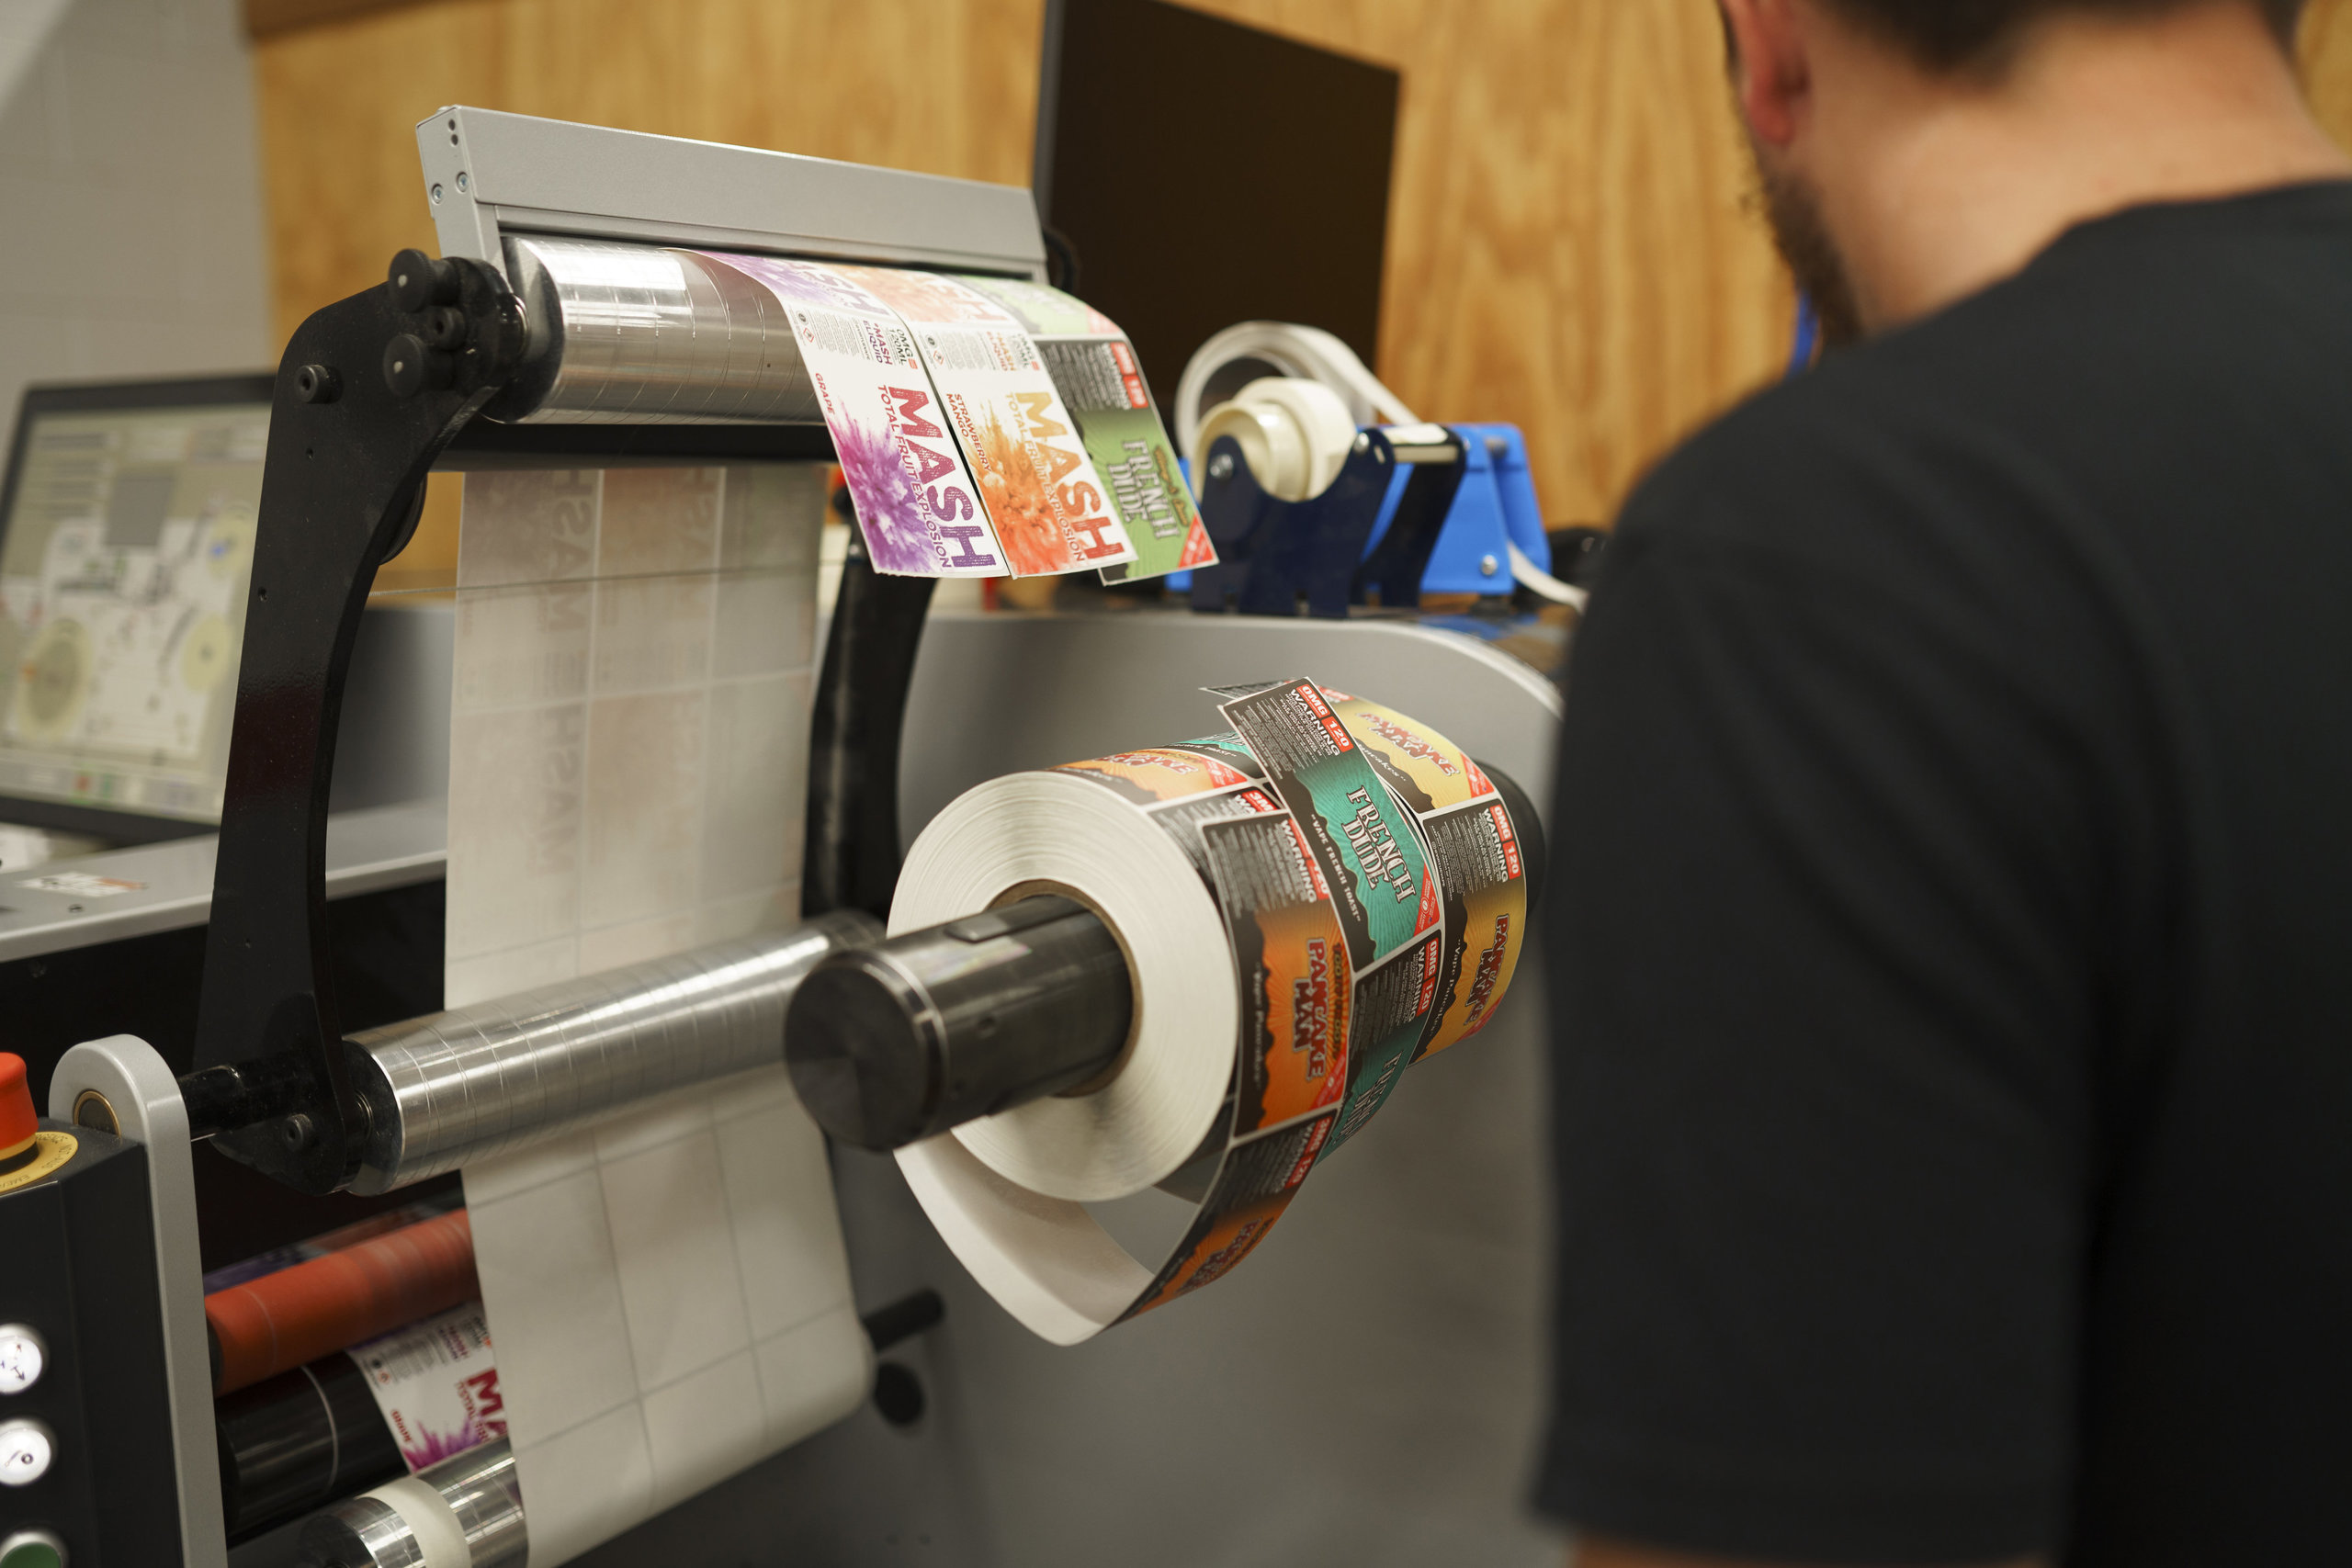
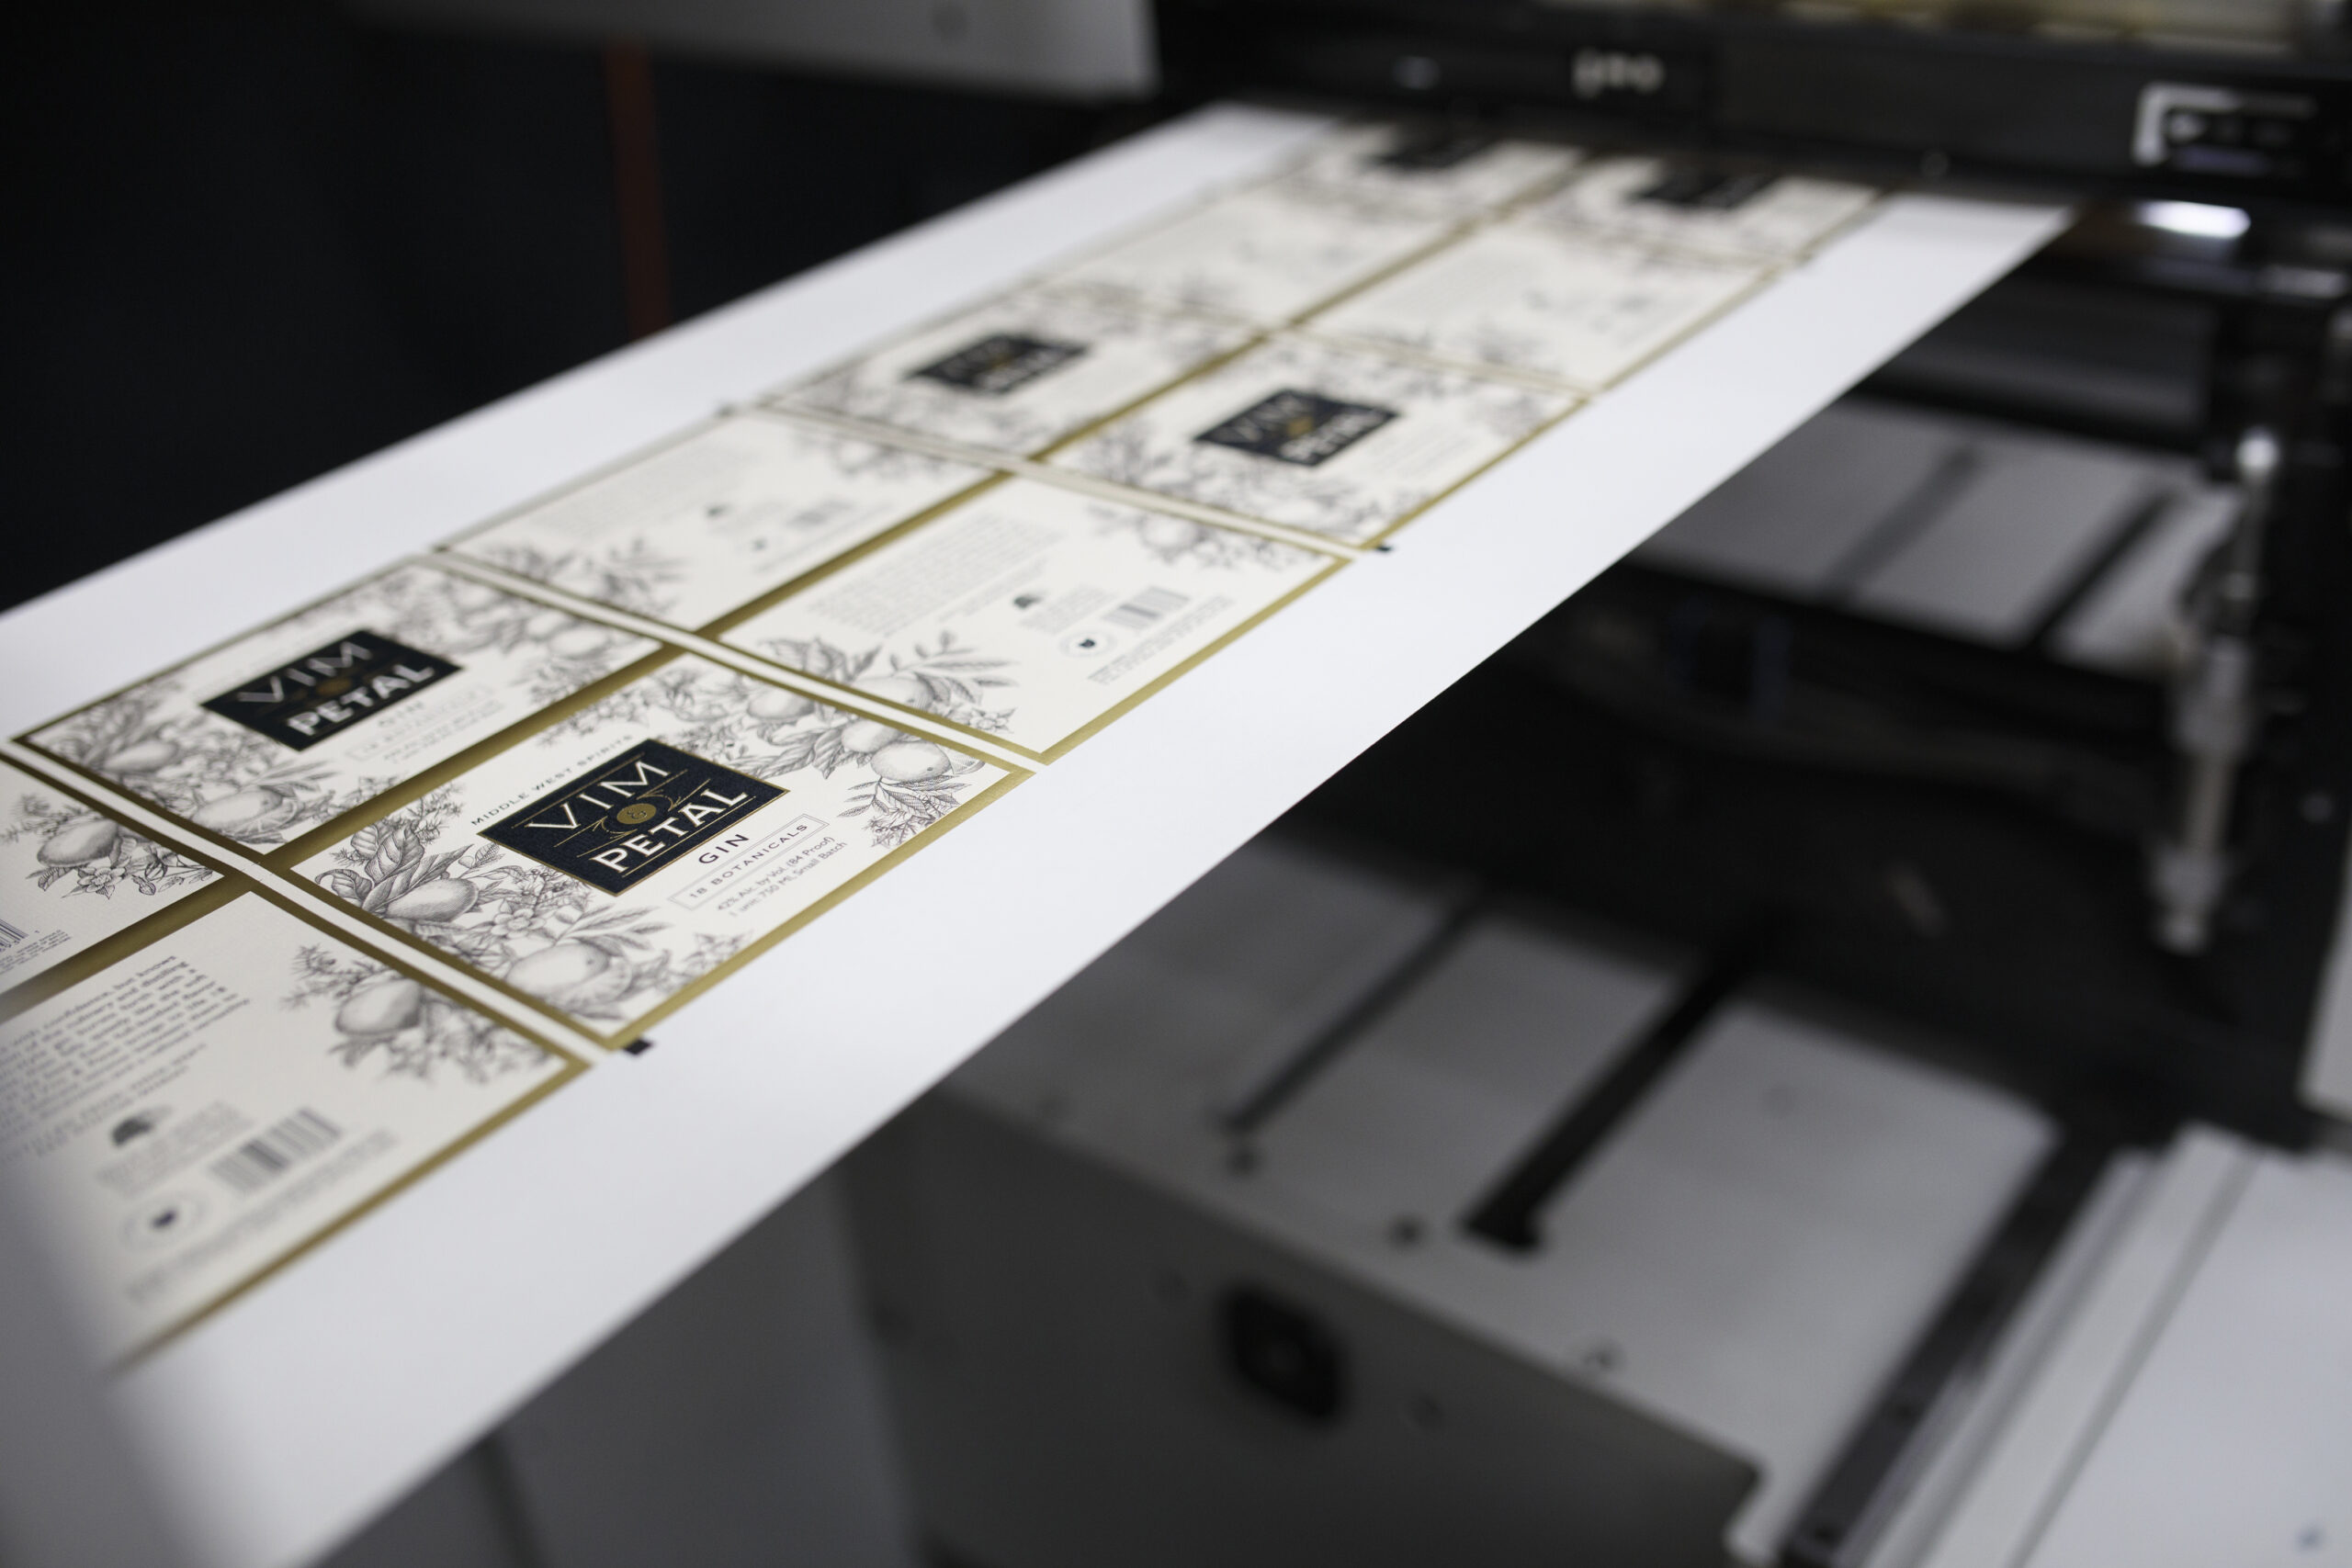
New labels going through the lamination process.

The types of label lamination

A label laminate is a thin, clear plastic film, usually polypropylene or polyester (PET), with an adhesive on the back. The finish on that film decides how your label looks and feels.

Laminate What it looks and feels like A good fit if you…
Gloss Reflects light for a smooth, shiny look. Colors look bright and saturated. have a bright, colorful design, or a product that rubs against others in a case or cooler
Matte Dulls the label surface so it doesn’t shine much at all. Some colors and details look deeper against it. use dark colors, fine print, or a minimal design that should read clearly from any angle
Soft touch A velvet-like matte finish that people can feel when they pick up the product. It costs more than gloss or matte. want people to notice the label the moment they pick the product up
Thermal transfer version Any of the three finishes above, made to take ink from a thermal printer. print weights, dates, prices, or batch codes on your labels after they arrive

Thermal transfer isn’t a separate look. It’s a version of each laminate. Standard laminates keep thermal printer ink from sticking, so a deli with a branded label would need the thermal transfer version to print the weight and price on each package.

For a closer look at gloss and matte side by side, see our guide to glossy, satin, and matte labels. If the velvet feel is what you’re after, here’s more on soft touch labels.

Which laminate fits your label?

Start with where your product lives. The right laminate depends on what your label has to survive.

If your product… What tends to go wrong Worth considering
Sits in ice, a cooler, or a fridge door (beer cans and bottles, wine, cold brew, seltzer) Paper soaks up water and tears. The label slides off the can or bottle. A film label such as BOPP (a plastic film that holds up to water and oils) with an adhesive rated for cold, damp surfaces. The material and adhesive do most of the work here. More on bottle label printing.
Lives in a shower, bathroom, or kitchen (shampoo, lotion, hand soap, hot sauce) Splashes and steam smear the ink and wrinkle the label A film material with a gloss or matte laminate sealing the print
Is oil-based or contains alcohol (skincare, essential oils, lip balm, fragrance) Oil and fragrance smear the print or work under the label edge A film material with the print sealed under a laminate. Test a printed label with your formula before a full run. More on skincare labels.
Sells on how it feels in the hand (spirits, candles, gift sets, premium skincare) A plain label looks less special than the product inside Soft touch, often paired with foil or spot UV
Needs a date, weight, price, or batch code printed later Ink smears or flakes off a standard laminate The thermal transfer version of a gloss, matte, or soft touch laminate
Sits in a sunny window, at an outdoor market, or outside Colors fade in direct sun A film material with a gloss or matte laminate to slow fading

Good to know: Matte and soft touch laminates scuff more easily than gloss where labels rub together in a case, though gloss shows the scratches it does get more clearly. Soft touch can also show rub marks and oily fingerprints, which matters more on a product people pass around than on one that sits on a shelf. Gloss can throw glare under bright store lights, which makes small text harder to read.

What a laminate protects against (and what it won’t fix)

A laminate protects the printed face of your label and keeps the design legible over time.

  • Moisture: The film seals the print against splashes, condensation, and wet hands. For more on keeping labels intact around water, see our guide to water-resistant labels.
  • Scuffs and scratches: The film takes the wear instead of your ink.
  • Fading: A laminate slows the fading that sunlight causes.
  • Oils and cleaners: Lotions, oils, and cleaning products can break down an unprotected label. A laminate helps shield the print from them.
  • Tearing: The extra layer makes a label harder to rip, especially a paper one.

Some label problems start with the material or the adhesive, so they need a different fix:

  • Paper edges: A laminate covers the face of the label but leaves the cut edges open. In an ice bucket, a paper label can still wick water in from the sides. If your label will sit in water, start with a film material like BOPP. If you want the look of a textured paper on a product that gets wet or oily, ask us about a paper made for wet conditions. It won’t hold up as well as film, but it’s an option.
  • The wrong adhesive: If labels slide off a cold, wet bottle, the adhesive is the problem. A laminate has no effect on how a label sticks.
  • Oil under the label: If oil runs down the bottle and gets behind the label, the laminate on the front can’t stop it. The right material and adhesive can.

Should you use a laminate or a varnish?

A laminate is a film layer. A varnish is a liquid coating that dries on the label. A laminate usually gives more protection, especially for labels that get wet or handled often. A varnish gives lighter protection, but it can cover just part of a label for effect. If you’re weighing the two for a bottle, our guide to laminates vs. varnishes for bottle labels walks through the decision. For the coating options themselves, see the different types of label varnishes.

Label materials that take a laminate

Laminates bond best to smooth surfaces and work on most label materials (see all our label materials).

  • BOPP and other films: These plastic films hold up to water and oils on their own. A laminate on top adds scuff and fade protection. On smooth films, a laminate or a varnish can work, depending on what your product needs.
  • PET (polyester): A stiff, durable plastic film. A clear or matte laminate pairs well with PET and protects its surface from scratches.
  • Vinyl: A flexible, durable film used on outdoor products and squeeze bottles. A clear laminate over printed vinyl protects the print from lotions and oils, which makes the pair a solid setup for cosmetics.
  • Paper: Laminating paper labels improves their durability and makes them more resistant to moisture, tearing, and smudges. Laminated paper suits products that stay mostly dry.
  • Textured and estate papers: For textured papers (think the felt and linen-feel papers many wineries use), we recommend a varnish instead of a laminate. A laminate film can’t settle into the grooves of the paper, while a varnish follows the surface.

Combining lamination with foil, spot UV, and other finishes

A laminate can share a label with foil, spot UV, and a custom shape. On most jobs, the laminate goes on right after printing, foil and spot UV go on top of it, and the die cut comes last. Each added finish adds to the cost.

  • Foil stamping: A thin layer of metallic foil applied to parts of the label, like a logo or a border. The foil goes on top of the laminate. Under a soft touch laminate, foil looks muted, so we stamp it on top, where it keeps its full shine against the matte background.
  • Spot UV and raised spot UV: A clear, glossy coating applied to just part of the label. A glossy logo stands out against a matte laminate, and raised spot UV adds a ridge you can feel with a fingertip. Spot UV on top of a laminate means paying for two finishes, so it raises the cost. Read more about spot UV, or see our UV labels.
  • Embossing: Raising part of the label so it stands up from the surface. We don’t recommend embossing a laminated label, because pressing in the raised shape can pull the laminate away from the material. If embossing matters to your design, tell us when you ask for a quote and we’ll talk through the finish. More on embossed labels.
  • Die cutting: Cutting the label to a custom shape. The cut goes through the laminate, so a custom die-cut label can be laminated like any other.

Not sure which laminate to pick?

We’ll put together a sample pack around the materials and finishes you’re considering, so you can see and feel them in person. Request a sample pack, or tell us about your product and we’ll figure out the right setup together.

Frequently asked questions

Is a laminated label water-resistant?

Yes. A laminate seals the printed face of the label, so splashes, condensation, and wet hands won’t smear the ink. The cut edges stay uncovered, though. A laminated paper label can still soak up water from the sides if it sits in ice or water. For labels that will get wet often, a film material like BOPP with a laminate holds up best.

What’s the difference between gloss and matte laminate?

Gloss laminate reflects light for a smooth, shiny look that makes colors look bright. Matte laminate dulls the surface so it doesn’t shine much at all, which gives a softer look. Both protect the print. Pick based on the look you want and the lighting your product sits under, since gloss can throw glare under bright store lights.

Can you laminate paper labels?

Yes. A laminate makes a paper label more resistant to moisture, tearing, and smudges. It covers the face of the label but not the edges, so paper is still a better fit for products that stay dry. Textured papers are the exception. We recommend a varnish for those, because a laminate film can’t settle into the grooves of the paper.

Does lamination add cost or time to an order?

A gloss or matte laminate costs about the same as a varnish. Soft touch costs more. Adding spot UV on top of a laminate raises the cost too, since you’re paying for two finishes. It doesn’t usually change the turnaround. If you’re on the fence, ask for a quote with and without it and decide whether the protection is worth it for your product.

Can you print on top of a laminated label?

Yes, with a thermal transfer laminate. Our gloss, matte, and soft touch laminates each come in a thermal transfer version that takes ink from a thermal printer, so you can add weights, dates, prices, or batch codes after your labels arrive. Standard laminates keep that ink from sticking.

What’s the difference between a laminate and a varnish?

A laminate is a clear plastic film applied over the printed label. A varnish is a liquid coating that dries on the surface. A laminate usually gives more protection against water, scuffs, and oils. A varnish gives lighter protection, is our pick for textured papers, and can be applied to just part of a label.
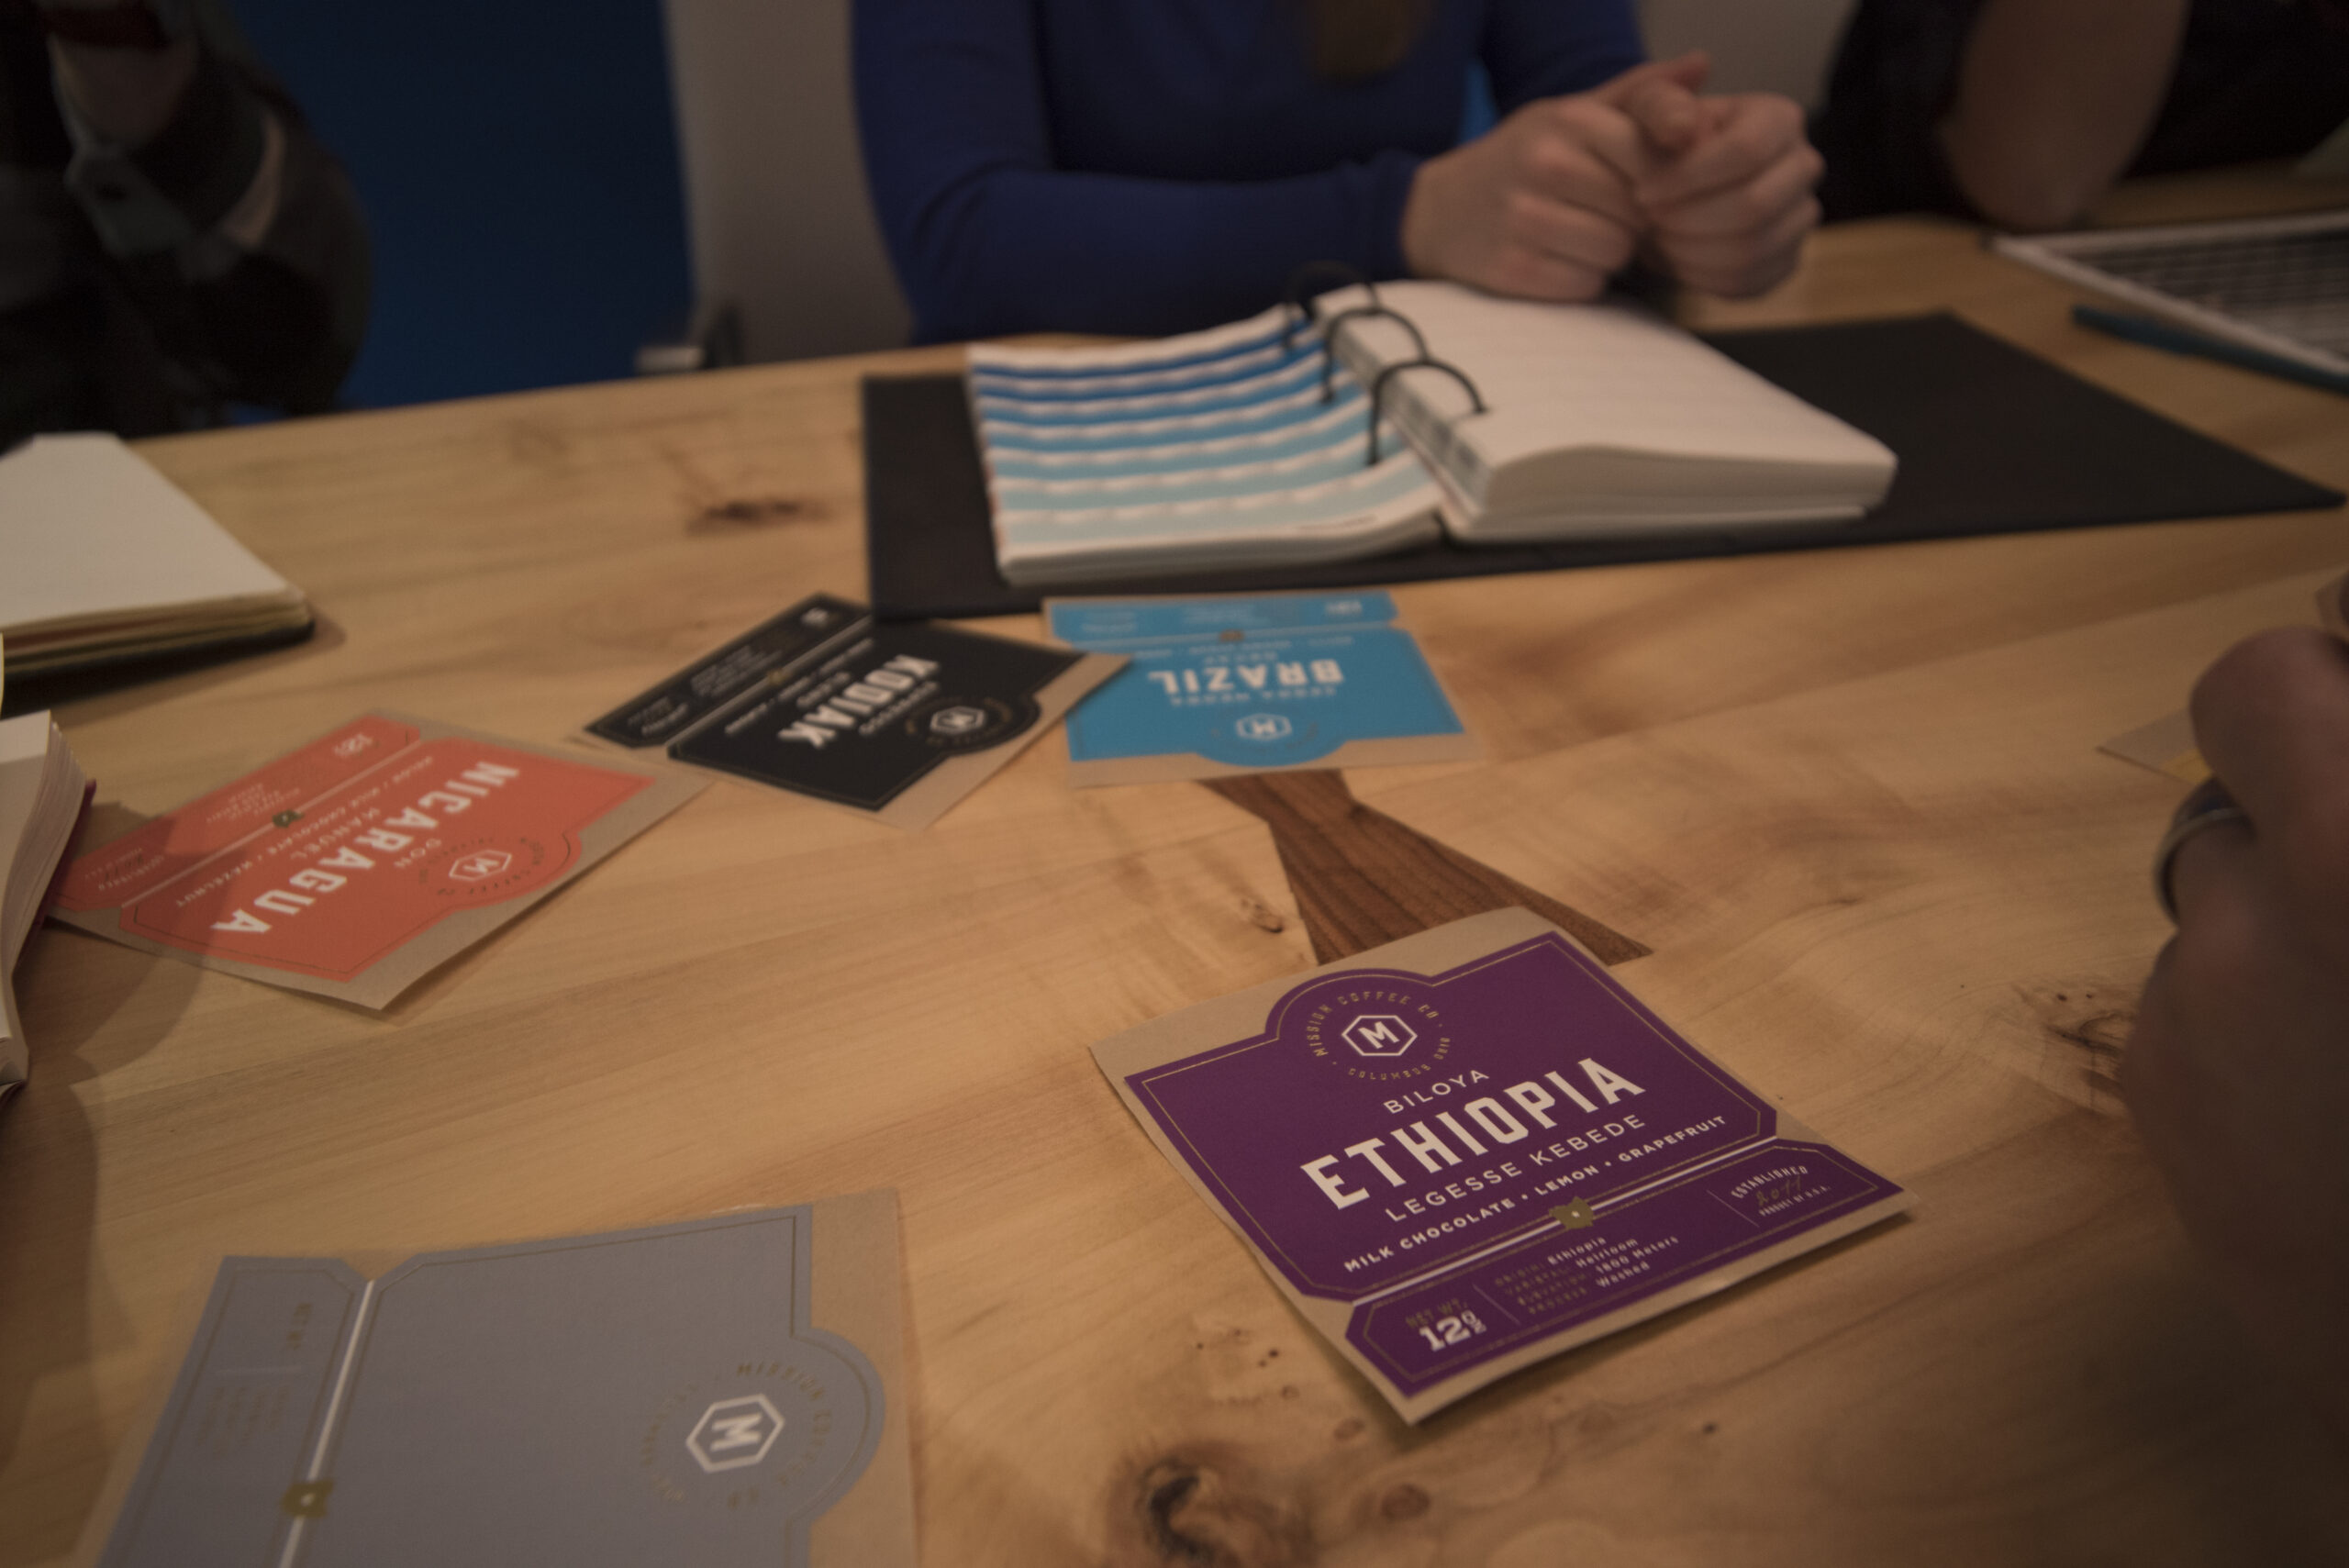
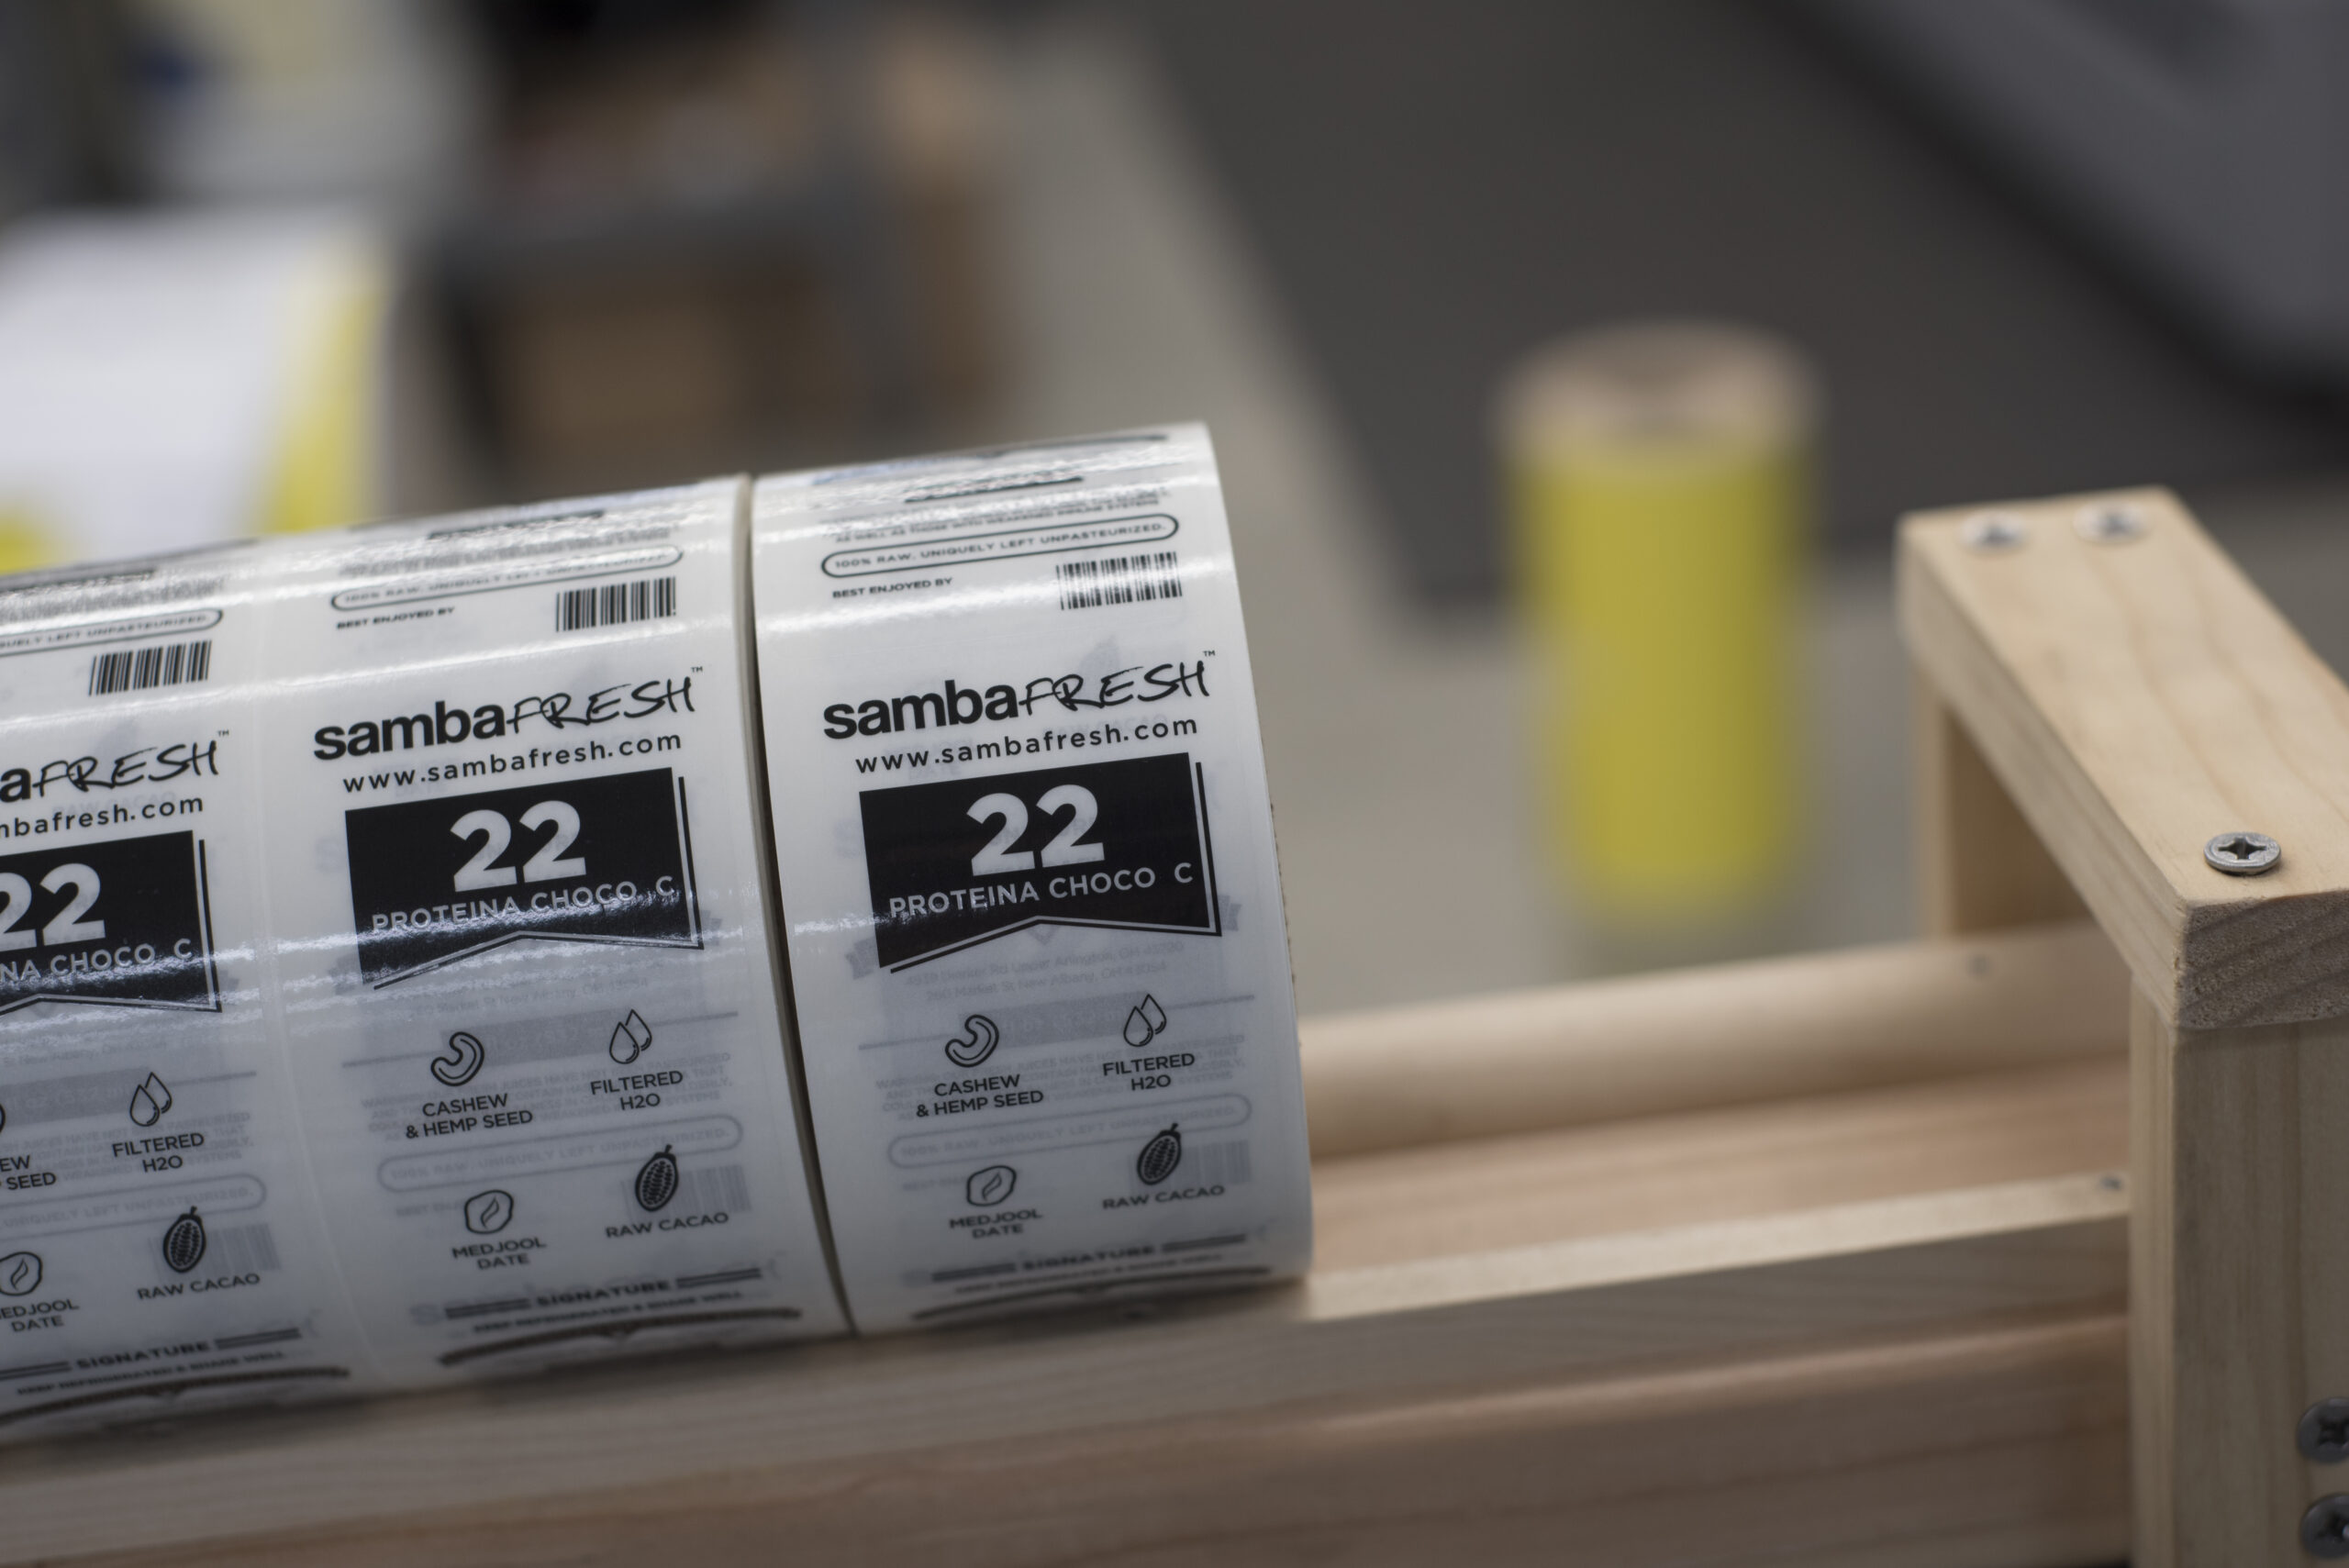
Pros and Cons of Different Types of Label Materials

⚞ The Highlights:

  • Label materials fall into two main families: paper facestocks (semigloss, gloss, textured, kraft, estate, metalized) and film facestocks (BOPP, PET, polyolefin, vinyl).
  • Paper is lower cost and looks great indoors, but it’s not waterproof and can lose adhesion in moist or sunny conditions.
  • Film costs more upfront but holds up to water, UV light, heat, and chemicals. And lasts noticeably longer in tough environments.
  • The right material depends on where the product lives (indoors, refrigerator, outdoors), what it touches (water, oils, solvents), and the brand positioning (craft paper for natural; metalized for premium).

Choosing the right label material is the difference between a label that looks sharp on day one and looks the same on day three hundred. The wrong material peels in a cooler, fades in sunlight, or wrinkles after a single dishwasher cycle. The right material does the work of holding your brand together long after the product hits the shelf.

Below is a side-by-side breakdown of the most common label materials, what each does well, where each falls short, and how to pick the one that fits your product.


Image of paper product labels.

Label material comparison: paper and film, side by side

Material Type Water resistance UV / outdoor Cost Best for
Semigloss paper Paper Low Low Low Standard indoor product labels
Gloss paper Paper Low Low Low–Mid Vibrant color, indoor use
Textured / felt paper Paper Low Low Mid Wine, craft beverage, premium and artisanal
Estate paper Paper Low Low High Reserve wines, ultra-premium spirits
Kraft / unbleached paper Paper Low Low Low–Mid Organic, eco-positioned, natural brands
Metalized paper Paper Low–Mid Low Mid Premium with metallic shine, alternative to foil
BOPP (white or clear) Film High Mid Mid Beverages, food, beauty, anything in moisture
PET (polyester) Film Very high High Mid–High Outdoor, industrial, automotive, harsh environments
Polyolefin Film High Mid Mid Squeezable bottles, flexible packaging, beauty
Vinyl Film Very high High Mid–High Heavy-duty, signage, outdoor, automotive

Paper facestocks: where paper wins and where it doesn’t

Paper labels are versatile and come in several varieties: semigloss, gloss, textured, linen, felt, estate, and metalized. Paper is generally less expensive than film, which makes it a good fit when the product won’t see meaningful moisture or sunlight. Some paper stocks (like textured or matte-coated papers used on wine labels) cost more, but they’re often chosen for premium products like fine wines or craft spirits.

Paper performance considerations

Paper labels look sophisticated, but they’re also more delicate than film. Paper isn’t waterproof; even wet-strength paper (paper treated to resist water) will eventually absorb moisture. Paper labels can also wrinkle or tear if handled roughly. Two ways to push paper further: choose a thicker paper stock, or add an overlaminate (a protective coating that adds durability and moisture resistance).

Paper durability

Standard paper labels can lose around 30% of their adhesion over six months when exposed to moisture and sunlight, based on independent tests reported by Label & Narrow Web. Real-world results depend on your specific environment.

Paper cost

If your product lives indoors, the upfront savings on paper labels are real. In high-humidity or outdoor settings, the cost story shifts. Replacements, peeling labels, and the occasional product recall add up. A case study from Packaging Strategies found that switching to more durable materials reduced total packaging costs by up to 25% in some applications. Your mileage will vary based on volume and environment.

Image of a film facestock label.

Film facestocks: where film earns its higher cost

When products need to handle tougher conditions. Moisture, UV light, heat, chemicals, abrasion. Film facestocks are usually the answer. Film options include:

BOPP (biaxially oriented polypropylene)

BOPP is the workhorse of film labels. It’s available in white, clear, or metalized finishes, and it handles moisture and humidity well. The most common film for beverages, specialty foods, and beauty products. Mid-priced, durable, accepts a wide range of finishes.

PET (polyester)

PET is the heavy-duty film. It excels in outdoor settings and tolerates extreme temperatures, UV exposure, chemicals, and abrasion. Available in clear, white, and vinyl-style finishes. Common in industrial, automotive, and outdoor product applications.

Polyolefin

Polyolefin is soft and flexible, which makes it the right pick for squeezable bottles and tubes where the label has to stay readable while the package flexes. Common for beauty, personal care, and flexible packaging.

Vinyl

Vinyl is the most rugged film option, designed for outdoor signage, heavy-duty applications, and environments where labels need to survive years of weather and abrasion. Less common in retail product labeling than BOPP or PET, but the right pick for industrial use cases.

Film durability and longevity

Film labels typically maintain over 95% adhesion even after extended outdoor use, lasting roughly 30% longer than standard paper labels in equivalent conditions, based on standardized tests reported by Packaging Strategies. Film costs more upfront, but for products in moist, outdoor, or industrial environments, the longer life and lower replacement cost often more than offsets the price difference. As always, real-world results depend on the specific application.

Labels being printed on a digital printing press

Sustainability and environmental considerations

Sustainability is a real factor, not a marketing line, in label material choice. The current state of the art:

  • Eco-certified options are growing. More than 80% of label manufacturers now offer eco-friendly materials (the percentage varies by industry). Recycled paper facestocks and biodegradable films are becoming standard, with some materials carrying certifications like the EU Ecolabel and U.S. Green Seal (Smithers Pira).
  • Eco-friendly labels are growing fast. Whitepaper data from Smithers Pira shows double-digit annual growth in eco-friendly label adoption. Adding lifecycle assessment and carbon footprint data to your material evaluation gives a clearer picture of long-term environmental impact.
  • Trade-offs to know. Recycled paper costs more than standard paper. Biodegradable films are more expensive than BOPP. Compostable films require industrial composting infrastructure that not every market has. The eco choice is a real choice, not a free upgrade.

Material recommendations by industry

Different industries and product environments push different material decisions. The patterns we see most often:

  • Craft beer and beverages: BOPP for cans and bottles that live in coolers; textured paper for premium bottle releases where tactile feel matters; shrink sleeves for full-wrap branding on can-and-bottle hybrids.
  • Wine: textured or estate paper for premium positioning; smooth coated paper for modern minimalism; wet-strength laminate for wines that sit in damp cellars or ice buckets.
  • Spirits: textured paper with foil for the premium category; clear film for “no label” looks on sculptural bottles; metalized paper as a foil alternative at lower cost.
  • Beauty and personal care: BOPP or polyolefin for shower and bath products that need water resistance; soft-touch laminate for the velvety hand-feel premium beauty consumers expect; clear film on glass perfume bottles for printed-on-glass aesthetics.
  • Food and CPG: semigloss paper for shelf-stable indoor products; BOPP for refrigerated or freezer items; kraft paper for natural and organic positioning.
  • Pet products: BOPP or PET for outdoor-use products (treats sold from outdoor displays); water-resistant film for grooming products used near sinks and showers.
  • Industrial and automotive: PET or vinyl for products that face UV, chemicals, abrasion, or extreme temperatures; specialty adhesives matched to the substrate.
  • Cannabis and hemp: BOPP for moisture resistance on glass or plastic containers; child-resistant packaging requirements may dictate substrate compatibility.
  • Health and supplements: BOPP for general use; tamper-evident finishes where regulatory standards apply.

Quick checklist for choosing your label material

  • ☐ Where will the product live? Indoor, refrigerator, freezer, outdoor, industrial. Each environment has a baseline material requirement.
  • ☐ What will the label touch? Water, alcohol, oils, solvents, abrasive surfaces. These dictate adhesive and material choice.
  • ☐ What’s the brand positioning? Premium, natural, modern, industrial. Material choice is part of the brand story, not just a functional decision.
  • ☐ What’s the substrate? Glass, metal, plastic, soft-touch coated container. Some adhesives work on some substrates and not others.
  • ☐ What’s the budget? Paper is cheaper upfront; film usually pays back in tougher environments. Match the material to the durability needs, not just the per-label cost.
  • ☐ What’s the sustainability goal? If recyclability or compostability is part of the brand promise, the material choice has to support it. Walk through the specifics with your printer.

Frequently asked questions

What’s the difference between paper and film labels?

Paper labels are made from paper-based facestocks (semigloss, gloss, textured, kraft, etc.) and tend to be less expensive but less durable, especially in moisture or sunlight. Film labels are made from synthetic facestocks (BOPP, PET, polyolefin, vinyl) and are more durable, water-resistant, and UV-stable but cost more upfront. The right pick depends on the product’s environment and the brand positioning.

Are paper labels waterproof?

No. Even wet-strength paper (paper treated to resist water) will eventually absorb moisture. Paper labels can wrinkle, tear, or lose adhesion in damp environments. For products that face moisture, humidity, or contact with water, film labels (BOPP, PET, polyolefin) are the better choice. Adding an overlaminate to a paper label can extend its moisture resistance, but it doesn’t make paper truly waterproof.

What is BOPP and when should I use it?

BOPP stands for biaxially oriented polypropylene. A strong, flexible, water-resistant film used widely for product labels. It’s available in white, clear, and metalized finishes. BOPP is the standard for beverage labels, food labels, beauty products, and anything that lives in moisture. It’s mid-priced, durable, and accepts a wide range of finishes (gloss, matte, soft-touch, foil).

What’s the most durable label material?

PET (polyester) and vinyl are the most durable common label materials. PET excels in outdoor and industrial settings, tolerating extreme temperatures, UV exposure, chemicals, and abrasion. Vinyl is even more rugged and is common for outdoor signage and heavy-duty applications. For most retail product labeling that needs durability, BOPP is usually a close second and costs less.

Are eco-friendly label materials more expensive?

Generally, yes. Recycled paper facestocks cost more than standard paper. Biodegradable films are more expensive than BOPP. Compostable PLA films are the most expensive option and also require industrial composting infrastructure to actually compost. The eco-friendly choice is a real trade-off, not a free upgrade. But the gap is narrowing as adoption grows.

What label material is best for craft beer cans?

BOPP (white or clear) is the standard for craft beer can labels. It’s water-resistant, holds up in coolers and ice buckets, and works well with the printing techniques craft brewers use most often. For premium or specialty releases, some breweries use textured paper (with overlaminate) for a tactile contrast against the standard can finish, or shrink sleeves for full-wrap 360° branding.

What label material is best for cosmetic and beauty products?

BOPP and polyolefin are the two most common choices for beauty and cosmetic labels. BOPP works for most rigid containers (jars, glass bottles, sturdy plastics). Polyolefin is the better fit for squeeze bottles and tubes that flex during use. Both can be paired with soft-touch lamination, hot foil stamping, or embossing for the premium feel beauty buyers look for.

Get the right materials for your labels

Choosing the right label material can feel like a lot of decisions stacked on top of each other. The good news is that most of those decisions get clearer once you walk through the questions in the checklist above with someone who’s seen a lot of products through similar choices.

We work with brands across food, beverage, beauty, CPG, and industrial categories on both paper and film labels. Take a look at our BOPP labels, full label options, or request a free sample pack to feel the difference in person. Get in touch when you’re ready to talk through your project.

A Comprehensive Guide to Clear and Transparent Product Labels

⚞ The Highlights:

  • Clear labels let the container and product show through, which is why they’re popular for beverages, beauty products, and any product where the contents are part of the brand story.
  • Clear labels are always made from film (there’s no see-through paper). Common materials: BOPP, PET, MDO film for squeeze bottles, and HDPE for moisture-heavy applications.
  • Design rule #1: plan for the bottle color to show through. Add white ink layers behind colored elements that need to read accurately.
  • Application matters more on clear labels. Bubbles, fingerprints, dust, and wrinkles all become visible in a way they don’t on white labels.

Clear and transparent labels create a striking look that puts the container, the product, or both at the center of the design. Done well, they give beverages, beauty products, and food brands a clean, modern, premium feel that white labels can’t match. Done without planning, they show every fingerprint, every air bubble, and every color shift that happens when ink sits on top of a colored bottle. Below is what to know before you commit to a clear label.

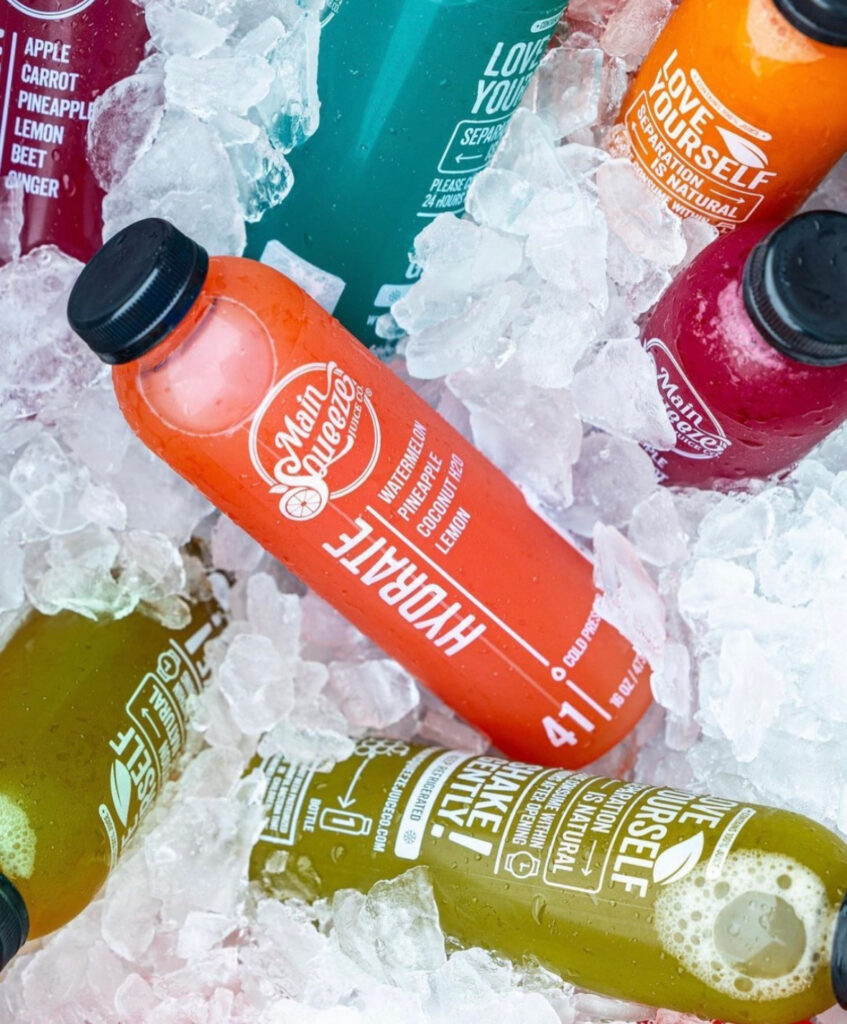
Custom beverages with clear labels

Clear vs. white vs. metallic labels: how they compare

Label type What it does Best for Cost
Clear / transparent Container and contents show through; design appears to float on the bottle Beverages, premium spirits, beauty products, “no-label” looks Higher (specialty films + white-ink layers)
White Solid white background that prints color predictably; covers the container Most retail products; bold branding; consistent color across SKUs Mid (the standard)
Metallic / silver Metalized substrate gives a reflective, premium finish Premium beverages, spirits, beauty, anywhere “luxe” is the goal Higher (less than hot foil but more than standard)

The short version: clear is for products where the container or contents are visually interesting; white is the default for most retail; metallic is the premium-positioning shortcut when foil isn’t in the budget.

Why clear and transparent labels work

Clear labels do two things at once. They let the product itself become part of the visual identity (the color of a juice, the texture of a serum, the natural look of a sauce), and they signal a “we don’t need to hide it” confidence that buyers tend to read as quality. The “no-label” look is also one of the most consistent visual cues for premium positioning across beverage, beauty, and specialty food categories.

Which products fit clear and transparent labels?

  • Beverages. Clear bottles + clear labels showcase juice pulp, fruit pieces, kombucha cultures, sparkling water bubbles, and the natural color of the liquid itself.
  • Foods. Jams, sauces, frozen fruits, honey, and similar products gain visual appeal when the label doesn’t cover up the ingredients. Clear labels reinforce homemade, artisanal, or natural positioning.
  • Health and beauty. Skincare, serums, perfumes, lotions, and cosmetics. The product color or shimmer becomes part of the design. Clear labels also make shade-matching products easier for buyers to evaluate at shelf.
  • Spirits and craft beverages. Premium gins, vodkas, and aperitifs use clear labels to let the bottle’s shape and the liquid’s color do the visual work, with brand marks layered on as accents.
  • Wellness and supplements. Tinctures, vitamins, and supplements where the brand wants to communicate transparency. Both literally and figuratively.

Clear label materials and container compatibility

Clear labels are always made from film. There’s no see-through paper option. Paper substrates aren’t transparent. The most common clear label films:

  • BOPP (biaxially oriented polypropylene). Clear BOPP is glossy, durable, and adapts well to complex shapes. The most common clear label material.
  • PET (polyethylene terephthalate). Crystal-clear polyester that’s especially common in health and beauty for its glassy appearance and durability.
  • MDO film (machine direction oriented polyolefin). Designed for flexible containers. Squeeze bottles, tubes, anywhere the package contorts during use. The label flexes with the package without cracking or wrinkling.
  • HDPE (high-density polyethylene). Strong, moisture-resistant film for tough environments.

The right choice depends on the container. Squeeze bottles need MDO. Glass spirits bottles often pair with crystal-clear PET for the glassy look. Most retail beverage containers work well with clear BOPP. Always pair the film with a laminate or varnish to protect against scratches and abrasions.

Design and color considerations

Color shifts: plan for the background

The colors on a clear label will blend with whatever’s behind them. The bottle color, the contents, or both. Red ink on a blue bottle reads purple. Yellow ink on a clear bottle filled with cola reads brown. To control for this:

  • Add white ink layers behind colored design elements that need to read accurately. Multiple layers of white ink may be needed to fully block out a saturated bottle color.
  • Test print proofs on actual containers and contents before approving a full run. Transparent inks on a screen don’t predict how they’ll behave on a colored bottle full of product.

At Blue Label, we can produce physical label proofs applied to your actual container and contents, so you see exactly how the colors will read before committing to a print run.

Custom food jars with clear labels

Size, shape, and die cuts

Clear labels open up shape options that white labels constrain:

  • Non-standard dimensions. Sized to fit the exact contour of the bottle, jar, or container.
  • Rounded corners. Soft or dramatic corner shapes that match the curve of the container.
  • Custom die cuts. Logos, abstract forms, or art-based outlines.
  • Multi-position labels. Front, back, side, and neck labels working together because each one is small and visually quiet, so multiple labels don’t crowd the bottle.

Designing for dark or shiny containers

  • Dark bottle colors restrict visible artwork. Dark backgrounds reduce the colors that read clearly on a clear label. Lean into colors with strong contrast against the bottle color.
  • Shiny materials hide detail. On glass or metalized containers, fine details and thin lines can disappear. Use bolder typography, patterns, and outlines to hold visual presence.

Design moves that work well on clear labels

  • Feature the contents as part of the design. Let appetizing food or beverage colors show through and become the visual centerpiece.
  • Use white ink as a design element, not just a backing layer. White ink on clear film reads bright and clean.
  • Layer artistic patterns, illustrations, or product sketches directly on the see-through material for a “printed on glass” effect.
  • Consider partial transparency. Opaque white ink for required information (regulatory copy, ingredients) and transparent design elements for brand visuals.

What clear labels cost

Clear labels and the printing techniques they require can carry higher costs than standard paper or white film labels.

Material cost

Clear film materials (BOPP, PET, HDPE, MDO) generally cost 10–30% more than paper labels of the same size. The extra cost buys 360° visibility of the contents and the option for the “no-label” look.

Printing cost

Clear labels often need:

  • White ink layers behind designs to prevent color shift, which adds passes through the press
  • Precise registration to line up multiple ink layers, which requires specialized presses and operator experience
  • Specialty inks or finishes (metallic, custom Pantone matches) that increase setup and per-label costs

ROI

The upfront cost of clear labels is higher, but for the right product they pay back through differentiation on shelf, premium positioning, and shopper engagement. If you’re undecided, run a small test on a single SKU before committing across the line.

Preparing artwork for clear labels

File setup

  • Send artwork as print-ready PDFs or high-resolution PSD/AI files so transparent elements render exactly as designed.
  • Review files at 100% scale and maximum quality before submitting.
  • Activate transparency flattening when saving PDFs so artwork layers blend correctly.
  • Confirm acceptable file formats with your printer and ask for a design file review before printing.

Design specifics

  • Use white ink layers behind colored design elements that need to read accurately on colored bottles.
  • Embed or link all fonts and images. Supply high-resolution photos sized 1:1 with the final label.
  • Request test prints applied to sample containers filled with stand-in product. The only reliable way to preview the final result before committing.

Label placement and application

Clear labels show every imperfection that white labels hide:

  • Air bubbles beneath the label become clearly visible.
  • Fingerprints, smudges, dust, and debris all show through the film.
  • Wrinkles and folds stand out, especially on cylindrical containers.

To avoid issues:

  • Use clean application practices. Minimize handling. Use automated label dispensers over manual application when possible.
  • Inspect every label after application. Re-apply any with bubbles, debris, or wrinkles before product goes to shelf.
  • Match the adhesive to the container. Clear labels need permanent adhesives that bond cleanly to smooth surfaces. Peeling or shifting is more visible on clear film than on a white label.

Clear labels reveal the bottle and the contents beautifully. They also reveal application flaws, which is why tight quality control on application matters more here than on most label types.

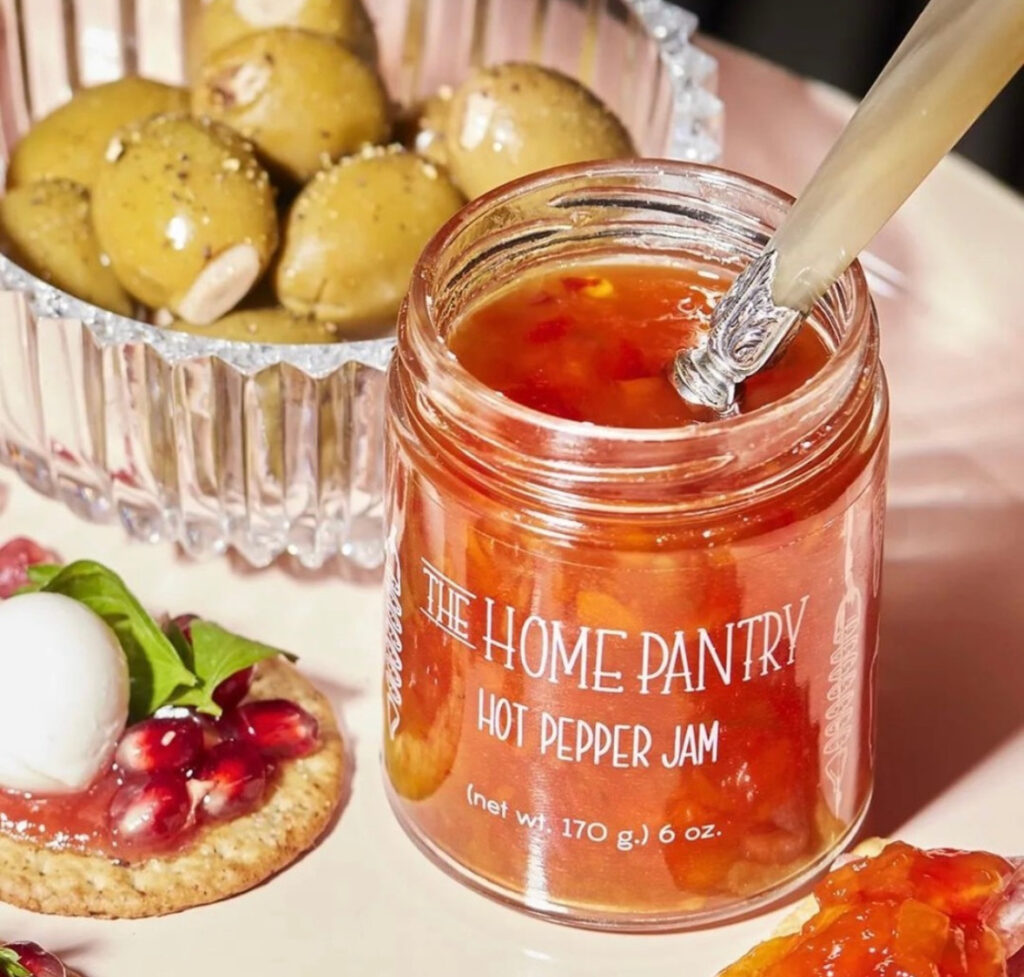
Custom jam labels with clear labels

Frequently asked questions

What is a clear label made of?

Clear labels are always made from film, never paper (there’s no see-through paper). The most common clear label films are BOPP (biaxially oriented polypropylene), PET (polyester), MDO film (for flexible containers like squeeze bottles), and HDPE (for moisture-heavy applications). The right choice depends on the container and the use environment.

Are clear labels more expensive than regular labels?

Generally yes. Clear film materials cost 10–30% more than paper labels of the same size, and the printing process often needs additional white ink layers behind colored design elements (which adds press passes). Specialty inks and precise multi-color registration can add further setup costs. The trade-off is the premium look and shelf differentiation that clear labels create.

Why do clear labels need white ink behind the design?

Because the colors on a clear label blend with whatever’s behind them. The bottle color, the contents, or both. Red ink on a blue bottle reads purple; yellow on a clear cola bottle reads brown. White ink layers act as a backing that blocks out the background so colored elements read accurately. Multiple layers of white may be needed to block out highly saturated bottle colors.

Can clear labels work on dark bottles?

Yes, but they need different design moves. Dark bottle colors restrict the artwork colors that read clearly through the film. The reliable approach is to use white ink as a design element, lean on colors that contrast with the bottle, or use bold typography, patterns, and outlines to hold visual presence against the dark background.

What products use clear labels most often?

Clear labels are most common in beverages (juice, kombucha, sparkling water, spirits where the liquid color is part of the appeal), foods (jams, sauces, honey, frozen fruit), health and beauty (serums, perfumes, lotions where shade or shimmer matters), and premium spirits where the bottle shape and liquid color carry the brand identity.

Do clear labels show fingerprints and bubbles?

Yes. Clear labels reveal every application imperfection. Air bubbles, fingerprints, dust, debris, and wrinkles all show through. Tight quality control on label application matters more on clear labels than on most label types. Use automated dispensers when possible, minimize handling, and inspect every label after application.

What’s the difference between clear and white labels?

Clear labels let the container and contents show through, with the design appearing to float on the bottle. White labels have a solid white background that covers the container and prints color predictably. Clear labels work well when the product or container is visually interesting; white labels are the default for most retail products where consistent, high-contrast color matters more than transparency.

Find the right partner for your clear product labels

Clear labels are tough to evaluate on a screen. The bottle color shifts the artwork. The contents shift it again. The lighting at retail shifts it a third time. The only reliable way to know how a clear label will look is to see it on the actual container, applied with the actual contents, under realistic lighting.

If you’re considering a clear label, take a look at our clear labels page for an overview, or request a free sample pack to see clear labels applied to real product containers. Get in touch when you’re ready to talk through your project.

The Different Types of Label Varnishes and Coatings

A label varnish is a clear liquid coating that’s rolled over a printed label, then cured or dried so it bonds to the surface. It protects the ink from scuffs, dulling, and fading. It’s lighter protection than a laminate, which is a thin film laid over the label. Our guide to laminate or varnish for bottle labels helps you choose between the two.

At Blue Label, we run UV coating (a clear varnish hardened with ultraviolet light) in three versions: full UV, spot UV, and raised spot UV. If you already know you want a coated label, start with our UV coated labels. There are no minimums, and quotes come back in under 24 hours.

Labels with a UV varnish.

The types of label varnish and coating we run

There are a few different types of label varnish. They differ in how they’re cured, where they go on the label, and the finish they leave. The table lists the ones we print and what each one is for.

Coating Where it goes What it’s for How it looks and feels
Full UV coating The whole label Protecting the print from scuffs, dulling, and fading A clear, even layer over everything
Spot UV (sometimes called spot gloss) Just your logo or a design detail Making one part of the design stand out A glossy accent against the rest of the label
Raised spot UV A logo, a name, or one small detail Looks and touch Glossy, and thick enough to feel with a fingertip
Soft-touch varnish (water-based) The whole label A velvety feel with light protection Low sheen and soft to the touch

UV or water-based: how a varnish is cured

UV coatings use ultraviolet light to cure a liquid coating. Once it’s cured, the UV varnish essentially bakes onto your label material and forms a protective layer. That layer helps keep your design from fading over time.

Aqueous coating (aqueous just means water-based) doesn’t need UV light to cure. It’s a clear varnish that air dries quickly. Our soft-touch varnish is a water-based coating. It gives the velvety feel, but it isn’t very durable, so most brands pick a soft-touch laminate instead.

Gloss, satin, and soft-touch: what finish a varnish leaves

Gloss, satin, and soft-touch describe the finish a coating leaves, not how it’s cured. Gloss varnish gives a smooth, shiny look. Satin varnish cuts most of the shine, so other parts of the design stand out. Soft-touch varnish has a low sheen and a velvety feel under your fingers. At Blue Label, gloss, matte, and soft touch all come as laminates, which protect more than a varnish, and soft touch also comes as a water-based varnish.

To compare the looks side by side, see glossy, satin, and matte labels and what a soft-touch label is.

Raised and textured varnish: what it is and when it’s worth it

Raised, high-build, relief, tactile, and rough-touch varnish all describe a varnish you can feel. Some are laid down thick enough to stand up off the label. Others leave a fine grit you notice when you touch the surface.

Our version is raised spot UV. It’s a thicker spot UV that you can feel when you run a finger across the label. We use it on a logo, a brand name, or one detail you want people to notice when they pick the product up. We confirm it works on your label material when we quote the job.

A small caveat: a raised varnish suits bold shapes better than small type or fine lines. On labels that get handled a lot, like cans pulled out of a cooler, the raised areas also take the first wear. For those labels, the usual setup is a laminate to protect the whole label, with the spot UV on top for the logo. That’s two finishes, so it costs more than either one alone.

To see whether raised spot UV is worth it on a short seasonal run, ask us to quote the label with and without it. You’ll see the difference for your quantity, and it doesn’t add time to the order.

If you want the label itself raised rather than a layer on top of it, that’s embossing. Embossing presses the material up from behind, so the paper or film carries the shape.

Which label materials take a varnish?

Varnish is a good option for paper labels because the liquid can conform to the texture of the paper and fill in any nooks and crannies. For textured papers (like estate or felt), we recommend a varnish over a laminate, because a laminate film can’t settle into the grooves. On uncoated papers, the varnish can soak in, so you get less shine and a little less protection than on film. Our UV coated labels are printed on films: BOPP (a plastic film common on cans and bottles), vinyl, and polyester. On smooth films, we use a laminate or a varnish depending on what the label needs.

If your label will see water, ice, or a lot of handling, our guide to types of label lamination covers the films that go over a printed label. You can see paper and film stocks side by side on our materials page.

Paper beer labels protected with a label varnish.

See and feel the finishes before you choose

Finishes are easier to judge in your hand than on a screen. Request a sample pack and we’ll put it together around the materials and finishes you’re considering, or tell us about your label and we’ll help you pick a coating.

Frequently asked questions

Is UV varnish the same as UV coating?

Yes. Both names describe a clear varnish hardened with ultraviolet light. Full UV covers the whole label to protect it from scuffs, dulling, and fading. Spot UV covers only part of the design, like a logo, and is there for looks. Raised spot UV is a thicker spot UV you can feel.

What is a raised or tactile varnish?

A raised or tactile varnish is a varnish you can feel. Raised or high-build varnish is laid down thick enough to stand up off the label. Tactile or textured varnish gives the surface a fine grit or texture you notice by touch. Our version is raised spot UV, usually placed on a logo or one design detail. We confirm it suits your label material when we quote.

Does a varnish make a label water-resistant?

Not on its own. A varnish adds a clear layer that protects the ink from splashes, scuffs, and handling. Water resistance comes mostly from the label material and the adhesive. A laminate protects more than a varnish does. For labels that sit in ice or get wet often, start with a water-resistant film like BOPP rather than relying on a varnish over paper.

Can you add a varnish on top of a laminate?

Yes. We can add a varnish on top of laminated labels to highlight specific design elements, such as a spot UV logo over a matte laminate. That’s two finishes, so it adds to the cost. We check whether raised spot UV works over a given laminate and material when we quote.

The Different Wine Label Stocks You Can Use to Showcase Your Bottles

⚞ The Highlights:

  • Common wine label stocks include textured papers for a premium look, uncoated or coated papers for versatility, and synthetic or film materials for added durability and moisture resistance.
  • Paper stocks, including estate paper, are popular for wine labels because they provide a premium, textured appearance, absorb ink well for a rich look, and give an artisanal touch.
  • Other label materials, such as synthetic or film options, offer greater durability and moisture resistance, while metallic foils or clear films can provide a premium sheen or transparent look.

When it comes to investing in wine labels, it’s good to have options. There are a variety of label materials to choose from, but it’s up to you, your designer, and your label printing company to decide which one makes the most sense for your bottles. When it comes to wine labels, the three most popular types of materials you can use are:

  • Estate
  • Ever-opaque
  • Specialty

Each category offers various advantages depending on your desired look, feel, and price point. Here’s a quick breakdown of the different types of wine stocks so you can figure out what’s right for your packaging needs.

Estate Wine Labels

When you think of a classic paper wine label, you’ll likely envision something made with an estate material. Estate materials are a popular choice for the wine industry, and for good reason – they have a classic look and are generally a more cost-effective option.

Another advantage of paper labels is that they are incredibly versatile. While paper typically exudes a very natural appearance, there are various types of paper materials that can either enhance that look or provide a new type of aesthetic. For example, linen-style or uncoated eggshell bottle label papers both have different textures in the paper fibers that can help you match the look you want for your wine labels.

Of course, there is a downside to using an estate material. Unlike film, wine label paper absorbs water, which can cause those labels to disintegrate over time. While there are some paper stocks that have a higher wet strength, even those options aren’t completely waterproof. As such, estate may not be the best option if your wine labels will encounter water.

A paper wine label that has been embossed and stamped with hot foil.

Ever-Opaque Wine Labels

If you really love the look of estate but are concerned about water damage, you should consider investing in an ever-opaque material.

Ever opaque wine labels have a layer of BOPP film woven between paper to help shield your labels from moisture. This material option allows you to still give your bottles an estate feel without the downsides of soggy paper wine labels.  This can make ever opaque materials a go-to option for white wines that are typically chilled before use or any other bottles that may encounter moisture throughout its journey from your facility to your consumers’ tables.

As can be expected, the downside of ever-opaque stocks is that the presence of a BOPP film can drive up costs. However, that increase may be well worth the investment if it protects your labels from future damage.

Specialty Wine Labels

While both estate and ever-opaque wine labels have a more traditional look and feel, specialty label stocks can help you take your bottles to a whole new level. These can be made of paper or film and vary greatly in terms of overall aesthetic. Some specialty options include:

  • Felt/velvet materials
  • Cobblestone patterns
  • Shrink sleeves
  • Holographic or glitter films
  • Gloss, matte, satin, and soft-touch varnishes or laminates

As you can see, there are plenty of possibilities to break out of the classic wine label mold with specialty labels. The various materials available will each have their own distinct advantages, but when used properly, they can make sure that your bottles stand out when placed next to your competition.

A black vellum wine label make with a duplex hot foil and white ink.

Work with a Label Printing Company that Makes Your Wine Labels Shine

No matter which wine material you like best, it’s important that you partner with a printing company that can turn your design into stunning, eye-catching labels.  At Blue Label Packaging Company, we have the expertise and state-of-the-art printing equipment necessary to print stunning labels at competitive prices. We work with you to identify the right label material for your needs, and we can provide special label printing and finishing capabilities to add an extra dimension to your label design.

Are you in need of top-quality wine labels? Contact Blue Label today to talk to our experts about your next label printing project.