Kiss Cut vs Die Cut Labels: Understanding the Difference

If you’re looking for cutout labels for your product packaging, you may have come across two common types: kiss cut and die cut. 

While both of these labels may look the same on the surface, they differ in a few ways, including the way they’re cut, how they’re applied, and the process of producing them. 

Because of their distinctive shapes and designs, both types of labels can be used for packaging that requires a more intricate cutout design.

In this article we’ll explore kiss cut vs die cut labels by digging into their differences and similarities. 

What Are Kiss Cut and Die Cut labels?

If you’re looking for a label that allows you to showcase an intricate design, these are generally the two cutting techniques that are available. Understanding them can help you get what you’re looking for. 

A diagram showing kiss cut vs. die-cut labels

Kiss Cut labels 

Kiss cut labels are only cut through the vinyl layer while leaving their paper backing intact.

These labels are printed on a vinyl sheet, then a cutting machine is used to cut through the vinyl paper while leaving the adhesive intact. A professional printer will adjust settings related to pressure, speed, and cutting depth. The result is a kiss cut sticker is easy to peel and apply on your desired surface. 

Kiss cut labels are generally durable, and the intact backing helps protect the labels until they are ready to be used.

Die Cut labels

Unlike kiss cut labels, die cut labels are cut completely through both the vinyl layer and the backing material. This keeps the sticker in its exact shape without any extra material on the sides.

Die cut labels are created by printing the design on vinyl and using a die (a tool, often made from metal) to cut through the backing paper and vinyl. The outcome is a custom-shaped sticker without any excess material.

Die cut labels tend to be a bit more durable and resistant to the elements than kiss cut labels, making them a more suitable choice for outdoor use, rough handling, or products that encounter changing environments.

Specific Applications and Suitability

Kiss cut or die cut labels can be used to complement existing packaging or labeling, and other times the product label itself is a kiss cut or die cut shape.

Rum bottle with custom label

Food and Beverage Products

From craft beers to specialty foods, these labels can complement existing packaging design or become the focal point of the product itself. Here are some examples:

  • Standard cutout product labels including branding, product name, ingredients, nutritional information, and more
  • Custom-shaped labels that match the shape of the product or the shape of the label design itself, providing a unique and eye-catching appearance
  • Product identification labels for different flavors or batches, making it easy for consumers to distinguish between choices
  • Promotional labels for temporary promotions, limited-time flavors, or part of a promotional marketing campaign
  • Decorative designs for limited-edition products and seasonal themes like holidays

soap with custom labels

Health and Beauty Products

For health and beauty products, kiss cut or die cut labels can help with unique product packaging shapes, but also help fit additional design or informational elements when space is precious. Here are some examples:

  • Labels with product information including ingredients, branding, and product name
  • Uniquely shaped labels and labels for products like perfumes, serums, and other specialty healthy and beauty products
  • Product differentiation labels to showcase different scents, colors, or formulations of products
  • Decorative elements on a sticker or label, including metallic foil or embossed elements, to enhance the visual appeal of the existing packaging

Home goods product labels

Home Goods

Looking for cutout labels or labels for a home goods product? In that case, consider kiss cut or die cut labels for: 

  • Uniquely shaped labels for non-standard packaging for products like decorative items, candles, cleaning supplies, and more
  • Production differentiation labels to showcase different scents, colors, or features of similar products
  • Feature or callout labels for everything from a “new and improved” formula to competitor claims like “twice the cleaning power”
  • Safety warnings to display precautions and ensure the safe use of products

Differences Between Kiss Cut and Die Cut labels 

Here are some common differences between kiss cut and die cut labels: 

Cutting Method

As you now know, kiss cut labels only have their top vinyl layer cut while leaving the paper backing untouched. On the other hand, die cut labels are cut completely through the paper backing. 

Size And Amount

Kiss cut labels are available in the form of label sheets and single pieces. Meanwhile, the sizes of die cut labels may vary according to the design. 

Shape Option

The shape of both labels or labels depends on your design. Kiss cut labels may have some practical limitations once you get into highly complex designs. Likewise, the cost die cut labels may increase as the complexity of the shape increases.

Production Speed

Kiss cut labels are produced faster due to the fact that the process doesn’t involve cutting the backing paper. Meanwhile, die cut labels take slightly longer to produce as the sheet is cut into precise custom shapes.

Waterproof Qualities 

Since both labels can be made with vinyl, they can accommodate environments that will encounter humidity or moisture.

Application

Kiss cut labels are convenient to peel with an easy backing paper. Die cut labels must be individually peeled off their own backing piece, but the precise cut ensures that the edges are clean, making them easy to peel without tearing. 

Durability and Quality

The extra backing helps give kiss cut labels added durability before application. The durability of both of these labels will be similar and will depend more so on the materials used.

Surface Support 

Both types can adhere well to flat and slightly curved surfaces, but die cut labels may face challenges on highly textured or irregular surfaces due to their precise shapes.

Price

Since kiss cut labels require a less complicated procedure, they tend to be more affordable. On the other hand, die cut labels tend to cost more due to their intricate details and the cost of machining and custom dies.

What Material Is Used for Kiss Cut and Die Cut labels?

Luckily, with either cutout type, you can get your labels made using a wide variety of materials. Vinyl, paper, and polyester are common materials used for both kiss cut and die cut labels. 

Additionally, you can opt for eco-friendly options if you solely care for the environment. For instance: 

  • Consider using recycled paper for your label or sticker material
  • Biodegradable vinyl is also a good option as it breaks down on its own with time
  • Labels can also be made using plant-based materials like cornstarch and bamboo

You can go one step further and use soy-based inks and water-based adhesives for a more environmentally-friendly production process. 

That said, you should be aware of certain limitations with eco-friendly materials. For instance, they are much more costly than common materials. They also may have limited durability and their performance may also not be as good as traditional materials. 

Die-cut labels printing

Pros and Cons of Kiss Cut and Die Cut labels

To help you decide, here’s a list of pros and cons for each option:

Kiss Cut Labels: Pros and Cons

Pros Cons
  • With backing paper, these labels are well-protected and of high quality. 
  • You can peel them off easily, which increases their ease of use. 
  • They are flexible and can be used on several smooth surfaces. 
  • They are relatively inexpensive because of their simple cutting method. 
  • These labels may get frayed edges with time. 
  • Some options may not be suitable for prolonged sun exposure. 

Die Cut Labels: Pros and Cons

Pros Cons
  • The customized shapes of die cut labels make them attractive and clean. 
  • They can be used in several ways, such as for brand promotions and labels. 
  • Most labels last long, depending on the material used. 
  • The limited backing support may ruin these labels easily. 
  • The waste of material during cutting isn’t a good approach. 
  • The cutting method is a bit complicated, which results in a high price for such labels. 

Application and Removal of These Labels

Both kiss cut and die cut labels can be made with permanent or removable adhesives. 

Removable adhesives are temporary adhesives that remove labels without leaving any residue on the surface. They are perfect for temporary or promotional labels. 

On the other hand, a permanent adhesive provides a solid bond that helps your sticker stay adhered to the surface for a long time. This type of adhesive best suits product label labels or permanent branding. 

Design Considerations for Kiss Cut and Die Cut labels

Whether you opt for kiss cut or die cut labels or labels, here are a few design best practices to consider:

Kiss Cut Labels

  • Define an outline in the sticker design to ensure accuracy during the cutting and printing stages
  • Indicate a safe zone within the outline with important design elements to prevent them from getting cut out
  • Create a border around the outline to ensure neatness

Die Cut labels

  • Create a bleed area that extends beyond the die cut outline to avoid any white edges from showing
  • Add radius to shapes with sharp corners as it saves sticker corners from tearing during peeling
  • Maintain a safe zone with all the crucial design elements to prevent them from getting cut out

Next Steps

You can learn more about all of the finishing options that Blue Label offers for product labels. No matter your product or intricacy of your artwork, we can help you identify the right cutting process, materials, and finishes and for your label’s exact shape.

How Labels are Made: Digital Printing from Design to Finished Product

Ever wondered what it takes to turn your label design into a finished product? We’re here to walk you through the digital label printing process—from getting a quote to the final shipment. We’ll address what matters most to you: getting your labels fast, controlling costs, and getting top quality labels.

The Label Printing Process

We’ve broken down the process into four clear steps.

Step 1: Label Quotes, Design, and Prepress

Before printing even begins, we start by gathering the essential details—like your label size, material, and order quantity—to give you a quote. Once you approve the quote, we ask for your artwork and send you a digital proof for your final go-ahead.

With your approval, your artwork moves to our prepress team—the last checkpoint before printing. This is where we make sure your file is ready for production.

In this stage, we check every detail, from fonts to colors and images. We’ll make sure your label is ready for production—for example, if your label includes a barcode, we’ll do a quick test print to confirm it scans perfectly, so you don’t run into delays later.

A prepress expert examinging barcodes on a product label.


Looking for Custom Labels?

We put our all into every custom label we make. No exceptions. And with no minimum order quantities and a 5-day turnaround for digital label printing, we take pride in helping you perfect your first impression.

Request a Quote    Get a Sample Pack


Step 2: Printing

Once your file is ready, it heads to our state-of-the-art HP Indigo digital presses. This approach skips the expensive plate setup you have with traditional printing, saving you money and speeding up production.

According to studies from Smithers, under optimal conditions, digital printing can cut lead times by up to 40%—especially for short-run orders.

After printing, the label material comes in long rolls, ready for the next step.

Product labels going through a finishing machine.

Step 3: Finishing, Die Cutting, and Quality Assurance

After printing, your labels move on to the finishing stage. Our finishing technology can add a range of treatments—like embossing (which creates a raised, textured effect), hot foil stamping (for a shiny, metallic look), laminates (protective coatings that extend label life), and UV varnishes (clear, durable coatings cured with ultraviolet light for extra gloss and protection). These enhancements not only impact the look of your labels but also make them more durable.

Your labels may come in a standard size, or they may be die cut. This is where we use a custom metal blade to cut your labels out of a large printed roll. Die cutting can minimize waste, cut costs, and give your label a unique shape to fit your container.

Product labels being rewound to exact counts.

Step 4: Winding, Packaging, and Shipping

In the final stage, we re-roll your labels into the right quantities. Since the labels come off the finishing machines in huge rolls, our rewind machines re-roll them into sizes that work perfectly with your applicators (the machines or processes that stick your labels on your product).

After one last quality check by our packaging team, your labels are carefully packed and shipped.

How to Make the Right Digital Label Printing Choices

Understanding the digital label printing process can help you make the best choices for your products and your operation. Here’s what to keep in mind:

Costs

As we mentioned earlier, digital printing eliminates expensive plate setups and reduces turnaround times—sometimes by as much as 40% under the right conditions. This means lower production costs and a faster path to seeing returns on your investment.

Picking the Right Label Printing Partner

When evaluating label printers, think about a few key things:

  • What are their turnaround times?
  • How do they handle quality control?
  • How well do they integrate digital workflows?
  • Do they offer post-production support?

Eco-Friendly Label Printing Considerations

Eco-friendly practices are a big deal nowadays, but there’s not a “one size fits all” approach. If you’re considering the environmental impact of your labels, look for vendors who:

  • Offer sustainable materials
  • Use processes that cut down on waste
  • Embrace green initiatives without skimping on quality

Simplify the Label Printing Process for Your Business

At Blue Label, we’re all about guiding you through every step—from design to delivery. Our process is designed to give you high-quality labels that meet your needs, all while keeping costs in check and production running smoothly. We’re here to help you make informed decisions and get great results.

Ready to get started? Contact us today for a free consultation or quote.

The Cost of Beer Labels: How Does Commercial Pricing Work for Professional Beer Labels?

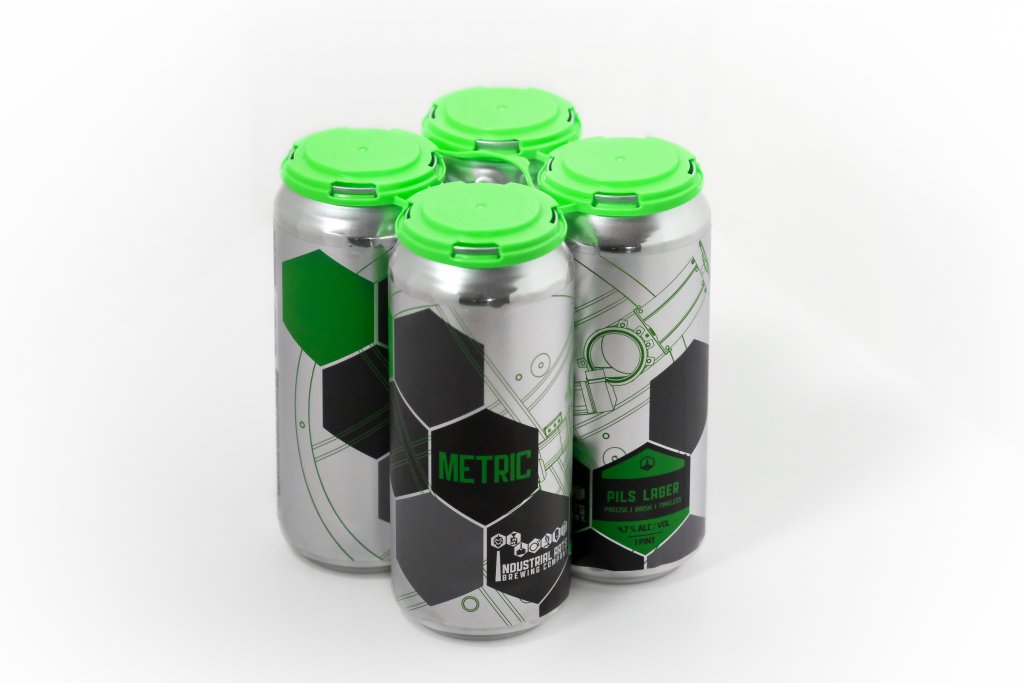
When it comes time to invest in beer labels, there are a lot of questions you may want to ask your label printing company. Of these, there’s one particular question that every one wants to know: how much will professionally printed beer labels cost?

The immediate answer to that question is, it depends. There simply is no quick answer to how much beer labels cost because every project is so different. Instead, it’s important to have a general understanding of how commercial beer label pricing works and all the factors that can impact the cost of your project.

How Craft Beer Labels are Priced

The main reason why it’s tough to provide a quick custom beer label estimate is that each project is a custom process. Each order is manufactured from scratch, so there are no pre-made products to ‘save’ cost with. Every beer label features an original design and uses different materials per your specifications. At Blue Label, we rarely see a project cost less than $150 total (simply due to the costs associated with setting up equipment) and will scale up depending on your specifications.

Once you do get a beer label estimate, it’s also important to evaluate your investment in understandable numbers. While some people may want to break down cost on a price per unit basis, we find that it’s generally better in print to evaluate your label cost per thousand pieces. This perspective allows you to avoid the fractional cents in per unit costs and helps provide a clearer visual of the sliding scale in total cost. For instance:

A chart that break down beer label costs on a price per unit basis.

**Note: This chart does not reflect any pricing at Blue Label. For demonstration of pricing breakdown only**

So between 1,000 and 2,000, you can get twice the amount of labels for $61.40 more. The ‘Price per Thousand’ (sometimes notated as ‘Price per M’) category is intended to give a more clear ‘apples to apples’ comparison on items that have a small unit price.

The Factors That Impact Beer Label Costs for Craft Brewers

As a digital label printing company, we gather a lot of information to estimate the overall cost for your beer label project. There are multiple factors that can impact your costs. These factors include:

  • Product type
  • Material
  • Size
  • Quantity
  • Multiple versions
  • Lamination / varnish
  • Tooling
  • Decoration
  • Application
  • Variable content

Product type

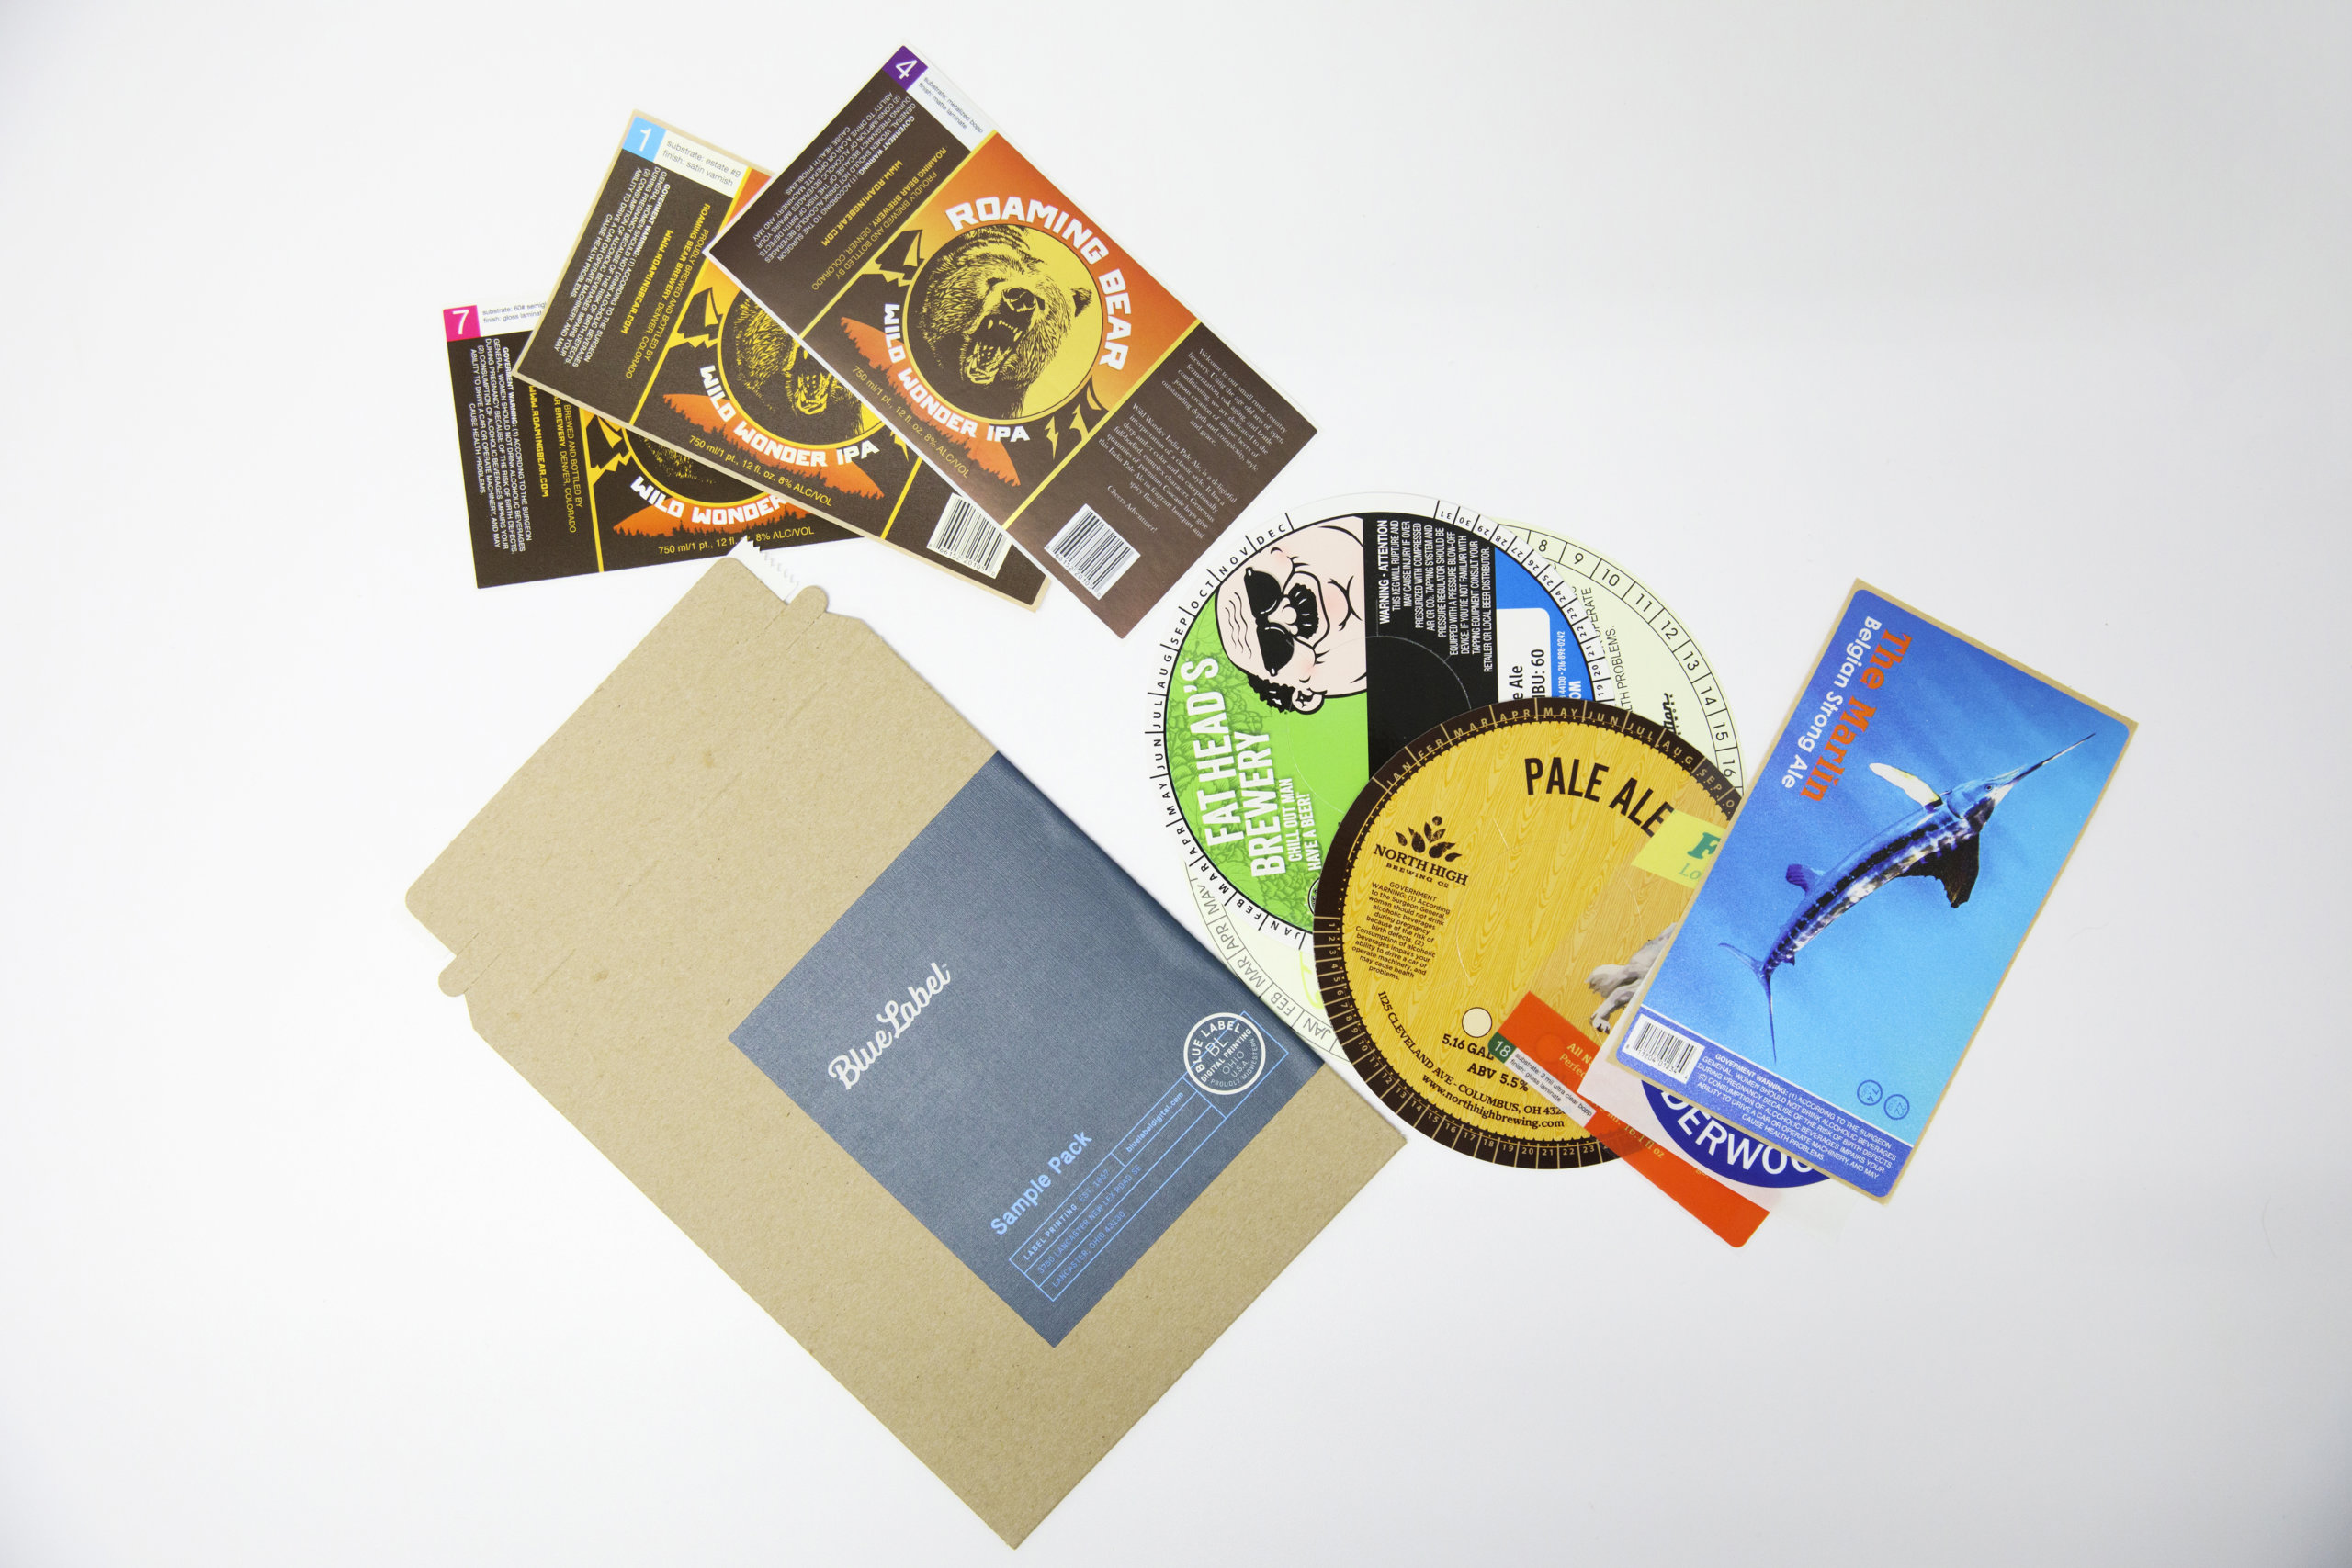
The very first step in the pricing process is to determine what you want to accomplish with your beer labels. Depending on your product, design, and environment, you may be in the market for pressure sensitive labels, shrink sleeves, double sided labels, or hang tags.

For example, shrink sleeves have a special production process and may require certain quantities to help maximize your invest in them. Meanwhile, pressure sensitive labels have a multitude of material options and decorating capabilities that can be applied to them. Our experts can offer advice on which label type is ideal for your brewery.

Material

Your label material of choice is going to be a notable contributor to your overall label costs. Each label is made with multiple layers that include a top layer (face stock) , an adhesive, and a liner. Some label materials will cost more per linear foot than others, so a more expensive material will lead to overall higher project costs.

When it comes to beer labels, there are two main types of material options: film and stock paper. Films for pressure sensitive labels are a natural choice as they’re more resistant to fluids.

Paper materials can provide a distinct look for beer containers, but can be two to five times more expensive than standard semigloss or white BOPP films. Given that materials make up a significant percentage of your total beer label costs, that distinctive paper material could lead to a cost increase of up to 40 percent overall.

An assortment of materials used for professional beer labels.

Size

The overall size of your label is another major factor for beer label costs. Label size dictates how much material is required. Simply put, the more material we use, the more expensive your label project will be. As such, larger labels can cost more than smaller labels from a raw materials standpoint.

Print layout is also another major factor that can influence label sizing costs. Label materials come in long rolls that are fed through a machine that prints your design onto the face stock of the roll. Depending on the size of your design, you may be able to fit multiple labels across the width of the roll.

By fitting more labels on a roll, you can improve printing efficiency and limit label material waste. This amount of material waste isn’t too noticeable in smaller orders, but a 20 percent difference in material costs is a noticeable change for larger quantities of labels.

Fortunately, there are measures you can take to help maximize space and minimize waste. Work with your designer and printing company to adjust the size of your label, especially if a fraction of an inch is the difference between a 15 to 30 percent bump in material costs. Our Beer Sizing and Dimensions Guide also includes optimal measurements for the most cost-effective sizing for printing your beer labels.

Quantity

The total number of labels printed in a project has a massive impact on your final project price. As expected, projects with higher label quantities will have a higher total cost simply because they consume more material. However, there is a potential for savings that isn’t as straightforward as you may expect.

While digital label printing allows breweries the flexibility to invest in lower quantities of beer labels, higher quantity runs can help you drive down your cost per thousand. Every project includes initial costs to set up the printer, calibrate colors, set up die cutting, and complete other tasks to start the manufacturing process.

Regardless of whether you need 200 or 200,000 labels, we have to go through those same processes. However, that setup time can be amortized much more efficiently over a long print run of labels, which means that higher quantities of labels actually drive down label costs.

While larger quantities can drive costs down, there are some potential cost advantages of buying lower numbers of beer labels. Digital label printing allows you to avoid the hidden costs of labels of obsolescence – regulation changes, brand updates, and other events that can make your beer labels outdated. That flexibility can be very valuable when you’re dealing with future events that could lead to unnecessary label waste.

Multiple versions

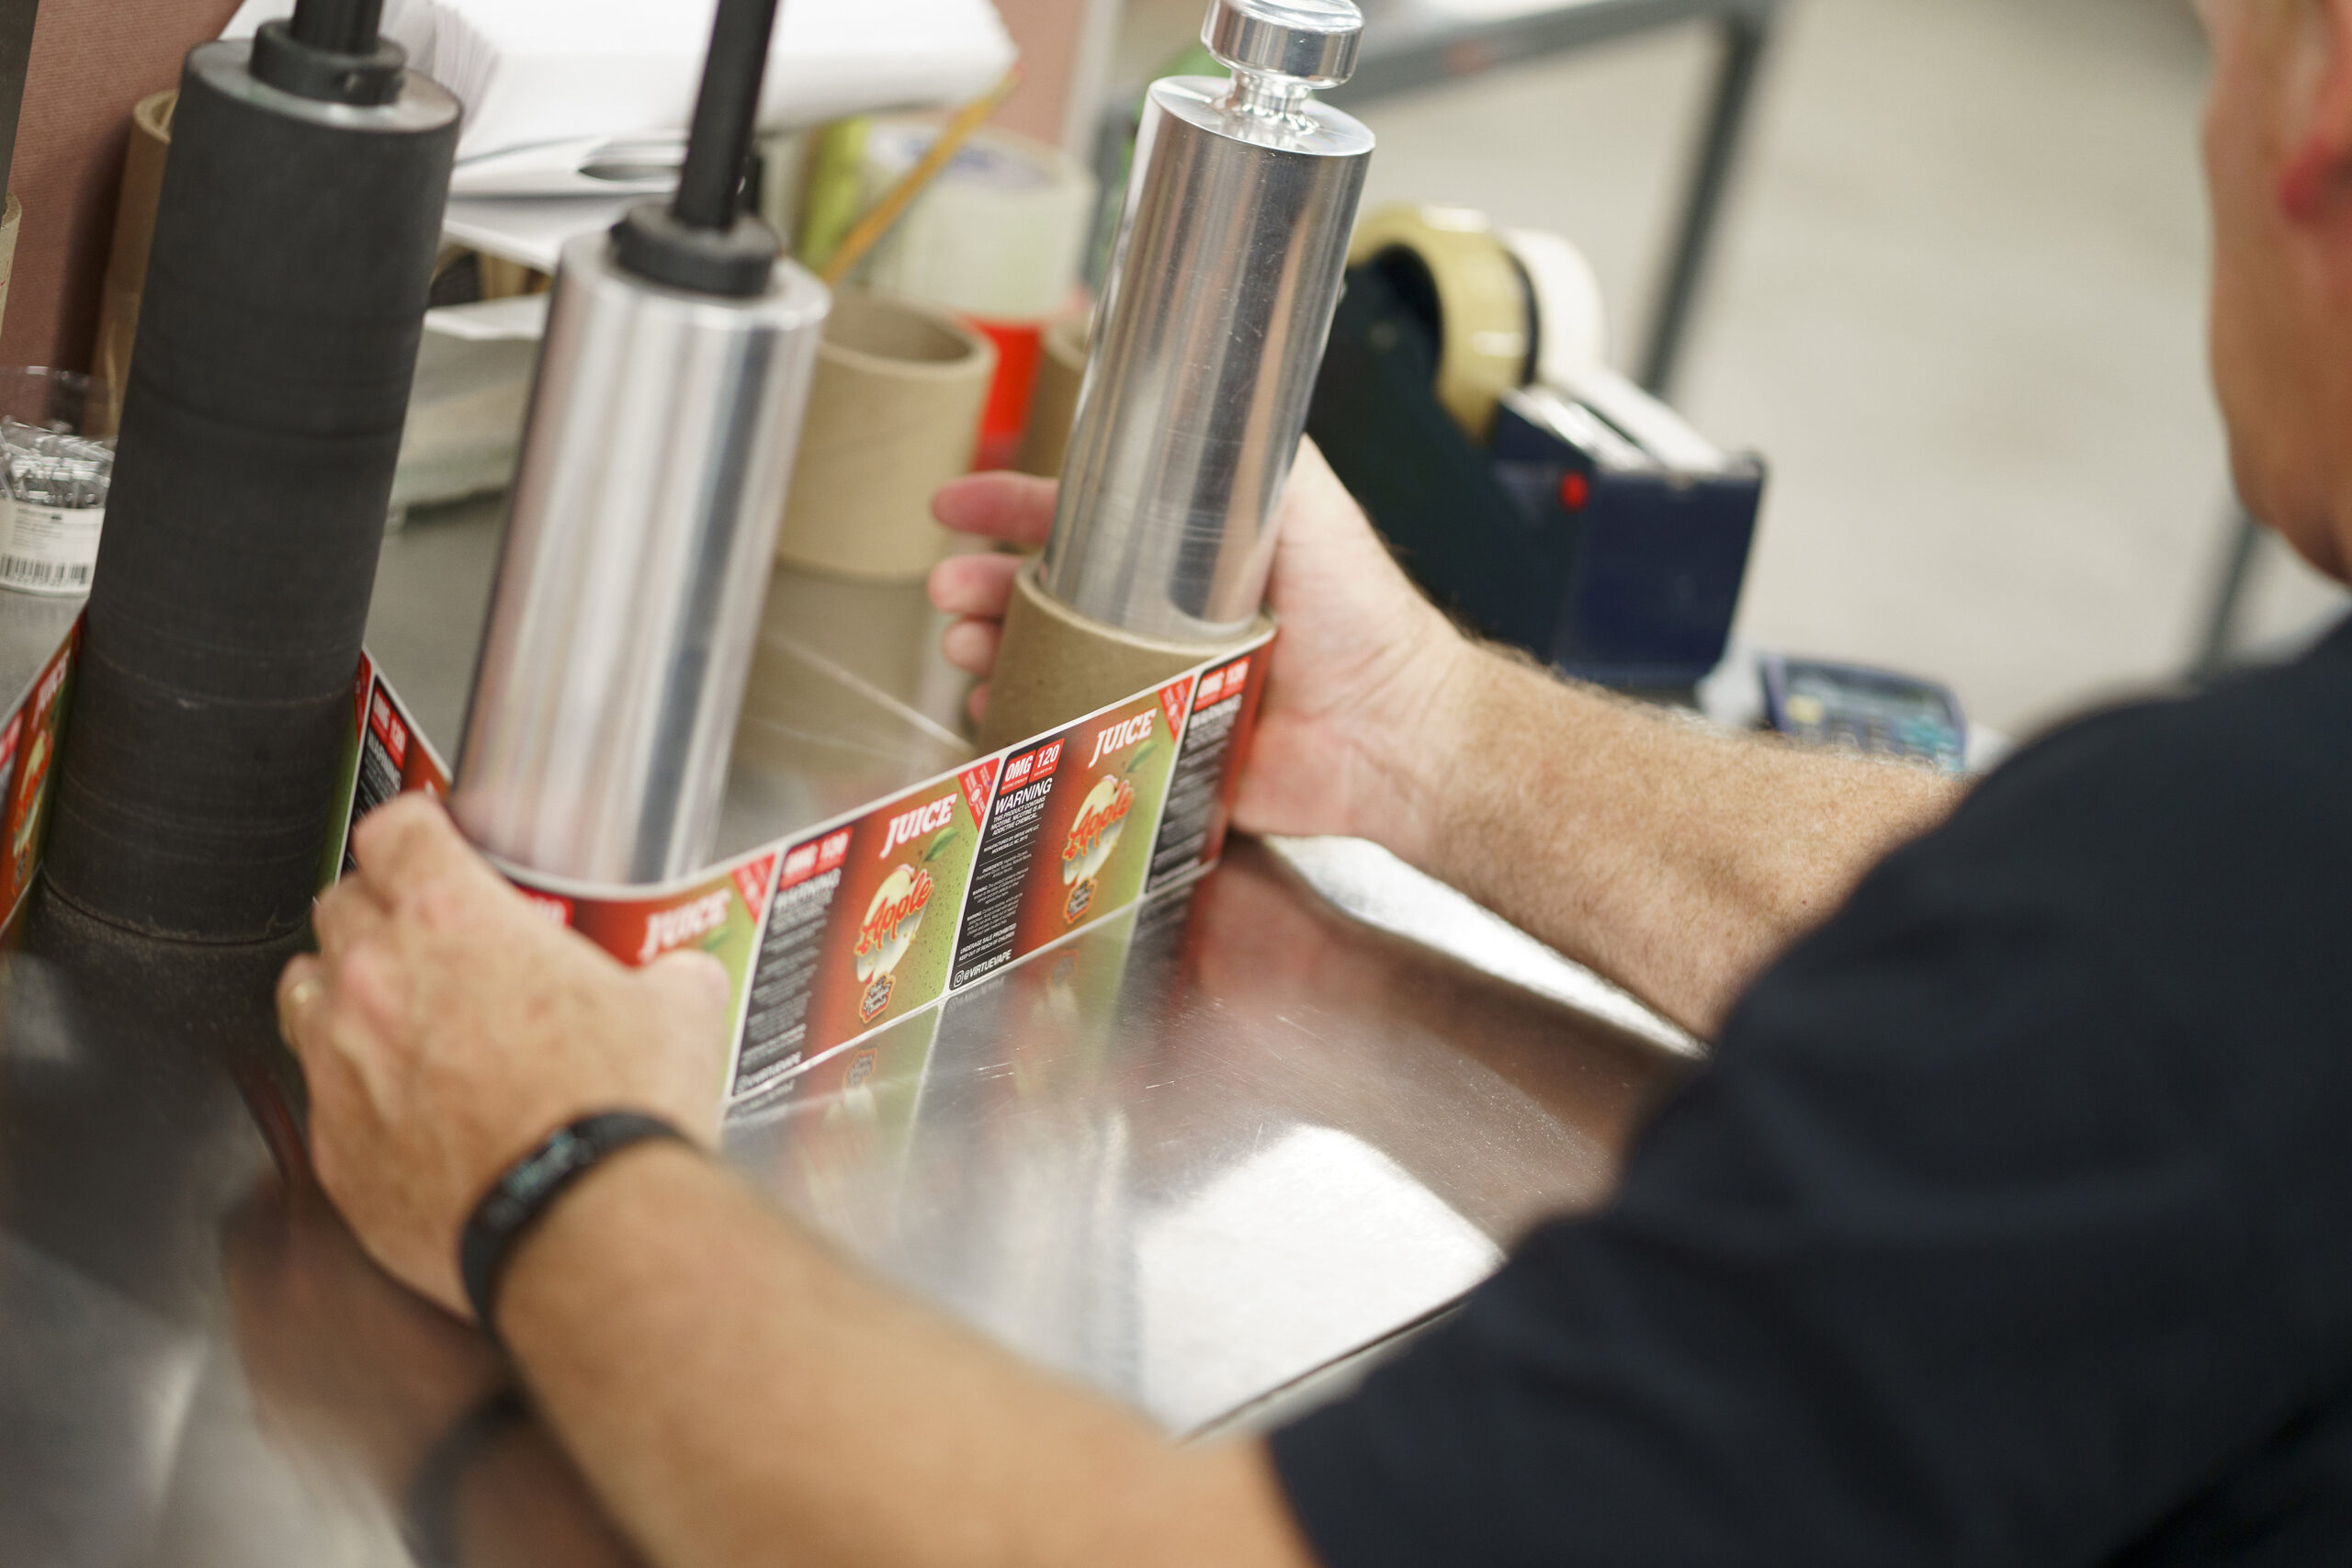
One notable cost factor is the ability to group multiple label versions together in a single project. While plate-based printing will require added fees for each label version, digital label printing can group these different labels together as long as there are 500 copies of each.

Maybe you don’t can 50,000 of one flagship… but maybe you do can 10,000 of your top five beers and have some seasonal releases to add in as well. Instead of placing five separate orders of 10,000 labels, digital technology allows you to place one order of 50,000 labels to take advantage of the lower ‘per thousand’ unit cost. Since everything is done digitally, we have the ability to mix and match your various versions into one production run, which helps save on setup and minimize waste.

Lamination / varnish

Every beer label needs some form of print protection. The average beer label is going to face several potential issues. Fluids like water and beer can wreak havoc with paper labels. Shipping and handling can rub off ink without a laminate or varnish layer.

Standard laminates and varnishes aren’t an additional cost, as much as they are something that’s baked into your starting project price. Every film label project is made with some form of laminate, while wine stock papers will require a basic varnish. There are also decorative laminates and varnishes available as well for an additional cost. Finishes such as soft-touch or textured laminates can serve a dual role of protecting your beer labels while adding to the overall look and feel of your packaging.

Tooling costs

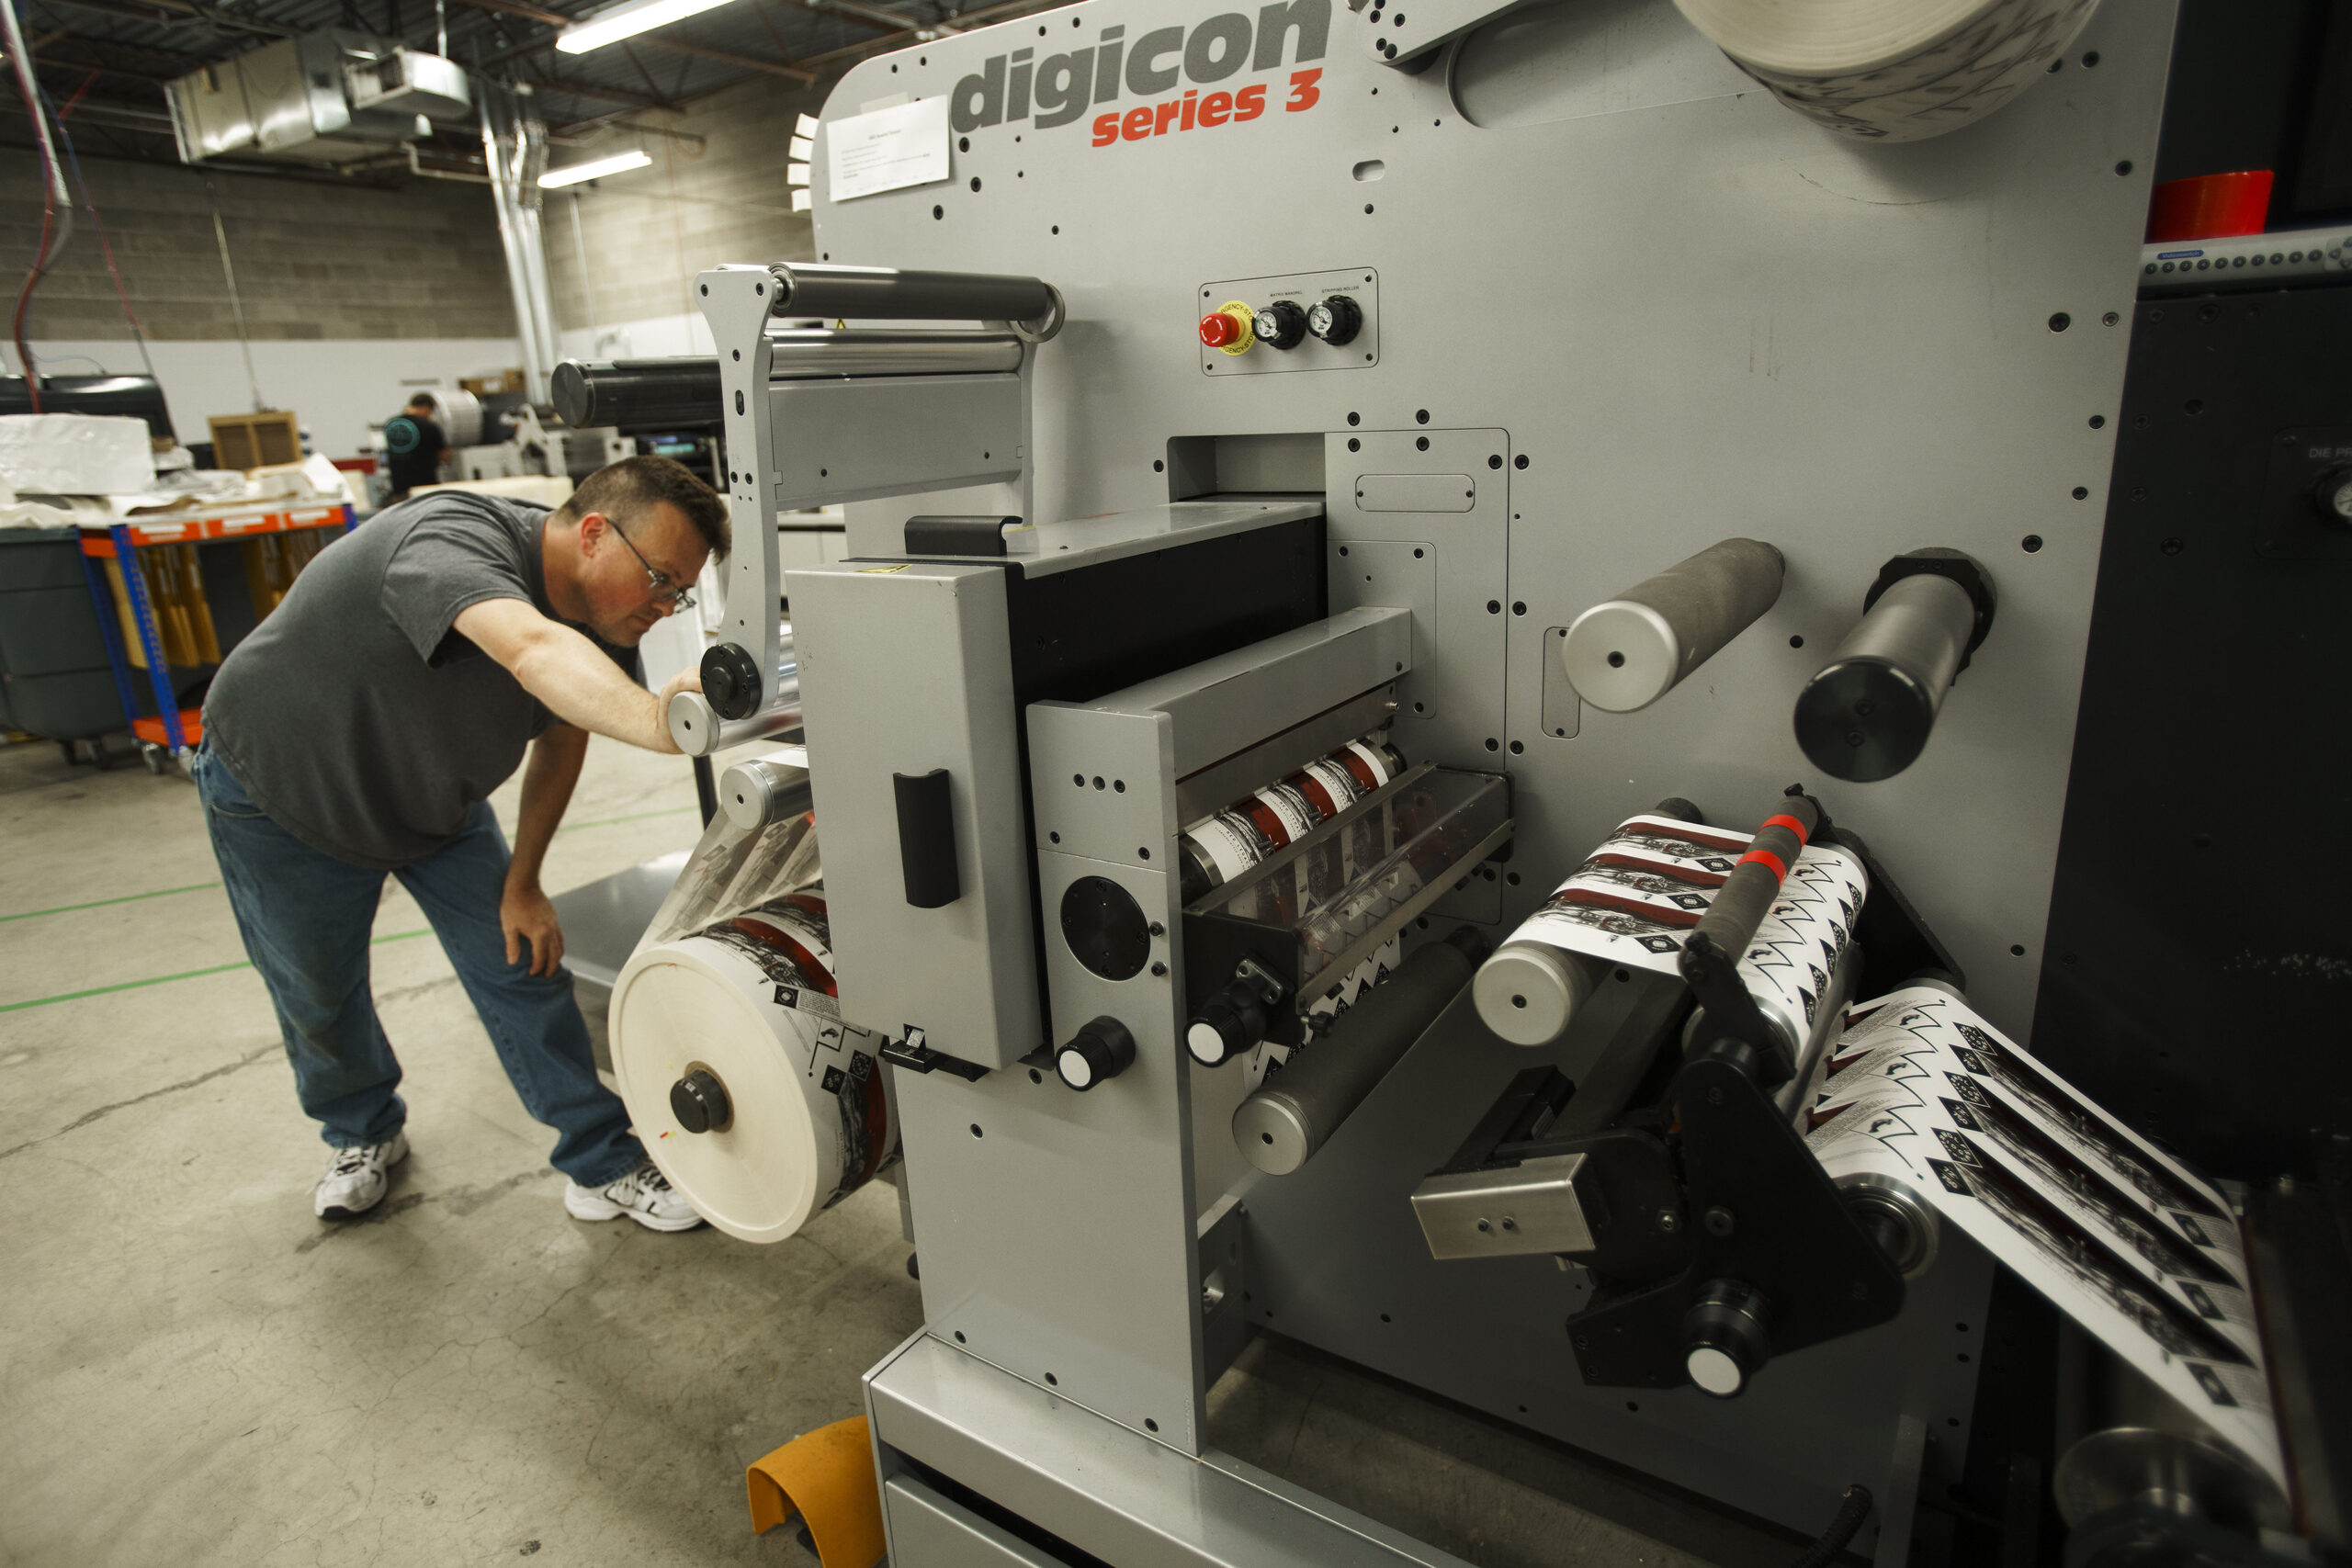
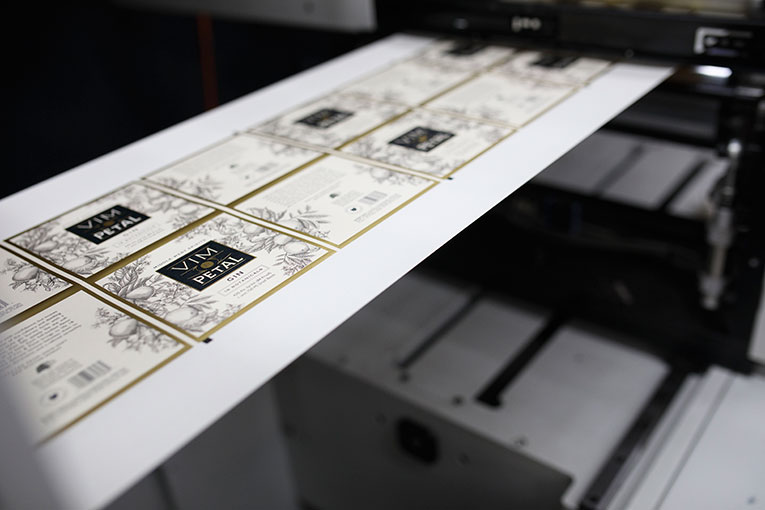
Beer label costs may also include tooling fees, but these can vary depending on your label design and how they’re printed. Older printing methods, like offset or flexographic printing, use unique sets of plates to create your beer labels. As such, you’ll need to pay for a new set of plates for every piece of artwork. Digital printing doesn’t require plates, which cuts out those costs and any additional lead time required to manufacture plates.

Custom label shapes can also add tooling costs. Specialized pieces of metal called dies are used to cut specific shapes out of label materials. While digital label printing companies often have a wide range of existing dies, specialty shapes may require a newly manufactured part.

Depending on the size and shape, a new die can cost around $200. Of course, that die will then be freely available for any future label runs. At Blue Label, we have dies for most standard beer sizes in-house and can provide them for no extra cost to our customers. Our Beer Sizing and Dimensions Guide can walk you through the options and provides visual aids.

Decoration

While your choice of material, label size, and total quantity are the three biggest factors for project price, label decoration can add some additional costs depending on your needs. These added features can enhance the look and feel of your beer labels, which can add to your overall price per thousand and lead times based on your desired decoration.

Digital finishing equipment can apply many different decorative elements to beer labels. Foil stamping presses special foils into your material to create a raised image that stands out from other labels. Embossing imprints a special pattern or image into the label material, creating a pattern that consumers can see and feel. Spot varnishes allow you to coat specific parts of your design to make those elements pop. Each of these finishes can help capture consumers’ attention for an added cost.

Application

Your application process can also impact the beer label pricing as well. Your exact application process determines a few different factors:

  • Roll size
  • Unwind
  • Liner

Applicators can require a specific roll size or “Max OD” (Maximum Outer-Diameter). Your application process can determine how big the roll is, which can require more rewinding. Smaller rolls will also require your printing company to break your labels down into more manageable quantities for your machinery. These efforts won’t make for large changes in price for most customers, but they’re another potential reason why you might see an uptick in beer label pricing.

The required unwind can also affect potential cost efficiencies. The unwind determines which edge of the label first comes off the roll. This unwind can change how your printer needs to position your labels during printing. Depending on the dimensions of your label, that new positioning can yield a more or less efficient print layout.

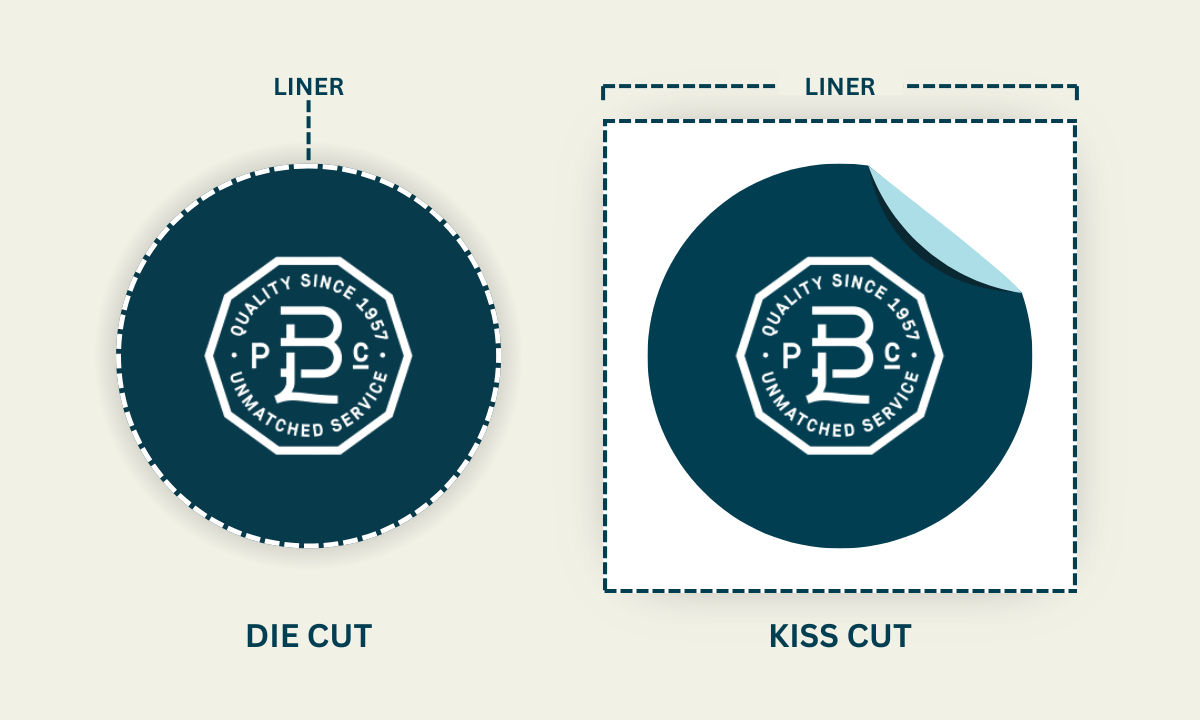
Certain applicating equipment may also require a specific type of label backing. The backing, also called a liner, is the bottom layer of a pressure sensitive label. Applicators have sensors that read the label gaps during application, but certain sensors may only be able to read paper or film liners. As such, you may need to invest in a film liner which could slightly increase your project price if your applicator requires it.

Variable content

Variable data printing is another way that digital label printing allows you to change certain elements in a design without having to create entire new art files. Essentially, variable data printing utilizes a spreadsheet or some other file format to modify a variety of design elements, such as a headline, image, name, or color. Variable data printing can also incorporate variable images and patterns, allowing you to alternate or serialize label designs.

Variable data is a very useful tool for batch numbering, product tracking, or creating individualized items. It does require a good deal of setup and administration, so adding variable data printing to a label can increase costs.

Beer can labels made with a film material, print protection, and other factors that impact beer label costs.

Added Value Opportunities for Beer Labels

While there are several factors that can add to your overall project price, it’s important to also identify potential value opportunities as well. There are a lot of services that won’t show up on your bill, but can make a massive difference for your company. Each of the following factors can not only help your business save time and money, but also spare you from avoidable headaches when it’s time to invest in beer labels.

Artwork prep and readiness

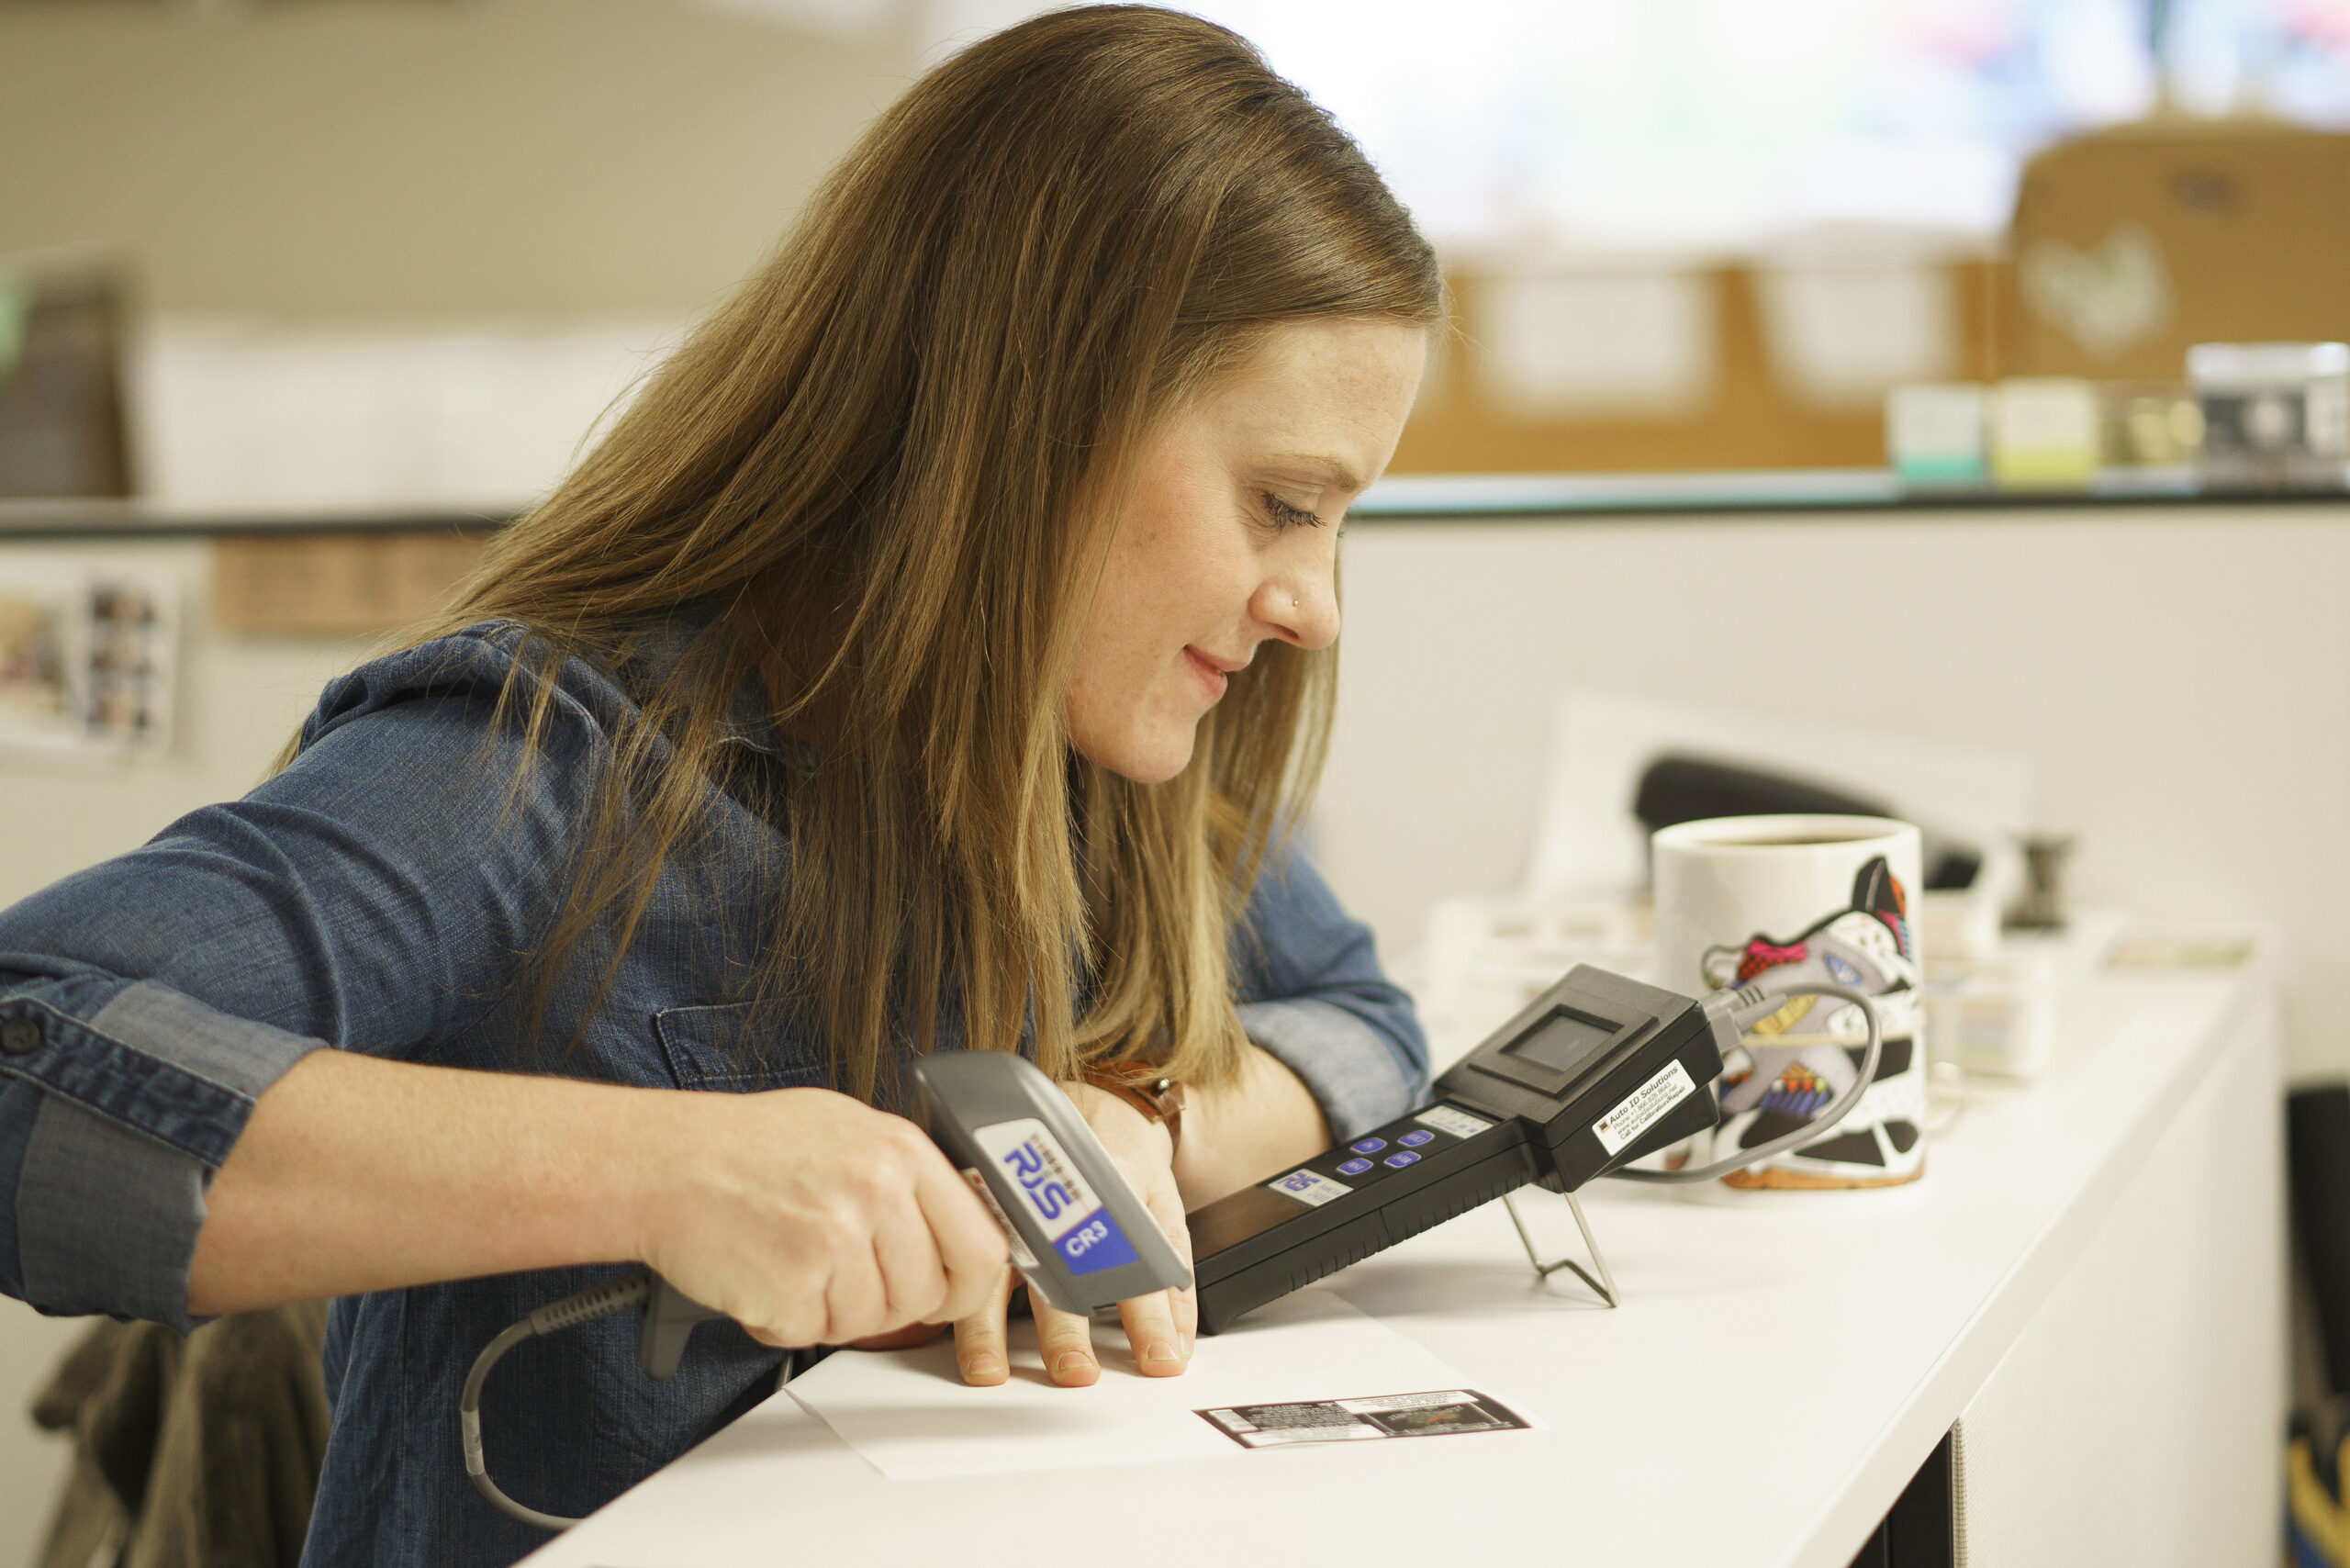
Every beer label starts off as an art file before it’s printed. Unfortunately, there are a litany of artwork issues that can pose problems for your labels. Common concerns like incorrect file formats, low-res images, and improperly built bleeds will lead to problems with printed products without prior attention.

The level of artwork assistance depends on the label printing company. A lot of printers will charge you for that time to make sure your art is ready. Others will provide artwork prep for free and guide you through the printing process from start to finish.

Label printers can also provide press proofs for a small fee so that you have a physical example of your product before investing in the full run. Artwork can translate very differently from a computer screen to printed product. Though they might add a little time and money in the short term, artwork prep and press proofs can help avoid costly errors or artwork issues on a full production run.

Shipping and turnaround times

While shipping isn’t a part of the label production process, it’s important to keep it in mind for your overall label costs. You’ll want to examine the turnaround times and whether or not there will be any additional charges if you need your beer labels sooner than the standard turn-time and standard shipping propose. Blue Label commits to five-business day turnarounds, but others may tack on rush fees that range from $100 to $350 depending on how quickly you need your beer labels.

Customer service and satisfaction guarantees

We don’t live in a perfect world. At some point you will inevitably run into an issue, be it a misspelling in the artwork or color not translating properly. If these issues occur, it’s important to find a label printing partner that won’t leave you stranded with faulty packaging.

A good quality department won’t change your beer label bill, but it’s priceless when you do run into any issues. Evaluate potential printing companies to see if they have any warranties and satisfaction guarantees to make sure you’re not stuck with an improper print job. You’ll want to talk to a live, friendly label expert whenever you call with any questions or concerns. If a potential label printer limits access to real people, they might not be there when you do have any issues.

Internal resources

Customer service representatives aren’t the only resources that can help you out with your beer label project. Some label printing companies offer additional internal resources that can help add value without increasing the costs of your beer label.

For example, Blue Label has several helpful blog posts, resources, and guides available online to help you prepare your labels for success. In addition, our designer directory can help you find a designer who understands the intricacies of the beer market and can create the perfect custom beer label design for your products.

A custom label design made with commercial beer label pricing.

What Breweries Can Do to Help Control Beer Label Costs

Proper packaging is an important investment for any brewery. Unfortunately, there are scenarios where you may end up paying more for your labels than necessary. Situations such as last-minute orders or unforeseen problems can lead to extra charges or delayed shipments.

The best way to avoid these issues and control your beer label costs is to prepare early. The sooner you start talking with a label printing company about your needs, the better. This head start will allow you and the printing company to identify any potential issues, avoid expedited shipping, and have everything ready to go for when you actually need your beer labels. You can also ask for test rolls to ensure that your labels work with your applicating equipment ahead of time instead of troubleshooting problems at the last minute.

Order your labels ahead of time. As long as they are properly stored, label adhesives won’t lose effectiveness for several months. Because of this, you can have your labels shipped to you a week ahead of when your applicator arrives and stil be good to go. This will give you plenty of leeway and a lot less stress when it’s time to label your beer bottles or cans.

Finally, the best way to help you invest in the perfect beer labels for your products is to work with the right label printing company. At Blue Label, we promise to deliver unmatched quality and service to help you create the best, most cost-effective beer labels for your exact needs. Contact us today to talk about your next beer label project.

Designing Beer Labels: Other Design Considerations

Sizing and color selection are two critical parts of label design, but there are several other factors that can impact how you design beer bottle labels and beer can labels. Elements such as custom shapes, mandatory information, and label adhesives are all important to the success of a label. Here’s what you should consider about these features when you design your beer labels.
(more…)

Designing Beer Labels: Sizing and Dimensions

A good beer label design needs a proper canvas. When it comes to beer bottle labels, that canvas only affords you a few square inches of space, so it’s crucial that you know what dimensions you’ll work with for your next masterpiece.

The overall beer label sizes and dimensions of your bottle or can label depends on a few key factors. Once you identify what you have to work with, you can create a canvas that will hold your new beer label design.
(more…)

What Does Die Cut Mean?

⚞ The Highlights:

  • Die cutting uses a custom-made die to create labels in any shape you want, letting you match your product’s look and container perfectly.
  • Going with die-cut labels can help your brand stand out on the shelf with creative shapes and interesting contours.
  • While die cutting can involve extra setup steps and costs, careful planning can make it a practical choice for showcasing your product’s design.

Die cutting is a broad term that you may have heard your label printer and converter throw around quite a bit, especially if you have uniquely shaped packaging or an intricate logo. While you certainly don’t need to be a die cutting expert – that’s what we’re here for – it helps to understand the basics of die cutting so that you know what you may or may not be able to do. Below, we’ll provide a basic overview of the die cutting process, its meaning, as well as some considerations for designing a label with a custom shape.

(more…)