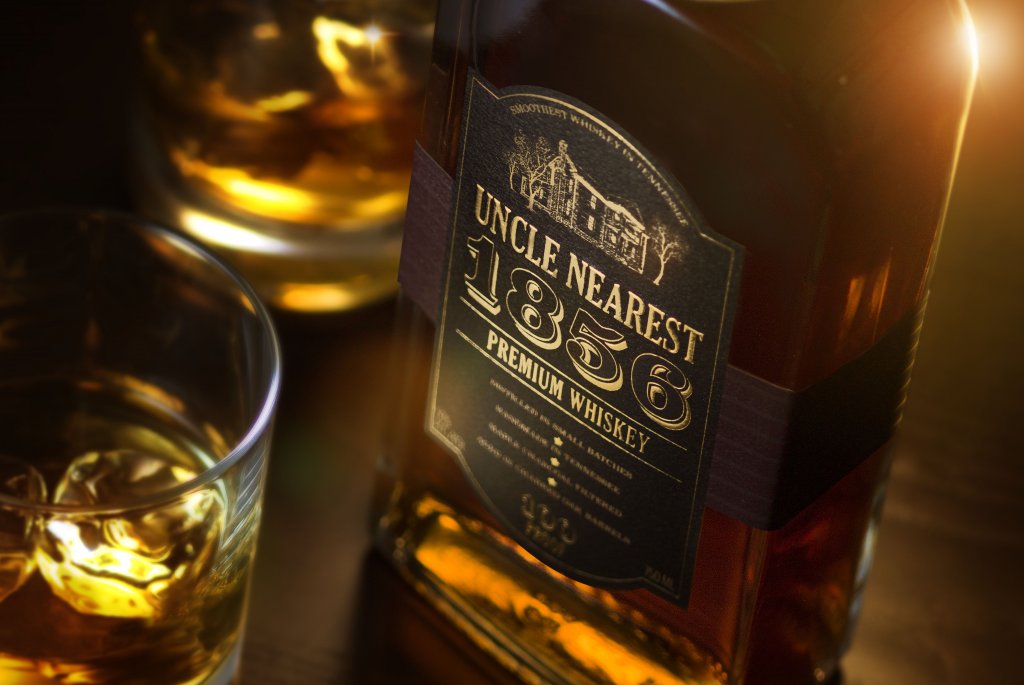
4 Tips to Elevate Your Whiskey Bottle Label Design
People aren’t supposed to judge a book by it’s cover, but that doesn’t stop them from judging a whiskey by…... Read more.
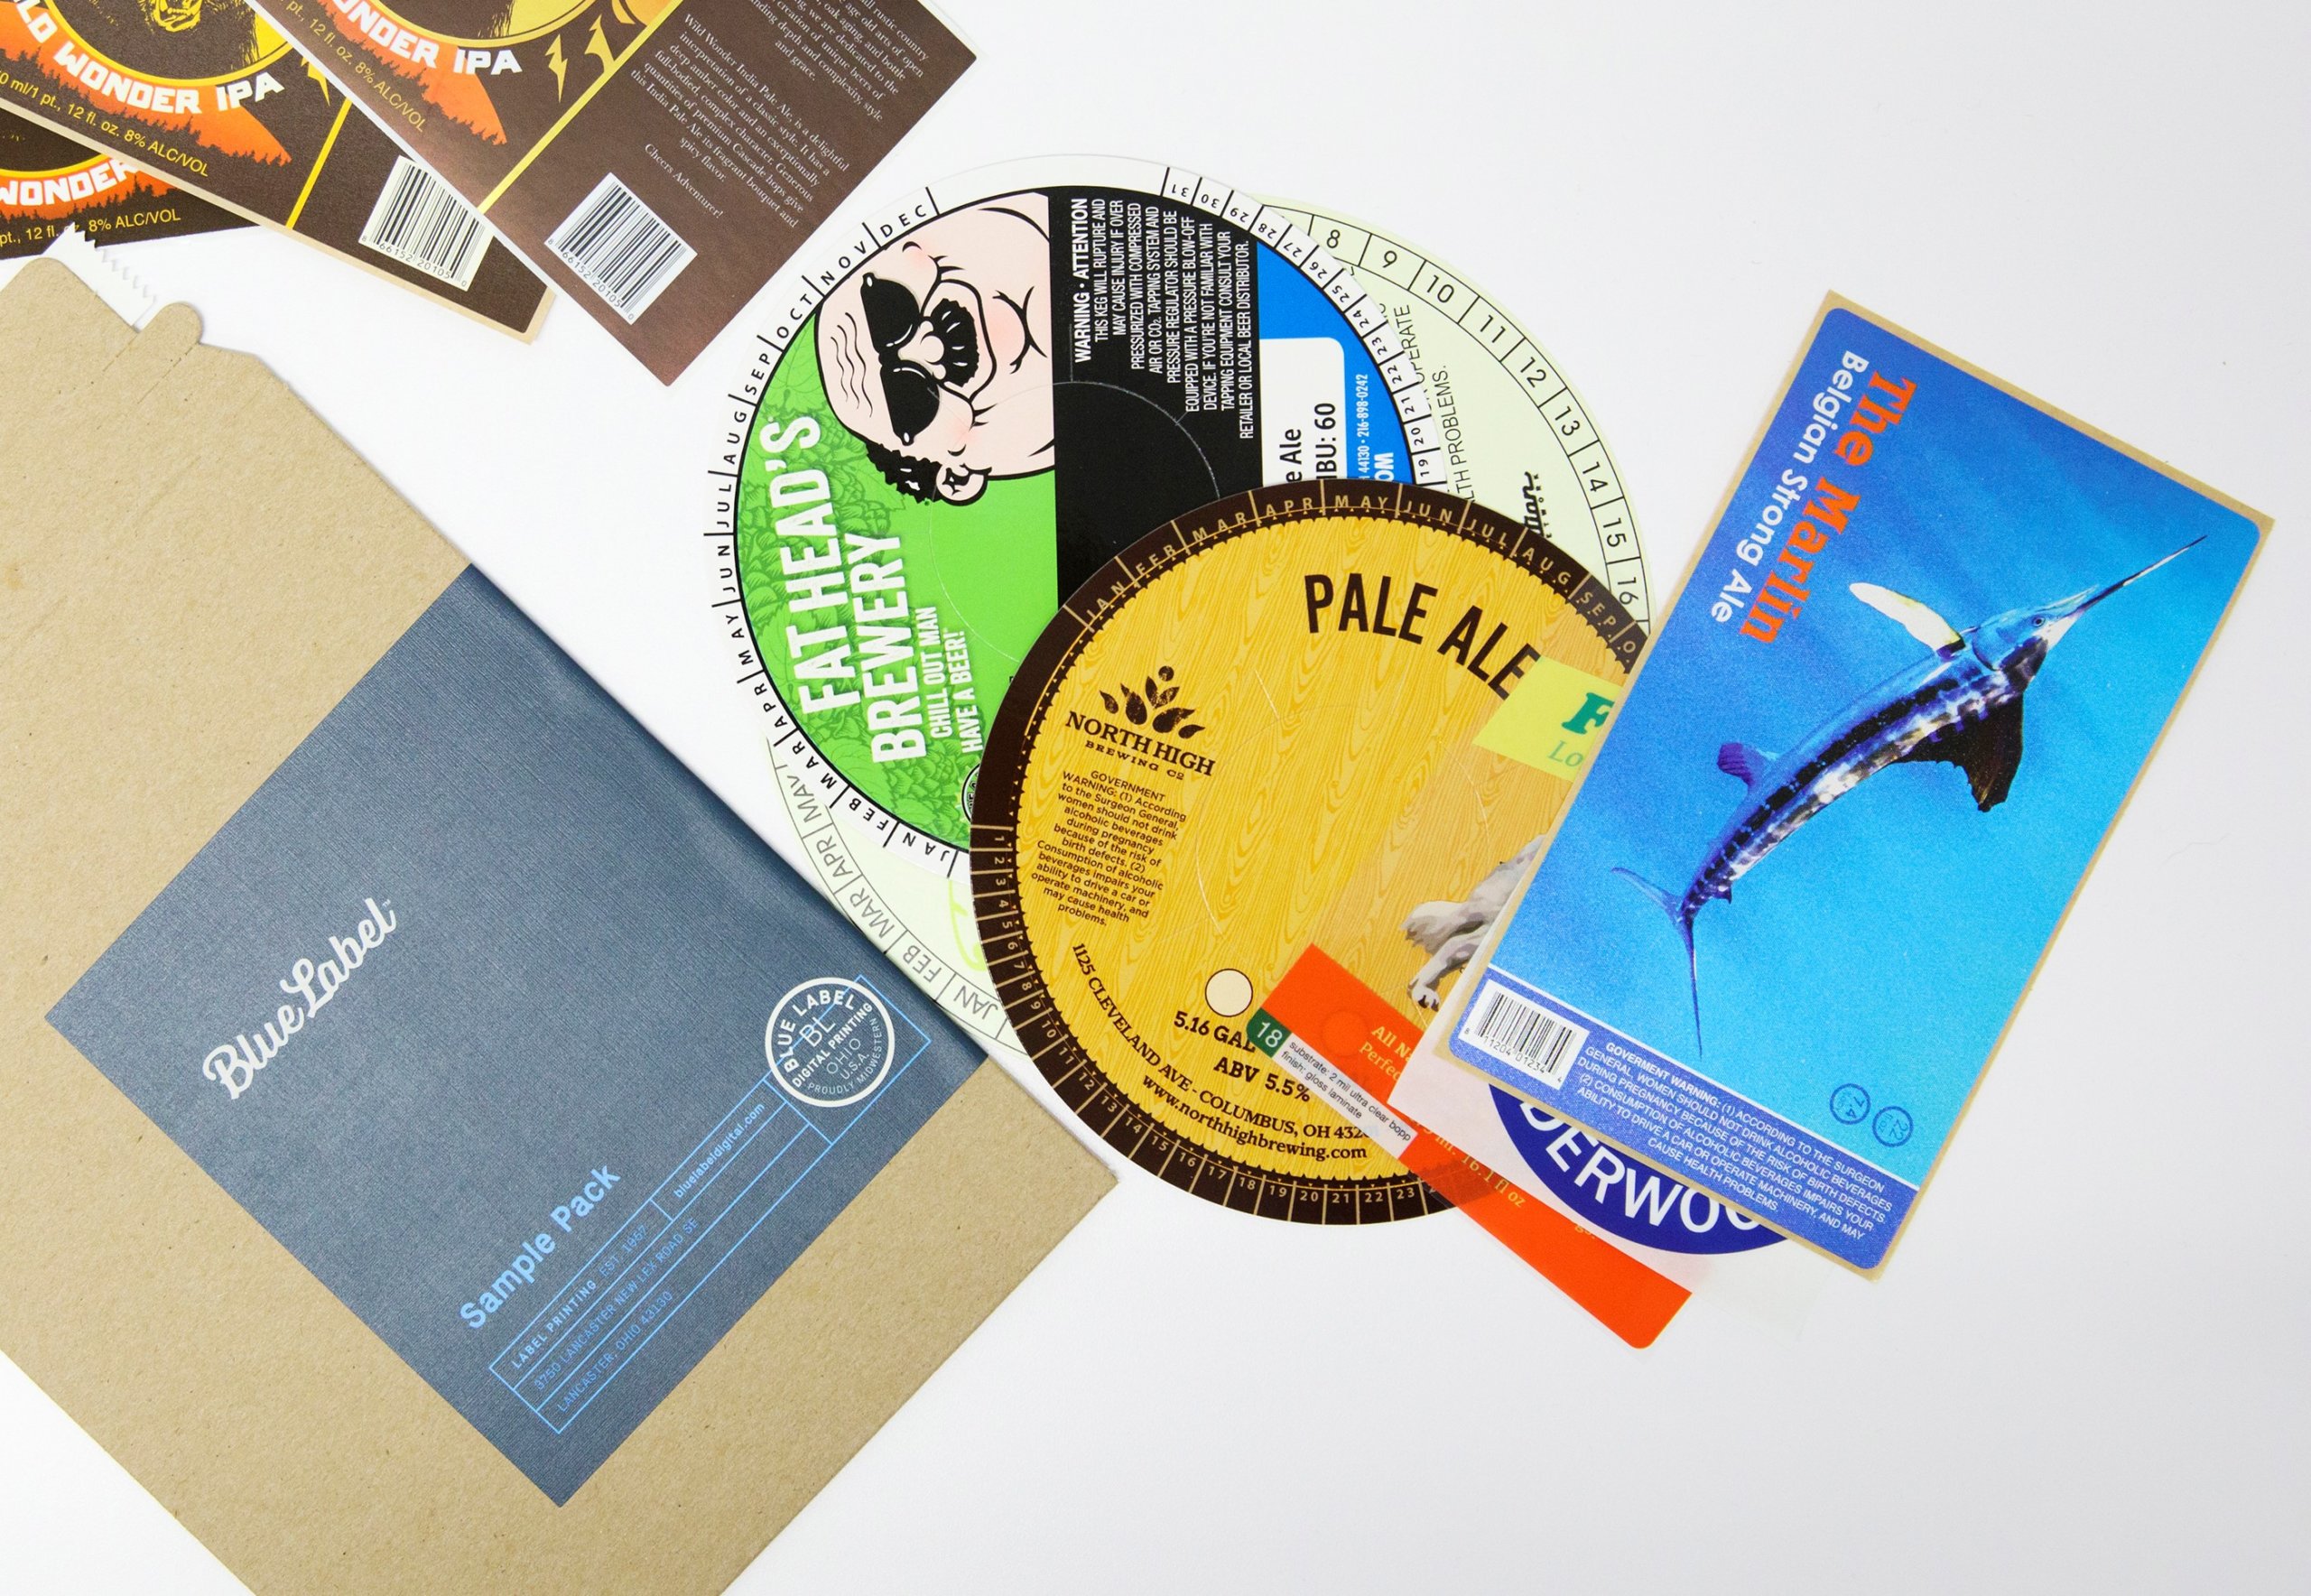
5 Tips to Get the Most Out of Your Keg Collar Design
Boring packaging is a missed opportunity for your brewery. Anything attached to your beer should make a statement about the…... Read more.
Waterproof Beer Labels: How to Protect Your Labels
Beer labels and moisture just simply don’t mix. Of course, that’s a major problem for an industry where cans and…... Read more.
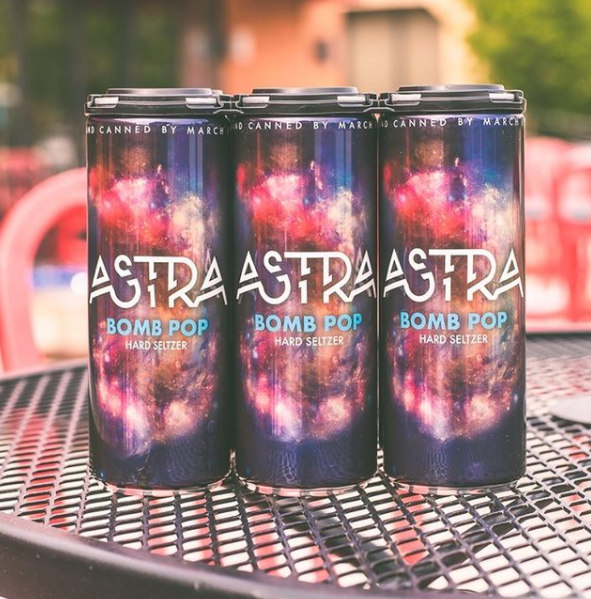
5 Ways to Elevate Your RTD Beverage Packaging
Simply put, ready-to-drink beverages are a big deal. Sales for RTD beverages have grown notably year over year as people…... Read more.
Blue Label Doubles Down on Community with Mid-Ohio Food Bank Donation
Our company was founded in central Ohio in 1957. Over that time we’ve seen our region go through a lot…... Read more.

4 Critical Factors for Your E-Juice Label
E-juice labels may seem overwhelming at first, but they’re a lot less intimidating if you can nail down these four…... Read more.
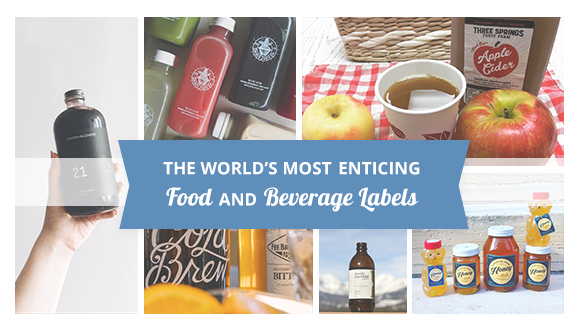
The World’s Most Enticing Food and Beverage Labels
Your appetite for a certain food or drink probably starts before you even smell or taste it. A high quality,…... Read more.
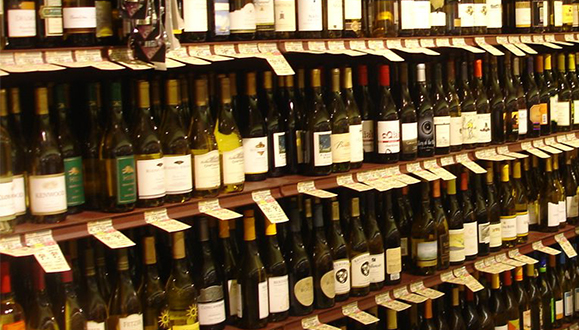
5 Ways to Create a Standout Wine Label
You hear the phrase “stand out on the shelf” an awful lot if you produce and sell wine. It’s a…... Read more.
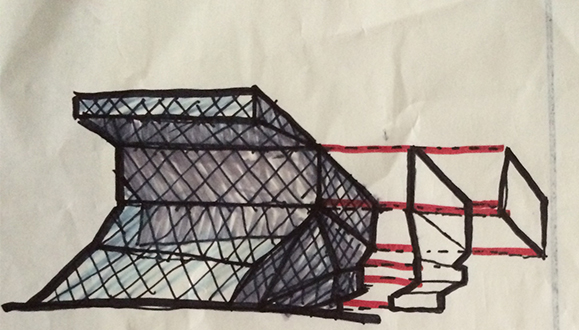
The Architecture of a Custom Label
As an architecture enthusiast, I spend a lot of time reading and thinking about buildings. And, over time, I’ve come…... Read more.
dgrgrgrg gtgthgyhy... Read more.