How to Translate Your Brand Identity into Packaging and Labels: A Step-by-Step Guide

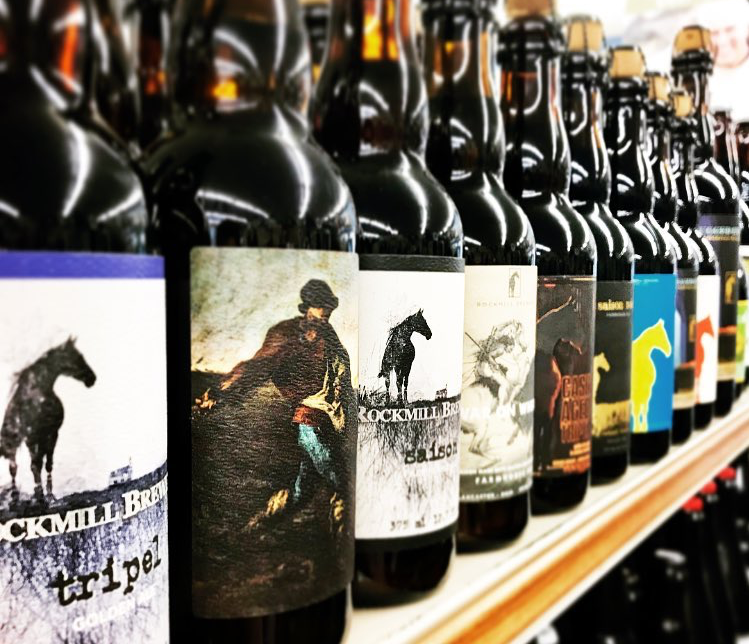
While you might not judge a person based on one meeting, products often don’t get a second chance on a crowded shelf. Let’s face it — when it comes to shopping, customers all judge a book by its cover, or in this case, a product by its packaging. Studies say about 70% of consumers make snap decisions based on packaging alone — tough for your amazing product on the inside!

Let’s dive into the consumer psyche and how your packaging choices can help you connect to your ideal audience.

The Significance of Brand Identity in Packaging and Labeling

It’s not only your choice of color palette and the feel of a quality product label design that matters. Nearly two-thirds of shoppers feel more connected with brands that share their values, often thanks to clever packaging that tells a story. If a product’s packaging catches the consumer’s eye in the first few seconds, we are a whopping 81% more likely to toss it into our cart.

What is this magic that compels consumers to pick one product over another? One ingredient is a well-communicated brand identity.

What Is Brand Identity?

Author and branding guru Seth Godin once said, “A brand is the set of expectations, memories, stories and relationships that, taken together, account for a consumer’s decision to choose one product or service over another.”

What is brand identity? Infographic

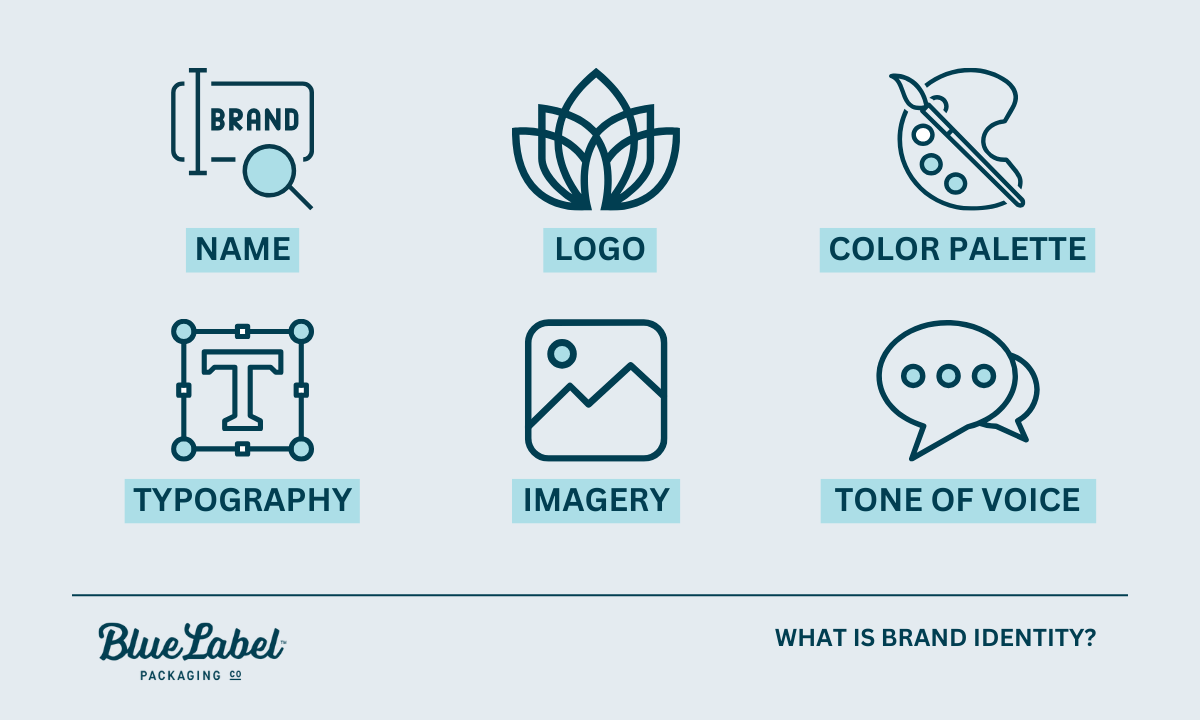
Brand identity encompasses the visible elements of a brand, including its:

  • Name
  • Logo
  • Color palette
  • Typography
  • Imagery
  • Tone of voice

Together, they create a unique image in the consumer’s mind. These components work in harmony to convey the brand’s message and values.

Where Packaging and Labeling Meet Brand Identity

Packaging and labeling play a crucial role as the physical embodiment of a brand’s identity. They are often the first touchpoint a consumer has with a product, making them essential in creating lasting impressions.

Well-designed packaging not only attracts attention on the shelf but also communicates the brand’s essence, values, and intentions. Effective packaging can enhance a consumer’s experience, reflecting quality and care in the product within.

Once you’ve started growing a loyal fanbase, consistent design elements, packaging, and labels can reinforce brand recognition, fostering customer trust and loyalty.

Key Visual Elements of Brand Identity

Key elements of brand identity—color, typography, and imagery

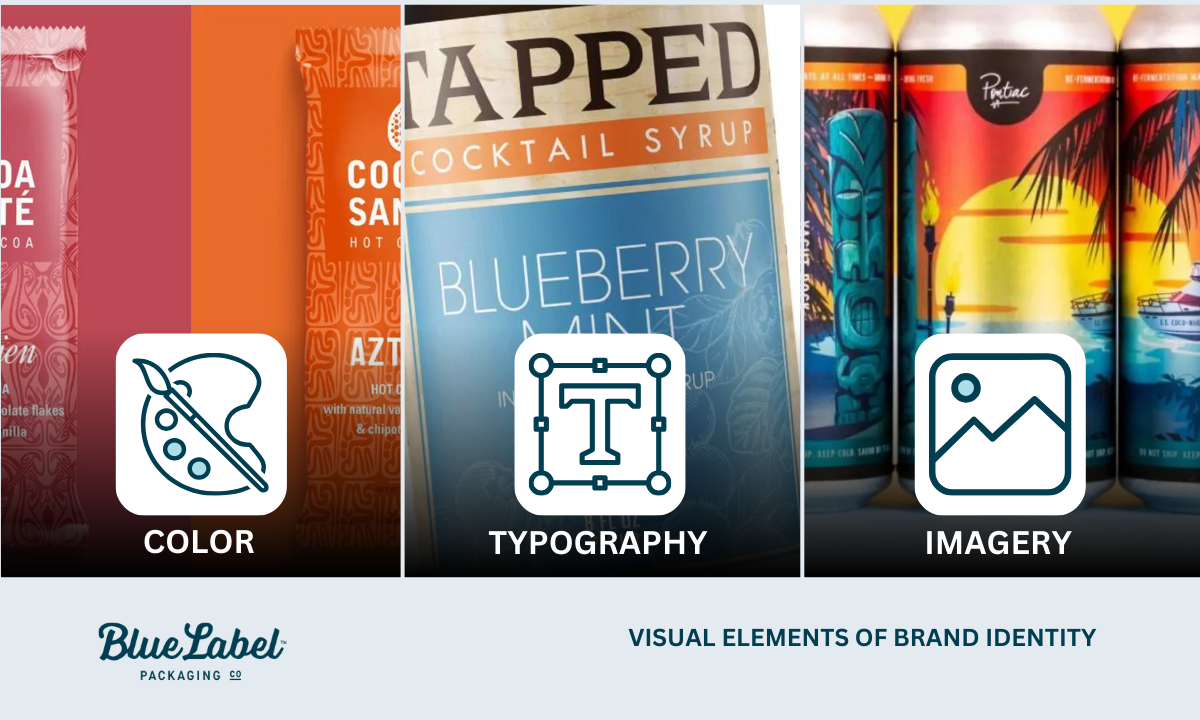
When translating brand identity into packaging, several key visual elements must be considered:

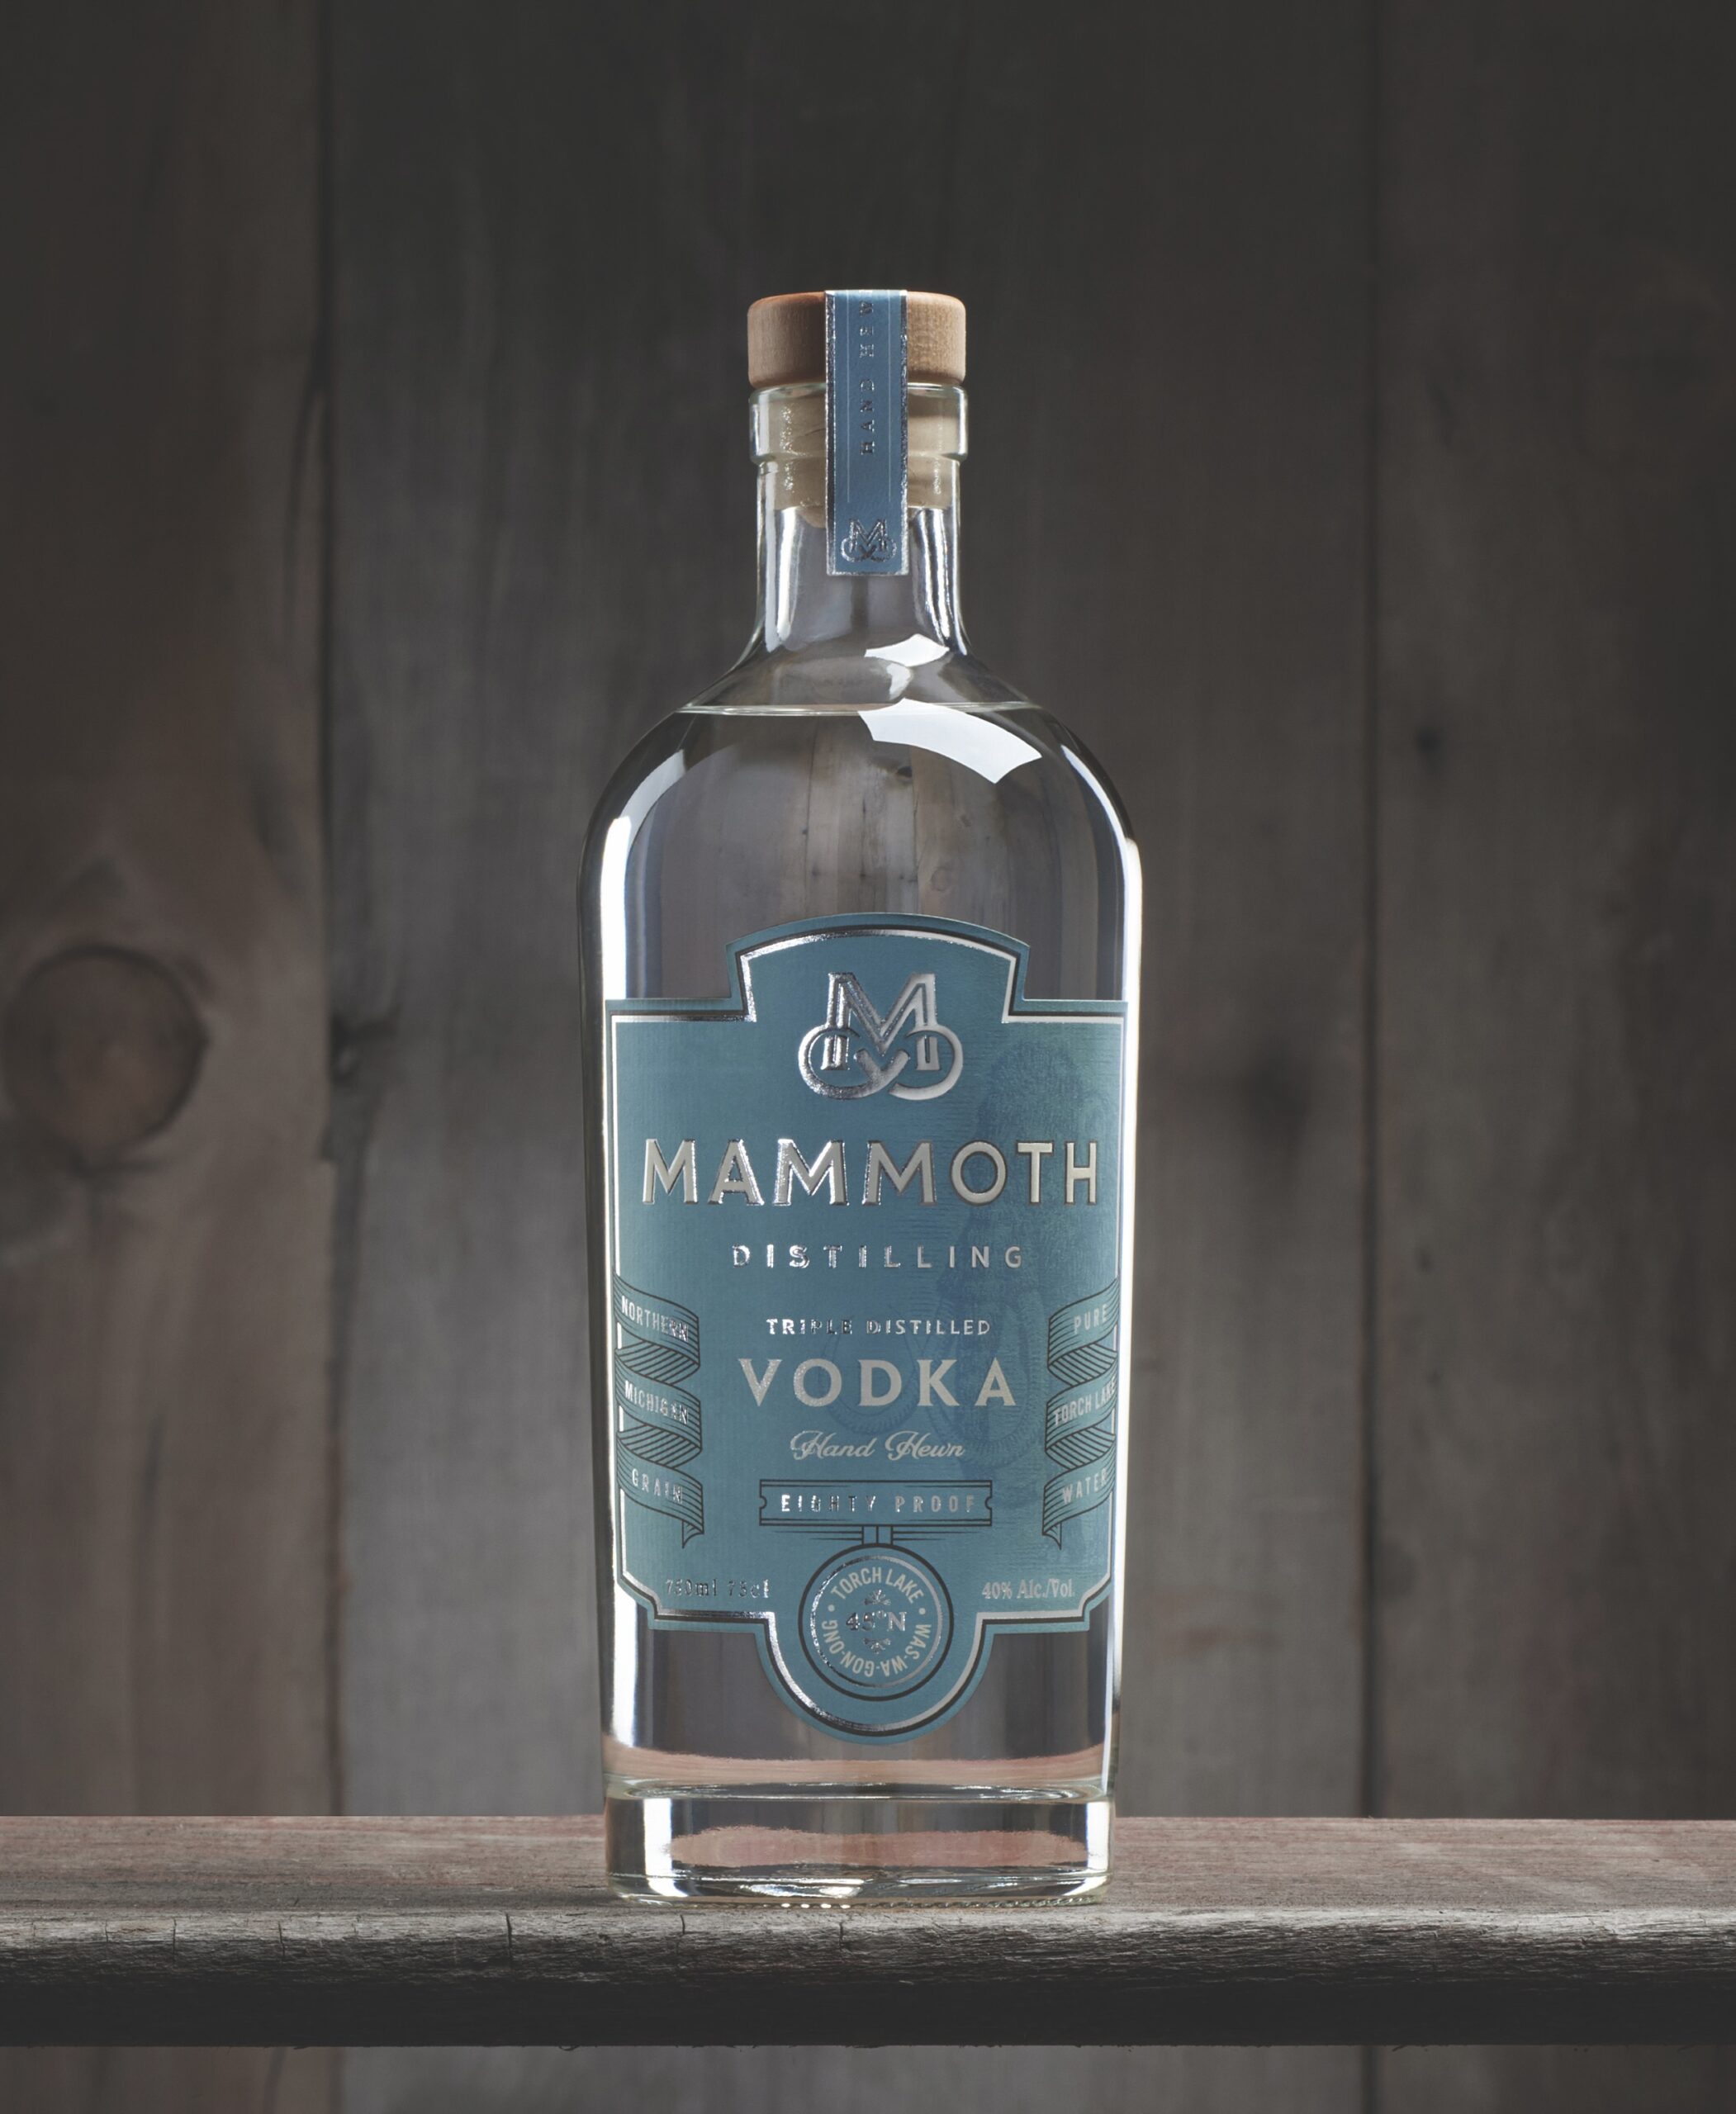
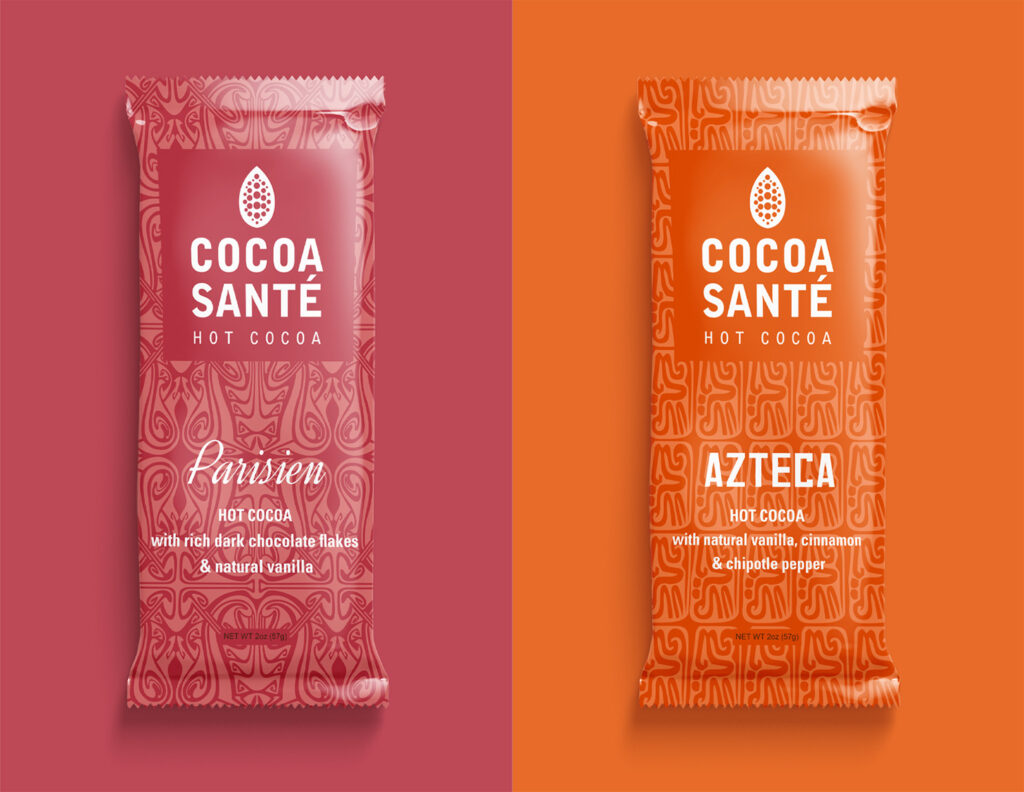
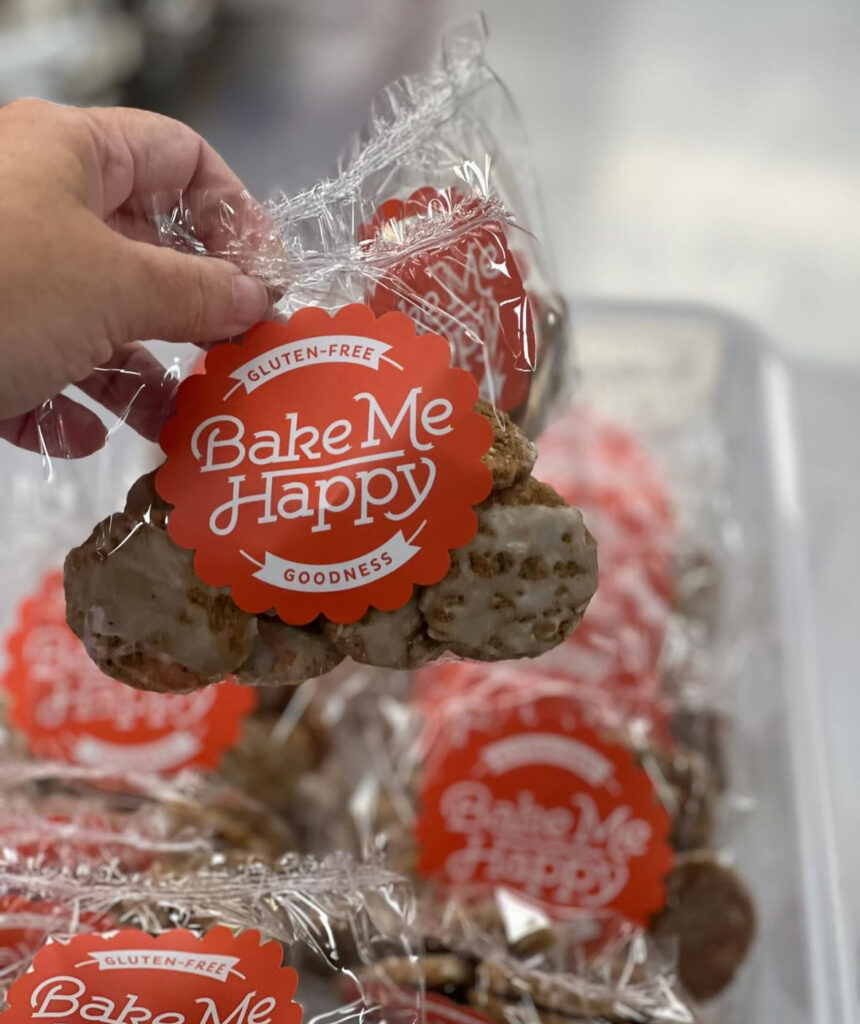
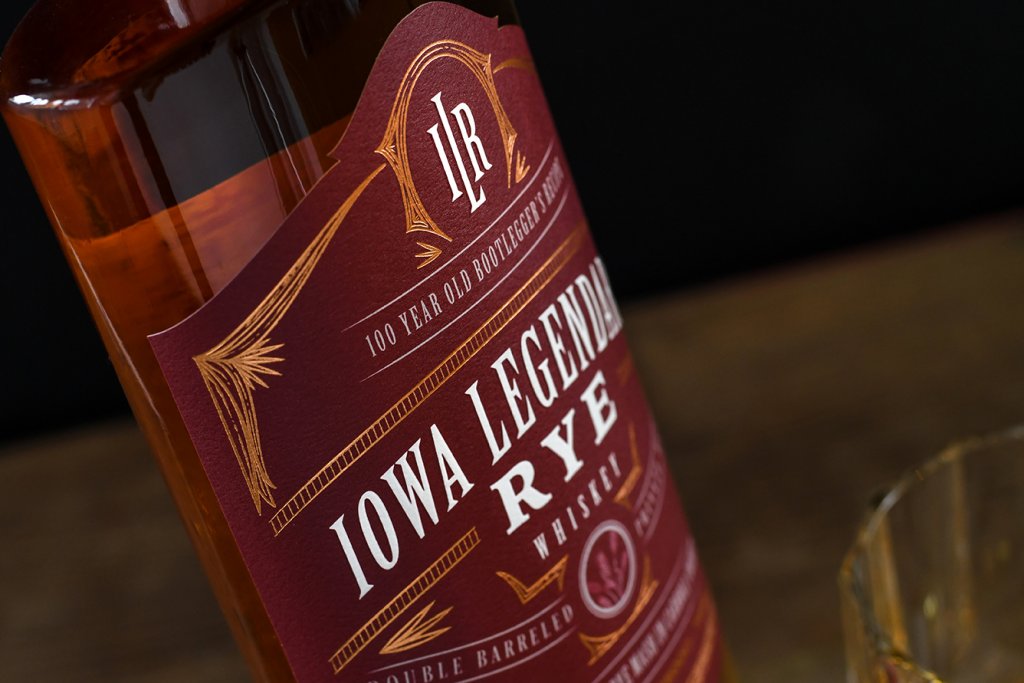
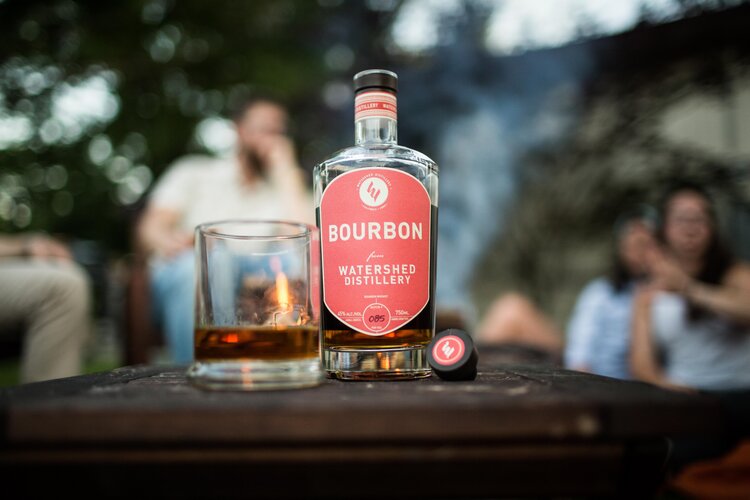
  • Color: The choice of colors in packaging influences consumer perception and can evoke specific emotions. For example, blue often conveys trust and reliability, while green is associated with eco-friendliness and health.
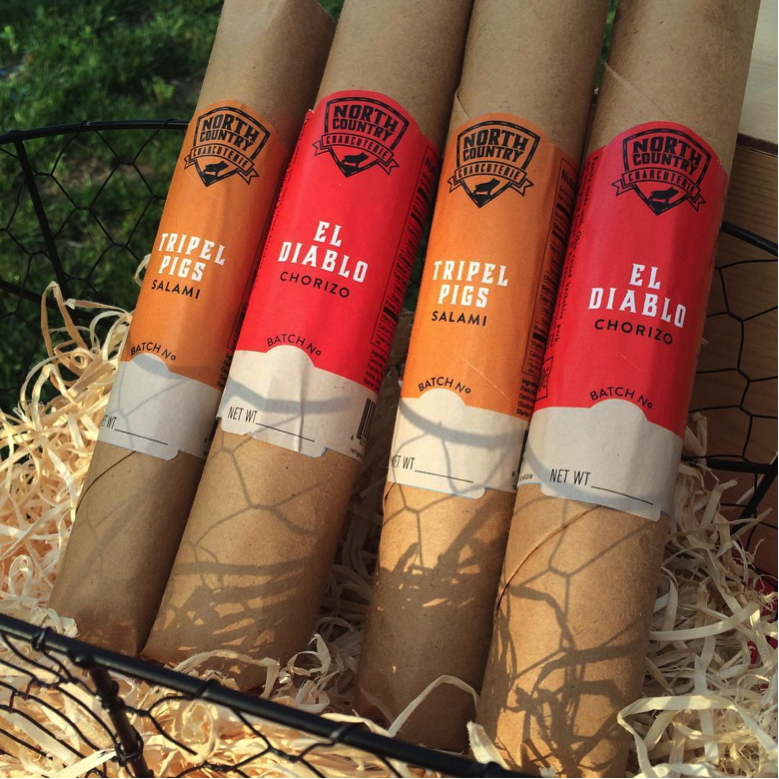
  • Typography: The fonts selected for packaging should align with the brand’s personality and tone. Elegant script fonts might suggest luxury, while bold, sans-serif fonts can impart a modern, approachable feel.
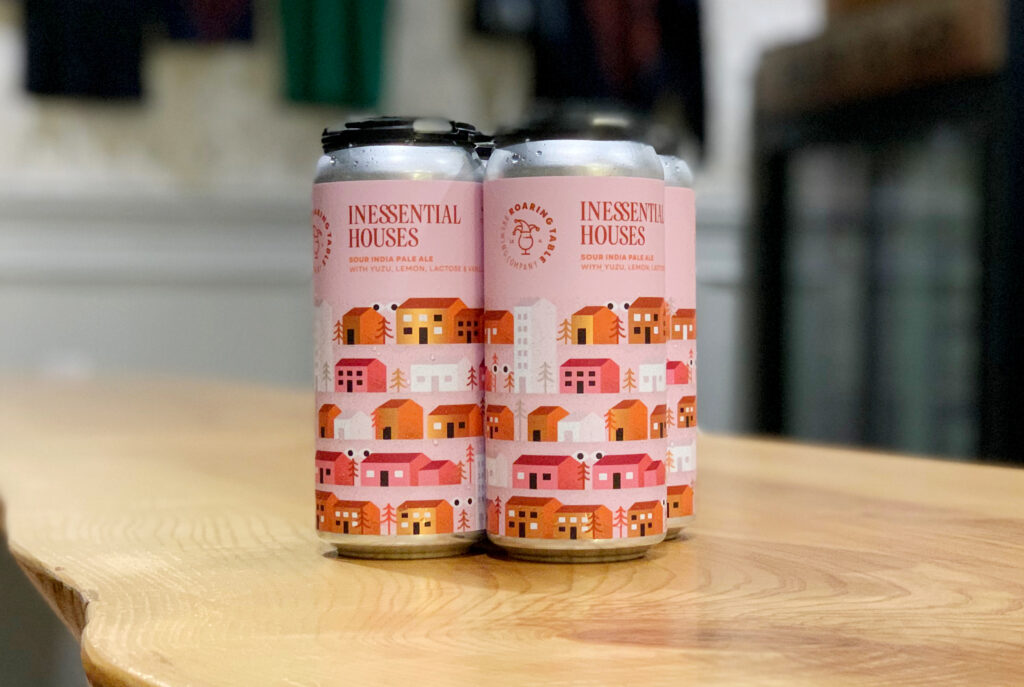
  • Imagery: The visuals used, whether photographs, illustrations, or graphics, should resonate with the brand’s message and audience. They can enhance storytelling, making the product more relatable and memorable.

The Impact of Branding and Design on Profitability and Marketability

Branding and design are two of the biggest parts of your brand equity. They shape consumer perceptions and can significantly influence purchasing decisions. Here’s how they impact your bottom line:

  • Generates Organic Word of Mouth (WOM) Marketing: A strong brand identity attracts new customers and helps retain existing customers, leading to repeat purchases and valuable word-of-mouth promotion.
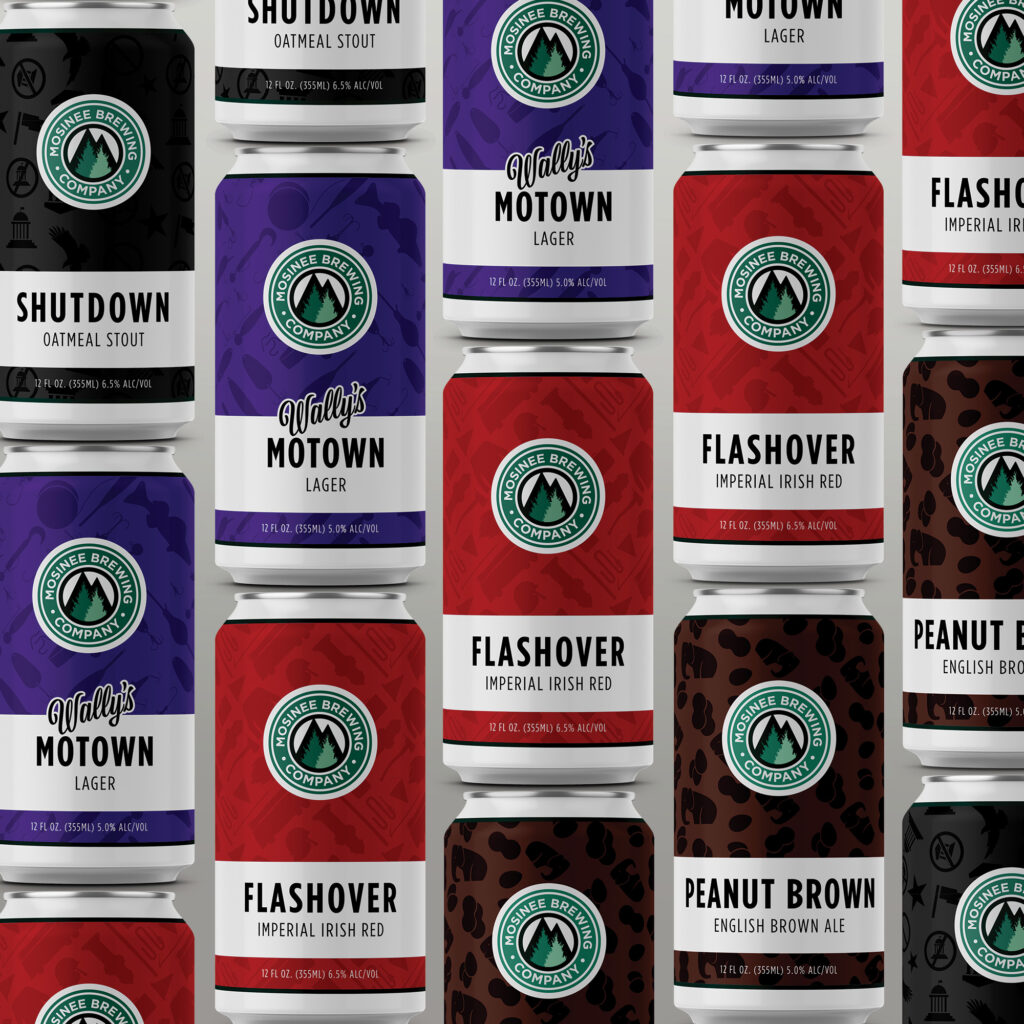
  • Accelerates Growth Through Recognition: Unique packaging and label design make your product memorable and easy to find—that’s what we call brand recognition.
  • Adds Perceived Value: Eye-catching design helps your product stand out, helping you justify your price point.
  • Simplifies Marketing Efforts: A clear and consistent brand across products and platforms makes sales and marketing easier.

Shopper Psychology: How Packaging Influences Consumer Perception

Packaging is far more than just a protective layer for products; it is the first touchpoint between consumers and your brand — and it turns out that most of the time, the average shopper doesn’t know they’re being judgemental.

Harvard Business School professor Gerald Zaltman highlights in his book How Customers Think: Essential Insights into the Mind of the Market that as much as 95% of the decisions customers make when purchasing occur within our subconscious mind.

The design, color, shape, and material of packaging can significantly affect consumer perceptions and buying decisions. Eye-catching packaging can evoke emotions and attract attention, driving impulse purchases and establishing a brand’s identity in a crowded marketplace. Packaging can signal quality and sustainability, influencing consumers’ choices in an increasingly eco-conscious market.

Woman shopping in a supermarket

Designing for Your Target Market

A deep understanding of their preferences, values, and lifestyles is essential to ensure that packaging resonates with your target audience. Here are some tips for creating effective packaging:

  • Research Demographics: Conduct market research to understand your audience’s characteristics, including age, gender, and interests.
  • Visual Elements: Use colors and graphics that appeal to your demographic. Younger consumers might prefer bold, playful designs, while older consumers may appreciate classic and understated elegance.
  • Functional Design: Consider the practical needs of your target market, such as ease of use, convenience, and portability, ensuring that your packaging meets their expectations.

How Types of Packaging Speak to Different Demographics

Packaging should speak to your brand’s key personas.

  • Eco-Friendly Packaging: Brands like Method and Haagen-Dazs have successfully adopted sustainable packaging that appeals to environmentally conscious consumers, reinforcing their commitment to sustainability.
  • Luxury Packaging: Companies like Chanel use elegant, minimalist designs to convey a sense of exclusivity and high quality, resonating with affluent clients seeking premium products.
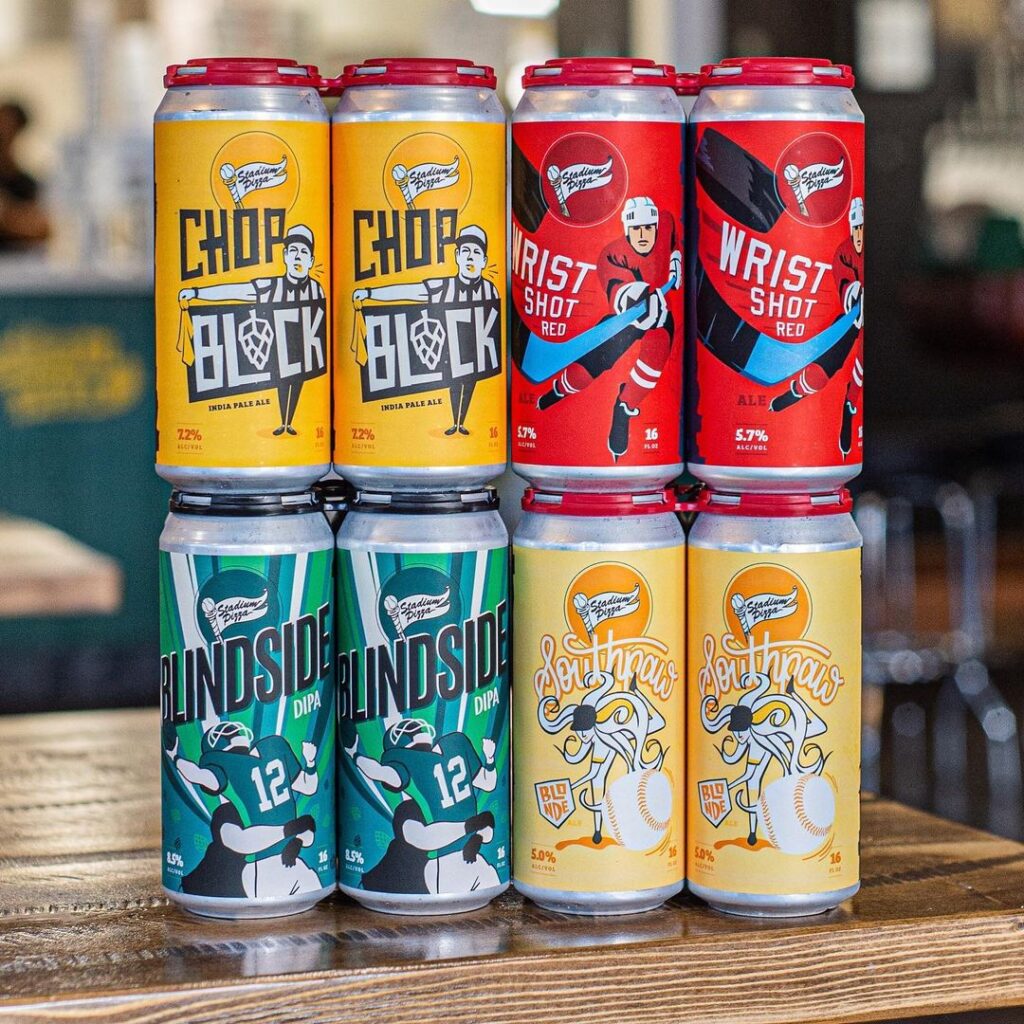
  • Whimsical Packaging: Brands targeting families and children, like M&M’s, often employ vibrant colors and playful illustrations, making their products visually appealing to younger audiences and their parents alike.
  • Label designers looking at color swatches

How to Communicate Brand Identity Effectively to a Designer

Before you talk to the designer, you’ll need to get your ducks in a row. This means creating a clear common language to communicate with each other.

  • Define Your Brand’s Vision and Values: Outlining the core principles that drive your brand. What is its mission and vision? Articulate the values you want the brand to embody and the problem you want to solve with your product.
  • Identify Your Target Audience: purchasing behaviors. This information helps the designer understand whom they are designing for.
  • Choose a Tone and Voice: Describe the tone of communication that your brand will use — will it be playful, serious, modern, or nostalgic? This will guide the designer in selecting colors, typography, and styles that align with your brand personality.
  • Create a Brand Guide or Identity Brief: Your brand will include all the above plus examples of your buyer persona, logo use, brand colors, and fonts. (Pro tip: look at other industry-adjacent brand language and style guides to get a feel for what to include and then customize it to your brand’s voice and audience.)

What to Give to a Designer

It’s helpful to include a few extras along with the brand guide. Most experienced designers can seamlessly switch between brand aesthetics, but they tend to work better with visual references than only verbal ones.

  • Provide Visual Inspiration: Include mood boards, examples of competitor brands, or any visuals that resonate with your brand’s identity. This will help the designer visualize your expectations.
  • Outline Specific Requirements: Specify any essential elements or constraints in the design, such as logo usage, color palettes, and typography guidelines. Be clear about what must and must not be included.

Collaboration Strategies

These are some tips to keep the design process smooth. Really solid communication will save you time and money.

  • Be Clear and Concise: Use straightforward language and avoid jargon when discussing your brand identity. Ensure that all key points are easy to understand and direct.
  • Encourage Questions: Foster an open atmosphere by inviting the designer to ask questions for clarity. This helps prevent misunderstandings and aligns expectations.
  • Provide Context: Explain why certain elements are important to your brand. Sharing the reasoning behind your choices gives the designer a deeper understanding of your vision.
  • Regular Check-Ins: Schedule periodic meetings to discuss progress and address any concerns. This keeps everyone on the same page and allows for adjustments based on client feedback.
  • Constructive Feedback: Offer feedback that is specific and actionable. Instead of saying you don’t like a design, explain what aspects do not align with your vision and why.
  • Celebrate Milestones: Acknowledge completed phases in the design process to maintain motivation. Recognizing efforts helps build a positive working relationship and encourages designers to deliver their best work.

Designer looking at product labels

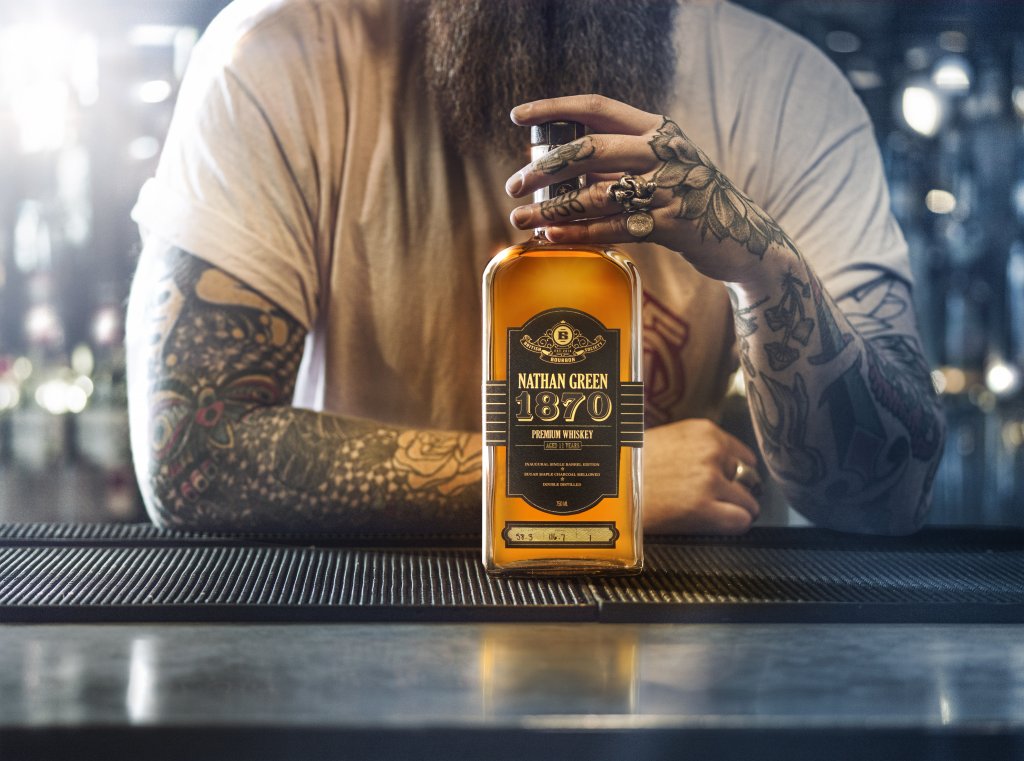
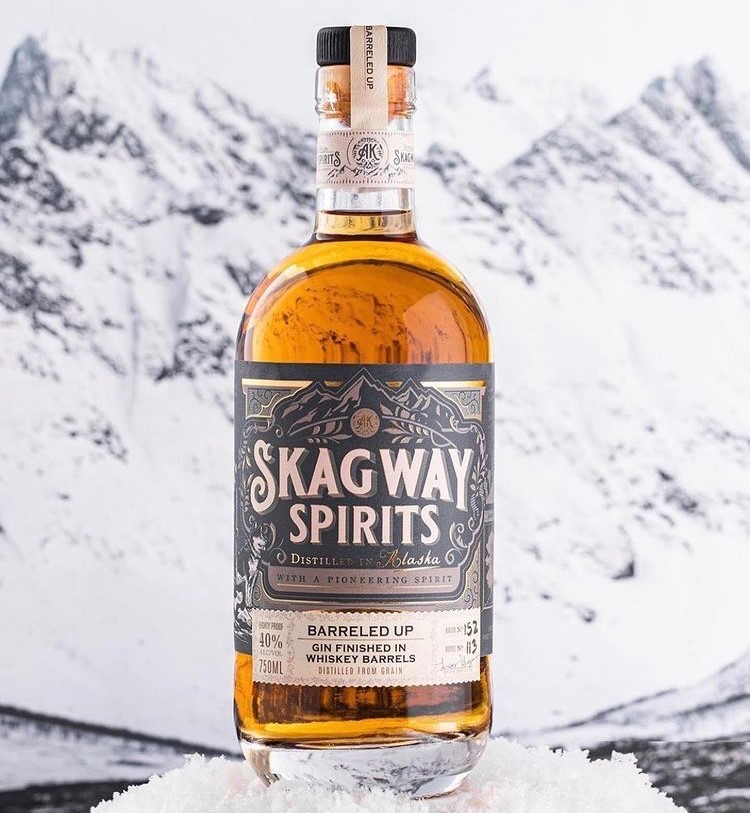
Choosing the Right Materials and Styles Based on Your Brand Identity

Material Selection

When selecting materials for your packaging, it’s crucial to consider how each option can align with and enhance your brand identity.

For instance, paper offers a classic, eco-friendly choice that can be tailored with various textures and finishes for a unique touch.

BOPP (Biaxially Oriented Polypropylene) is a versatile and durable material that works well for products requiring moisture protection while maintaining a clear design aesthetic.

Vinyl, known for its vibrant colors and flexibility, can convey a modern and durable impression, making it suitable for brands looking to stand out in a competitive market.

Style Considerations

Your packaging style should ultimately serve to reflect and elevate your brand’s identity and values.

A minimalist approach, like the one famously used by Apple, can communicate sophistication and modernity, appealing to consumers who value simplicity and elegance.

On the other hand, luxury packaging often employs high-quality materials and intricate designs to create an impression of exclusivity and prestige. The perfume industry does an excellent job using custom packaging and high-end label finishes to speak to a high-end buyer.

Eco-friendly packaging can resonate with environmentally conscious consumers, showcasing a commitment to sustainability. Lush is a great example, showcasing bold, eco-friendly packaging that aligns with their ethical stance.

The Importance of Brand Consistency Across Products and Product Lines

Keeping your brand consistent across all products and packaging is key to building consumer trust. When customers see a uniform brand experience, it boosts their recognition and makes them feel more connected to your products. This connection can lead to increased loyalty, as people tend to stick with brands they know well.

To achieve this, brands should create clear brand guidelines for visual elements like logos, colors, and typography and ensure that teams are trained on these standards.

Should you live and die by your brand guide? Not always. When launching new products or entering different markets, it’s vital to adjust your branding thoughtfully, maintaining your core identity while appealing to local tastes. By focusing on consistency, companies can grow while solidifying their presence in the market.

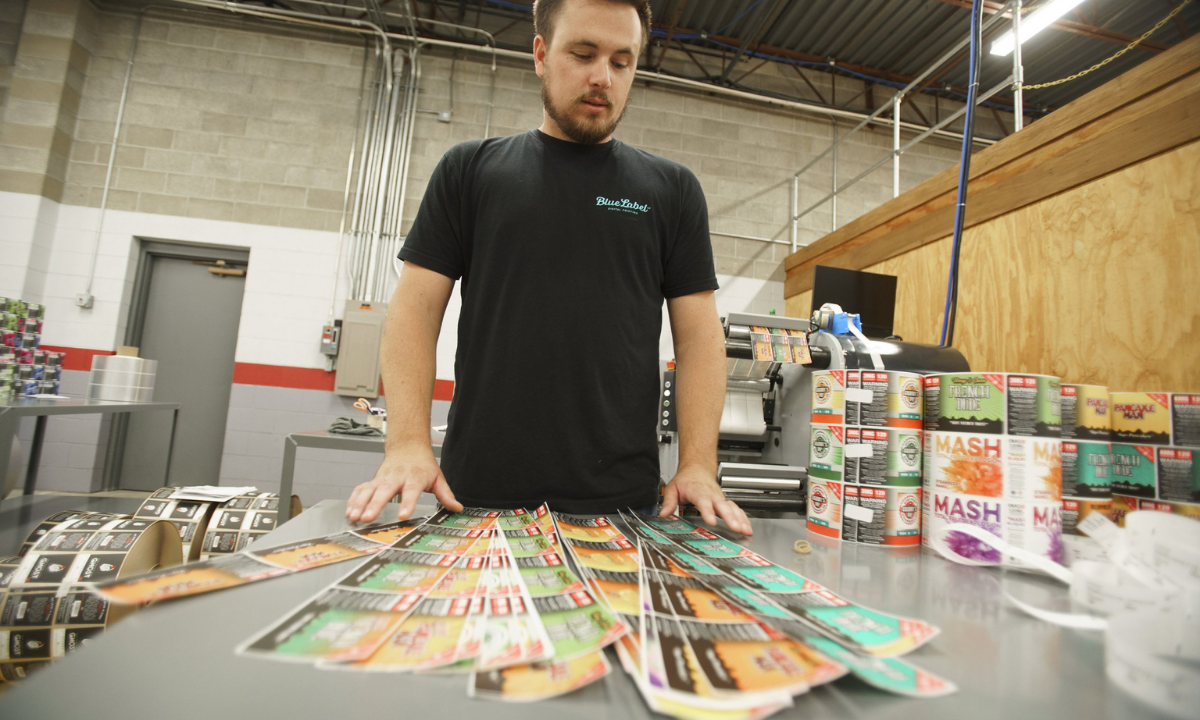
Blue Label Can Help Connect Your Brand to Your Packaging

Next time you’re designing labeling or packaging, remember that a little thought toward branding, materials, and intent can go a long way toward turning heads and creating a loyal customer base.

Contact us today for a quote for custom labels or just go get answers to any of your labeling or packaging questions.

Red Labels That Inspire: A Gallery of Designs for Red Product Labels

Red is the color of passion, power, and unshakable confidence—and when it’s used on a label, it has the ability to make products pop off the shelves. The color red can make a product feel bold and fiery or rich and refined. In this post, we’re diving into some inspiring examples of red labels that demand attention, connect with customers, and leave a lasting impression.

Cocoa Santé Hot Cocoa

The deep red on the Cocoa Santé Parisien label grabs your attention instantly—it’s bold, luxurious, and exudes warmth and indulgence. It’s the kind of color that makes you feel like you’re about to unwrap something truly special, setting the perfect tone for a Parisian-inspired cocoa experience.

Bake Me Happy Baked Goods

The bright, cheerful red of the Bake Me Happy label is impossible to miss—it’s fun, welcoming, and gives off a sense of homemade joy. Paired with the playful scalloped edge and friendly typography, it’s like the packaging is saying, “Yes, it’s gluten-free, but it’s also packed with pure happiness!”

Baked cookies with custom labels

Iowa Legendary Rye Whiskey

The deep, rich red of the Iowa Legendary Rye label is sophisticated, and gives nod to its storied 100-year history, drawing you into the bootlegger’s era. With its bold typography and intricate golden accents, the design evokes craftsmanship and legacy.

Rye Whiskey Label

Mosinee Brewing Company’s Flashover Imperial Irish Red

The fiery red design of Mosinee Brewing Company’s Flashover Imperial Irish Red cans gives off intensity and energy, echoing the bold, full-bodied flavor inside. The subtle textured pattern adds depth and character, making this can unforgettable.

Roaring Table Brewing’s Inessential Houses IPA

The playful pink palette and charming illustrations on Roaring Table Brewing’s Inessential Houses can make it feel like you’re strolling through a vibrant, whimsical neighborhood. The design is as refreshing and unexpected as the Sour IPA inside.

Land Grant’s Splendid Berry Brut

The bright, playful red and intricate patterns on Land Grant’s Jeni’s Splendid cans mirrors the creativity and sweetness of its collaboration with Jeni’s Splendid Ice Creams. The design feels like a joyful celebration in a can—inviting, fun, and as delightful as the treat-inspired beer inside.

Watershed Distillery Bourbon

The bold red label on Watershed Distillery’s bourbon strikes the perfect balance between modern simplicity and timeless warmth, drawing attention to its refined craftsmanship. It’s a design that feels right at home at any gathering—inviting, approachable, and as smooth as the bourbon it represents.

North Country Charcuterie

The fiery red labels for North Country Charcuterie’s El Diablo Chorizo demand attention with their bold and spicy energy, channeling the heat-packed flavor inside. The clean typography and rustic packaging create an artisanal charm.

Custom food label for North Country

Stadium Pizza Write Shot Red

The bold red labels for Stadium Pizza’s Wrist Shot Red amber ale hit the mark with their energetic hockey-inspired design. The striking colors and dynamic illustration make this brew feel like a power play for your taste buds, perfect for game day or any day.

Cà Phê Sữa Đá Sang Vietnamese Coffee

The vibrant red label on Sang Vietnamese Coffee’s plant-based can is bold, modern, and full of energy. Paired with the minty green/blue typography, it’s a fresh twist on tradition that grabs your attention and promises a creamy, plant-powered coffee experience.

Clos du Val Cabernet Sauvignon

The rich, earthy tones of the Clos du Val Cabernet Sauvignon label evoke elegance and timeless sophistication, capturing the essence of Napa Valley’s craftsmanship. With its delicate script and balanced design, the label feels as refined and complex as the wine itself.

Wine bottle with red label

Big Mountain Ciderworks Cherry Blossom Cider

The Big Mountain Ciderworks Cherry Blossom label features a rich cherry-red background adorned with delicate floral accents that evoke freshness and sophistication. The interplay of bold typography and soft blossom imagery creates a perfect harmony, much like the semi-sweet cider inside.

bottle with custom cider labels

Krayasart Thai snack bites

The vibrant red packaging of Krayasart Thai Snack Bites demands attention with its intricate, mandala-inspired design that radiates energy and cultural authenticity. Perfectly complementing the bold chili-lime peanut flavor, this packaging promises a snack experience that’s as dynamic and exciting as its appearance suggests.

Specialty food packages with custom labels

Nomad Snack Company’s Raw Dark Chocolate Bars

The Nomad Snack Company raw dark chocolate bar packaging is a perfect blend of rustic charm and modern flair. With its kraft paper base and vibrant pink accent, it feels natural and handcrafted, while the copper foil logo adds a luxurious touch.

chocolate box with custom label

Asheville Spice Company All Y’All Spice

The bold orange/red label for Asheville Spice Company’s All Y’All Spice is as vibrant and flavorful as the blend itself, capturing the warmth of southern charm and the zest of its mountain-roasted ingredients. With its playful skillet graphic and hand-drawn typography, this packaging promises an authentic and lively seasoning experience.

Spice Seasoning Jars with Labels

4 Tips to Elevate Your Whiskey Bottle Label Design

People aren’t supposed to judge a book by it’s cover, but that doesn’t stop them from judging a whiskey by it’s label. According to a Harris Poll study, a whopping 85 percent of shoppers said that product packaging impacted their purchase decisions. That visual edge is why intriguing packaging is crucial whether you sell your craft spirits in liquor stores, online retailers, and anywhere else people can procure your whiskies.

Simply put, an eye-catching whiskey bottle label is essential for everything from bourbons to wheaters. Let’s break down a few ways that you can elevate your custom whiskey label design so that your spirit catches consumers’ attention.

A bottle of Uncle Nearest with a hot foil stamped whiskey bottle label design.

Material Selection

Paper is a classic choice for a reason. Paper is incredibly versatile and allows you to play with a variety of textures to capture your desired aesthetic. These options include:

  • Linen
  • Eggshell
  • Felt/velvet
  • Estate
  • Metalized
  • Cobblestone
  • Ever-opaque

No matter the option, paper gives you a base to help you tell your product’s story. Want to position your whiskey as a premium, high-class spirit? A matte-coated paper stock simply oozes with sophistication. Different textures can also give customers a more enjoyable tactile experience – and that’s especially important when touch can help influence buying decisions.

While paper is a traditional choice, there are plenty of films that can help you enhance your label’s look. Clear, metallic, and other specialty films allow you to incorporate the material into your design, whether you want to show off more of your product or add a more modern, flashy element to your packaging. Films also have the added benefit of water resistance, whereas paper will eventually break down.

Font Selection

The words on a whiskey label do a lot more than provide information. The fonts you choose say a lot about how you want customers to perceive that product, so make sure to pick a personality that suits your spirit.

Distilleries are opting to break the mold with more modern fonts like sans serifs or slab serifs. Traditionally, a script font is typically very elegant and sophisticated, whereas a serif font in more traditional and reliable. Those two routes are normal choices for whiskey labels, and for good reason – people naturally equate them as a trusted font for a premium product.

As long as your whiskey is positioned appropriately, this bold approach can give your product a unique aesthetic that let consumers know what type of experience to expect – just make sure that you keep your text legible regardless of your choices.

Color Considerations

Just like fonts, your choice of colors play a pivotal part in showcasing your product’s personality. According to research, 85 percent of shoppers name color as a primary reason for why they buy a particular product. That level of impact makes your color choices extremely important.

Using color psychology can help you influence consumers through your unique whiskey bottles and whiskey label design. For example, the following hues are associated with the following feelings and can help you convey a certain attitude for your target audience.

  • Red – Bold and passionate
  • Orange – Energetic and invigorating
  • Yellow – Joyful and optimistic
  • Green – Safe and nurturing
  • Blue – Serious and trustworthy
  • Purple – Successful and creative
  • Pink – Youthful and feminine
  • Brown – Reliable and rugged
  • White – Clean and pure
  • Grey – Versatile and mature
  • Black – Luxurious and elegant

A whiskey label design for Nathan Green 1870.

Label Decoration

When it’s time to take your label to the next level, decoration is your best friend. Some strategic decorations not only turn your whiskey bottles into a visual spectacle, but also add to the perceived value of your product. That extra decorative flair comes in many forms, all of which can enhance your labels in different ways.

  • Embossing – Create a three-dimensional image by pressing a custom pattern into your label material. The resulting raised surface creates an intriguing design that customers can both see and feel.
  • Hot foil stamping – Stamp a special design into your label with a specialty foil. This process allows you to create multifaceted compositions through metallic, holographic, matte, and other decorative imprints.
  • Spot varnish – Coat your entire label or highlight specific parts of your design with a protective liquid coating that cures and dries in a variety of different forms, including matte, gloss, or soft touch.
  • High-build silk screen – Finish your design with a special ink layer that adds a stunning glossy pattern that raises above the rest of your design.

Communicate Quality Through Your Whiskey Bottle Label Design

Let’s face it – whiskey drinkers aren’t lacking for options. That’s why it’s absolutely essential that your whiskey label design not only attracts attention, but looks as good as what’s in your bottles. That need for premium packaging is why Blue Label works with craft distilleries to print professional-quality eye-catching labels that elevate your branding and communicate the quality and character of your whiskey.

Ready to make your custom whiskey label design a reality? Contact us today to get the stunning labels and unmatched customer service your distillery deserves.

Online Alcohol Packaging: How to Prepare Your Wine and Spirits Labels for Ecommerce Success

Over the years, more people have turned to an increasingly popular destination for wine and spirits: the internet.

Online sales of wine and spirits have steadily increased over the years, making the digital market a prime place for vintners and distillers to sell their products. That trend took off even further when wine ecommerce and other online alcohol sales jumped 234 percent during the COVID-19 pandemic.

Whether you use a third-party marketing platform or sell wine or spirits directly from your website, it’s important to make sure your custom labels are just as effective on smartphones and monitors as they are in stores. Fortunately, there are some steps you can take to help your wines and spirits succeed online.

An ecommerce spirits label for Skagway.

4 Tips for Online Wine and Spirits Labels

The average consumer already has an incredibly short attention span – that attention span only grows shorter online. When you have roughly eight seconds to make an impression, a great product label can be your best friend.

It’s important to remember that certain aspects of your label may not translate well online. As such, you’ll want to keep ecommerce in mind when you put together a label design for your wine or spirits. Here are five ways that you can help set up your wine and spirits labels for online success.

Color them impressed

A bland bottle typically doesn’t sell well in online stores. A pop of color is one key element that catches ecommerce users’ eyes. A flash of red or a burst of yellow can stop a consumer from aimlessly scrolling past your products so that they will check out what you have to offer.

In terms of what colors to use, it really depends on what type of message you want to send. Colors can influence consumer’s emotions by making them associate with certain feelings. For example, a green label can inspire feelings of relaxation and happiness. Meanwhile, red signifies strength or power. Try to find a color that helps you tell your product’s story – just make sure it’s something that really stands out in an ecommerce store.

It’s also important to note that while vibrant colors can help you stick out in a crowded ecommerce store, too many colors can have the opposite effect. Labels with multiple interlocking colors can appear muddy in a small image. In addition, certain color combinations can help your label pop out to consumers and make it easier to read the text. A color wheel can help you identify opposite colors that still work with each other. Test out how your potential label would look in a product image to make sure it’s just as stunning online as it will be in person.

Clearly identify your wines and spirits

Once you have someone’s attention, it’s critical that users quickly identify your products. Any seemingly missing detail can lead an ecommerce customer to click away to a different product.

Make sure users can immediately recognize your brand name and product designation. While these details may seem prominent in your design, consider how easy it would be to read them in a small product image on a phone screen or monitor. Amplifying these details will help users recognize who you are and what your product is, be it a malbec, a straight rye whiskey, or something else.

Make a big impression

A lot of small, ornate details may look great in person, but it may get lost in a small product image nestled amidst dozens of other bottles. If you want your wine or spirit to truly stick out in an ecommerce setting, it’s time to amp up your design.

There are a few ways that you can go about enhancing your design. As mentioned earlier, large pops of color are one way to make an immediate impression. There are also special printing capabilities that can add an extra dimension to your design. Utilizing hot foil stamping is one way to make your wine and spirits labels look more sophisticated, elegant, or flashy for anyone who scrolls by your products.

While small design details might not show up on small product images, that doesn’t mean you should abandon them altogether. These elements can still make an impression on customers once they receive their bottles. A rougher paper wine stock or an embossed pattern may not show up on screens, but it can add an extra dimension to wow consumers once they get a hold of your bottles.

Follow barcode best practices

While your design is a major factor for ecommerce success, it’s critical not to forget about another key purpose of your wine and spirits labels. Online retailers typically require product labels to include Universal Product Codes (UPC) for scanning and identification purposes. As such, you’ll want to ensure that you follow barcode best practices for your wine and spirits labels.

If you’re not careful, you may accidentally set up your barcodes for failure. There are a few steps you can take to make sure that your barcodes are ready for business.

  • Maintain a quiet zone. Make sure that the area around your label’s barcode is clear of any texts, graphics, or other printed elements.
  • Use a simple color scheme. Try to avoid warm colors that won’t work well with red lasers. The safest choice is to stick with black text on a white box.
  • Utilize proper barcode sizing. Keep your barcode somewhere between the minimum and maximum recommended barcode sizes.
    • Minimum – 1.175” wide by .816” high
    • Maximum – 2.938” wide by 2.04” high
  • Send barcodes in the right formats. Once your label design is ready, you’ll need to send a few of your barcodes to your printing company in a few different forms.
    • An image file of the barcode you’ve received from the provider
    • An Excel document with a list of UPC numbers
    • A PDF or EPS of the barcodes

A group of colorful wine ecommerce labels.

Find the Right Printing Partner for Your Wine and Spirits Labels

Once you have your labels ready for online success, it’s time to find a label printing company. At Blue Label, we have the experts and technology to help you get the most out of your packaging.

Our team strives to not only enhance your designs, but also make sure that everything is right before we print your full order. We can work with you to check your art files and identify the best, most cost-effective solutions for your wine and spirits. Contact us today to invest in stunning wine and spirits labels.

3 Reasons Why the TTB Turned Down Your COLA (and How to Avoid Them)

In the beverage world, a label denial can prove quite problematic for any new beer, wine, or spirit. No matter which or the three products your company makes, the Alcohol and Tobacco Tax and Trade Bureau (TTB) requires you to apply for a Certificate of Label Approval/Exemption (COLA) before that specific product ever hits the market.

Of course, this requirement means you need to play by the TTB’s rules. This process applies to your initial application for a COLA and if you make future changes to your labels – all it takes is a single TTB audit to pull your products from shelves. There is a lot of information required on wine labels and other alcoholic packaging, so the TTB will pay close attention to make sure everything is in the right place.

TTB regulations can seem a bit overwhelming, but a little guidance can help you properly prep your beer, wine, and spirits labels. It also helps to know about a few particular COLA pain points. Here are three common reasons why the TTB may turn down your COLA.

The Government Warning Statement isn’t Right

One of the easiest mistakes to make involves the mandated government warning. Any product that contains at least 0.5 percent alcohol by volume requires a government warning on its label. That warning reads as follows.

  • GOVERNMENT WARNING: (1) According to the Surgeon General, women should not drink alcoholic beverages during pregnancy because of the risk of birth defects. (2) Consumption of alcoholic beverages impairs your ability to drive a car or operate machinery, and may cause health problems.

Seems simple right? The tricky part is that the TTB is very particular about the presentation of this warning. The warning should read exactly as it does above, including how the first two words are bolded and capitalized. Even a missing or misplaced comma can result in a failed COLA.

In addition, the TTB has specific format requirements for the warning. First, the warning itself must be “readily legible under ordinary conditions” and appear in a contrasting background. Second, the TTB sets the following minimum required type sizes depending on the the size of the container:

  • Eight or fewer fluid ounces – Minimum character size of one millimeter
  • More than eight fluid ounces and up to three liters – Minimum character size of two millimeters
  • More than three liters – Minimum character size of three millimeters

Finally, the TTB sets a maximum number of characters per inch depending on the type size of your text.

  • One millimeter – No more than 40 words per inch
  • Two millimeters – No more than 25 words per inch
  • Three millimeters – No more than 12 words per inch

Three cans of beer that got their labels COLA approved.

The Net Contents Are Improperly Displayed

Another potential pain point for COLA applications involves just how much fluid your containers, well, contain. Beer, wine, and spirits all have different standards when it comes to net contents, so it’s important to hone in on the specific rules for your particular product and label them appropriately.

Net contents for beer labels

For beer labels, the TTB has a variety of net contents ranges. As such, the TTB requires you to list net content depending on which range your product falls under:

  • Use fluid ounces or fractions of a pint for containers with less than a pint
  • Use “1 pint, 1 quart, or 1 gallon” for those exact measurements
  • Use either fractions of a quart or pints and fluid ounces for containers with more than one pint, but less than one quart
  • Use either fractions of a gallon or a mix of quarts, pints, and fluid ounces for containers with more than one quart, but less than one gallon
  • Use gallons and fractions thereof for containers with more than one gallon

Net contents for wine labels

While beer regulations for net contents allow for a wide range of sizes, wine follows a set list of options. Wine bottles must abide by the TTB’s authorized standards of fill. This means that wine containers must hold one of the following amounts of fluid.

  • 50 milliliters
  • 100 milliliters
  • 187 milliliters
  • 375 milliliters
  • 500 milliliters
  • 750 milliliters
  • 1 liter
  • 1.5 liters
  • 3 liters

According to the TTB, containers with less than a liter of wine should state net contents in milliliters, while those with more than a liter should use liters and decimal portions rounded to the nearest hundredth of a liter (ex. 1.5 liters). In addition, the text for net contents should use the following sizing rules:

  • At least 1 mm for containers with 187 milliliters or less
  • At least 2 mm for containers with more than 187 milliliters

While the TTB has the set authorized amounts at the moment, that may change in time. The TTB released a notice in July to consider the elimination of all standards of fill except for a 50 milliliter minimum and a 3.785 maximum. The period for public comments on the notice closed Oct. 30, so the TTB should make a ruling at some point in the future after it weighs public feedback.

Net contents for spirits labels

Like wine, spirits containers have certain standards of fill. However, these standards differ slightly depending on your specific container.

  • Bottles and other non-can containers
    • 50 milliliters
    • 100 milliliters
    • 200 milliliters
    • 375 milliliters
    • 750 milliliters
    • 1 liter
    • 1.75 liters
  • Non-resealable metal containers in the general shape and design of a can
    • 50 milliliters
    • 100 milliliters
    • 200 milliliters
    • 355 milliliters

The TTB does make some exceptions to the standards of fill for specialty products like bitters, cordials, and other products. Regardless, any containers of 200 milliliters or more require the net contents to be at least one-quarter inch in height (containers with less than 200 milliliters are unspecified).

A row of Rockmill Brewery beers on a shelf, each of which received TTB label approval.

You Added New Text without Approval

It’s pretty common to change part of your label at some point. Between updating some of the language or adjusting your design, you may want or need to reprint your label. Some changes are completely fine according to the TTB, such as the following examples.

  • Delete non-mandatory label information, graphics, and other elements
  • Reposition approved label information
  • Change colors, shapes, and proportionate sizes of labels
  • Adjust type size, font, and spellings of words as long as it complies with regulations
  • Change the net contents statement for new container sizes
  • Change the mandatory statement of alcohol content as long as the change is consistent with the class and type designation

While those changes won’t lead to any issues, there are others that are off limits when done without the TTB’s knowledge. If you make a change that’s not on the allowed list and the TTB audits your products, they can pull the offending products due to non-compliance. As such, you’ll want to obtain a new COLA depending on your planned changes.

Make Your Beer, Wine, and Spirits Labels Shine with the Right Printing Company

Once you get your COLA approved for a brand-new label or some changes to an existing design, it’s time to find a good digital label printing company to get your products ready for sale. Blue Label has the state-of-the-art equipment and printing experts to help you determine the right materials and printing capabilities for you to get the most out of your label design.

Ready to dazzle your customers with quality beer, wine, and spirits labels? Contact us today to talk to us about your next label printing project.

Why Don’t Beer, Wine, and Spirits Labels Have to Disclose Ingredients or Serving Facts on Labels?

It didn’t take long for someone to make waves in the beer labeling world in 2019. Just 11 days into the year, Anheuser-Busch InBev announced that Bud Light would feature serving-facts labels on its boxes starting in February.

While the move may not seem noteworthy for people unfamiliar with the rules and regulations of beer labels, the announcement is notable for one big reason: beer doesn’t need to divulge that information on its packaging. In fact, alcohol in general is exempt from disclosing ingredients and nutritional facts that are commonplace on labels for packaged food products.

So why is it that beer, wine, and spirits labels are exempt from listing nutritional information when those products have just as many–if not more–calories and carbohydrates as juice or other typical beverages? It turns out there’s one big reason why alcohol labels don’t require nutrition or ingredients labels: tradition.
(more…)