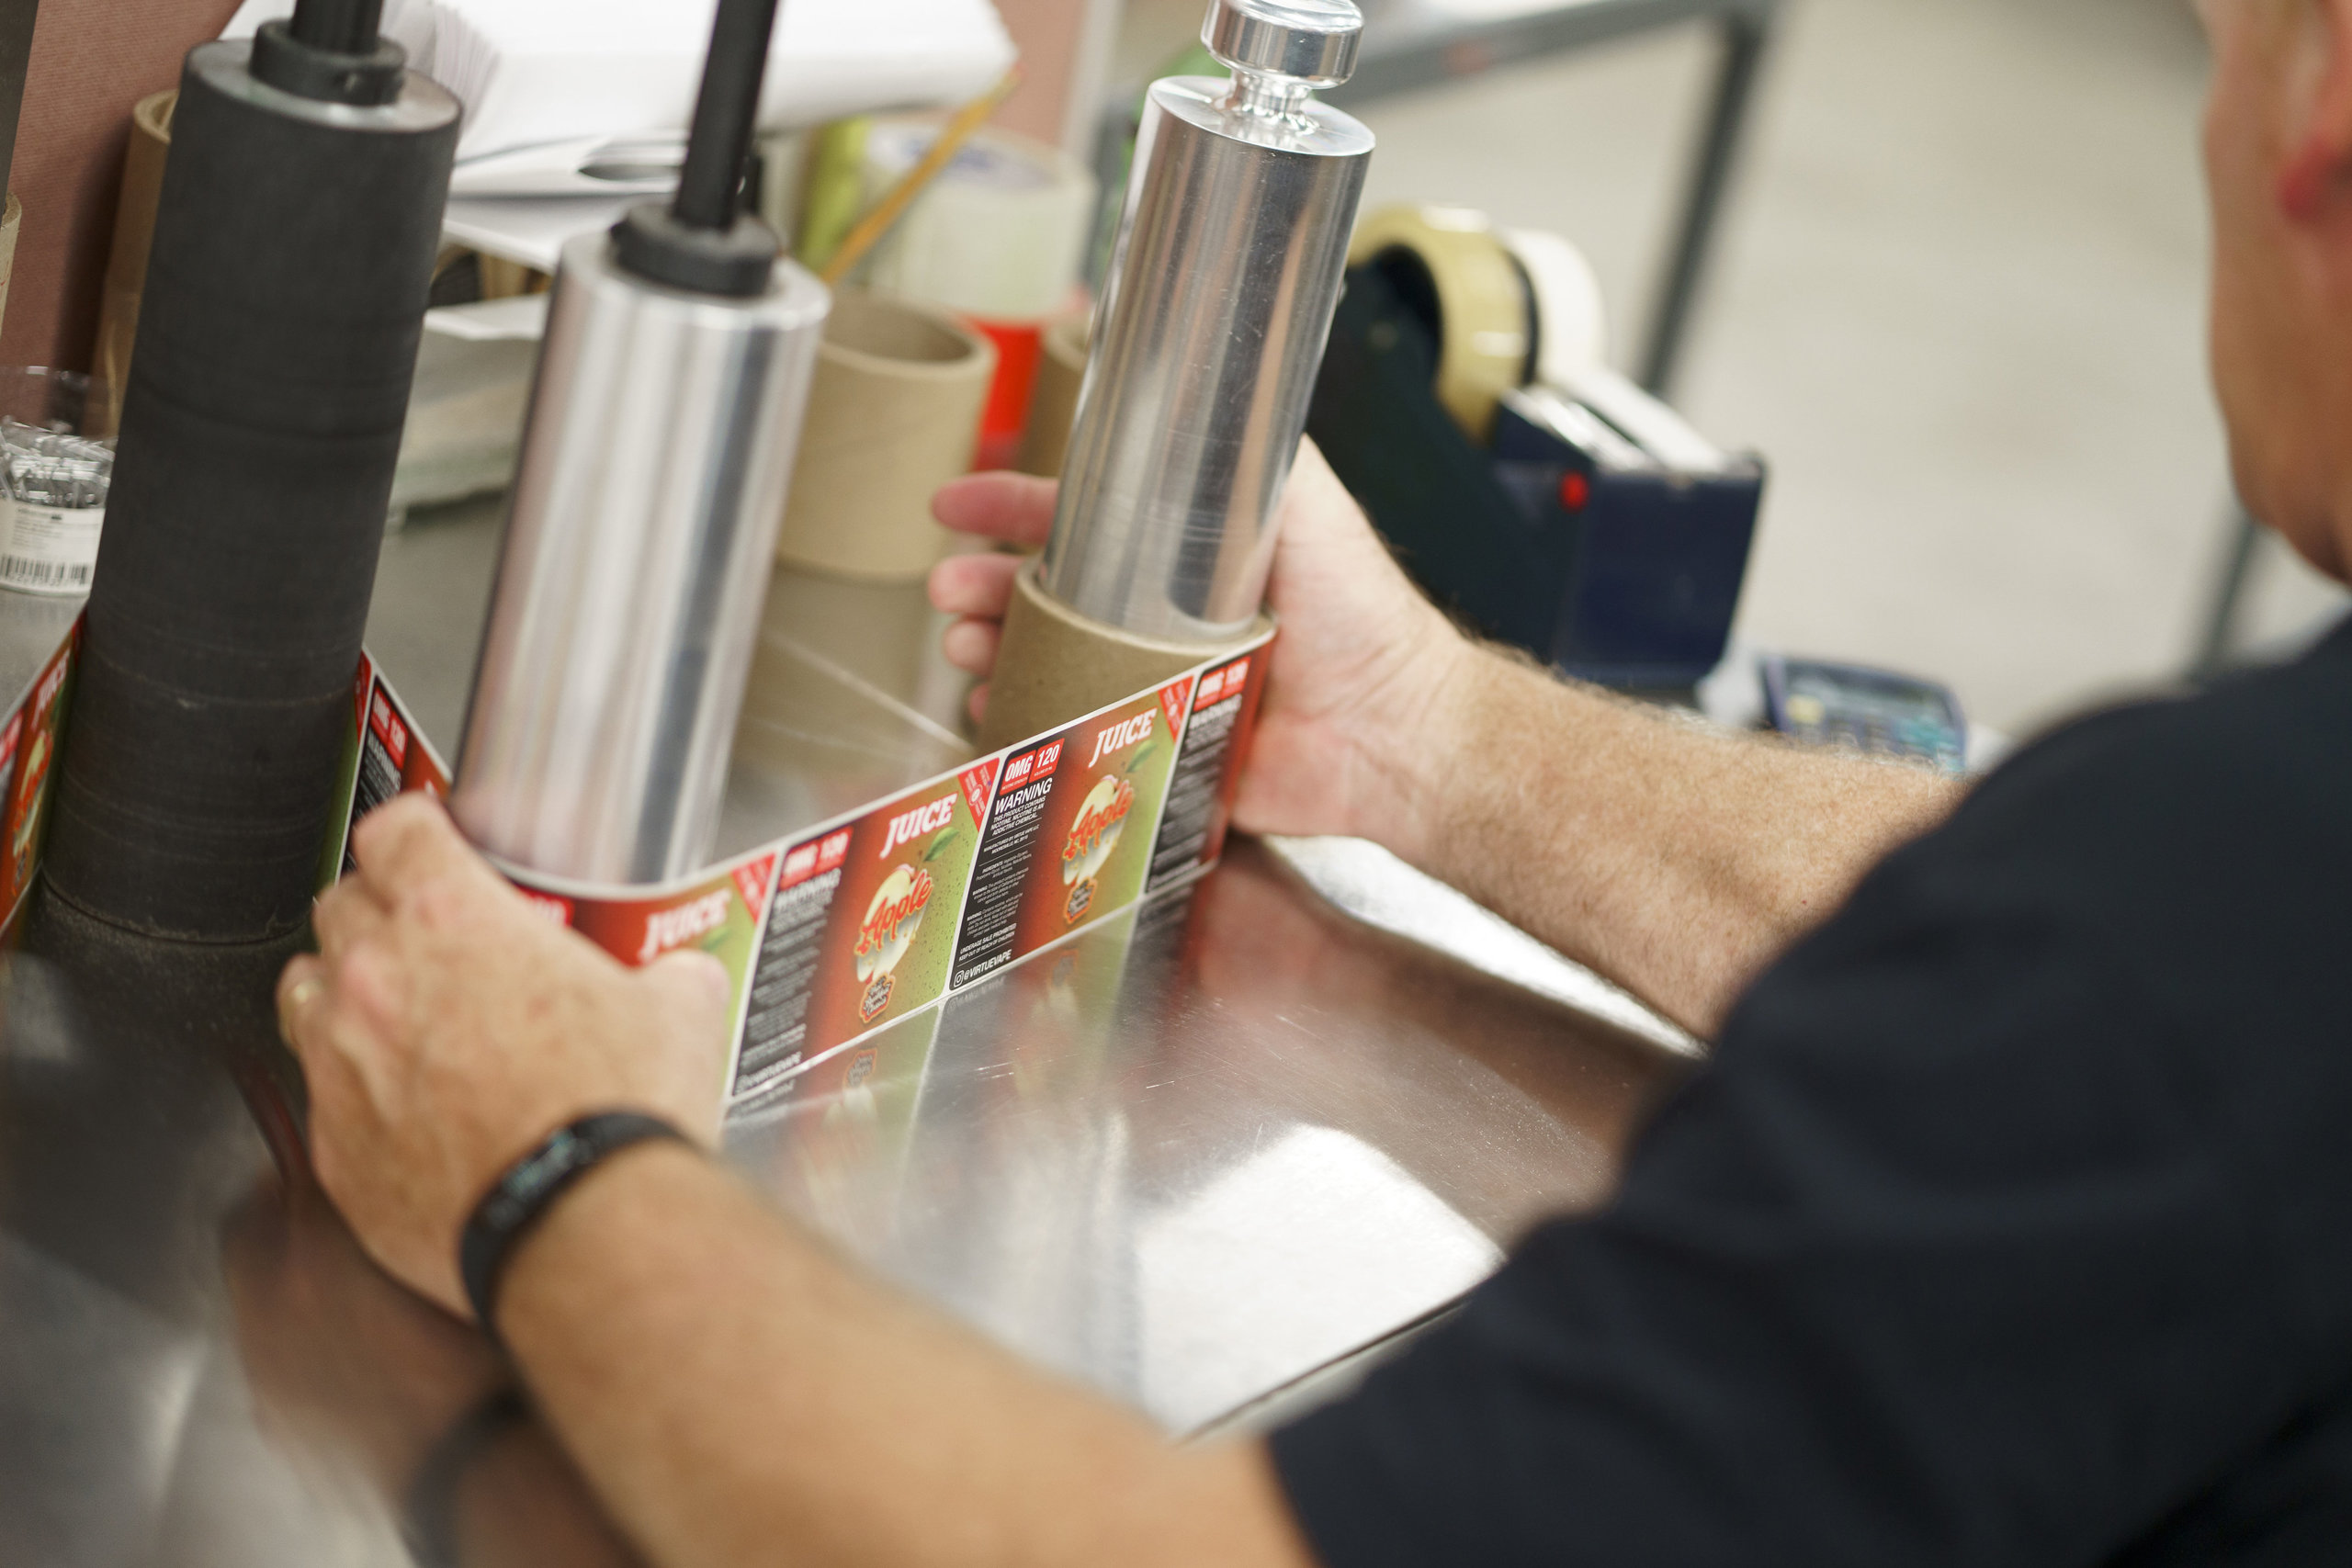
How to Stop Labels from Peeling on Curved Surfaces
Nothing kills a good-looking product faster than a label that won’t stick. But don’t worry, with the right know-how (and a few smart material choices), keeping your labels smooth on a curved container, whether that’s a beer can, lip balm tube, or lotion bottle, is easier than you think.
Choose the Right Materials That Bend, Not Break
Labels on curves need to flex. Here’s what we recommend:
- Shrink sleeves are often the best option for curved surfaces. Because the material is heat-shrunk to fit the container, it conforms to the container’s shape and provides full-coverage decoration.
- MDO films are a type of film designed to stretch in multiple directions, which helps them wrap smoothly around cylindrical and slightly tapered containers.
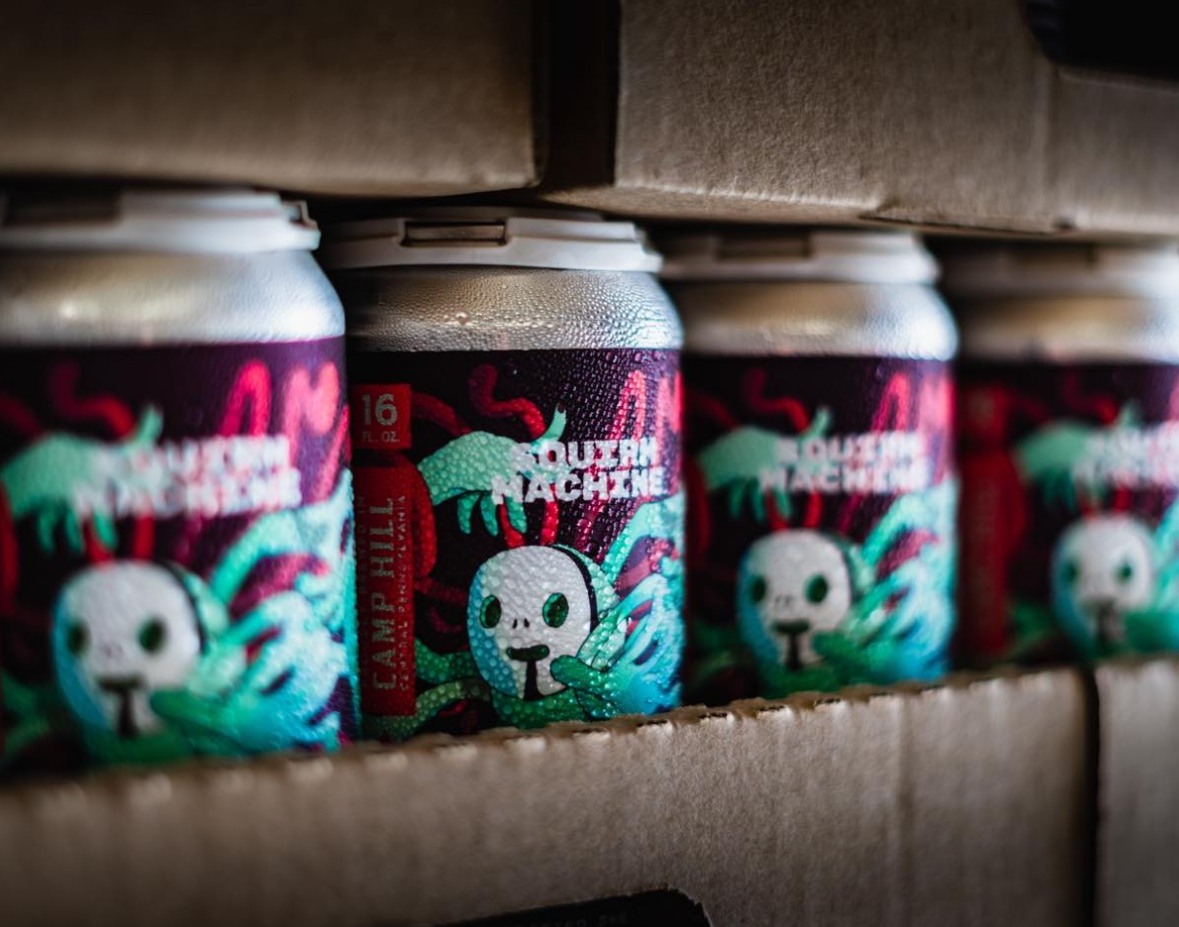
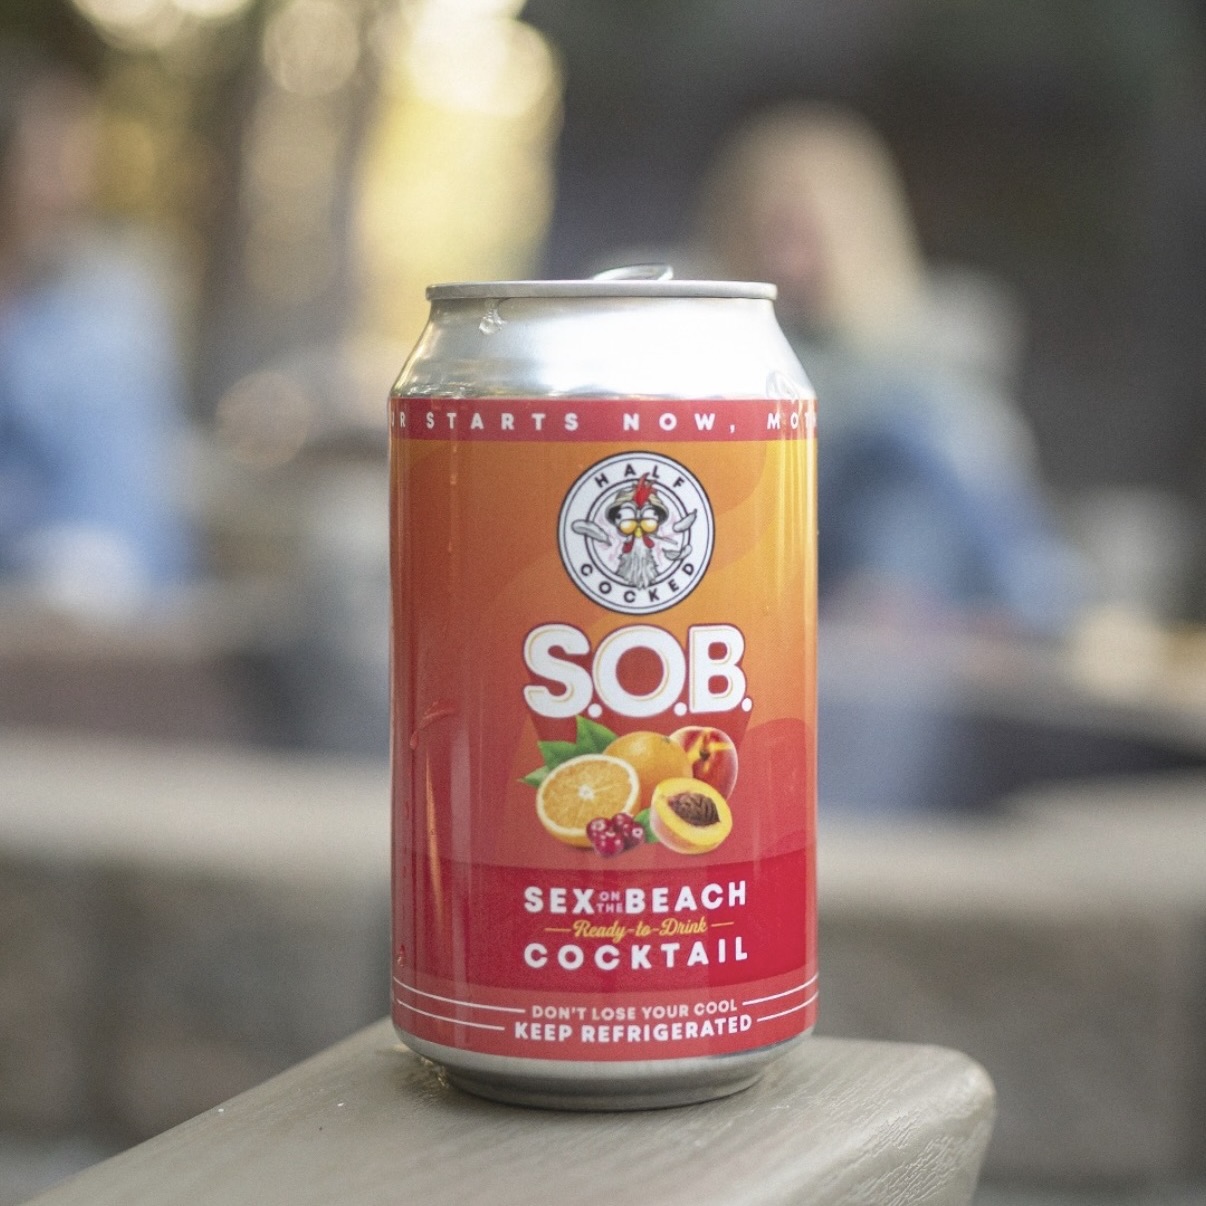
- Flexible films like BOPP, or vinyl can work well, but be mindful of the curve. They’re reliable on gentle slopes and cylinders but can struggle on sharp tapers or irregular shapes where tension can cause lifting.

Match Adhesives to the Curve and Conditions
The label material matters, but it won’t do the job alone. If the adhesive isn’t right, your label’s going to lift.
- Tight-mandrel adhesives, which are formulated specifically for narrow-diameter containers like lip balm tubes or small bottles, offer strong initial tack and the flexibility to hold under constant tension.
- High-tack, flexible adhesives are better suited for curved or contoured areas. They provide immediate bonding strength, which helps prevent labels from lifting during or after application.
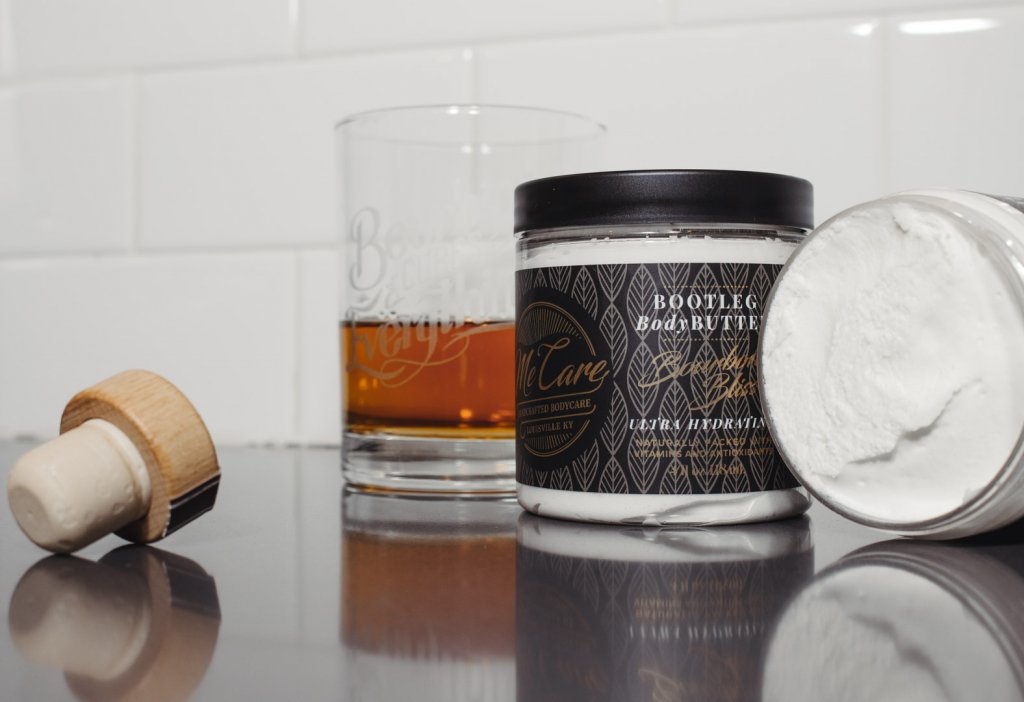
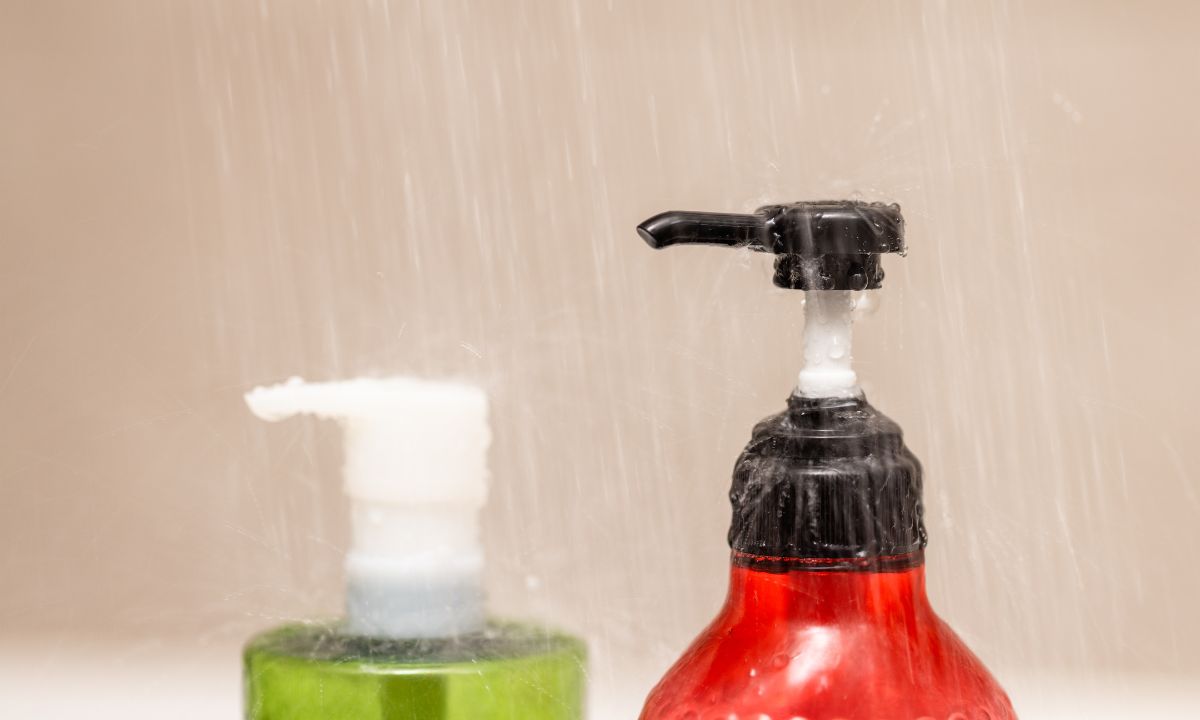
- For slick or slippery surfaces like HDPE lotion bottles or yogurt tubs, use adhesives made for plastics that are notoriously hard for labels to stick to. These adhesives are engineered to grab hold of materials that most standard adhesives simply slide off of.
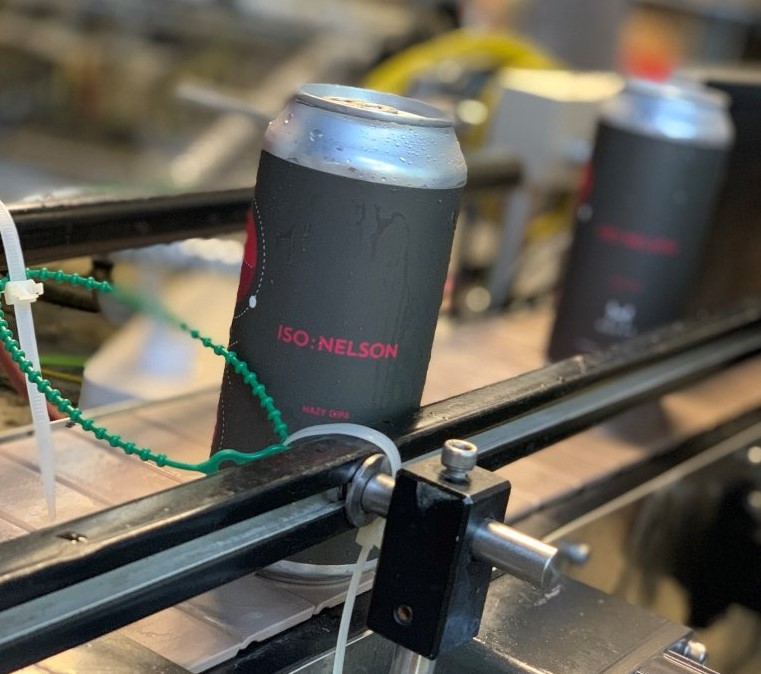
- For labels applied to cold, wet, or moist surfaces, ask for adhesives that stick even if your container is damp or chilled.
Surface Prep: Clean, Dry, and Controlled
Once you have the right material and adhesive, preparing the container’s surface is the next important step:
- Make sure there is no dust, oil, or condensation that could interfere with bonding.
- Make sure containers are completely dry before label application.
- Apply labels in a stable, controlled environment whenever possible. For best adhesion, room temperature conditions with moderate humidity are ideal. Try to avoid labeling in refrigerated warehouses or hot, humid loading docks where adhesion can fail quickly.
Label Design and Application: Make It Fit and Stick
You’re here because you want your labels to stick, but don’t forget that with curves in your container come some label design considerations as well. Good design helps your label stay where it belongs:
If you’re using shrink sleeves, design your artwork with pre-shrink distortion in mind. Think of it like sketching on a balloon before you blow it up. Your artwork needs to land in the right spot after shrinking. Always place seams and folds away from key visual elements.
You’ll also want to consider some label decisions outside of the design itself:
- Round label corners to reduce flagging and edge lift. Sharp corners tend to catch and peel over time.
- Use tapered labels when your container narrows or flares. These follow the container’s shape and reduce tension that would otherwise lead to lifting.
- Use rollers or automated application equipment for consistent pressure and alignment. Manual application can leave air pockets, uneven tension, or weak edges.
Don’t worry, we put together a guide on designing for tapered labels.

Protect for Wear: Laminates and Varnishes
Labels on curved containers often face friction from handling, transportation, and storage.
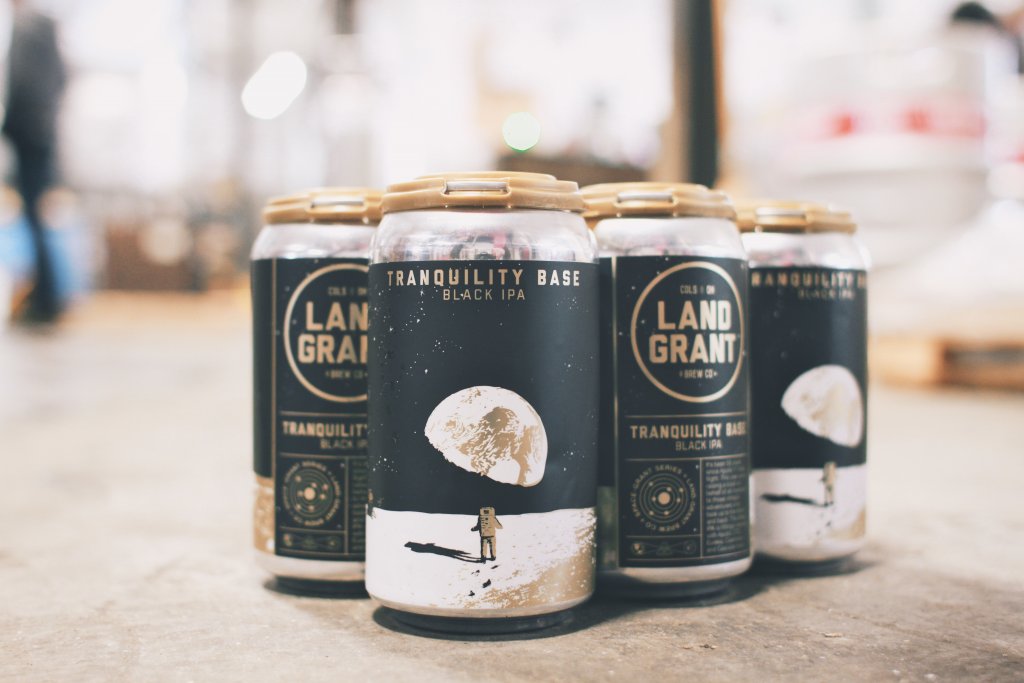
- Laminates act like a clear protective shell. They help your label survive scratches, spills, and all the handling that comes with retail shelves or shipping. Choose laminates if your product is heavily handled, like beverage cans or personal care items. Options include gloss, matte, soft-touch, and textured finishes.
- Varnishes are cured coatings that protect the printed surface while adding visual effects. They’re a more subtle option. Choose varnish if you want a sleeker look on wine bottles or gourmet foods where customers won’t handle the container as often.
Keep Your Labels from Peeling on Curved Surfaces
The right label won’t just stick, it’ll stay stuck. Choosing flexible materials, matching adhesives to your container and environment, and prepping properly makes all the difference. Not sure which label material makes sense for your bottles or tubes? Contact us and we’ll walk you through it.