Can BOPP Labels Be Used in Freezer Environments?

Short answer: yes, BOPP labels can absolutely be used in freezer environments, when paired with the right adhesive and applied under the right conditions.

Let’s talk about where BOPP labels make sense in cold storage, and how to make sure they actually stay on.
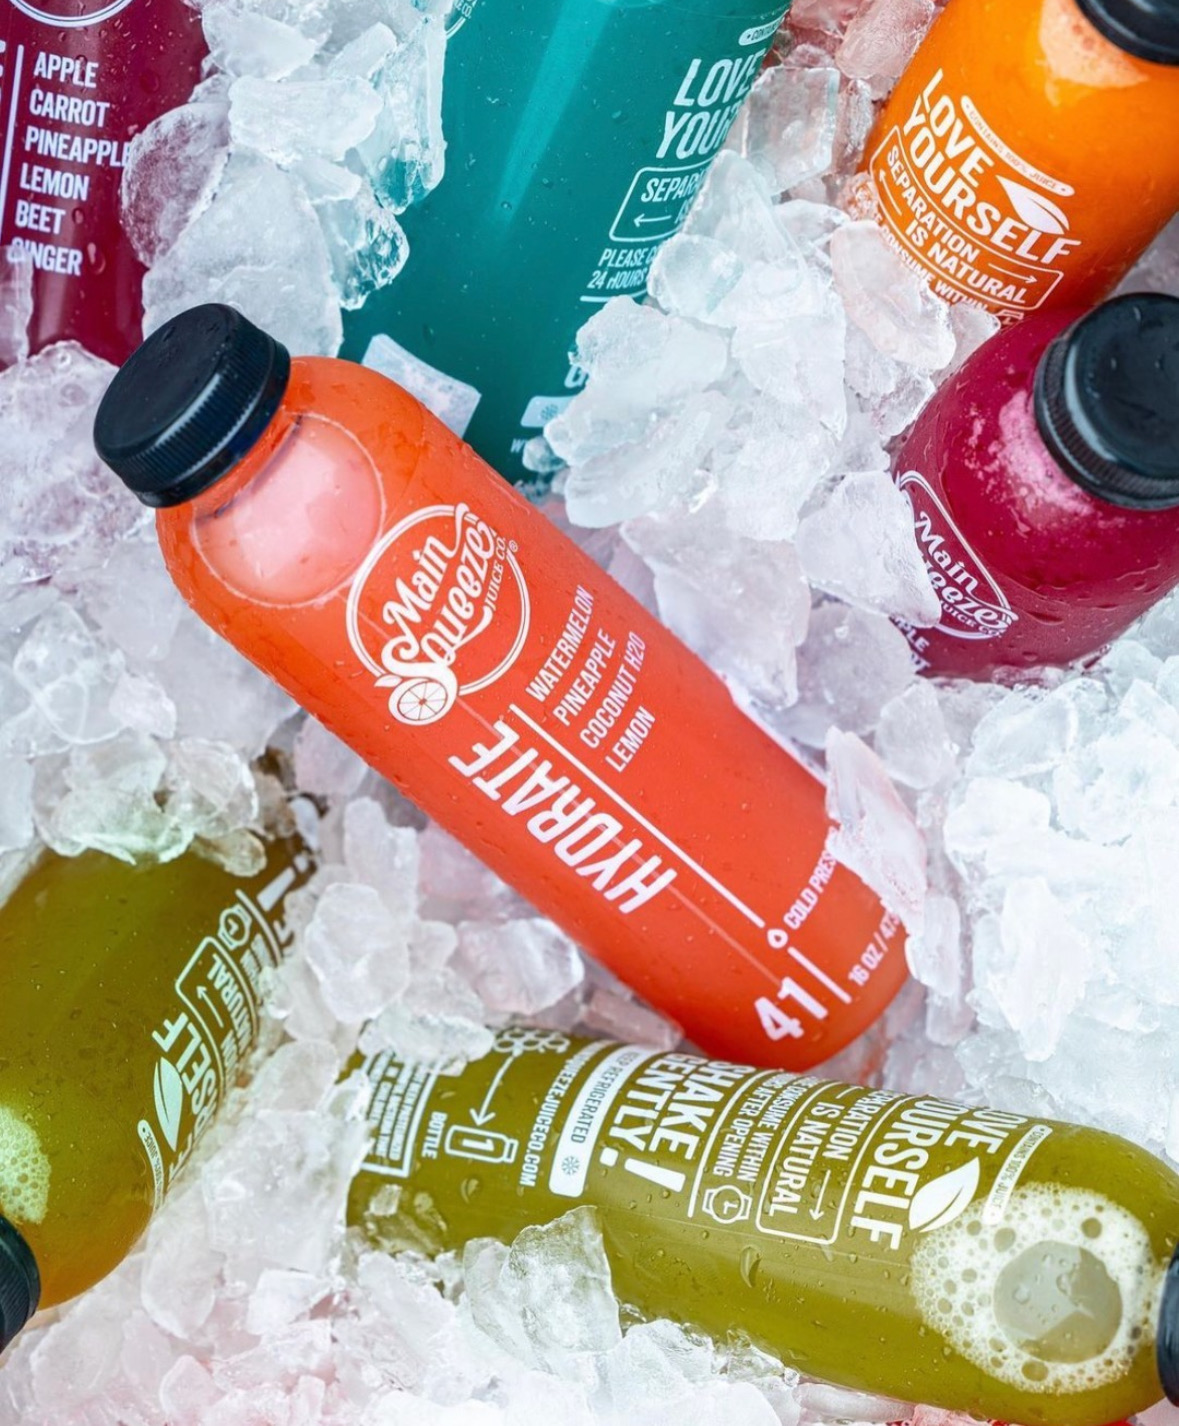
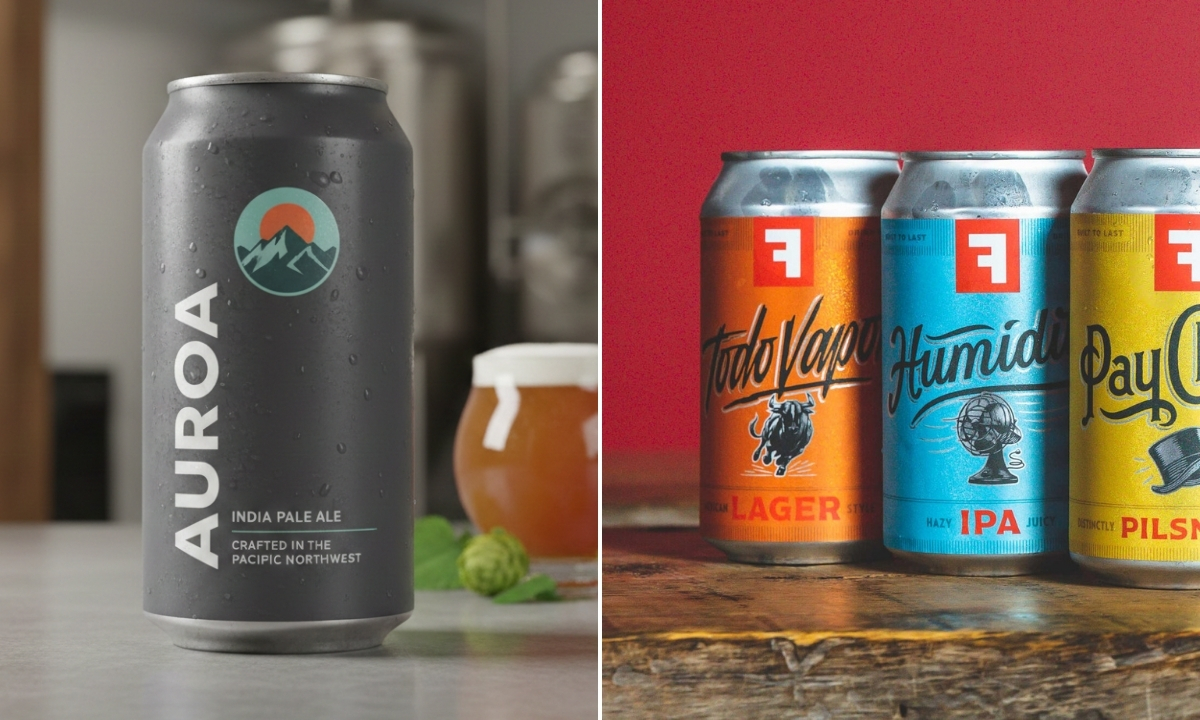
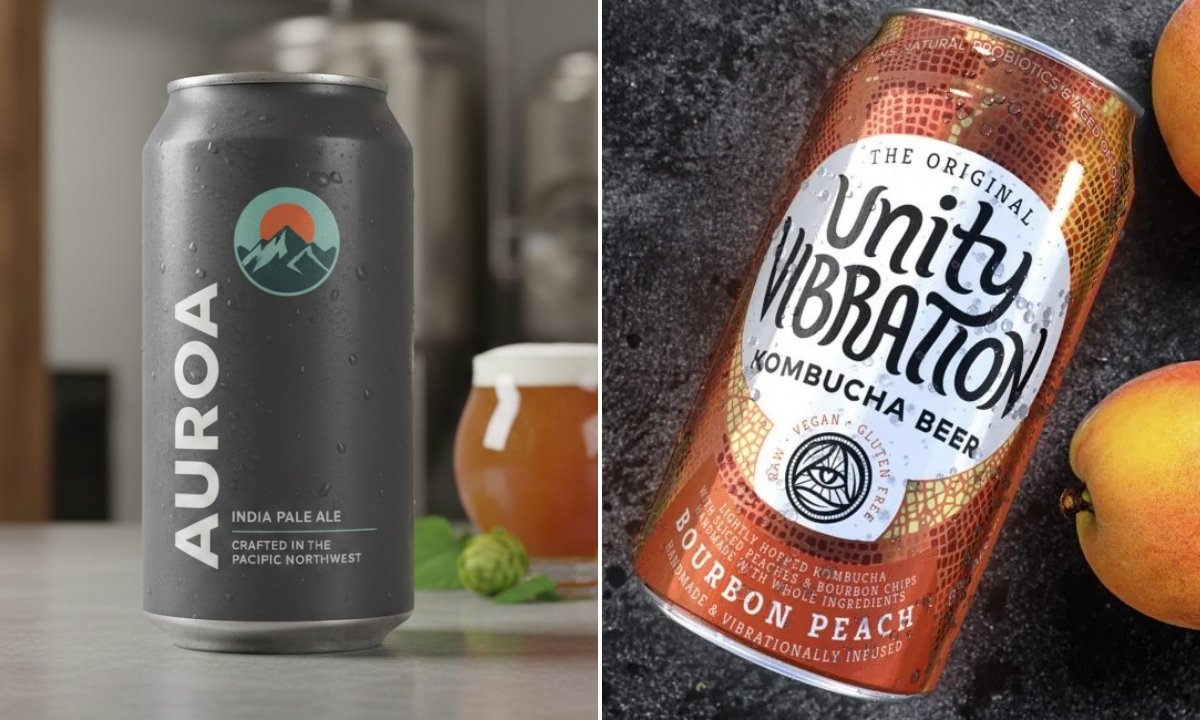
Custom beverages with clear labels

What is BOPP, and Why Is It So Common in Labeling?

BOPP (a durable type of polypropylene film) is a plastic film made to resist moisture, tearing, and temperature changes. It’s ideal for tough environments like freezers.

Here’s why it works so well:

  • Moisture and chemical resistance: Won’t soften, smudge, or wrinkle from condensation or surface exposure.
  • Stability: Stays flat and firm in both cold and hot conditions.
  • Tear resistance: Great for containers that flex or see a lot of handling.
  • Print compatibility: Works with a range of inks, coatings, and finishes.

How BOPP Labels Hold Up in Freezer Environments

Here’s the cold, hard truth (pun intended).

Pros of BOPP Labels

  • Strong base material: BOPP doesn’t crack or absorb moisture like paper.
  • Pairs well with freezer adhesives: Many commercial adhesives are formulated to work with BOPP.
  • Ideal for high-volume application: Works on most automated label applicators, even on cold or damp lines.
  • Good label memory: When your product moves from a freezer to a fridge, BOPP holds its shape and stays put.

Potential Challenges (and What to Do About Them)

  • BOPP alone isn’t freezer-safe. Always choose an adhesive rated for your coldest environment. Don’t worry, we’ll help you pair the right adhesive with your label material.
  • Application conditions matter. Labels won’t bond well if applied when the surface is cold, wet, or frosty. Apply at or above the adhesive’s minimum temperature and ensure the surface is dry.
  • Container compatibility. Certain plastics resist adhesives, like HDPE (milk jugs, detergent bottles, shampoo containers) or LDPE (squeeze bottles, frozen food bags, and flexible pouches). Use adhesives formulated for these types of plastics, or consult with your label converter. If your containers were injection molded, clean off any mold-release residue (manufacturing residues that act like lubricants) before labeling.
  • Freeze-thaw cycling. If your product moves between frozen and ambient conditions, we can help identify adhesives that will work through freeze-thaw cycles.

Freezer-Grade Adhesives: Where BOPP Gets Its Grip

If you’re interested in the nitty-gritty details of label adhesives, here’s what you should consider:

  • Minimum Application Temperature: What is the temperature when the label is applied? If it’s too cold, the adhesive won’t bond properly.
  • Service Temperature Range: What range of temperature will the label be exposed to after it is applied?
  • Type: Acrylic adhesives specifically designed for freezer use.
  • Coating thickness: Thicker coatings help with rough or curved surfaces. (Think of it as using a thicker layer of paint to cover a rough wall.)

Talk to us to find adhesives rated for your specific situation, whether that’s deep freeze, cold-chain shipping, or damp labeling environments.

Application Best Practices for Freezer Labels

You don’t need to overthink application for freezer labels. The goal is simple: make sure the label can bond cleanly before it goes into a cold or damp environment.

Keep these basics in mind:

  • Apply labels to clean, dry surfaces. Moisture is the biggest reason labels fail.
  • Make sure you’re applying at or above the minimum application temperature for your adhesive.
  • Watch container materials. Some plastics (like HDPE and LDPE mentioned above) need stronger adhesives.
  • Use rounded corners or shapes that reduce peeling in cold conditions.

If you’re labeling on a cold or wet fill line, confirm the product surface isn’t too cold or covered in condensation. That alone can cause edge lift.

Where BOPP Works Best in Cold Conditions

  • Frozen foods: Meals, meats, seafood, and desserts 
  • Cold-chain pharmaceuticals: Biologics and vaccines with strict temperature requirements.
  • Ice cream containers: Lids, sidewall labels, and bottom applications.

Summary: What’s the Right Material for Your Freezer Packaging?

Application Best Material Why It Works
Frozen food pouches MDO or in some cases, BOPP Strong, moisture-resistant, works with automation
Cold-chain glass bottles BOPP or PET + overlaminate Clarity and strength, especially with condensation
Curved plastic containers (e.g., ice cream tubs) BOPP  Flexible, resists edge lift
Budget-friendly small containers White BOPP  Cost-effective and durable

BOPP Labels and Freezer Products

BOPP labels can perform exceptionally well in freezer environments as long as you match the right adhesive, surface prep, and container.

Need to see how a freezer-grade BOPP label performs on your container? Grab a sample pack or contact us and we’ll help you find what sticks.
 

What Label Material Is Best for Hot Environments?

When your product has to survive heat, the right material and adhesives will keep your packaging intact instead of bubbling, peeling, or sliding off. Here’s what actually works when the heat gets turned up.

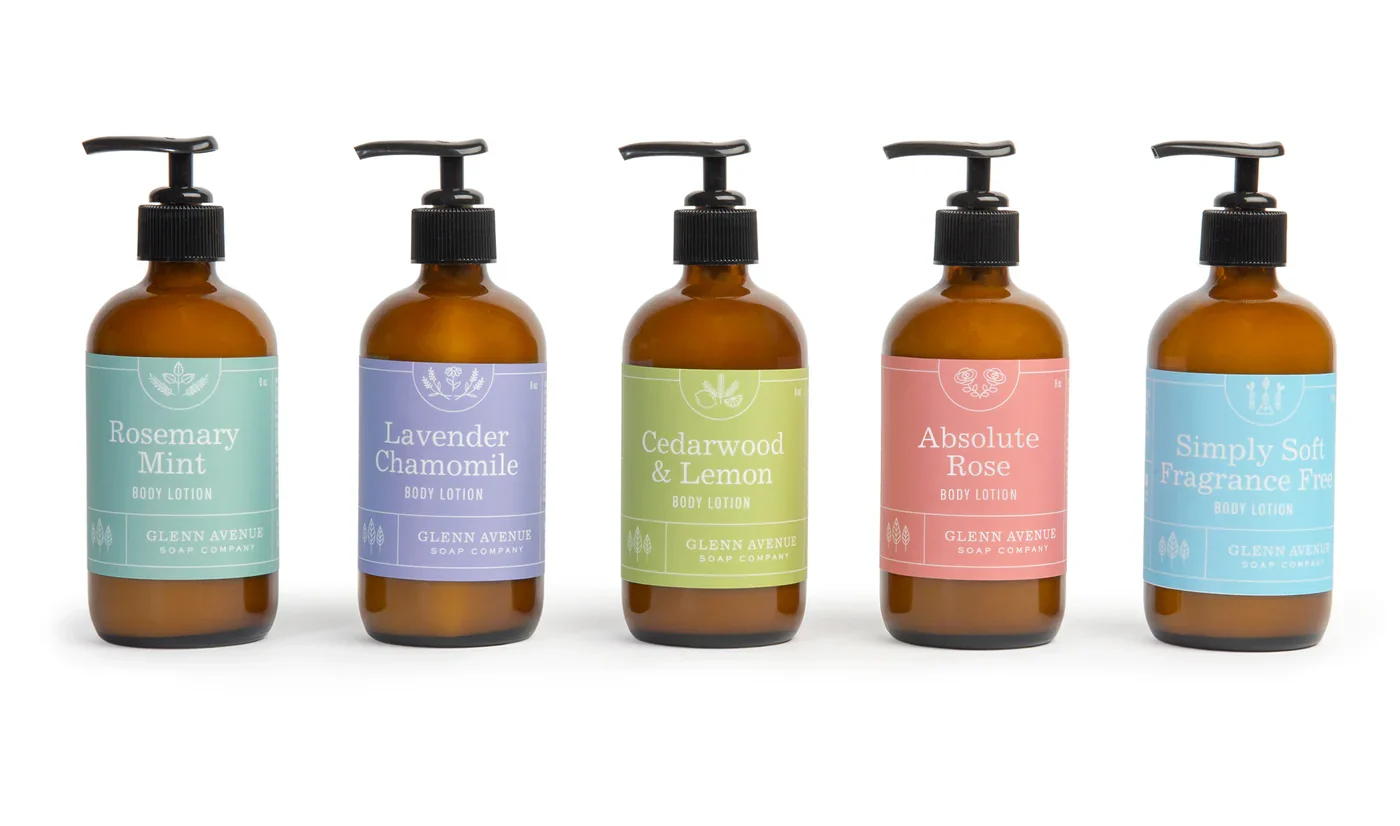
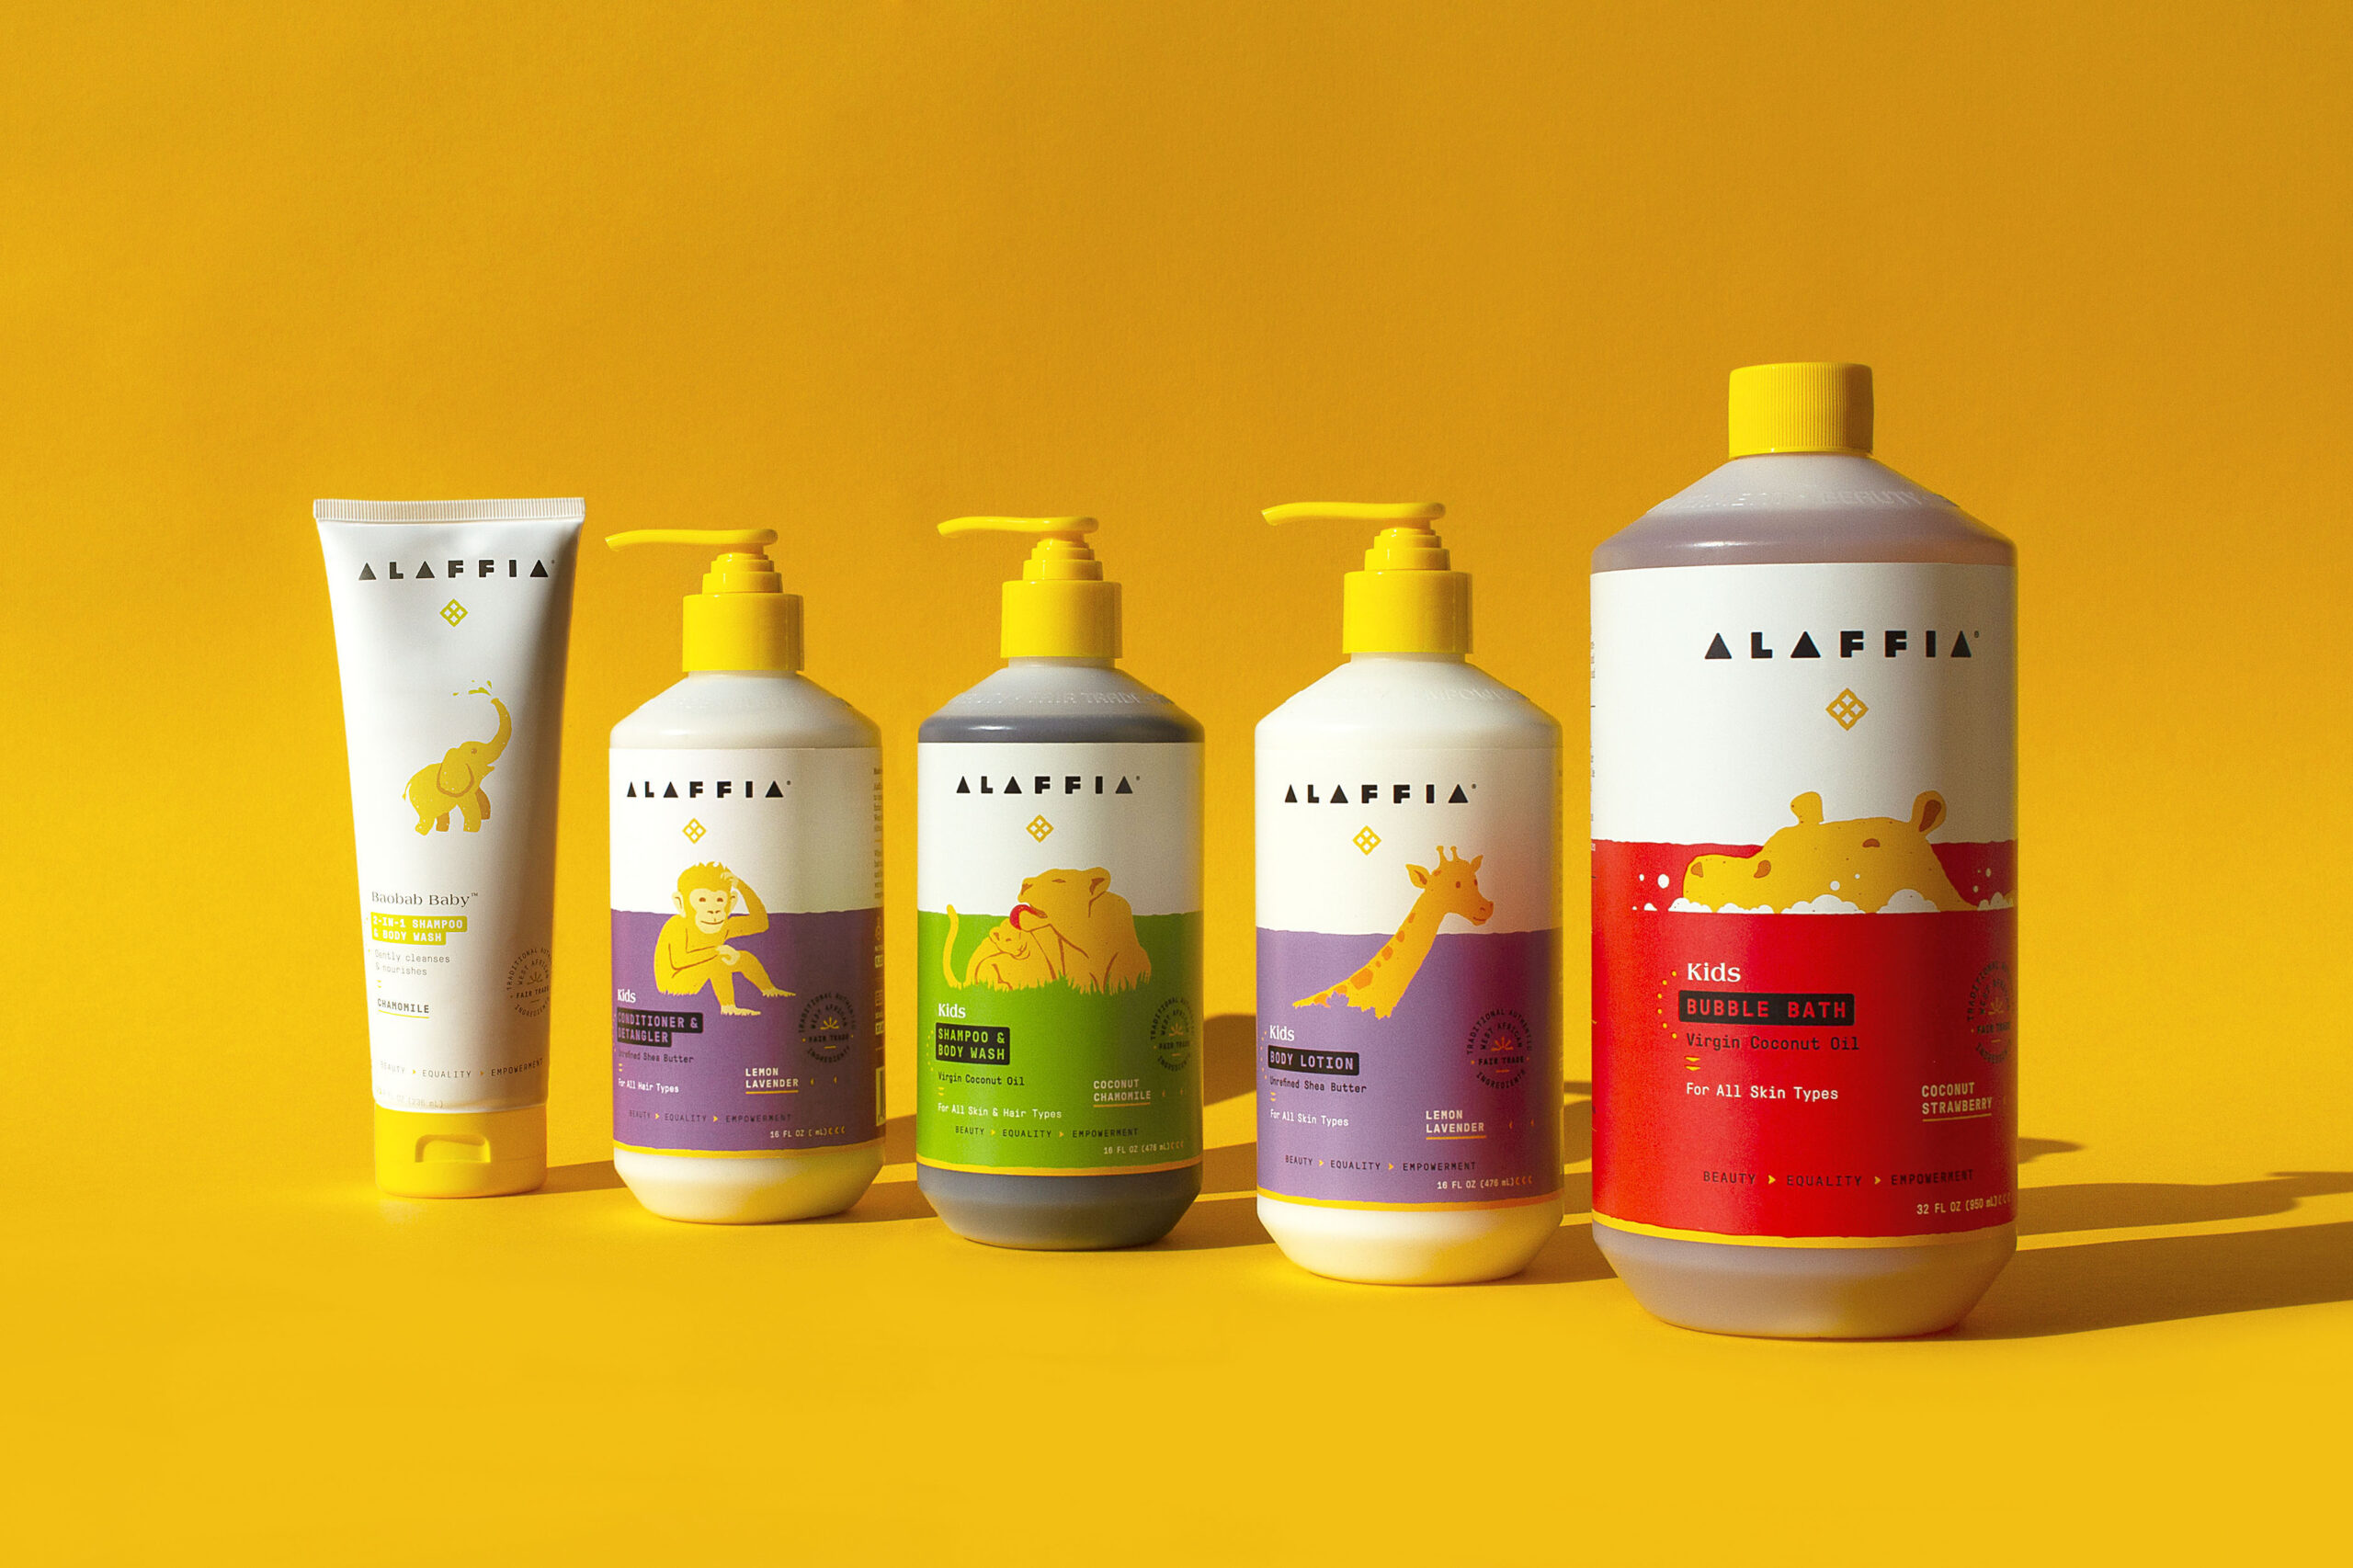
Different type of cosmetic, lotion and tube containers with custom Labels such as lotion, sunscreen bottle

BOPP (Biaxillary Oriented Polypropylene) Labels

Why people consider it: BOPP is the budget-friendly option for consumer goods. It’s clear, glossy, and affordable, but not built for sustained heat.

Best applications:

  • Low- to medium-heat packaging 
  • Products that don’t go through pasteurization or retort

Pros:

  • Affordable and widely available
  • Crisp print quality with multiple finish options

Cons:

  • Softens under true hot-fill or pasteurization
  • Not reliable for sustained high heat
  • Can lose adhesion or distort, impacting product legibility and durability in transit or storage

We typically recommend BOPP only for products that don’t exceed mild warmth. If you do hot fill or require pasteurization, a more cost effective option is to label after those are completed. 

MDO Labels

Why people consider it: MDO is flexible and can stretch around odd shapes.

Best applications:

  • Moderate-heat environments
  • Containers with curved or irregular surfaces

Pros:

  • Great flexibility and wraps easily around curved or irregular containers
  • Works on unique packaging shapes

Cons:

  • Softens under true hot-fill or pasteurization
  • Not reliable for sustained high heat
  • Can lose adhesion or distort, impacting product legibility and durability in transit or storage

Depending on the package, we may recommend vinyl for curved or textured surfaces, but if heat resistance is required, we’ll likely shift to PET or polyimide.

Quick Comparison Table

Material Heat Range (Process Examples) Pros Cons Best Use
BOPP Mild warehouse or warm fill Affordable, glossy or matte finish Warps/shrinks in hot-fill/pasteurization Mild-heat consumer goods
MDO Short exposure to heat Flexible, conforms well Softens in sustained heat Odd-shaped containers with moderate heat

Labels and Heat

Heat’s tough on labels. Not sure which combination makes sense for your product? Request a quote and we’ll walk you through the right material and adhesives for your environment.

What Label Material Is Best for Humid Environments?

Labels can fail in humidity not only because of the label material, but because adhesives start to fail or lose sticking power, finishes wear down, or the material doesn’t match the container surface or application method.

To prevent edge lift, sliding, smudging, or peeling, you need to match the right material, adhesive, finish, and container surface based on how and where your product will be stored, shipped, and used.

If your products face condensation, chilled storage, wet hands, ice buckets, or refrigerated shipping, here’s how the main material options compare, and when to use them.

Start with Your Environment and Container Surface

Before choosing a material, think about where the product (and the label) will live.

Environmental Conditions

Consider which of these apply to your product. Even one of these conditions can influence which label material and adhesive performs best:

  • Refrigeration or cold storage (risk of condensation and edge lift)
  • Condensation or temperature cycling (labels may bubble or slide)
  • Direct contact with water, oils, or chemicals (requires water-resistant films or protective finishes)
  • Ice buckets or wet retail displays (laminated films hold up more reliably)

Container & Application Factors

These container surface and application details directly affect which materials and adhesives will adhere properly:

  • Smooth glass, textured plastic, squeezable tubes, or metal (surface texture affects adhesion)
  • Flat or curved surface (curved or squeezable requires flexible films like MDO)
  • Manual or automated label application (rigid materials can jam high-speed applicators)

Now let’s look at how each material performs in real conditions. look at how each material performs in real conditions.

Pump bottle labels

BOPP: The Most Reliable Label Film for Humidity

BOPP (Biaxially Oriented Polypropylene) is the go-to film for moisture-heavy environments because it balances performance, cost, and print quality across most product types.

Why it works:

  • Resists water, oils, and condensation without swelling or curling
  • Holds adhesive bond strength well on smooth, rigid surfaces
  • Works well with most labeling equipment, including high-speed applicators
  • Compatible with laminates and varnishes for added durability
  • Affordable, making it ideal for high-volume production

Best for:

  • Beverage bottles or cans
  • Refrigerated foods
  • Skincare products
  • Household goods
  • Standard commercial packaging

BOPP doesn’t conform well to highly curved or squeezable containers, so be aware of that as you approach a label material decision. It’s also not ideal for waxy or textured surfaces unless paired with a specialty adhesive.

Welded Material: Paper Texture with Enhanced Wet Strength

If you need a premium paper look without sacrificing moisture performance, Welded wet-strength paper is a strong middle ground.

Why it works:

  • Reinforced paper fibers designed to handle moisture better than standard paper prevent sagging, peeling, and “label sliding, when labels slowly shift out of position on cold bottles” on cold or wet bottles
  • Higher opacity helps block dark glass or busy backgrounds
  • Performs well during short-term chilling or condensation
  • Accepts high-end finishes like foil, embossing, and tactile coatings

Best for:

  • Wine bottles
  • Spirits
  • Premium beverage brands
  • High-end packaging that needs a tactile or textured feel

While Welded materials are moisture-resistant, they are not waterproof. For extended ice bucket or outdoor use, film materials like BOPP or PET are more reliable.

PET: High-Durability for Extreme Environments

PET (polyester) is the most rugged option when durability is critical. It’s often used for products that face temperature swings, shipping abrasion, or long-term storage.

Why it works:

  • Moderate moisture barrier performance
  • Highly resistant to tearing, stretching, and chemical exposure
  • Maintains shape and print quality even in harsh conditions
  • Useful for labels that legally must stay readable, like safety warnings or ingredients

Best for:

  • Industrial goods
  • Outdoor products
  • Chemical packaging
  • Long-term storage
  • Freezer applications

PET is durable but less flexible than BOPP or MDO, so it can be too rigid for squeezable containers and may need stronger adhesives to properly adhere to textured surfaces.

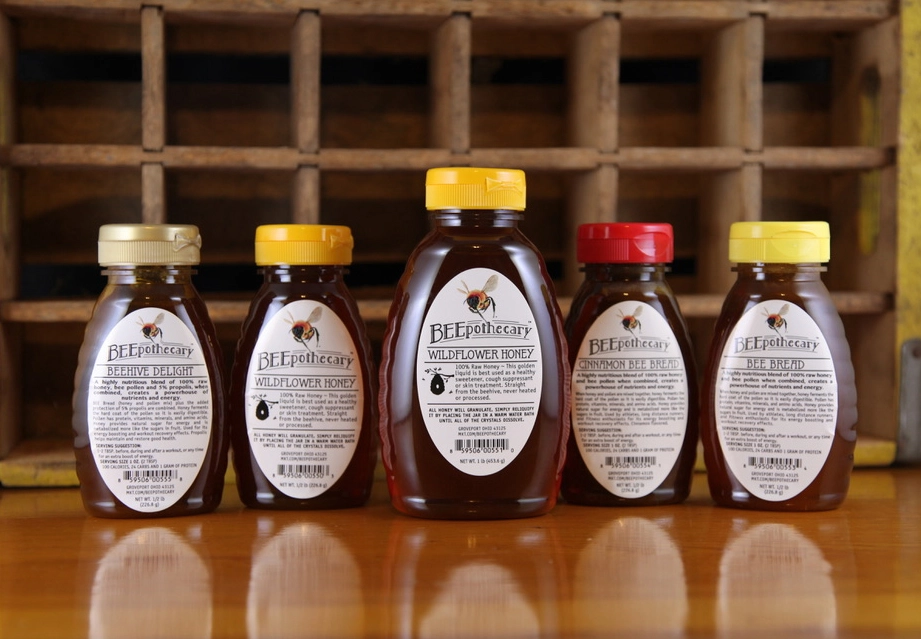
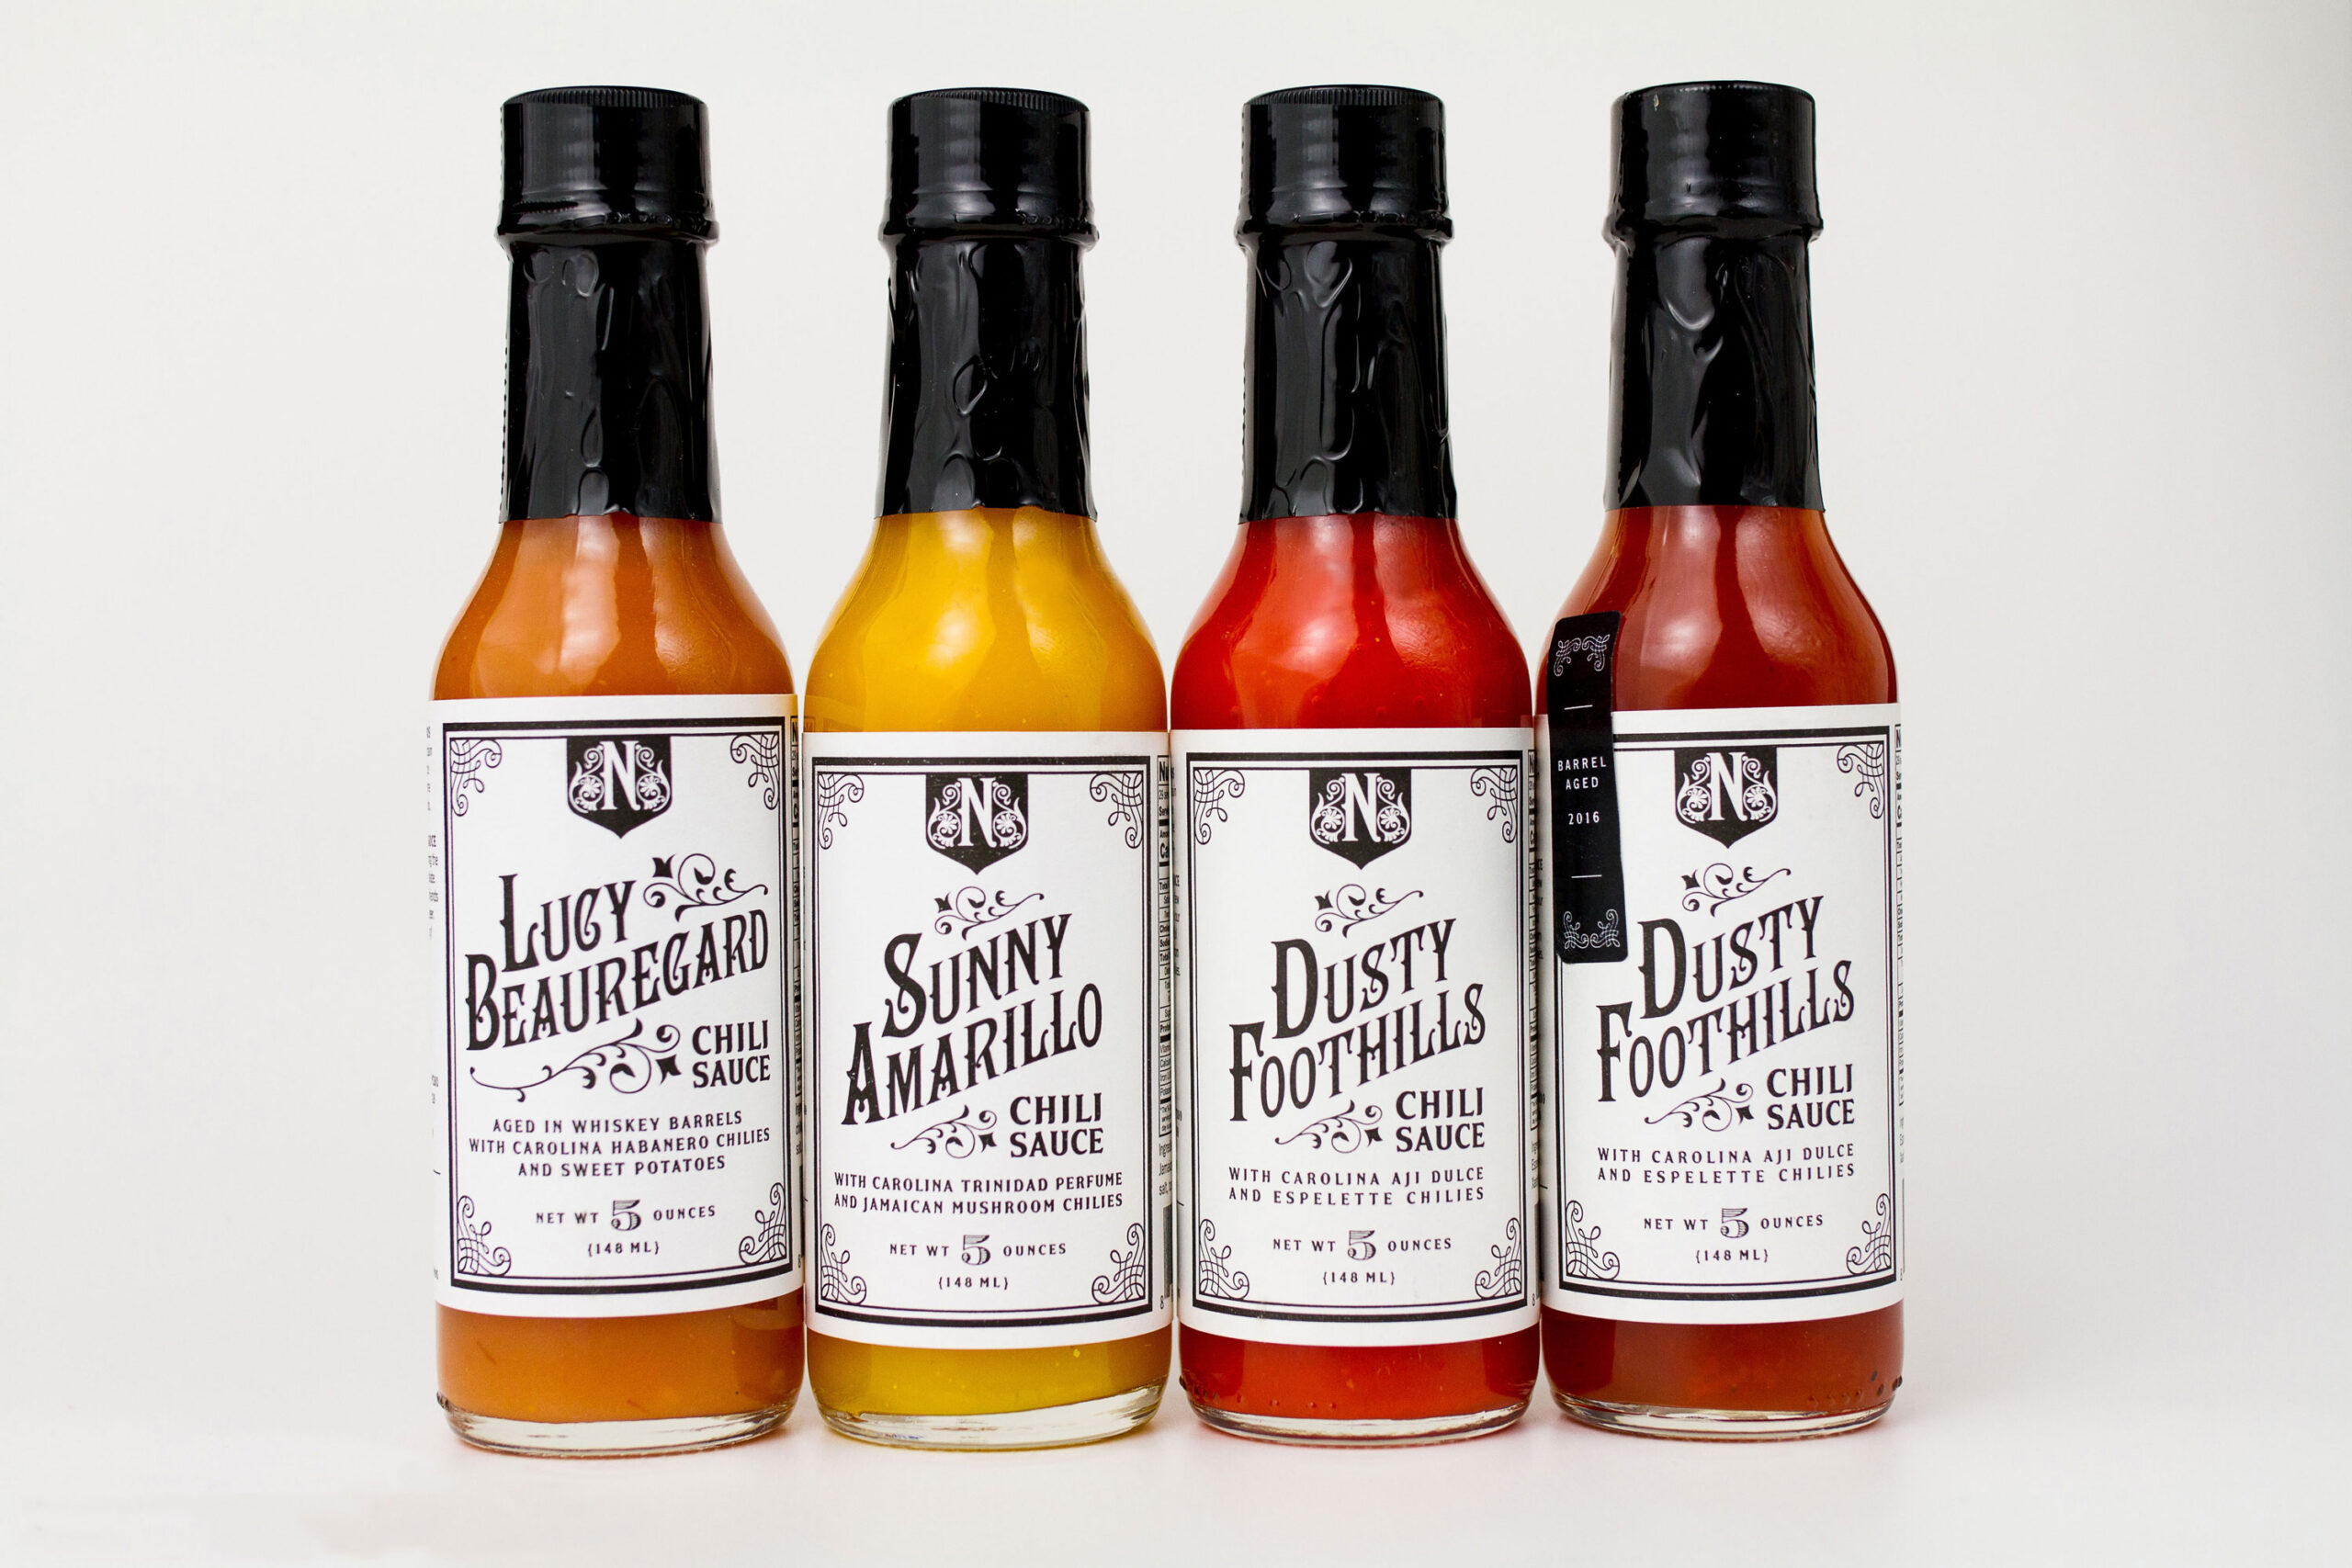
Honey Container with Variable Data Labels

MDO: Best for Curves, Tubes, and Squeezable Containers

MDO  is useful when flexibility matters more than maximum durability. It adheres well to complex shapes but needs protection when exposed to moisture or abrasion.

Why it works:

  • Conforms to curves, squeezable packaging, and unusual shapes
  • Moisture-resistant but benefits significantly from lamination
  • Works well when paired with specialty adhesives for textured surfaces

Best for:

  • Tubes
  • Custom-shaped packaging
  • Flexible containers
  • Squeezable containers

MDO is flexible and great for unique shapes, but it can scratch more easily without a laminate and isn’t the best choice for prolonged water exposure unless protected.

Coated Paper: Fine Indoors, But Not Built for Moisture

Coated paper labels are common in dry, indoor environments, but they struggle once moisture enters the picture.

Why it fails in humid environments:

  • Absorbs water, causing swelling, curling, and peeling
  • Adhesives break down faster due to paper fiber structure
  • Print can smudge or fade unless laminated

Best only for:

  • Dry indoor use
  • Short-term packaging
  • Products that won’t encounter moisture

Quick Comparison: Label Materials in Humid Environments

Material Moisture Resistance Flexibility Cost Best Use Case
BOPP High Moderate Low Most consumer goods
Welded Moderate Moderate High Premium beverages
PET Very High Low Medium Industrial / outdoor use
MDO Moderate Very High Medium Tubes / curved surfaces
Coated Paper Low Moderate High Dry indoor use only

How to Decide Which Label Material to Use in Humid Environments

  • For condensation or refrigerated storage: BOPP or Welded 
  • For ice buckets or wet retail displays: BOPP or PET (
  • For squeezable or curved packaging: MDO 
  • For extended outdoor, chemical, or industrial environments: PET

Labels and Humidity

Humidity impacts more than the label surface. It affects adhesive performance, container compatibility, and long-term durability.

Need help matching material, adhesive, and finish for your specific packaging? Request a sample pack or contact us and we’ll help you find what works best for your environment and container.

What is a Color Management System and Why it Matters for Product Labels

You know how important your brand’s colors and image are—they’re the first things your customers notice. Making sure that color looks the same everywhere can be a real challenge. That’s where it helps to work with a label printing partner that uses color management to reproduce your brand’s colors accurately on every label. 

We’ll walk you through what a color management system is and how it’s beneficial to work with a printer that uses one. 

Graphic designer using a color management systemWhat a Color Management System Can Do 
  • Ensures that colors remain consistent across label runs and that each label matches your brand colors.  
  • Reduces the need for reprints due to color errors by calibrating and profiling devices for accurate color display and printing. 
  • Helps you achieve consistent colors across materials like matte and glossy paper, vinyl, and soft-touch labels. 

Understanding Color Management Systems

It’s frustrating when labels from different print runs don’t match up. A color management system tackles this problem by calibrating equipment—such as monitors, presses, and proofing devices—so that each device “speaks the same language” of color. Here’s how it works:

  • Measuring and Calibrating: Instruments are used to measure what color looks like on every material and every press type that your printer may use. Press operators use highly calibrated proofers and spectrophotometers to check every product prior to printing. This ensures that the press output matches your brand color. 
  • Unifying Different Color Spaces: Conversion formulas are created that will take into account the materials and finishes being used for the label so that the associated CMYK value looks the same at the end of the process, regardless of the press, material, or finishes. 

Think of it like a universal translator. With fine-tuned profiles and regular calibration, a printing partner should deliver labels that match your brand’s colors, no matter the material or printing method.

Lighting in a grocery store

The Impact of Lighting on Color

Different lighting conditions can make the same color appear drastically different. For example:

  • Bright Fluorescent Lighting (ex: in a grocery store): Colors may look cooler and more intense, making some shades seem more vibrant than intended.
  • Soft, Warm Lighting (ex: at home): Colors often appear warmer, giving reds and yellows a richer tone while muting cooler hues.
  • Dim Lighting (ex: in a bar or restaurant): Colors can seem darker or less saturated, making it harder for customers to recognize your brand at a glance.

CMYK Color Swatch

Benefits of Color Consistency

Imagine your customers recognizing your product from across the aisle without a second glance—that’s the power of consistent, spot-on color in your labels.

  • Faster Brand Recognition: When every label print run aligns with your established brand colors, customers can spot your products quickly—no matter where they’re shopping.
  • Brand Integrity: By maintaining consistent color standards, you show that you’re serious about quality and brand integrity. This level of detail signals that your product is well-crafted and dependable.
  • Increased Customer Loyalty and Repeat Purchases: Consistent color schemes create a familiar visual cue that keeps your brand top-of-mind. When shoppers know your product at a glance, they’re more inclined to buy again, driving long-term customer loyalty.

Work With an Expert Printer For Better Consistency 

Color management will help you ensure uniformity across your labels and packaging. It’ll make your brand look professional and recognizable, and build your customers’ trust. 

With strict color management processes, we make sure that each print is perfect down to the last detail.

Experienced printers like Blue Label have the industry expertise and tools to calibrate colors to deliver reliable results.If you’re ready to print quality labels that leave a lasting impression, we can help. Call us today to request a quote for your next label run. 

Can Vinyl Labels Be Used on Glass Containers?

Vinyl sticks to glass, and it holds up well to moisture, but before you move forward, it’s worth looking at how it compares to other materials in real-world conditions.

Surface & Shape: Will Vinyl Hold?

Glass is (typically) smooth and non‑porous, so vinyl usually sticks well. Textured glass containers do pose more of a challenge for product labels.

Tapered, curved, or oddly shaped containers can cause vinyl to wrinkle or lift, especially since it’s a thicker, less flexible material. BOPP, PET, or MDO are better materials suited for containers with complex shapes because they’re more flexible and wrap more smoothly.

If your container is highly contoured, BOPP typically works best on subtle curves, MDO handles more aggressive tapers, and PET offers a balance of clarity and toughness for unusual shapes. Requesting material samples is a simple way to see how each performs on your container before committing.

For tricky shapes, we often recommend flexible film label base materials (that’s the base layer of a pressure-sensitive label).

Glass Container Label Material Comparison

How does vinyl stack up against materials like BOPP or PET? Let’s take a closer look:

Factor Vinyl Film BOPP / PET Film
Water & Humidity Excellent resistance Excellent resistance
Cold / Freeze Performs well Strong resistance 
Heat & Abrasion Good, but edges may lift Holds up better to friction and wear
Oils & Chemicals Moderate resistance Highly chemical‑resistant

Vinyl holds up to moisture and general wear pretty well, but it may need extra protection, like lamination, during shipping or when bottles are filled while the product is hot.

In these situations, BOPP and PET films tend to keep their shape and print quality better, especially on curved containers or when exposed to oils or cleaning products.

Design & Finishing Compatibility

The beauty of digital printing is that we are able to achieve excellent quality print on most materials.

If you’re using foil, embossing, spot varnish, or other design elements, BOPP or PET usually give you sharper detail and a more refined, professional finish. Vinyl can still work. It just might need lamination to get that same level of protection, which can make the material stiffer.

Compliance Considerations

If your product is food, beverage, cosmetics, or supplements, you’ll likely need labels that use FDA-compliant adhesives and inks. Vinyl can meet these standards, but BOPP is more commonly used in regulated industries because it’s easier to certify, pairs well with adhesives commonly approved for food and beverage use, and works well in large-scale automated production lines. That’s one reason BOPP is a go-to for many food and beverage brands.

Sustainability and Recyclability

PVC-based vinyl labels usually aren’t accepted in local recycling programs, especially when applied to glass bottles or jars. That can cause issues with recycling and lead to contamination.

BOPP is lighter, has a smaller environmental footprint, and depending on the facility, may be recyclable or compostable. If you’re focused on recyclability or sustainability goals, film label base materials like BOPP often offer more flexibility. Check local recycling guidelines to confirm acceptance before assuming BOPP will be processed.

When Vinyl Is the Better Fit

There are times when vinyl really shines. It might be a better option when:

  • You’re labeling flat-surfaced containers that will be exposed to high humidity or outdoor use
  • You need ultra-tough durability for hand-applied or short-run specialty products
  • You want something that resists constant condensation or water submersion, like bath products or outdoor goods

Quick Checklist

Not sure if vinyl is a good fit for your product(s)? Here are some questions we’ll ask to identify the best label material for your glass container:

  1. What’s the container shape: flat, curved, tapered?
  2. Will the product face moisture, oils, cold, or abrasion?
  3. Are you adding design extras like foil or varnish?
  4. Do you need food-safe adhesives or industry certifications?
  5. Are sustainability or recyclability important?

So, Is Vinyl Right for Your Product?

It’s true that vinyl labels can work well on glass containers. But depending on the shape of the bottle, how your product is handled, and your sustainability and compliance needs, BOPP or PET may give you better performance, more options, and fewer headaches.

Not sure which material makes the most sense for your labels? Let’s talk. Our team’s here to help you make the right call for your product.

Sustainability and Recyclability of Printed Cans

If you’re considering digitally printed cans, sustainability usually comes up, either because it matters to your brand, your customers, or sometimes even regulators.

Here’s the short version: digitally printed cans don’t magically make packaging sustainable, but they do remove some of the biggest environmental inefficiencies found in labeled or shrink-sleeved cans.

Printed cans being recycled

Recyclability of Printed Cans

Aluminum cans are already one of the most recyclable packaging formats available. They can be recycled repeatedly without losing quality, and recycling aluminum uses up to 95% less energy than producing new aluminum from raw material.

The sustainability difference is not the can itself, but how the can is decorated.

Digitally printed cans preserve aluminum’s recyclability because:

  • decoration is applied directly to the can as a very thin ink layer
  • there are no plastic sleeves or label films
  • there are no adhesives to remove during recycling
  • recyclers can process the aluminum with fewer steps

Cans with shrink sleeves or pressure-sensitive labels are still recyclable, but recyclers typically must:

  • burn off plastic sleeves or label materials
  • remove adhesives and coatings
  • process additional non-aluminum waste

That extra processing does not prevent recycling, but it does add energy use, waste, and complexity to the recycling stream.

In simple terms, digitally printed cans keep aluminum packaging closer to a single-material recycling process by eliminating secondary decoration materials.

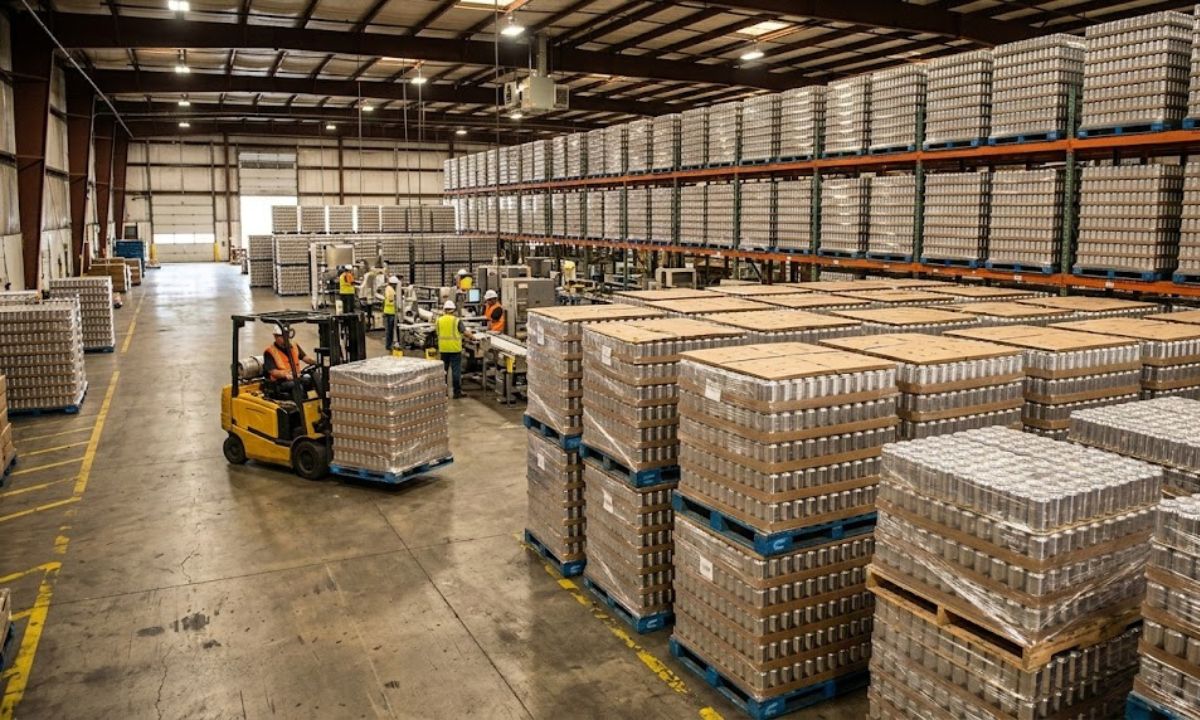
Warehouse of cans on pallets

Inventory Waste and Overproduction

With digitally printed cans, inventory planning becomes an important part of sustainability and cost control. Digital printing gives brands more flexibility than offset printing, but digital (especially printed cans) still requires the right planning.

Digitally printed cans allow brands to:

  • print smaller production runs compared to traditionally high minimum order quantities
  • combine multiple SKUs into a single order to improve efficiency
  • reduce the risk of large quantities of unused decorated cans
  • better align packaging orders with production schedules

But digitally printed cans still require forecasting and coordination. Unlike labels applied to blank cans, decorated cans can’t be repurposed if branding, compliance information, or products change.

Brands using digitally printed cans should plan for:

  • product demand across SKUs
  • product shelf life and production timing
  • storage space for pallets of printed cans
  • potential design updates or seasonal packaging changes
  • coordination with co-packers or filling schedules

If a product isn’t selling or a design changes, unused printed cans may become unusable. That risk exists with any pre-decorated can format, but digital printing can reduce the scale of that risk by lowering minimum order quantities and allowing SKU mixing.

Regulatory Pressure Is Increasing

Several U.S. states are implementing Extended Producer Responsibility (EPR) laws that assign costs to packaging that is harder to recycle.

States that have already passed packaging EPR legislation as of 2026 include California, Colorado, Oregon, and Maine, with other states actively considering similar policies.

Beverage brands can check current state-by-state packaging EPR requirements through the Product Stewardship Institute’s packaging EPR tracker.

In some cases, packaging with:

  • plastic shrink sleeves
  • applied labels
  • mixed materials

…may incur additional recycling or disposal fees depending on how recyclability is evaluated within those programs.

Digitally printed cans avoid those secondary materials entirely. This can make them easier to align with emerging packaging regulations.

Consumer Perception Matters Too

Beverage brands often want to know how to talk about digitally printed cans in a way that is accurate and meaningful to eco-conscious consumers.

When communicating about sustainability, brands using digitally printed cans can focus on clear, specific language tied to recyclability and waste reduction.

Recycling label on a beer can

Examples of sustainability language include:

Recyclability-focused language

  • “Please recycle this can”
  • “Aluminum cans can be recycled again and again”

Waste-reduction language

  • “Designed to reduce packaging materials”
  • “No secondary packaging materials attached to the can”

This type of language helps brands communicate real sustainability improvements without making vague or hard-to-support claims.

For most beverage companies, the goal is not to position printed cans as “perfectly sustainable,” but to show that their packaging decisions reduce unnecessary materials and support recyclable aluminum packaging.

The Practical Sustainability Summary

Printed cans are typically more sustainable than shrink sleeves or pressure-sensitive labels because they eliminate plastic decoration materials and simplify the recycling process. Sustainability is only one factor alongside cost, aesthetics, production setup, and order volumes.

If you’re comparing labeling options for your cans, contact us to talk through your options, request a quote, or see samples of our digitally printed can work.

Designing for Printed Cans: What You Need to Know

If this is your first time switching from labels to printed cans, the goal isn’t to redesign everything, it’s to understand how can printing is different from labels or sleeves and how to brief your designer so the final result looks exactly the way you expect.

The biggest difference:

Artwork is printed directly onto the can using high-speed digital inkjet technology with the can rotating while ink is applied. That process changes how fine details, text, color layering, and registration behave compared to pressure-sensitive labels or shrink sleeves.

We’ll walk through the adjustments you need to make to get great looking printed cans without any surprises.

Core Design Differences Your Designer Needs to Know

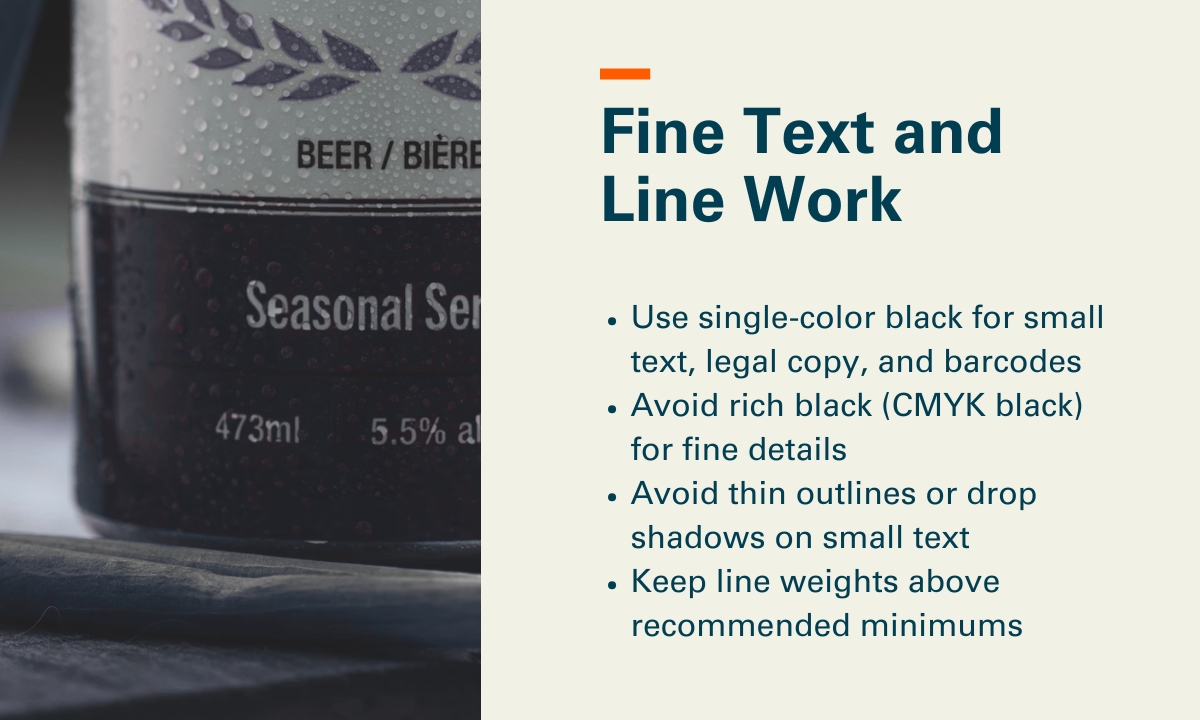
1. Fine Text and Line Work

Printed can technology uses multiple print heads and layered color separations, and the resolution is lower than what designers are used to with pressure-sensitive labels or shrink sleeves. That means very small text or thin lines can look less crisp than expected.

Our recommendations:

  • Use single-color black for small text, legal copy, and barcodes
  • Avoid rich black (CMYK black) for fine details
  • Avoid thin outlines or drop shadows on small text
  • Keep line weights above recommended minimums (0.1pt for lines; avoid ultra‑fine hairlines), and keep small text above minimums (7pt and up for single‑color text, larger if reversed out or multi‑color)

Printed cans design - fine text and line work

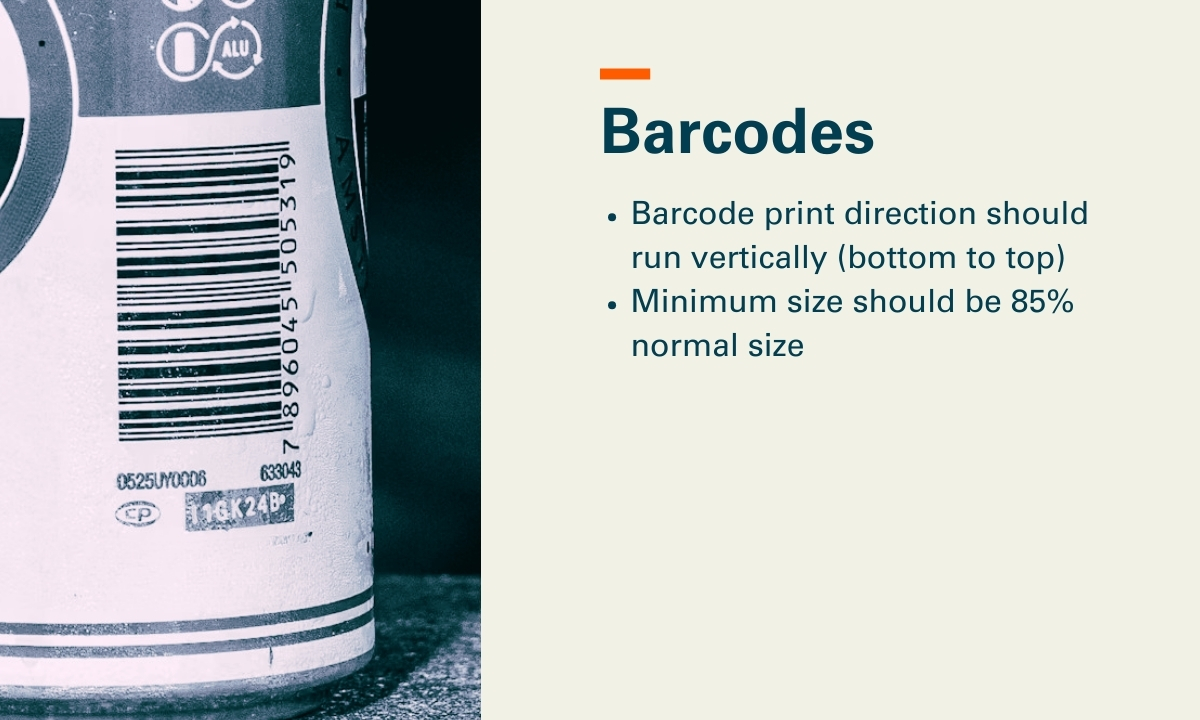
2. Barcodes

Barcode orientation and color matters more on printed cans than it does on labels.

Our recommendations:

  • Barcode print direction should run vertically (bottom to top)
  • Minimum size should be 85% normal size. Some customers do choose to use a reduced barcode size, however, the Bar Code Council and ANSI scanning requirements advise that the code bars should not be truncated (shortened) or reduced, but in full size. 

Printed cans design - barcodes

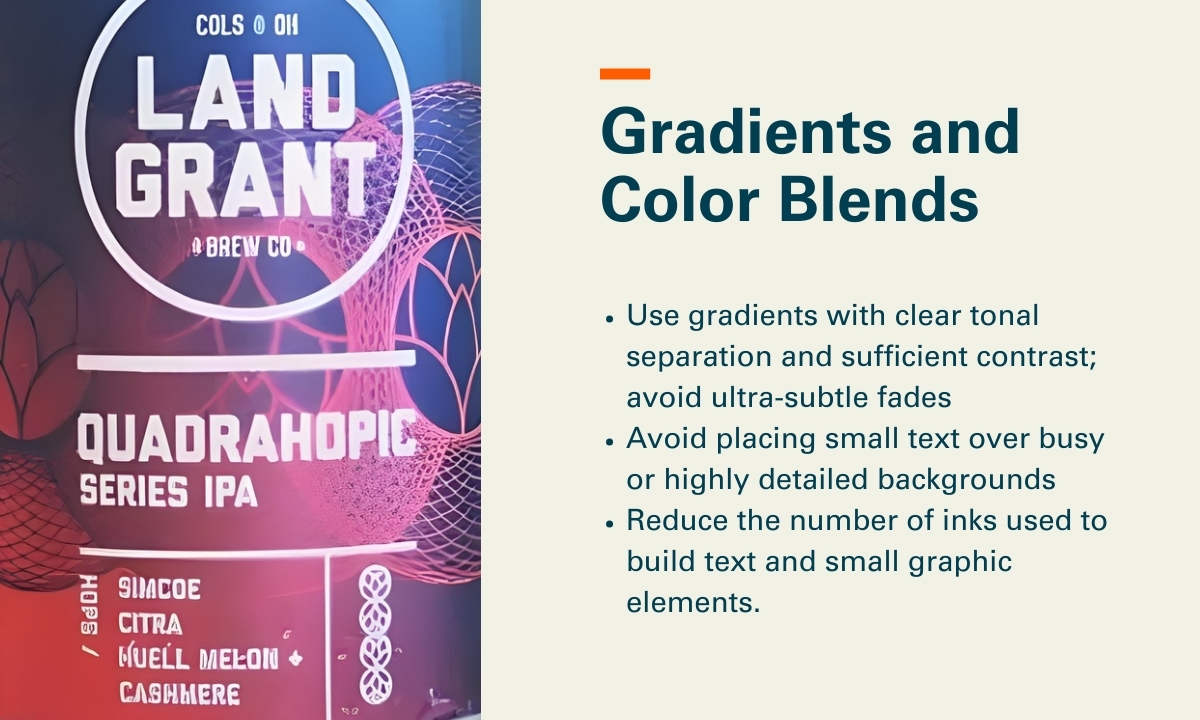
3. Gradients and Color Blends

Printed cans handle large color fields and imagery very well. Issues tend to appear when gradients are extremely subtle, when many colors are stacked into small areas, or when fine text sits on top of complex blends.

Our recommendations:

  • Use gradients with clear tonal separation and sufficient contrast; avoid ultra‑subtle fades (for example, 1–2% tint steps) and very long, low‑contrast blends that can band or break up at ~900 DPI on a rotating can
  • Avoid placing small text over busy or highly detailed backgrounds
  • Reduce the number of inks used to build text and small graphic elements. Specifically, avoid CMYK or multi‑color builds for typography; use single‑ink colors where possible, and limit text to one color (or two at most) to reduce registration risk across multiple print heads.

Printed cans design - gradients and color blends

Designing for the Can’s Shape

Neck (Top) and Chime (Bottom) Live Areas

With cans, the neck and chime curves matter from a design standpoint.

  • The very top and bottom of the can curve more, which can cause distortion, softening, or loss of clarity in small text and fine details as ink is applied over tighter radii
  • Text and fine details should stay within designated safe zones, typically keeping critical text and thin line work at least 15mm away from the very top flange and bottom of the can, where curvature increases and print clarity is more likely to degrade
  • Many successful designs transition to solid color or simple patterns near the top

We can provide templates, and it also helps to tell designers early that the top and bottom of the can are not ideal places for critical text.

Using the Aluminum Can as a Design Feature

One advantage that often gets overlooked is the metallic nature of the can itself.

Designers can let the natural aluminum show through, use selective white ink to control where metallic effects appear, and create shimmer or depth without foils or specialty materials.

Common ways designers and brands use the aluminum itself as a design feature include:

  • Metallic highlights: Leaving aluminum exposed behind logos, illustrations, or key accents to create natural shine without foil or specialty coatings.
  • Patterned metallic fields: Using repeating patterns or textures with selective white ink to create contrast between matte inked areas and reflective metal.
  • Depth and layering effects: Letting metallic areas sit behind translucent or lightly inked colors to create visual depth and dimensionality.
  • Premium negative space: Intentionally unprinted areas that give the design space.

Embellishments You Can Use Digitally

Digitally printed cans support several embellishments without plates or added materials. Everything is applied inline during printing.

Embellishment What It Does When to Use It
Matte finish Reduces glare and softens the look Premium, modern brands
Gloss finish Adds shine and contrast Bold graphics and shelf impact
Gloss finish Adds extra sheen and depth Highlight areas and logos
High Build/Emboss Creates tactile texture Logos, typography, focal elements

File Preparation

Here are some baseline expectations to communicate with your graphic designer:

  • Fonts outlined (no live fonts in final files)
  • Images embedded, not linked (no external file dependencies)
  • Files must be CMYK (no RGB)
  • Raster images supplied at 300 DPI at final print size; avoid upscaling low‑resolution assets
  • Spot colors used only when explicitly specified and approved for the digital can workflow
  • Create separate layers for selective white/metallic printing or selective varnish

Proofing and Prototyping Options

There are several ways to proof and validate artwork before moving into full production. Depending on the project, proofing options could include:

  • Digital proofs: Used to review layout, copy, color intent, and overall composition before anything is printed.
  • Pilot cans: Physically printed cans that show real color on aluminum, text clarity, embellishment effects, and how the design behaves under lighting, moisture, and handling.

Pre-Flight Checklist: 10 Things to Check

Before finalizing artwork, make sure you can confidently check the following:

  1. Small text is single-color where possible, and meets minimum size guidelines (generally 7pt or larger)
  2. Line weights meet minimum thresholds (generally 0.1pt or heavier)
  3. Barcodes are oriented vertically
  4. Gradients use sufficient contrast and avoid ultra-subtle tint steps
  5. Fine outlines, drop shadows, and multi-color text builds are minimized
  6. Critical text and details stay within top and bottom safe zones (15mm from the neck and chime)
  7. Use of exposed aluminum or metallic effects is planned (if desired)
  8. Embellishments (matte, gloss, high-gloss top coat, raised ink) are clearly defined
  9. Artwork has been reviewed at 100% scale with digital-can resolution expectations in mind (~900 DPI)
  10. A proofing plan is in place

Next Steps

When you (and your designer) understand how the printed can process works, it becomes much easier to provide artwork with confidence and avoid surprises once cans are on the line.

If you’re exploring printed cans and want to learn more, we’re always happy to talk through what’s possible, answer design or production questions, or help you get a quote for your project.

Printed Cans 101: What to Know Before Ordering

Printed cans are a great option for beverage brands that want shelf impact, consistency, and operational simplicity. But keep in mind the process is not the same as ordering pressure‑sensitive labels or shrink sleeves. The brands that have the smoothest first run are the ones that plan ahead for printed cans beyond just design decisions.

This guide is for beverage brands moving to digitally printed cans who want to make sure their orders go exactly as planned. We’ll walk through what matters before you place an order, including artwork, finishes, logistics, and other details that help prevent surprises.

1. Preparing Artwork for Printed Cans

With printed cans, you can get great consistency and durability, but only if artwork is prepared properly.

What to confirm before submitting files

  • High‑resolution artwork is non‑negotiable. Low‑res images that might pass on a label will show immediately on a printed can.
  • Understand resolution differences. Digitally printed cans don’t reproduce ultra‑fine detail quite the same way pressure‑sensitive labels do. Very small text, thin lines, and subtle textures need extra attention so they stay crisp once printed on aluminum.
  • CMYK only. RGB files introduce color shifts that can be amplified on aluminum.
  • Bleed and seam awareness matter. Your design must account for the can seam and safe zones so critical elements aren’t distorted or hidden.
  • Metallic interaction is real. Even with a white base, aluminum subtly influences color density and contrast.

If you’re used to prepping artwork for labels, expect more scrutiny at this stage.

Prototyping Printed Cans

A physical proof or prototype can be helpful in letting you validate:

  • Color accuracy
  • Text legibility at real size
  • How gradients, fine lines, and solids behave on a curved surface
  • How embellishments or decoration appears (we’ll touch on this later)

This is where most issues are caught, and where the smartest brands pay special attention.

2. Finishing and Embellishment

Digitally printed cans can look incredible, but embellishments work differently than they do on labels.

What’s typically available, and what to confirm

Based on real‑world digital can production capabilities:

  • Gloss or matte overall finishes are the most common and reliable options.
  • Selective effects are limited. Digitally printed cans allow for different areas to be different finishes, allowing spot varnished matte or gloss areas. It is also possible to create an embossing effect by printing a higher concentration of varnish. But, digital printing directly on aluminum doesn’t offer the same variety of finishes and textures possible with pressure sensitive labels or shrink sleeves. 
  • Design contrast does the heavy lifting. Texture and premium feel often come from smart color use, negative space, and finish selection.

If your brand relies heavily on tactile embellishments from labels, this will be a shift. Printed cans trade the wide embellishment options offered by labels for consistency and a label-less look.

Products being shipped on a pallet

3. Logistics & Planning

Digitally printed cans force you to change how you think about inventory, storage, and shipping.

Minimums and order sizing

While digitally printed cans allow lower minimums than traditional offset printing, they are still a manufactured container, not a roll of labels.

Key considerations:

  • Order quantities should align with realistic fill schedules.
  • Small test runs are possible, but extremely small shipments can increase per‑unit logistics costs.
  • Partial pallets or mixed shipments require extra planning.

Shipping methods matter

Shipping Method Best For Approx. Can Quantities
Full truckload (FTL) Large runs ~200,000+ cans (varies by format)
Less-than-truckload (LTL) Mid-size runs ~5,000–200,000 cans
Parcel / small pack Samples, pilots Dozens to a few hundred cans

Cans are durable, but printed cans still need proper handling. Our recommendation is to match your order size to the right shipping method early (we can help with this), use full pallets whenever possible, and confirm packaging and handling requirements so cans arrive fill-ready and on schedule.

Storage and Delivery Timing

Some brands ship printed cans directly to their filler (which may be onsite or elsewhere). Others choose to store cans and schedule deliveries over time based on their fill plan. The right choice depends on:

  • Fill cadence: If you fill weekly or bi‑weekly, storing inventory and receiving cans in smaller deliveries might make sense. If you fill monthly or in large runs, direct‑to‑filler shipments are usually simpler and more cost‑effective.
  • Warehouse space: Limited space favors just‑in‑time deliveries or scheduled deliveries. If you have room to store full pallets safely, receiving larger shipments can reduce freight complexity.
  • Cash flow: Smaller, scheduled orders spread cost over time but may increase per‑unit logistics costs. Larger orders require more upfront spend but are typically more efficient on a per‑can basis.

Beer Cans

4. Testing Printed Cans

Testing matters with any packaging, but there are a few extra considerations with digitally printed cans, especially if you’re used to working with labels or shrink sleeves.

Beverage compatibility testing

Your beverage still needs to be compatible with aluminum and internal can linings under real conditions. That makes it important to confirm the following areas of performance:

  • Liner testing for ‘hard to hold’ beverages: If the cans contents have a high level of alcohol, low pH level, or cannabinoids (or other active ingredients), the beverage might need to be tested to ensure the liner won’t erode and damage the integrity of the can. 
  • Pasteurization or tunnel exposure, if applicable: Beverages that run through tunnel pasteurization or high‑heat rinsing should be tested to ensure the printed graphics maintain appearance and durability under those conditions.

If you’re coming from labels or sleeves, this may take more consideration because any issues impact the can itself, not just an applied label.

Fill-line considerations

We do durability testing as part of the printed can process, but it’s still important to know what to watch for once those cans hit your fill line. Digitally printed cans behave a little differently than labeled or sleeved cans, and being aware of that up front helps avoid surprises.

When you begin running printed cans, pay close attention to:

  • Abrasion and scuffing: Printed graphics are exposed during conveying, rinsing, and packing. Points of friction that may have been masked by a label or sleeve can show up more clearly on a printed surface.
  • Seam and handling performance: Because the graphics are printed directly on the can, any handling or seam-related issues affect the finished container itself, not a removable component.

The goal isn’t to slow down production, but to know where printed cans may behave differently so adjustments can be made early, before small issues become larger ones in distribution.

5. How Production Differs from Labels and Shrink Sleeves

If you’re coming from pressure‑sensitive labels or shrink sleeves, digitally printed cans introduce a few differences and planning considerations.

  • Artwork is locked in earlier. With labels or sleeves, artwork can sometimes be adjusted later in the process or corrected with a reprint. With printed cans, artwork approval is a point of no return. This makes seam placement, resolution, and color proofing more important up front.
  • Resolution and fine detail require consideration. Ultra‑small text, thin line work, and subtle textures that reproduce well on labels may soften slightly on printed cans. Designs often benefit from slightly heavier type, stronger contrast, and simpler detail.
  • Lead times shift. Printed cans are produced as finished containers, not decorated after the fact. That means lead times should be planned more like packaging procurement than label reorders.
  • Inventory planning becomes more deliberate. Instead of ordering labels as needed, you’re planning can quantities that align with fill schedules, storage capacity, and cash flow. Over‑ or under‑ordering has bigger downstream implications.

Printed Cans Done Right

When artwork, production, logistics, and testing are all working together, printed cans make life easier and give your product a seamless look. But when things are rushed, especially with printed cans, issues tend to show up fast.

At Blue Label, we work with beverage brands every day to make sure their printed cans launch smoothly, not just visually, but operationally. Whether you’re planning your first run or switching from another printed can provider, we’re happy to help. You can always reach out to our team or take a look at our Printed Cans page to learn more and see if it’s a good fit.

Printed Cans: How to Compare with Shrink Sleeves and Labels

Most beverage brands comparing printed cans are trying to answer practical questions about cost, risk, flexibility, performance, and long-term fit.

We put together this guide to help you compare printed cans directly against the most common alternatives: pressure-sensitive labels, shrink sleeves, and traditional offset printed cans.

Why Printed Cans Are Showing Up More Often

Printed cans have been around for a long time, but they’ve become far more accessible in recent years. Historically, printed cans were limited to very large runs with long lead times.

Digital printing has changed that. Modern direct-to-object digital printing can now achieve high production speeds while supporting smaller runs, faster turnaround, and easier SKU variation. That makes printed cans a realistic option for more and more beverage brands.

We also see beverage brands reevaluating printed cans because of broader industry shifts: more SKUs, shorter product lifecycles, sustainability pressure, and the operational burden of managing multiple packaging components.

Questions Teams Ask Before Switching to Printed Cans

Before making a change, beverage brands typically want to know a few things:

  • How printed cans would change operations, planning, and scheduling
  • What flexibility they gain or give up around design and SKUs
  • How inventory considerations shift compared to labels or sleeves
  • How printed cans perform in real beverage environments

Printed cans vs. pressure sensitive labels

Printed Cans vs. Pressure-Sensitive Labels

Pressure-sensitive labels are popular because they’re cost-effective, widely accepted by consumers, and flexible across many products. Printed cans become intriguing by comparison when brands want a more integrated feel, fewer materials, and less operational complexity.

Aesthetics

  • Printed cans offer a seamless, label-free look with no edges, seams, or application variation. The graphics feel like part of the can.
  • Pressure-sensitive labels can achieve very high print quality and specialty finishes, but the label remains a separate element applied to the can.

Printed cans often win on visual consistency (no seams, full coverage) and that label-less look, while pressure-sensitive labels can be a good option when considering certain specialty finishes or ultra-fine details.

Application

  • Printed cans arrive decorated and ready to fill, no post-fill labeling step.
  • Pressure-sensitive labels require labeling equipment, changeovers, and ongoing calibration.

Printed cans simplify the filling process, while pressure-sensitive labels give brands more flexibility later in production.

Cost

  • Printed cans typically have a higher per-can printing cost, but that cost replaces the label itself, adhesives, liners, and application. The print-on-demand capability also reduces storage and inventory costs, as production can be dynamically adjusted to meet exact demand without producing too much.
  • Pressure-sensitive labels usually have lower per-unit printing costs and feel safer for short runs, but add recurring material and application costs. For small to mid-size runs. Labels also simply take up less storage space than pallets of printed cans.

Performance

  • Printed cans hold up well in wet, cold, and refrigerated environments because there’s no adhesive or label edge exposed to moisture.
  • Pressure-sensitive labels can perform well when planned correctly, but keep in mind that results will depend on adhesive choice and application conditions (don’t worry, we can help you make the right picks). Modern pressure-sensitive labels can use wash-off adhesives and recyclable films that maintain performance while supporting sustainability goals.

Printed cans vs. shrink sleeves

Printed Cans vs. Shrink Sleeves

Shrink sleeves have been widely used because they offer full-can coverage, high image resolution, and compatibility across many can sizes and processing conditions. Printed cans appeal by comparison because they eliminate a secondary packaging layer and simplify the overall system.

Aesthetics

  • Printed cans deliver that clean, integrated look with optional metallic effects and built-up ink directly on the can.
  • Shrink sleeves also give you that full 360-degree coverage with very high image resolution and photographic detail.

Shrink sleeves often win on photorealism and high-resolution detail. Printed cans tend to support simpler, bolder, or more minimal looks (don’t worry, we can help you pick which one works if detail and resolution is a factor).

Application

  • Printed cans remove the need for sleeve applicators, heat tunnels, and distortion mapping.
  • Shrink sleeves require specialized equipment and careful setup to avoid common issues like seam distortion, wrinkling, or other problems that can increase production scrap.

Cost

  • Printed cans consolidate printing and decoration into the can itself.
  • Shrink sleeve costs lie in the materials (sleeve film and inks), specialized equipment (heat tunnels), changeovers, and potential waste.

Performance

  • Printed cans perform reliably in refrigerated and wet environments.
  • Shrink sleeves need to be kept in cooler temperature prior to application and in transit or shrink on the roll. 

Though many material reclamation facilities (MRFs) accept cans with shrink sleeves, some regions may not recycle shrink sleeved cans or many add a surcharge if sleeves aren’t removed.

Printed Cans vs. Traditional Offset Printed Cans

Traditional offset printed cans have long been the standard for large beverage brands because they deliver high print quality and low per-can costs at scale. That efficiency depends on long print runs, designs that don’t change, and plate-based schedules that can slow production down when plans change.

Digitally printed cans are often considered when brands want to move faster, support more SKUs, or adapt designs without waiting on plate-based timelines.

Aesthetics

  • Printed cans make it easier to support seasonal designs, multiple SKUs, variety packs, or frequent artwork updates. Digital cans are printed with four-color inks (CMYK), so they can achieve a full range of colors. 
  • Offset printed cans deliver excellent consistency, but even small changes require new plates and setup. For the most part, offset printed cans are limited to six spot colors.

Application

  • Printed cans typically offer shorter and more predictable lead times, especially for small to mid-sized runs. Printed cans can be produced in as quick as 10 days from artwork approval.
  • Offset printed cans require longer lead times due to plate creation, press setup, and scheduling windows. Offset printed cans often take weeks to months to produce from artwork approval, so proper planning is necessary.

Cost

  • Printed cans have higher per-unit costs at very large volumes, but reduce risk when demand or artwork changes. The ability to produce on-demand helps avoid the inventory holding costs and waste associated with overproduction.
  • Offset printed cans deliver the lowest per-unit cost at scale, but are most efficient when volumes and designs remain stable. Large minimum order quantities (often 150,000 cans or more) make this method less suitable for smaller brands or seasonal products.

Performance

  • Printed cans and offset printed cans are generally comparable in durability and performance across common beverage environments.

Are Printed Cans the Right Choice for Your Beverage Brand?

Luckily, your brand doesn’t have to switch to printed cans all at once. You can start with a test run, compare real costs and timelines against your current process, and see how the cans perform with your product and your customers.

If you’re trying to decide whether printed cans fit your operation, we can help you run the numbers on your specific volumes, SKU count, and production setup.

How to Prevent Labels from Cracking or Curling in Cold Storage

Cold storage is tough on labels. Between condensation, big temperature swings, and freezing temps, it’s easy for labels to curl, crack, or peel off if you don’t plan ahead. With the right choices in materials, adhesives, and finishes, your labels can hold up through the cold chain.

Cracking is usually a material problem. Papers tend to become brittle in the cold. Curling is usually an adhesive or application problem, such as the wrong temperature rating, moisture at application, or not enough bonding pressure.

Most of the time, the recipe for success is simple: pair a cold-rated adhesive with a moisture-resistant film and a protective finish.

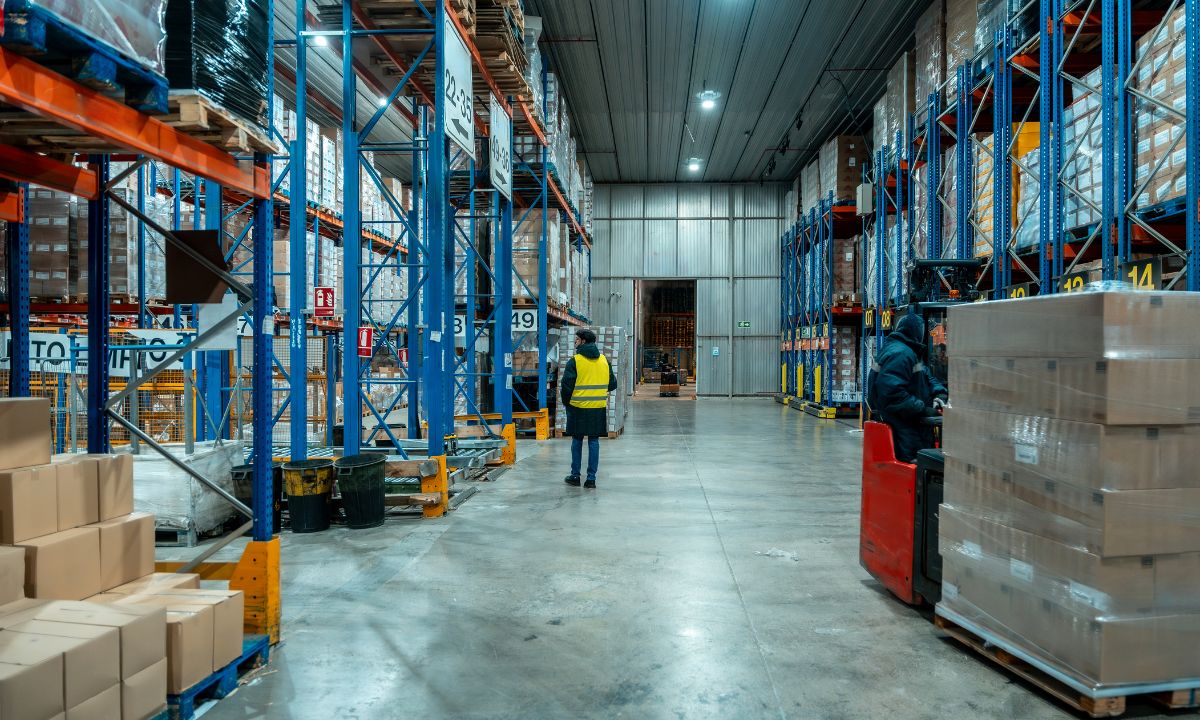
Cold storage warehouse

Choosing the Right Label Materials for Cold Storage

The material your label is printed on sets the foundation for durability, and can be the difference between a label that cracks or curls and one that holds up.

For cold storage, some of the best material choices include:

  • BOPP (biaxially oriented polypropylene): A flexible plastic film that resists water and tearing. Think of it as the go-to for frozen dinners, ice cream, and beverages that end up in ice buckets.
  • PET Films: A tougher, slightly stiffer plastic that offers extra durability and holds its shape well. Often used in pharmaceuticals or premium products that require added toughness.

While those materials are good options, be more careful of these materials that could give you problems:

  • Coated paper: Works for dry, refrigerated cartons, but in humid coolers or freezers it’s prone to curling or smearing. Specialty freezer papers exist, but they’re usually best for secondary packaging.
  • Textured/uncoated papers: They may look great on a wine bottle at room temp, but in a cooler or freezer they soak up water and start peeling.

Rule of Thumb: If your product may sweat, freeze, or sit in an ice bath, films (BOPP or PET) are usually the safer choice. Paper is generally limited to dry, refrigerated environments.

Using the Right Adhesives

Adhesives are one of the most critical factors in whether your label will hold. Even the best label material or finish can fail if the adhesive isn’t matched to your application and storage environment.

First, you should know two different measures of temperature:

  • Application Temperature = the temperature when you apply the label.
    Example: applying to a frosty beer can at 35 °F.
  • Service Temperature = the temperature where the product stays.
    Example: a frozen entrée stored at –10 °F.

Knowing that for your specific product(s), you can then identify an adhesive that is compatible with your product’s environment:

  • All-Temperature Acrylics: Apply at ~20–40 °F, service down to –40 °F. Best for refrigerated foods, dairy, and beverages.
  • Freezer-Grade Acrylics / Hot-Melts: Apply as low as –20 °F, service down to –60 °F. These are designed for aggressive tack on frosty or wet cartons.

Note: These ranges are based on supplier specifications (Avery Dennison, UPM Raflatac, etc.), but it’s always important to double-check that the numbers line up with how you actually run your line.

Rules of Thumb: Refrigerated → all-temp. Frozen → freezer-grade. 

Surface preparation for bottles

Prepare the Surface Properly

Even the right material and adhesive can fail if the application surface isn’t ready.

  • Clean & Dry Surfaces: Moisture, frost, or dust prevent adhesives from bonding.
  • Wet Applies: For cold-fill beverages or condensation-prone lines, use a wet-apply freezer adhesive designed for these conditions.

Protecting Your Labels

Finishes shield against water, abrasion, and smudging. Here are some options:

  • Gloss or matte laminate: Provides strong moisture protection to keep labels from whitening or peeling in cold storage. Matte laminates can still offer comparable durability while delivering a more soft or premium look.
  • Gloss or satin varnish: Offers a more subtle finish but generally provides less moisture protection than laminates. Best for applications on paper substrates where moisture exposure is minimal or texture and embellishment effects take priority.

Recommendation: For cold storage, pair a film base material (like BOPP) with a laminate for the most reliable protection. 

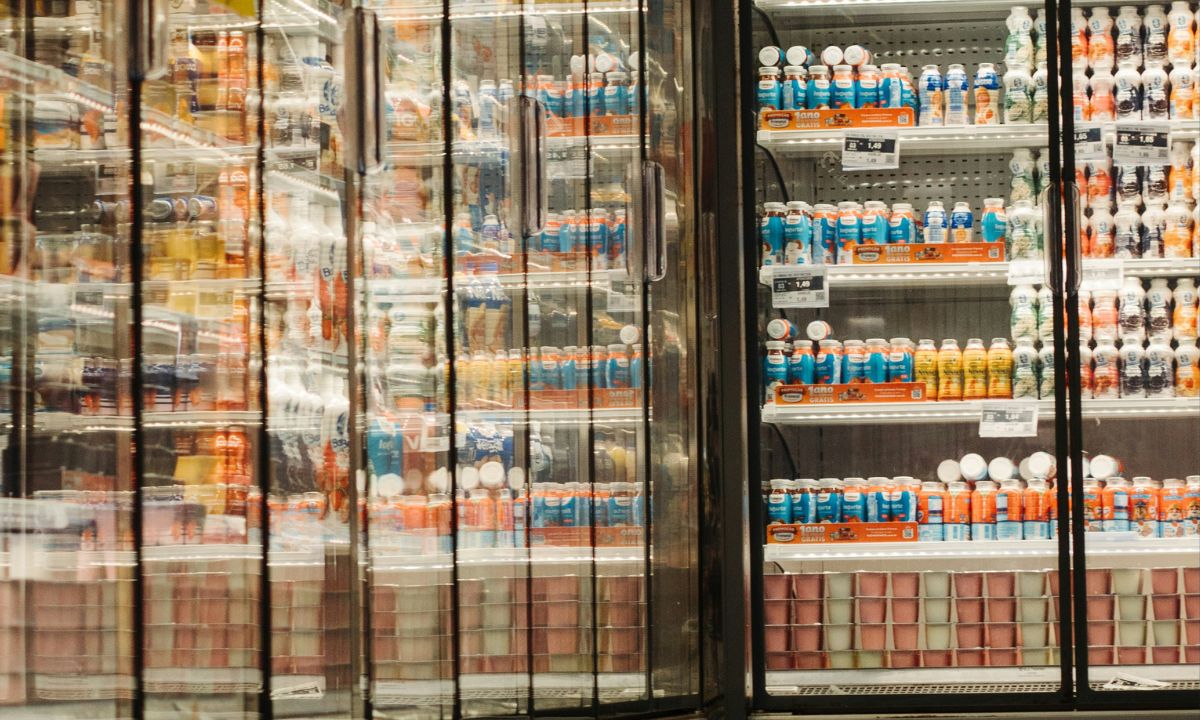
Cold storage in grocery store

What Else to Consider?

A few additional factors will be helpful to share with your label printing partner so that your labels perform well throughout the cold chain:

  • Container Material: Adhesives interact differently with glass, PET, corrugated, or HDPE. For example, glass often benefits from freezer-grade acrylics for stronger bonding.
  • Temperature Cycling: Will your product move freezer → retail shelf → consumer fridge? Each swing stresses both adhesive and base material.
  • Moisture Exposure: Is your product sitting dry in a carton, or submerged in an ice bucket?
  • Regulatory Needs: Food and pharma labels must remain legible, include FDA-required information, and be barcode scannable for retail. Peeling or smudging can create compliance issues.

Quick Checklist for Avoiding Failures

  1. Choose BOPP or PET films for refrigerated or frozen storage.
  2. Match adhesive to your application & service temps.
  3. Use wet-apply adhesives for cold-fill or condensation-prone lines.
  4. Add a laminate for moisture-heavy environments.
  5. Apply to clean, dry containers whenever possible.
  6. Test labels through your actual cold chain, for example by running freezer-to-fridge-to-room temp cycles, and check for peeling, whitening, or smudging before scaling.

Preventing Cracking or Curling in Cold Storage

With the right safeguards in place, your labels will stay sharp and secure in cold storage. Not sure which label material makes sense for your products? Contact us and we’ll walk you through it.