What is a High-Temperature Adhesive and When Do Product Labels Need It?

Are your company’s products consistently exposed to high temperatures? In that case, you’ll need more than regular adhesive to apply labels. To make sure your labels stick, you need a high-temperature adhesive. 

High-temperature adhesives for labels are used everywhere from the food and beverage industry and cooking appliances to automotive products, electronics, and much more. Here’s what you should know about their application for product labels and common considerations when using high-temperature adhesive. 

What is a High-Temperature Adhesive and When Do Product Labels Need It?

Understanding High-Temperature Adhesives 

These are pressure sensitive adhesives that are developed for exposure to high temperatures. You can apply them at high application temperatures and they can withstand high environmental temperatures. They’re highly durable and can work in environments that are above 100 °C

High-temperature adhesives are commonly used in the following industries: 

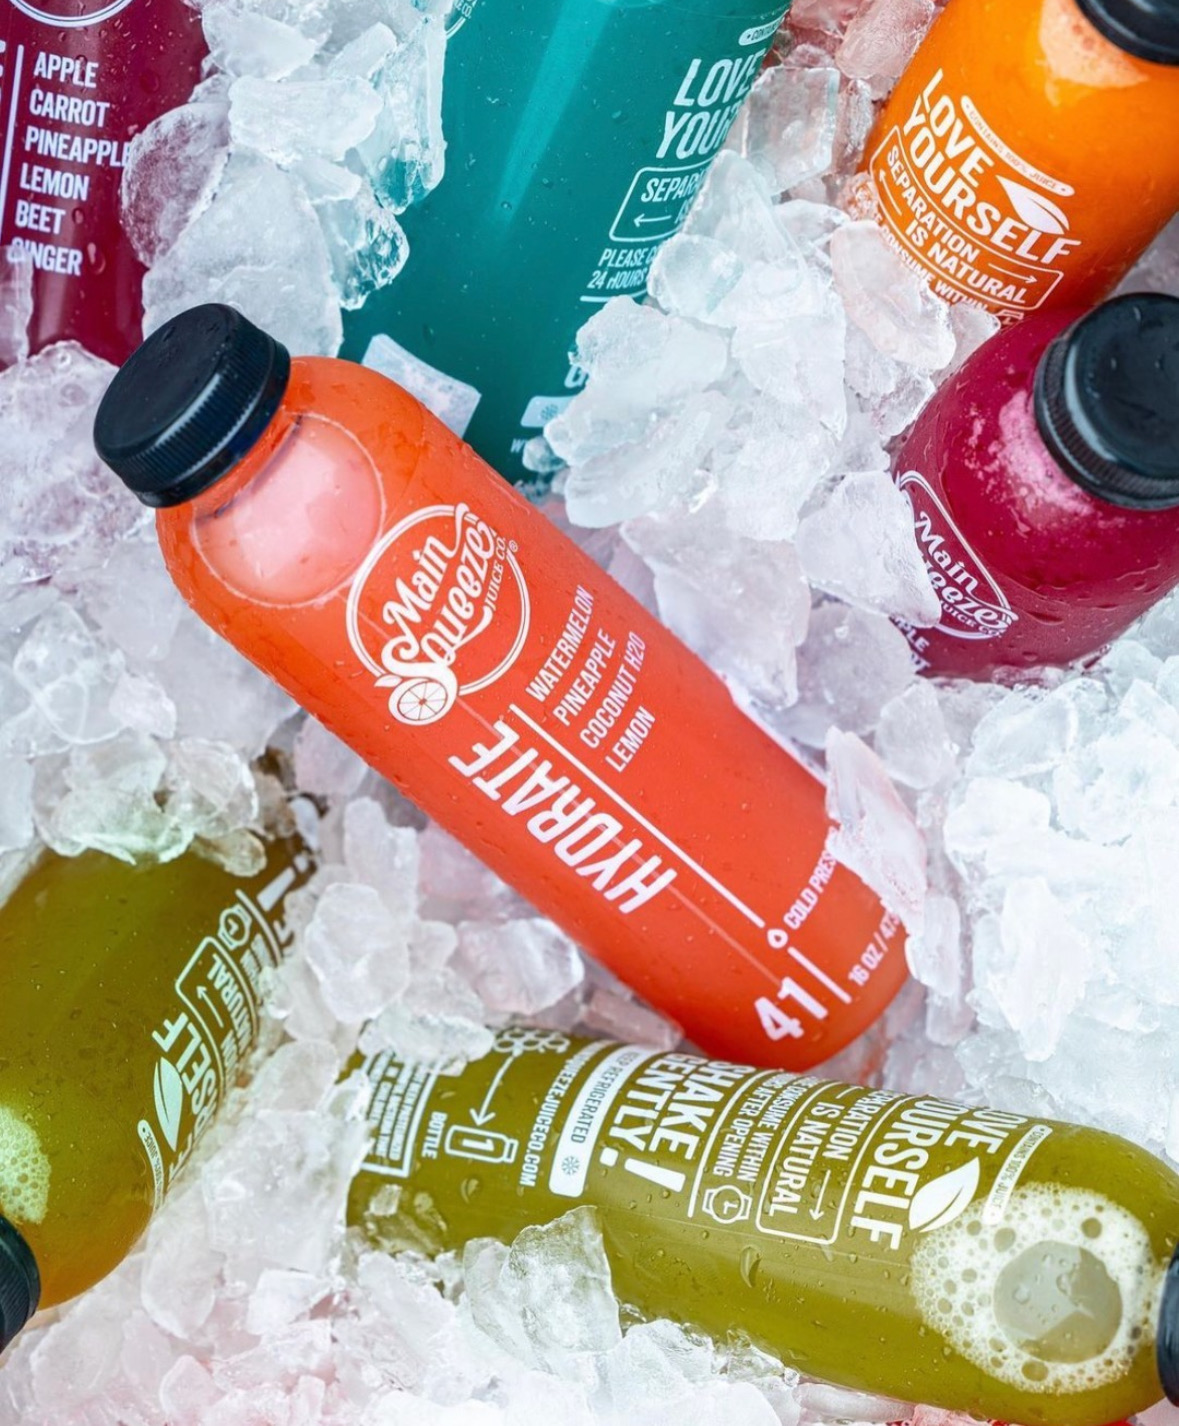
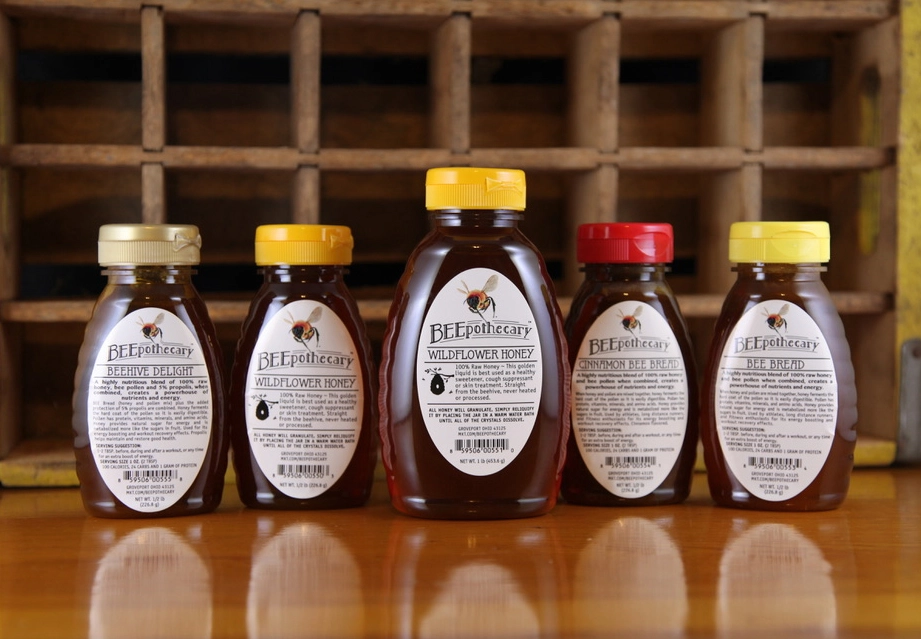
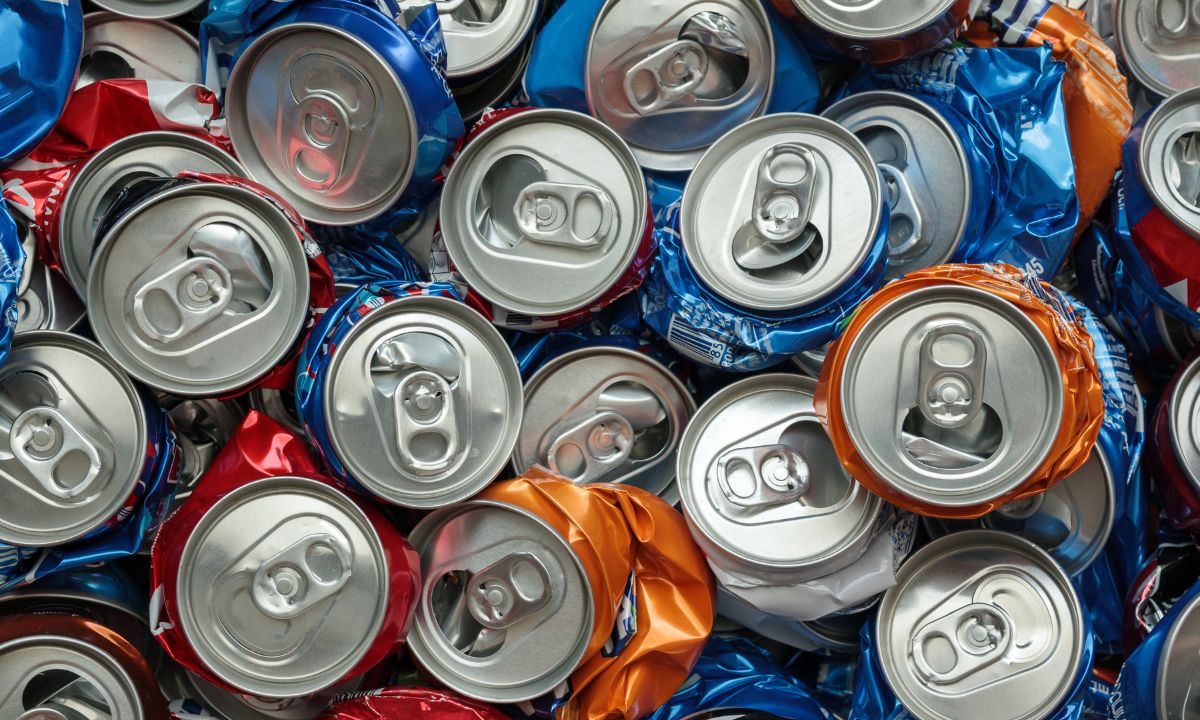
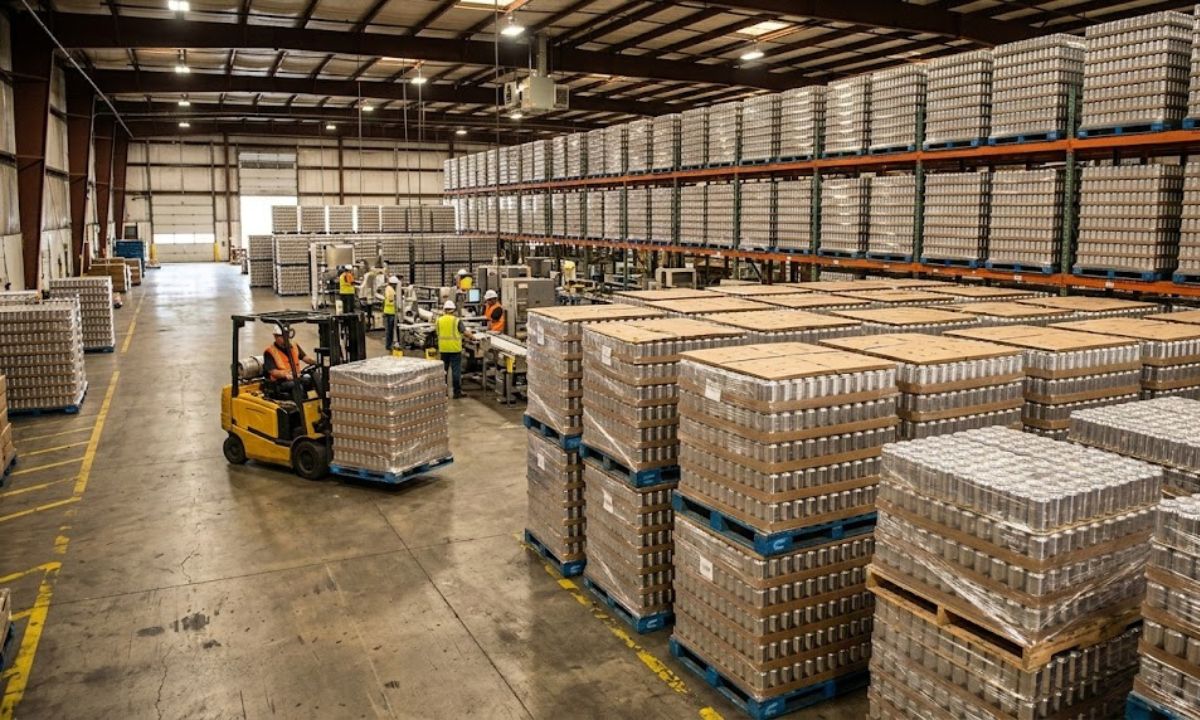
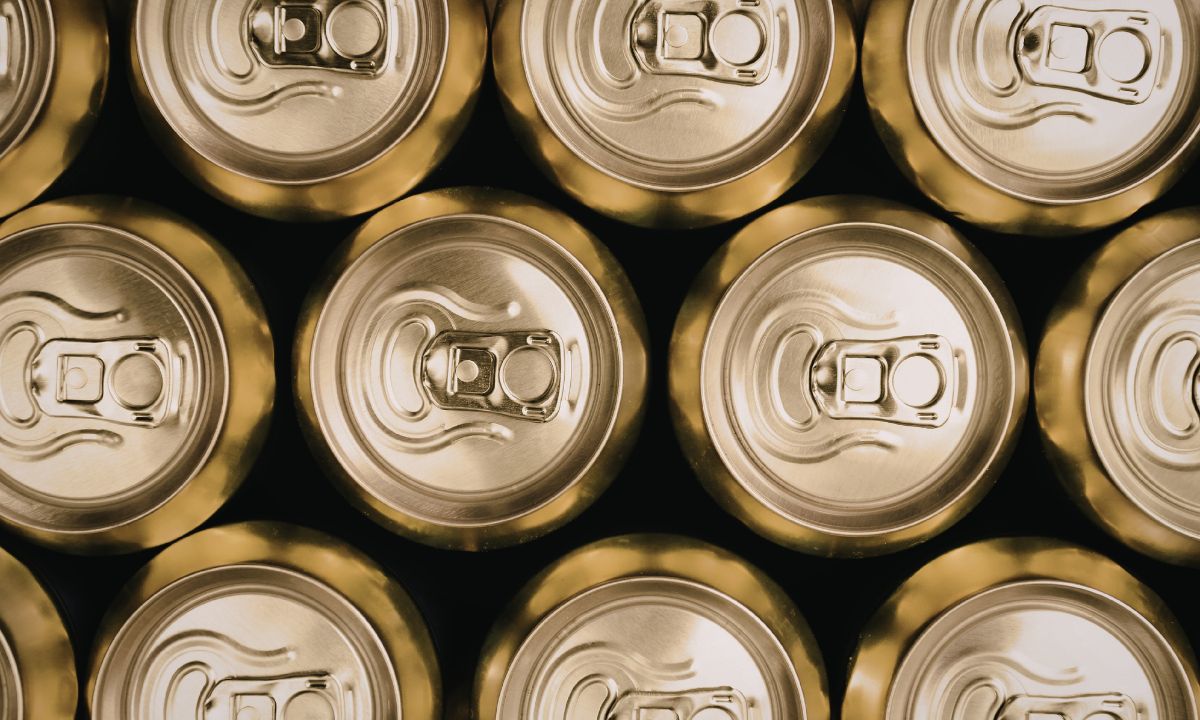
  • Food and Beverage Industry: Applying labels to products that are subjected to heat during packaging or storage. 
  • Consumer Appliances: Adding warning and instructional labels to appliances like stoves, ovens, and heaters.  
  • Automotive Industry: Applying labels to engine components, heat-resistant barcodes, and warning labels on radiator caps. 
  • Electrical Components: Applying identification labels for power supplies, heat sinks, and circuit boards.

Reasons to Consider High-Temperature Adhesive For Your Labels

You’ll need to consider high-temperature adhesives if your labels are exposed to:

  • High temperatures during use, like with automotive parts, electronics, appliances, or candles.
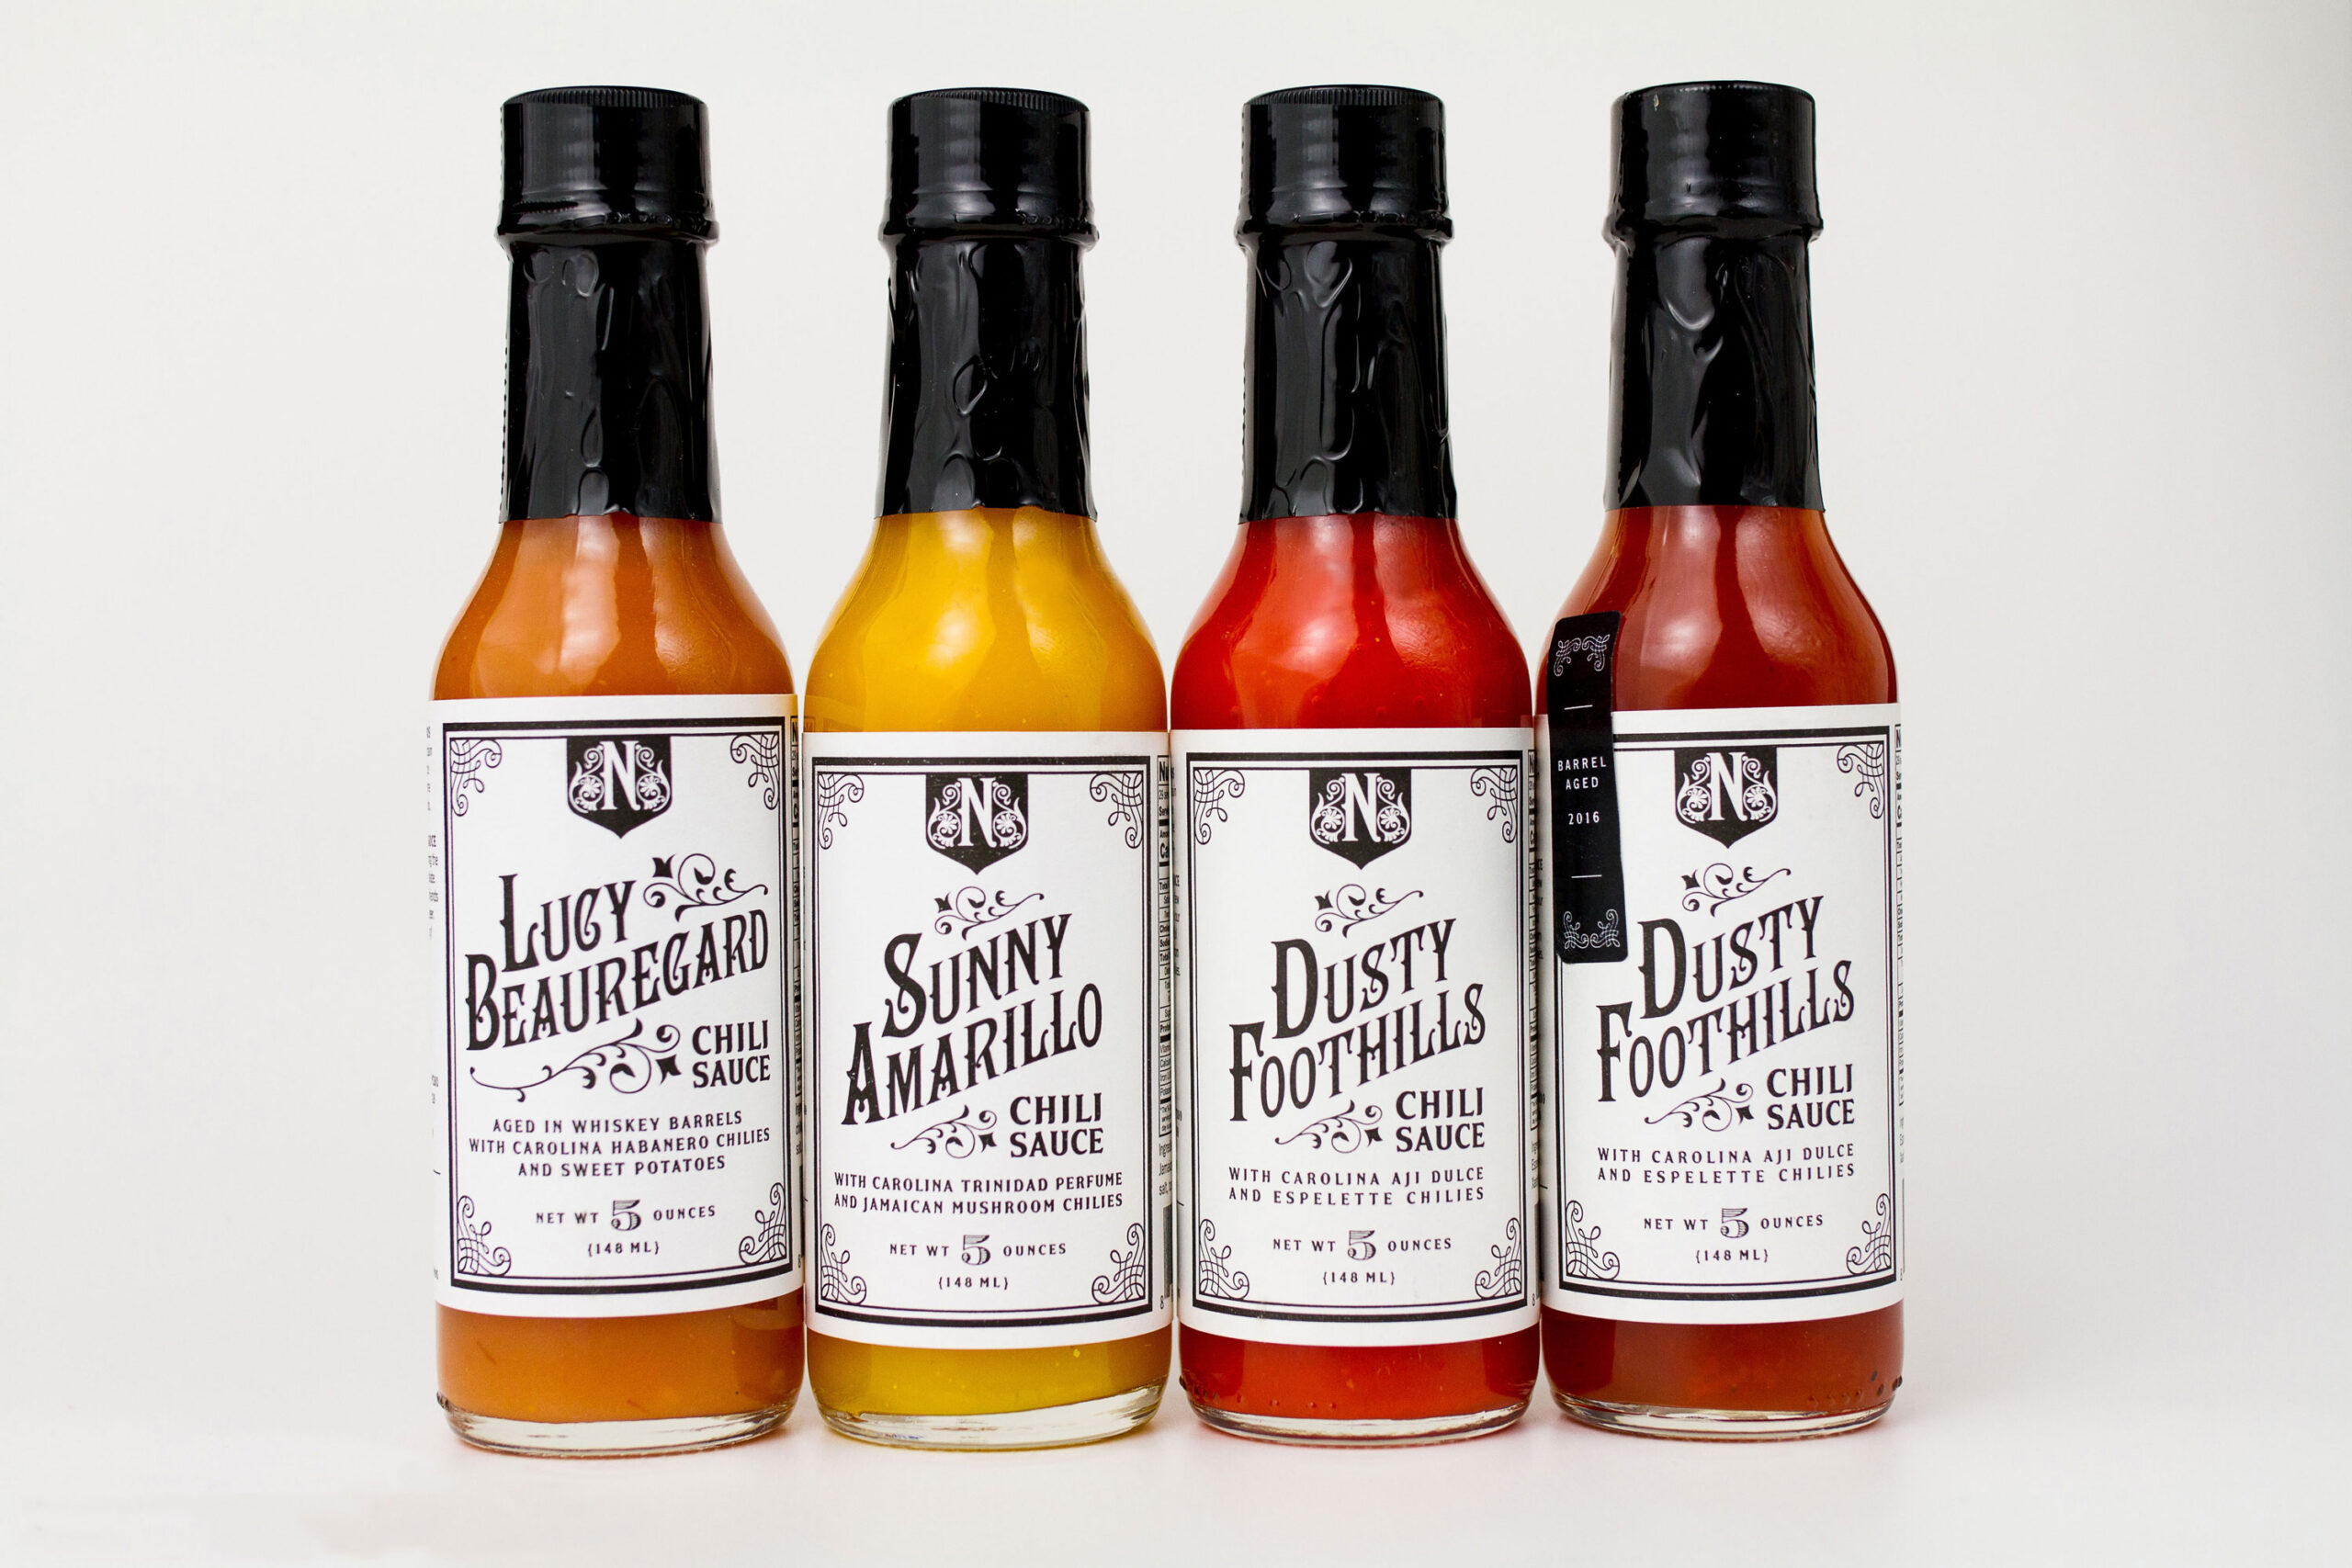
  • Thermal storage or packaging processes, such as canned goods, bottled beverages, or hot-packed foods like jams and condiments.
  • Environmental heat or sunlight, including outdoor equipment, grills, power tools, and solar components.
  • High-temperature sterilization, common with jars, bottles, and pouches in food and beverage industries.
  • Heat-conducting surfaces, like metal or ceramic components in appliances or devices.

Considerations When Using High-Temperature Adhesive

Before you start using high-temperature adhesives, here are a few things to know: 

Hot Sauce Bottles with Custom Condiments Labels

Temperature Range 

Most standard adhesives fail above 60°C (140°F). High-temperature adhesives are designed to handle specific ranges. Matching the adhesives range to your application’s maximum sustained temperature will help avoid bond failure.

Cost

High-temperature adhesives often cost more because they use heat-resistant materials. For cost-effectiveness, consider the adhesive lifespan and performance.

Application Process 

The application process for high-temperature adhesives is different because of their specialized formulations. 

  • Activation Temperature: Some adhesives, especially epoxies, require heating to activate or cure properly. Check if the adhesive needs pre-heating equipment like a heat gun or oven.
  • Curing Time: High-temperature adhesives generally have longer cure times than standard ones. For example, some can take hours or even days to fully cure, while others may cure in 24–48 hours depending on humidity and temperature.
  • Layer Thickness: Applying an even, thin layer can improve bonding and reduce curing time. For uneven surfaces, adhesives with gap-filling properties may work best.

Surface Preparation 

For the adhesive adheres to the product packaging, proper surface preparation is needed.

  • Cleaning: Surfaces should be free of dust, oils, and residue for proper adhesion. Use an alcohol-based cleaner if necessary.
  • Surface Texture: Smooth surfaces like glass or metal may need light sanding to improve grip. For porous materials, consider a primer to strengthen the bond.
  • Preheating: Preheating the surface can prevent thermal shock (sudden temperature change causing material stress) and condensation, which weakens adhesion.

Compatibility With Substrates and Containers 

High-temperature adhesives aren’t compatible with all types of materials. Some substrates, like certain plastics, could deform or soften when you apply the adhesive. In this case, they may need special preparation or you’ll need to switch to a different container. 

  • Material Suitability: High-temperature adhesives work best with heat-stable materials like ceramics, metals, and certain plastics.
  • Plastic Caution: Avoid using high-temperature adhesives with low-melting-point plastics like polyethylene unless the adhesive is specifically designed for them.
  • Thermal Expansion: Materials expand differently under heat. Choose adhesives that stay flexible to prevent cracks or peeling when applied to metals or plastics.

Durable Labels That Can Withstand High Temperature

If you’re working with high-temperature adhesives because your product is exposed to high temperatures during manufacturing or usage, you’ll need durable labels, too. At Blue Label Packaging, we use variable data printing to create robust labels that can take the heat. Get in touch with us today to check out our materials

Can BOPP Labels Be Used in Freezer Environments?

Short answer: yes, BOPP labels can absolutely be used in freezer environments, when paired with the right adhesive and applied under the right conditions.

Let’s talk about where BOPP labels make sense in cold storage, and how to make sure they actually stay on.

Custom beverages with clear labels

What is BOPP, and Why Is It So Common in Labeling?

BOPP (a durable type of polypropylene film) is a plastic film made to resist moisture, tearing, and temperature changes. It’s ideal for tough environments like freezers.

Here’s why it works so well:

  • Moisture and chemical resistance: Won’t soften, smudge, or wrinkle from condensation or surface exposure.
  • Stability: Stays flat and firm in both cold and hot conditions.
  • Tear resistance: Great for containers that flex or see a lot of handling.
  • Print compatibility: Works with a range of inks, coatings, and finishes.

How BOPP Labels Hold Up in Freezer Environments

Here’s the cold, hard truth (pun intended).

Pros of BOPP Labels

  • Strong base material: BOPP doesn’t crack or absorb moisture like paper.
  • Pairs well with freezer adhesives: Many commercial adhesives are formulated to work with BOPP.
  • Ideal for high-volume application: Works on most automated label applicators, even on cold or damp lines.
  • Good label memory: When your product moves from a freezer to a fridge, BOPP holds its shape and stays put.

Potential Challenges (and What to Do About Them)

  • BOPP alone isn’t freezer-safe. Always choose an adhesive rated for your coldest environment. Don’t worry, we’ll help you pair the right adhesive with your label material.
  • Application conditions matter. Labels won’t bond well if applied when the surface is cold, wet, or frosty. Apply at or above the adhesive’s minimum temperature and ensure the surface is dry.
  • Container compatibility. Certain plastics resist adhesives, like HDPE (milk jugs, detergent bottles, shampoo containers) or LDPE (squeeze bottles, frozen food bags, and flexible pouches). Use adhesives formulated for these types of plastics, or consult with your label converter. If your containers were injection molded, clean off any mold-release residue (manufacturing residues that act like lubricants) before labeling.
  • Freeze-thaw cycling. If your product moves between frozen and ambient conditions, we can help identify adhesives that will work through freeze-thaw cycles.

Freezer-Grade Adhesives: Where BOPP Gets Its Grip

If you’re interested in the nitty-gritty details of label adhesives, here’s what you should consider:

  • Minimum Application Temperature: What is the temperature when the label is applied? If it’s too cold, the adhesive won’t bond properly.
  • Service Temperature Range: What range of temperature will the label be exposed to after it is applied?
  • Type: Acrylic adhesives specifically designed for freezer use.
  • Coating thickness: Thicker coatings help with rough or curved surfaces. (Think of it as using a thicker layer of paint to cover a rough wall.)

Talk to us to find adhesives rated for your specific situation, whether that’s deep freeze, cold-chain shipping, or damp labeling environments.

Application Best Practices for Freezer Labels

You don’t need to overthink application for freezer labels. The goal is simple: make sure the label can bond cleanly before it goes into a cold or damp environment.

Keep these basics in mind:

  • Apply labels to clean, dry surfaces. Moisture is the biggest reason labels fail.
  • Make sure you’re applying at or above the minimum application temperature for your adhesive.
  • Watch container materials. Some plastics (like HDPE and LDPE mentioned above) need stronger adhesives.
  • Use rounded corners or shapes that reduce peeling in cold conditions.

If you’re labeling on a cold or wet fill line, confirm the product surface isn’t too cold or covered in condensation. That alone can cause edge lift.

Where BOPP Works Best in Cold Conditions

  • Frozen foods: Meals, meats, seafood, and desserts 
  • Cold-chain pharmaceuticals: Biologics and vaccines with strict temperature requirements.
  • Ice cream containers: Lids, sidewall labels, and bottom applications.

Summary: What’s the Right Material for Your Freezer Packaging?

Application Best Material Why It Works
Frozen food pouches MDO or in some cases, BOPP Strong, moisture-resistant, works with automation
Cold-chain glass bottles BOPP or PET + overlaminate Clarity and strength, especially with condensation
Curved plastic containers (e.g., ice cream tubs) BOPP  Flexible, resists edge lift
Budget-friendly small containers White BOPP  Cost-effective and durable

BOPP Labels and Freezer Products

BOPP labels can perform exceptionally well in freezer environments as long as you match the right adhesive, surface prep, and container.

Need to see how a freezer-grade BOPP label performs on your container? Grab a sample pack or contact us and we’ll help you find what sticks.


What Label Material Is Best for Hot Environments?

When your product has to survive heat, the right material and adhesives will keep your packaging intact instead of bubbling, peeling, or sliding off. Here’s what actually works when the heat gets turned up.

Different type of cosmetic, lotion and tube containers with custom Labels such as lotion, sunscreen bottle

BOPP (Biaxillary Oriented Polypropylene) Labels

Why people consider it: BOPP is the budget-friendly option for consumer goods. It’s clear, glossy, and affordable, but not built for sustained heat.

Best applications:

  • Low- to medium-heat packaging 
  • Products that don’t go through pasteurization or retort

Pros:

  • Affordable and widely available
  • Crisp print quality with multiple finish options

Cons:

  • Softens under true hot-fill or pasteurization
  • Not reliable for sustained high heat
  • Can lose adhesion or distort, impacting product legibility and durability in transit or storage

We typically recommend BOPP only for products that don’t exceed mild warmth. If you do hot fill or require pasteurization, a more cost effective option is to label after those are completed. 

MDO Labels

Why people consider it: MDO is flexible and can stretch around odd shapes.

Best applications:

  • Moderate-heat environments
  • Containers with curved or irregular surfaces

Pros:

  • Great flexibility and wraps easily around curved or irregular containers
  • Works on unique packaging shapes

Cons:

  • Softens under true hot-fill or pasteurization
  • Not reliable for sustained high heat
  • Can lose adhesion or distort, impacting product legibility and durability in transit or storage

Depending on the package, we may recommend vinyl for curved or textured surfaces, but if heat resistance is required, we’ll likely shift to PET or polyimide.

Quick Comparison Table

Material Heat Range (Process Examples) Pros Cons Best Use
BOPP Mild warehouse or warm fill Affordable, glossy or matte finish Warps/shrinks in hot-fill/pasteurization Mild-heat consumer goods
MDO Short exposure to heat Flexible, conforms well Softens in sustained heat Odd-shaped containers with moderate heat

Labels and Heat

Heat’s tough on labels. Not sure which combination makes sense for your product? Request a quote and we’ll walk you through the right material and adhesives for your environment.

What Label Material Is Best for Humid Environments?

Labels can fail in humidity not only because of the label material, but because adhesives start to fail or lose sticking power, finishes wear down, or the material doesn’t match the container surface or application method.

To prevent edge lift, sliding, smudging, or peeling, you need to match the right material, adhesive, finish, and container surface based on how and where your product will be stored, shipped, and used.

If your products face condensation, chilled storage, wet hands, ice buckets, or refrigerated shipping, here’s how the main material options compare, and when to use them.

Start with Your Environment and Container Surface

Before choosing a material, think about where the product (and the label) will live.

Environmental Conditions

Consider which of these apply to your product. Even one of these conditions can influence which label material and adhesive performs best:

  • Refrigeration or cold storage (risk of condensation and edge lift)
  • Condensation or temperature cycling (labels may bubble or slide)
  • Direct contact with water, oils, or chemicals (requires water-resistant films or protective finishes)
  • Ice buckets or wet retail displays (laminated films hold up more reliably)

Container & Application Factors

These container surface and application details directly affect which materials and adhesives will adhere properly:

  • Smooth glass, textured plastic, squeezable tubes, or metal (surface texture affects adhesion)
  • Flat or curved surface (curved or squeezable requires flexible films like MDO)
  • Manual or automated label application (rigid materials can jam high-speed applicators)

Now let’s look at how each material performs in real conditions. look at how each material performs in real conditions.

Pump bottle labels

BOPP: The Most Reliable Label Film for Humidity

BOPP (Biaxially Oriented Polypropylene) is the go-to film for moisture-heavy environments because it balances performance, cost, and print quality across most product types.

Why it works:

  • Resists water, oils, and condensation without swelling or curling
  • Holds adhesive bond strength well on smooth, rigid surfaces
  • Works well with most labeling equipment, including high-speed applicators
  • Compatible with laminates and varnishes for added durability
  • Affordable, making it ideal for high-volume production

Best for:

  • Beverage bottles or cans
  • Refrigerated foods
  • Skincare products
  • Household goods
  • Standard commercial packaging

BOPP doesn’t conform well to highly curved or squeezable containers, so be aware of that as you approach a label material decision. It’s also not ideal for waxy or textured surfaces unless paired with a specialty adhesive.

Welded Material: Paper Texture with Enhanced Wet Strength

If you need a premium paper look without sacrificing moisture performance, Welded wet-strength paper is a strong middle ground.

Why it works:

  • Reinforced paper fibers designed to handle moisture better than standard paper prevent sagging, peeling, and “label sliding, when labels slowly shift out of position on cold bottles” on cold or wet bottles
  • Higher opacity helps block dark glass or busy backgrounds
  • Performs well during short-term chilling or condensation
  • Accepts high-end finishes like foil, embossing, and tactile coatings

Best for:

  • Wine bottles
  • Spirits
  • Premium beverage brands
  • High-end packaging that needs a tactile or textured feel

While Welded materials are moisture-resistant, they are not waterproof. For extended ice bucket or outdoor use, film materials like BOPP or PET are more reliable.

PET: High-Durability for Extreme Environments

PET (polyester) is the most rugged option when durability is critical. It’s often used for products that face temperature swings, shipping abrasion, or long-term storage.

Why it works:

  • Moderate moisture barrier performance
  • Highly resistant to tearing, stretching, and chemical exposure
  • Maintains shape and print quality even in harsh conditions
  • Useful for labels that legally must stay readable, like safety warnings or ingredients

Best for:

  • Industrial goods
  • Outdoor products
  • Chemical packaging
  • Long-term storage
  • Freezer applications

PET is durable but less flexible than BOPP or MDO, so it can be too rigid for squeezable containers and may need stronger adhesives to properly adhere to textured surfaces.

Honey Container with Variable Data Labels

MDO: Best for Curves, Tubes, and Squeezable Containers

MDO  is useful when flexibility matters more than maximum durability. It adheres well to complex shapes but needs protection when exposed to moisture or abrasion.

Why it works:

  • Conforms to curves, squeezable packaging, and unusual shapes
  • Moisture-resistant but benefits significantly from lamination
  • Works well when paired with specialty adhesives for textured surfaces

Best for:

  • Tubes
  • Custom-shaped packaging
  • Flexible containers
  • Squeezable containers

MDO is flexible and great for unique shapes, but it can scratch more easily without a laminate and isn’t the best choice for prolonged water exposure unless protected.

Coated Paper: Fine Indoors, But Not Built for Moisture

Coated paper labels are common in dry, indoor environments, but they struggle once moisture enters the picture.

Why it fails in humid environments:

  • Absorbs water, causing swelling, curling, and peeling
  • Adhesives break down faster due to paper fiber structure
  • Print can smudge or fade unless laminated

Best only for:

  • Dry indoor use
  • Short-term packaging
  • Products that won’t encounter moisture

Quick Comparison: Label Materials in Humid Environments

Material Moisture Resistance Flexibility Cost Best Use Case
BOPP High Moderate Low Most consumer goods
Welded Moderate Moderate High Premium beverages
PET Very High Low Medium Industrial / outdoor use
MDO Moderate Very High Medium Tubes / curved surfaces
Coated Paper Low Moderate High Dry indoor use only

How to Decide Which Label Material to Use in Humid Environments

  • For condensation or refrigerated storage: BOPP or Welded 
  • For ice buckets or wet retail displays: BOPP or PET (
  • For squeezable or curved packaging: MDO 
  • For extended outdoor, chemical, or industrial environments: PET

Labels and Humidity

Humidity impacts more than the label surface. It affects adhesive performance, container compatibility, and long-term durability.

Need help matching material, adhesive, and finish for your specific packaging? Request a sample pack or contact us and we’ll help you find what works best for your environment and container.

Can Vinyl Labels Be Used on Glass Containers?

Vinyl sticks to glass, and it holds up well to moisture, but before you move forward, it’s worth looking at how it compares to other materials in real-world conditions.

Surface & Shape: Will Vinyl Hold?

Glass is (typically) smooth and non‑porous, so vinyl usually sticks well. Textured glass containers do pose more of a challenge for product labels.

Tapered, curved, or oddly shaped containers can cause vinyl to wrinkle or lift, especially since it’s a thicker, less flexible material. BOPP, PET, or MDO are better materials suited for containers with complex shapes because they’re more flexible and wrap more smoothly.

If your container is highly contoured, BOPP typically works best on subtle curves, MDO handles more aggressive tapers, and PET offers a balance of clarity and toughness for unusual shapes. Requesting material samples is a simple way to see how each performs on your container before committing.

For tricky shapes, we often recommend flexible film label base materials (that’s the base layer of a pressure-sensitive label).

Glass Container Label Material Comparison

How does vinyl stack up against materials like BOPP or PET? Let’s take a closer look:

Factor Vinyl Film BOPP / PET Film
Water & Humidity Excellent resistance Excellent resistance
Cold / Freeze Performs well Strong resistance 
Heat & Abrasion Good, but edges may lift Holds up better to friction and wear
Oils & Chemicals Moderate resistance Highly chemical‑resistant

Vinyl holds up to moisture and general wear pretty well, but it may need extra protection, like lamination, during shipping or when bottles are filled while the product is hot.

In these situations, BOPP and PET films tend to keep their shape and print quality better, especially on curved containers or when exposed to oils or cleaning products.

Design & Finishing Compatibility

The beauty of digital printing is that we are able to achieve excellent quality print on most materials.

If you’re using foil, embossing, spot varnish, or other design elements, BOPP or PET usually give you sharper detail and a more refined, professional finish. Vinyl can still work. It just might need lamination to get that same level of protection, which can make the material stiffer.

Compliance Considerations

If your product is food, beverage, cosmetics, or supplements, you’ll likely need labels that use FDA-compliant adhesives and inks. Vinyl can meet these standards, but BOPP is more commonly used in regulated industries because it’s easier to certify, pairs well with adhesives commonly approved for food and beverage use, and works well in large-scale automated production lines. That’s one reason BOPP is a go-to for many food and beverage brands.

Sustainability and Recyclability

PVC-based vinyl labels usually aren’t accepted in local recycling programs, especially when applied to glass bottles or jars. That can cause issues with recycling and lead to contamination.

BOPP is lighter, has a smaller environmental footprint, and depending on the facility, may be recyclable or compostable. If you’re focused on recyclability or sustainability goals, film label base materials like BOPP often offer more flexibility. Check local recycling guidelines to confirm acceptance before assuming BOPP will be processed.

When Vinyl Is the Better Fit

There are times when vinyl really shines. It might be a better option when:

  • You’re labeling flat-surfaced containers that will be exposed to high humidity or outdoor use
  • You need ultra-tough durability for hand-applied or short-run specialty products
  • You want something that resists constant condensation or water submersion, like bath products or outdoor goods

Quick Checklist

Not sure if vinyl is a good fit for your product(s)? Here are some questions we’ll ask to identify the best label material for your glass container:

  1. What’s the container shape: flat, curved, tapered?
  2. Will the product face moisture, oils, cold, or abrasion?
  3. Are you adding design extras like foil or varnish?
  4. Do you need food-safe adhesives or industry certifications?
  5. Are sustainability or recyclability important?

So, Is Vinyl Right for Your Product?

It’s true that vinyl labels can work well on glass containers. But depending on the shape of the bottle, how your product is handled, and your sustainability and compliance needs, BOPP or PET may give you better performance, more options, and fewer headaches.

Not sure which material makes the most sense for your labels? Let’s talk. Our team’s here to help you make the right call for your product.

How to Stop Labels from Peeling on Curved Surfaces

Nothing kills a good-looking product faster than a label that won’t stick. But don’t worry, with the right know-how (and a few smart material choices), keeping your labels smooth on a curved container, whether that’s a beer can, lip balm tube, or lotion bottle, is easier than you think.

Choose the Right Materials That Bend, Not Break

Labels on curves need to flex. Here’s what we recommend:

  • Shrink sleeves are often the best option for curved surfaces. Because the material is heat-shrunk to fit the container, it conforms to the container’s shape and provides full-coverage decoration.
  • MDO films are a type of film designed to stretch in multiple  directions, which helps them wrap smoothly around cylindrical and slightly tapered containers.
  • Flexible films like BOPP, or vinyl can work well, but be mindful of the curve. They’re reliable on gentle slopes and cylinders but can struggle on sharp tapers or irregular shapes where tension can cause lifting.

Lip balm tube labels

Match Adhesives to the Curve and Conditions

The label material matters, but it won’t do the job alone. If the adhesive isn’t right, your label’s going to lift.

  • Tight-mandrel adhesives, which are formulated specifically for narrow-diameter containers like lip balm tubes or small bottles, offer strong initial tack and the flexibility to hold under constant tension.
  • High-tack, flexible adhesives are better suited for curved or contoured areas. They provide immediate bonding strength, which helps prevent labels from lifting during or after application.
  • For slick or slippery surfaces like HDPE lotion bottles or yogurt tubs, use adhesives made for plastics that are notoriously hard for labels to stick to. These adhesives are engineered to grab hold of materials that most standard adhesives simply slide off of.
  • For labels applied to cold, wet, or moist surfaces, ask for adhesives that stick even if your container is damp or chilled.

Surface Prep: Clean, Dry, and Controlled

Once you have the right material and adhesive, preparing the container’s surface is the next important step:

  • Make sure there is no dust, oil, or condensation that could interfere with bonding.
  • Make sure containers are completely dry before label application.
  • Apply labels in a stable, controlled environment whenever possible. For best adhesion, room temperature conditions with moderate humidity are ideal. Try to avoid labeling in refrigerated warehouses or hot, humid loading docks where adhesion can fail quickly.

RTD Custom Can Label

Label Design and Application: Make It Fit and Stick

You’re here because you want your labels to stick, but don’t forget that with curves in your container come some label design considerations as well. Good design helps your label stay where it belongs:

If you’re using shrink sleeves, design your artwork with pre-shrink distortion in mind. Think of it like sketching on a balloon before you blow it up. Your artwork needs to land in the right spot after shrinking. Always place seams and folds away from key visual elements.

You’ll also want to consider some label decisions outside of the design itself:

  • Round label corners to reduce flagging and edge lift. Sharp corners tend to catch and peel over time.
  • Use tapered labels when your container narrows or flares. These follow the container’s shape and reduce tension that would otherwise lead to lifting.
  • Use rollers or automated application equipment for consistent pressure and alignment. Manual application can leave air pockets, uneven tension, or weak edges.

Don’t worry, we put together a guide on designing for tapered labels.

custom labels in short sauce bottles container

Protect for Wear: Laminates and Varnishes

Labels on curved containers often face friction from handling, transportation, and storage.

  • Laminates act like a clear protective shell. They help your label survive scratches, spills, and all the handling that comes with retail shelves or shipping. Choose laminates if your product is heavily handled, like beverage cans or personal care items. Options include gloss, matte, soft-touch, and textured finishes.
  • Varnishes are cured coatings that protect the printed surface while adding visual effects. They’re a more subtle option. Choose varnish if you want a sleeker look on wine bottles or gourmet foods where customers won’t handle the container as often.

Keep Your Labels from Peeling on Curved Surfaces

The right label won’t just stick, it’ll stay stuck. Choosing flexible materials, matching adhesives to your container and environment, and prepping properly makes all the difference. Not sure which label material makes sense for your bottles or tubes? Contact us and we’ll walk you through it.

Sustainability and Recyclability of Printed Cans

If you’re considering digitally printed cans, sustainability usually comes up, either because it matters to your brand, your customers, or sometimes even regulators.

Here’s the short version: digitally printed cans don’t magically make packaging sustainable, but they do remove some of the biggest environmental inefficiencies found in labeled or shrink-sleeved cans.

Printed cans being recycled

Recyclability of Printed Cans

Aluminum cans are already one of the most recyclable packaging formats available. They can be recycled repeatedly without losing quality, and recycling aluminum uses up to 95% less energy than producing new aluminum from raw material.

The sustainability difference is not the can itself, but how the can is decorated.

Digitally printed cans preserve aluminum’s recyclability because:

  • decoration is applied directly to the can as a very thin ink layer
  • there are no plastic sleeves or label films
  • there are no adhesives to remove during recycling
  • recyclers can process the aluminum with fewer steps

Cans with shrink sleeves or pressure-sensitive labels are still recyclable, but recyclers typically must:

  • burn off plastic sleeves or label materials
  • remove adhesives and coatings
  • process additional non-aluminum waste

That extra processing does not prevent recycling, but it does add energy use, waste, and complexity to the recycling stream.

In simple terms, digitally printed cans keep aluminum packaging closer to a single-material recycling process by eliminating secondary decoration materials.

Warehouse of cans on pallets

Inventory Waste and Overproduction

With digitally printed cans, inventory planning becomes an important part of sustainability and cost control. Digital printing gives brands more flexibility than offset printing, but digital (especially printed cans) still requires the right planning.

Digitally printed cans allow brands to:

  • print smaller production runs compared to traditionally high minimum order quantities
  • combine multiple SKUs into a single order to improve efficiency
  • reduce the risk of large quantities of unused decorated cans
  • better align packaging orders with production schedules

But digitally printed cans still require forecasting and coordination. Unlike labels applied to blank cans, decorated cans can’t be repurposed if branding, compliance information, or products change.

Brands using digitally printed cans should plan for:

  • product demand across SKUs
  • product shelf life and production timing
  • storage space for pallets of printed cans
  • potential design updates or seasonal packaging changes
  • coordination with co-packers or filling schedules

If a product isn’t selling or a design changes, unused printed cans may become unusable. That risk exists with any pre-decorated can format, but digital printing can reduce the scale of that risk by lowering minimum order quantities and allowing SKU mixing.

Regulatory Pressure Is Increasing

Several U.S. states are implementing Extended Producer Responsibility (EPR) laws that assign costs to packaging that is harder to recycle.

States that have already passed packaging EPR legislation as of 2026 include California, Colorado, Oregon, and Maine, with other states actively considering similar policies.

Beverage brands can check current state-by-state packaging EPR requirements through the Product Stewardship Institute’s packaging EPR tracker.

In some cases, packaging with:

  • plastic shrink sleeves
  • applied labels
  • mixed materials

…may incur additional recycling or disposal fees depending on how recyclability is evaluated within those programs.

Digitally printed cans avoid those secondary materials entirely. This can make them easier to align with emerging packaging regulations.

Consumer Perception Matters Too

Beverage brands often want to know how to talk about digitally printed cans in a way that is accurate and meaningful to eco-conscious consumers.

When communicating about sustainability, brands using digitally printed cans can focus on clear, specific language tied to recyclability and waste reduction.

Recycling label on a beer can

Examples of sustainability language include:

Recyclability-focused language

  • “Please recycle this can”
  • “Aluminum cans can be recycled again and again”

Waste-reduction language

  • “Designed to reduce packaging materials”
  • “No secondary packaging materials attached to the can”

This type of language helps brands communicate real sustainability improvements without making vague or hard-to-support claims.

For most beverage companies, the goal is not to position printed cans as “perfectly sustainable,” but to show that their packaging decisions reduce unnecessary materials and support recyclable aluminum packaging.

The Practical Sustainability Summary

Printed cans are typically more sustainable than shrink sleeves or pressure-sensitive labels because they eliminate plastic decoration materials and simplify the recycling process. Sustainability is only one factor alongside cost, aesthetics, production setup, and order volumes.

If you’re comparing labeling options for your cans, contact us to talk through your options, request a quote, or see samples of our digitally printed can work.

Printed Cans 101: What to Know Before Ordering

Printed cans are a great option for beverage brands that want shelf impact, consistency, and operational simplicity. But keep in mind the process is not the same as ordering pressure‑sensitive labels or shrink sleeves. The brands that have the smoothest first run are the ones that plan ahead for printed cans beyond just design decisions.

This guide is for beverage brands moving to digitally printed cans who want to make sure their orders go exactly as planned. We’ll walk through what matters before you place an order, including artwork, finishes, logistics, and other details that help prevent surprises.

1. Preparing Artwork for Printed Cans

With printed cans, you can get great consistency and durability, but only if artwork is prepared properly.

What to confirm before submitting files

  • High‑resolution artwork is non‑negotiable. Low‑res images that might pass on a label will show immediately on a printed can.
  • Understand resolution differences. Digitally printed cans don’t reproduce ultra‑fine detail quite the same way pressure‑sensitive labels do. Very small text, thin lines, and subtle textures need extra attention so they stay crisp once printed on aluminum.
  • CMYK only. RGB files introduce color shifts that can be amplified on aluminum.
  • Bleed and seam awareness matter. Your design must account for the can seam and safe zones so critical elements aren’t distorted or hidden.
  • Metallic interaction is real. Even with a white base, aluminum subtly influences color density and contrast.

If you’re used to prepping artwork for labels, expect more scrutiny at this stage.

Prototyping Printed Cans

A physical proof or prototype can be helpful in letting you validate:

  • Color accuracy
  • Text legibility at real size
  • How gradients, fine lines, and solids behave on a curved surface
  • How embellishments or decoration appears (we’ll touch on this later)

This is where most issues are caught, and where the smartest brands pay special attention.

2. Finishing and Embellishment

Digitally printed cans can look incredible, but embellishments work differently than they do on labels.

What’s typically available, and what to confirm

Based on real‑world digital can production capabilities:

  • Gloss or matte overall finishes are the most common and reliable options.
  • Selective effects are limited. Digitally printed cans allow for different areas to be different finishes, allowing spot varnished matte or gloss areas. It is also possible to create an embossing effect by printing a higher concentration of varnish. But, digital printing directly on aluminum doesn’t offer the same variety of finishes and textures possible with pressure sensitive labels or shrink sleeves. 
  • Design contrast does the heavy lifting. Texture and premium feel often come from smart color use, negative space, and finish selection.

If your brand relies heavily on tactile embellishments from labels, this will be a shift. Printed cans trade the wide embellishment options offered by labels for consistency and a label-less look.

Products being shipped on a pallet

3. Logistics & Planning

Digitally printed cans force you to change how you think about inventory, storage, and shipping.

Minimums and order sizing

While digitally printed cans allow lower minimums than traditional offset printing, they are still a manufactured container, not a roll of labels.

Key considerations:

  • Order quantities should align with realistic fill schedules.
  • Small test runs are possible, but extremely small shipments can increase per‑unit logistics costs.
  • Partial pallets or mixed shipments require extra planning.

Shipping methods matter

Shipping Method Best For Approx. Can Quantities
Full truckload (FTL) Large runs ~200,000+ cans (varies by format)
Less-than-truckload (LTL) Mid-size runs ~5,000–200,000 cans
Parcel / small pack Samples, pilots Dozens to a few hundred cans

Cans are durable, but printed cans still need proper handling. Our recommendation is to match your order size to the right shipping method early (we can help with this), use full pallets whenever possible, and confirm packaging and handling requirements so cans arrive fill-ready and on schedule.

Storage and Delivery Timing

Some brands ship printed cans directly to their filler (which may be onsite or elsewhere). Others choose to store cans and schedule deliveries over time based on their fill plan. The right choice depends on:

  • Fill cadence: If you fill weekly or bi‑weekly, storing inventory and receiving cans in smaller deliveries might make sense. If you fill monthly or in large runs, direct‑to‑filler shipments are usually simpler and more cost‑effective.
  • Warehouse space: Limited space favors just‑in‑time deliveries or scheduled deliveries. If you have room to store full pallets safely, receiving larger shipments can reduce freight complexity.
  • Cash flow: Smaller, scheduled orders spread cost over time but may increase per‑unit logistics costs. Larger orders require more upfront spend but are typically more efficient on a per‑can basis.

Beer Cans

4. Testing Printed Cans

Testing matters with any packaging, but there are a few extra considerations with digitally printed cans, especially if you’re used to working with labels or shrink sleeves.

Beverage compatibility testing

Your beverage still needs to be compatible with aluminum and internal can linings under real conditions. That makes it important to confirm the following areas of performance:

  • Liner testing for ‘hard to hold’ beverages: If the cans contents have a high level of alcohol, low pH level, or cannabinoids (or other active ingredients), the beverage might need to be tested to ensure the liner won’t erode and damage the integrity of the can. 
  • Pasteurization or tunnel exposure, if applicable: Beverages that run through tunnel pasteurization or high‑heat rinsing should be tested to ensure the printed graphics maintain appearance and durability under those conditions.

If you’re coming from labels or sleeves, this may take more consideration because any issues impact the can itself, not just an applied label.

Fill-line considerations

We do durability testing as part of the printed can process, but it’s still important to know what to watch for once those cans hit your fill line. Digitally printed cans behave a little differently than labeled or sleeved cans, and being aware of that up front helps avoid surprises.

When you begin running printed cans, pay close attention to:

  • Abrasion and scuffing: Printed graphics are exposed during conveying, rinsing, and packing. Points of friction that may have been masked by a label or sleeve can show up more clearly on a printed surface.
  • Seam and handling performance: Because the graphics are printed directly on the can, any handling or seam-related issues affect the finished container itself, not a removable component.

The goal isn’t to slow down production, but to know where printed cans may behave differently so adjustments can be made early, before small issues become larger ones in distribution.

5. How Production Differs from Labels and Shrink Sleeves

If you’re coming from pressure‑sensitive labels or shrink sleeves, digitally printed cans introduce a few differences and planning considerations.

  • Artwork is locked in earlier. With labels or sleeves, artwork can sometimes be adjusted later in the process or corrected with a reprint. With printed cans, artwork approval is a point of no return. This makes seam placement, resolution, and color proofing more important up front.
  • Resolution and fine detail require consideration. Ultra‑small text, thin line work, and subtle textures that reproduce well on labels may soften slightly on printed cans. Designs often benefit from slightly heavier type, stronger contrast, and simpler detail.
  • Lead times shift. Printed cans are produced as finished containers, not decorated after the fact. That means lead times should be planned more like packaging procurement than label reorders.
  • Inventory planning becomes more deliberate. Instead of ordering labels as needed, you’re planning can quantities that align with fill schedules, storage capacity, and cash flow. Over‑ or under‑ordering has bigger downstream implications.

Printed Cans Done Right

When artwork, production, logistics, and testing are all working together, printed cans make life easier and give your product a seamless look. But when things are rushed, especially with printed cans, issues tend to show up fast.

At Blue Label, we work with beverage brands every day to make sure their printed cans launch smoothly, not just visually, but operationally. Whether you’re planning your first run or switching from another printed can provider, we’re happy to help. You can always reach out to our team or take a look at our Printed Cans page to learn more and see if it’s a good fit.

Printed Cans: How to Compare with Shrink Sleeves and Labels

Most beverage brands comparing printed cans are trying to answer practical questions about cost, risk, flexibility, performance, and long-term fit.

We put together this guide to help you compare printed cans directly against the most common alternatives: pressure-sensitive labels, shrink sleeves, and traditional offset printed cans.

Why Printed Cans Are Showing Up More Often

Printed cans have been around for a long time, but they’ve become far more accessible in recent years. Historically, printed cans were limited to very large runs with long lead times.

Digital printing has changed that. Modern direct-to-object digital printing can now achieve high production speeds while supporting smaller runs, faster turnaround, and easier SKU variation. That makes printed cans a realistic option for more and more beverage brands.

We also see beverage brands reevaluating printed cans because of broader industry shifts: more SKUs, shorter product lifecycles, sustainability pressure, and the operational burden of managing multiple packaging components.

Questions Teams Ask Before Switching to Printed Cans

Before making a change, beverage brands typically want to know a few things:

  • How printed cans would change operations, planning, and scheduling
  • What flexibility they gain or give up around design and SKUs
  • How inventory considerations shift compared to labels or sleeves
  • How printed cans perform in real beverage environments

Printed cans vs. pressure sensitive labels

Printed Cans vs. Pressure-Sensitive Labels

Pressure-sensitive labels are popular because they’re cost-effective, widely accepted by consumers, and flexible across many products. Printed cans become intriguing by comparison when brands want a more integrated feel, fewer materials, and less operational complexity.

Aesthetics

  • Printed cans offer a seamless, label-free look with no edges, seams, or application variation. The graphics feel like part of the can.
  • Pressure-sensitive labels can achieve very high print quality and specialty finishes, but the label remains a separate element applied to the can.

Printed cans often win on visual consistency (no seams, full coverage) and that label-less look, while pressure-sensitive labels can be a good option when considering certain specialty finishes or ultra-fine details.

Application

  • Printed cans arrive decorated and ready to fill, no post-fill labeling step.
  • Pressure-sensitive labels require labeling equipment, changeovers, and ongoing calibration.

Printed cans simplify the filling process, while pressure-sensitive labels give brands more flexibility later in production.

Cost

  • Printed cans typically have a higher per-can printing cost, but that cost replaces the label itself, adhesives, liners, and application. The print-on-demand capability also reduces storage and inventory costs, as production can be dynamically adjusted to meet exact demand without producing too much.
  • Pressure-sensitive labels usually have lower per-unit printing costs and feel safer for short runs, but add recurring material and application costs. For small to mid-size runs. Labels also simply take up less storage space than pallets of printed cans.

Performance

  • Printed cans hold up well in wet, cold, and refrigerated environments because there’s no adhesive or label edge exposed to moisture.
  • Pressure-sensitive labels can perform well when planned correctly, but keep in mind that results will depend on adhesive choice and application conditions (don’t worry, we can help you make the right picks). Modern pressure-sensitive labels can use wash-off adhesives and recyclable films that maintain performance while supporting sustainability goals.

Printed cans vs. shrink sleeves

Printed Cans vs. Shrink Sleeves

Shrink sleeves have been widely used because they offer full-can coverage, high image resolution, and compatibility across many can sizes and processing conditions. Printed cans appeal by comparison because they eliminate a secondary packaging layer and simplify the overall system.

Aesthetics

  • Printed cans deliver that clean, integrated look with optional metallic effects and built-up ink directly on the can.
  • Shrink sleeves also give you that full 360-degree coverage with very high image resolution and photographic detail.

Shrink sleeves often win on photorealism and high-resolution detail. Printed cans tend to support simpler, bolder, or more minimal looks (don’t worry, we can help you pick which one works if detail and resolution is a factor).

Application

  • Printed cans remove the need for sleeve applicators, heat tunnels, and distortion mapping.
  • Shrink sleeves require specialized equipment and careful setup to avoid common issues like seam distortion, wrinkling, or other problems that can increase production scrap.

Cost

  • Printed cans consolidate printing and decoration into the can itself.
  • Shrink sleeve costs lie in the materials (sleeve film and inks), specialized equipment (heat tunnels), changeovers, and potential waste.

Performance

  • Printed cans perform reliably in refrigerated and wet environments.
  • Shrink sleeves need to be kept in cooler temperature prior to application and in transit or shrink on the roll. 

Though many material reclamation facilities (MRFs) accept cans with shrink sleeves, some regions may not recycle shrink sleeved cans or many add a surcharge if sleeves aren’t removed.

Printed Cans vs. Traditional Offset Printed Cans

Traditional offset printed cans have long been the standard for large beverage brands because they deliver high print quality and low per-can costs at scale. That efficiency depends on long print runs, designs that don’t change, and plate-based schedules that can slow production down when plans change.

Digitally printed cans are often considered when brands want to move faster, support more SKUs, or adapt designs without waiting on plate-based timelines.

Aesthetics

  • Printed cans make it easier to support seasonal designs, multiple SKUs, variety packs, or frequent artwork updates. Digital cans are printed with four-color inks (CMYK), so they can achieve a full range of colors. 
  • Offset printed cans deliver excellent consistency, but even small changes require new plates and setup. For the most part, offset printed cans are limited to six spot colors.

Application

  • Printed cans typically offer shorter and more predictable lead times, especially for small to mid-sized runs. Printed cans can be produced in as quick as 10 days from artwork approval.
  • Offset printed cans require longer lead times due to plate creation, press setup, and scheduling windows. Offset printed cans often take weeks to months to produce from artwork approval, so proper planning is necessary.

Cost

  • Printed cans have higher per-unit costs at very large volumes, but reduce risk when demand or artwork changes. The ability to produce on-demand helps avoid the inventory holding costs and waste associated with overproduction.
  • Offset printed cans deliver the lowest per-unit cost at scale, but are most efficient when volumes and designs remain stable. Large minimum order quantities (often 150,000 cans or more) make this method less suitable for smaller brands or seasonal products.

Performance

  • Printed cans and offset printed cans are generally comparable in durability and performance across common beverage environments.

Are Printed Cans the Right Choice for Your Beverage Brand?

Luckily, your brand doesn’t have to switch to printed cans all at once. You can start with a test run, compare real costs and timelines against your current process, and see how the cans perform with your product and your customers.

If you’re trying to decide whether printed cans fit your operation, we can help you run the numbers on your specific volumes, SKU count, and production setup.

Can Clear Labels Be Used on Glass Bottles?

Clear labels can absolutely work on glass bottles as long as you’ve got the right materials and process in place. Not all combinations work the same, and issues usually come from skipping key steps (don’t worry, we’ll walk through them below).

Here’s what it takes to get a clean “no-label look” that performs beautifully and consistently on glass packaging. We’ll cover the materials, design choices, and real-world considerations that make clear labels work on glass bottles.

Clear Label

Making Clear Labels Stick (and Stay)

Match Material and Adhesive to Your Bottle

Glass is rigid and smooth. Film materials like BOPP, PET, or vinyl,hold up better when your bottles face moisture, scuffing, or changes in temperature. We often suggest BOPP or PET films paired with protective lamination for durability and polish.

Equally important is the adhesive. For glass, you’ll want a clear permanent adhesive that can handle temperature shifts and moisture without fogging or lifting around the edges. For recyclable bottles, a wash-off adhesive helps labels cleanly separate during recycling.

Consider Shape, Finish, and Surface Texture

The shape and surface of your glass container play a big role in how your label will look and perform. Here are a few things to consider:

  • Shape: Curved or tapered bottles can make it harder for labels to lay flat or align correctly. Choosing a flexible film, like MDO, helps labels conform smoothly to those curves.
  • Surface texture: Uneven or textured glass can cause tiny bubbles or wrinkles during application. A smooth, consistent surface gives the adhesive the best chance to bond cleanly.
  • Glass Finish: High-gloss glass surfaces can make small label imperfections, like bubbles or wrinkles, more noticeable because of how light reflects off the surface. Frosted or matte glass containers, on the other hand, help mask these minor flaws and create a softer, more forgiving appearance. The surface finish of your container can influence how visible label edges appear.

Clear Label on Glass Bottle

Designing Labels for Transparency

Creating a clear label design takes some planning, especially when you want your product to maintain its legibility. Here’s what to think about when designing for transparency:

  • Use a white layer strategically: This is a layer of white ink printed beneath parts of your design so colors stay bold and readable on clear material. Think of it as a background layer that makes your text, graphics, or barcodes visible instead of blending into the bottle. Without it, colors can appear washed out or disappear against the product.
  • Test transparency levels: You don’t need to apply a white layer everywhere. Adjust opacity levels in select areas to control how much of the bottle or liquid shows through.
  • Balance design and legibility: Keep brand colors and small text over printed white, but let less critical elements remain transparent for depth and visual appeal.

Prepare for Real-World Handling

Most products encounter conditions like cold storage, condensation, shipping, and frequent handling. Labels must survive all of that without peeling, bubbling, or fading. In our experience working with beverage, food, and personal care brands, film labels with strong adhesives hold up well through cold storage, transit, and shelf scuffs.

If recyclability is a priority, ask about adhesives that more easily come off with hot water. These let labels cleanly separate from glass during recycling.

Finishing Options for Clear Labels

When planning finishes, start with the most common and impactful design decisions first, matte versus gloss, before layering on embellishments like foil for extra texture and shine.

You can explore more of these finishing techniques here.

Stay Compliant and Scannable

If your product falls under FDA or EU labeling rules, you need to make sure all the required info is easy to read and in the right place, even with transparent materials. If you’re not sure, it’s best to check with your regulatory team or compliance partner.

Quick Checklist: Clear Labels on Glass Bottles

No two bottles or labels are exactly the same, but this checklist covers the big things you don’t want to miss.

  • Pick a clear film and pair it with a laminate (matte, gloss, soft touch) .
  • Evaluate your bottle shape and surface to pair the right materials and adhesives.
  • Add a white layer and test label proofs on actual bottles and contents.
  • Prep for real-world exposure by choosing moisture and abrasion-resistant materials.
  • Use embellishments like  foil to elevate design.
  • Double-check regulatory readability and ingredient placement.

We’ve been helping brands bring clear labels to life across products and packaging types. Need to see it for yourself? Contact us and we’ll show you what works.