Pick Your Protection: The Different Types of Label Lamination
A good label allows your products to make a great first introduction to potential customers. However, scuffs, scratches, and other forms of damage can mangle your message without protection.
Label lamination allows you to add a protective film to the surface of your label. Once your label is printed, lamination serves as a second skin of sorts that shields your design from scratches and provides some waterproofing for your base material. However, these laminates can offer additional benefits depending on which type of lamination you use.
Breaking Down Each Type of Label Lamination
While laminates in general offer protective capabilities, certain types of lamination can add decorative effects to your label. This variety allows you to pick and choose different label laminates depending on your desired aesthetic. Other laminates can also change the feel of your label or provide certain capabilities not offered by other protection. In general, laminates are broken down into five types.
- Gloss
- Matte
- Soft touch
- Thermal transfer
Gloss
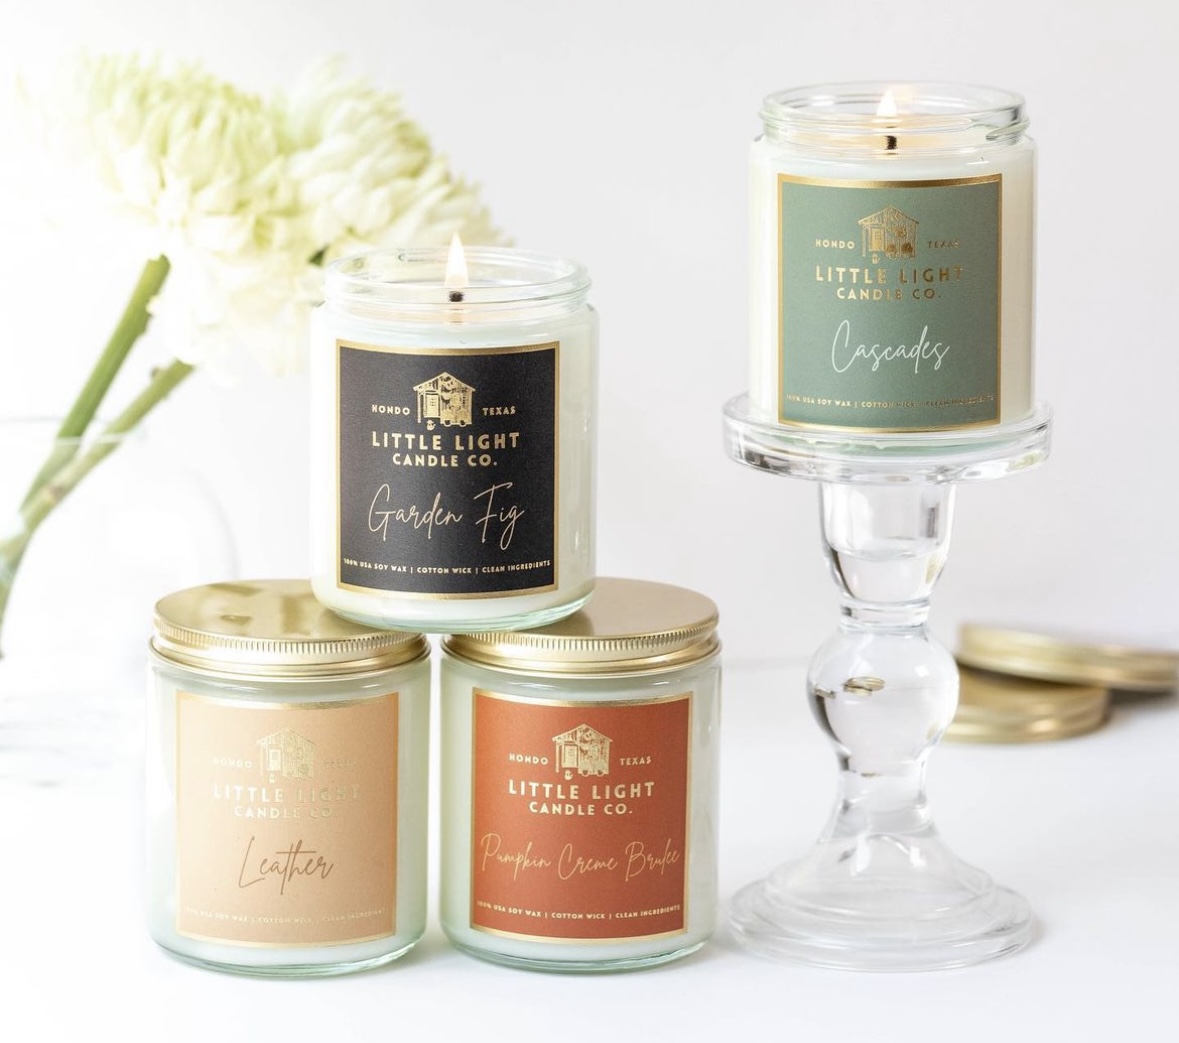
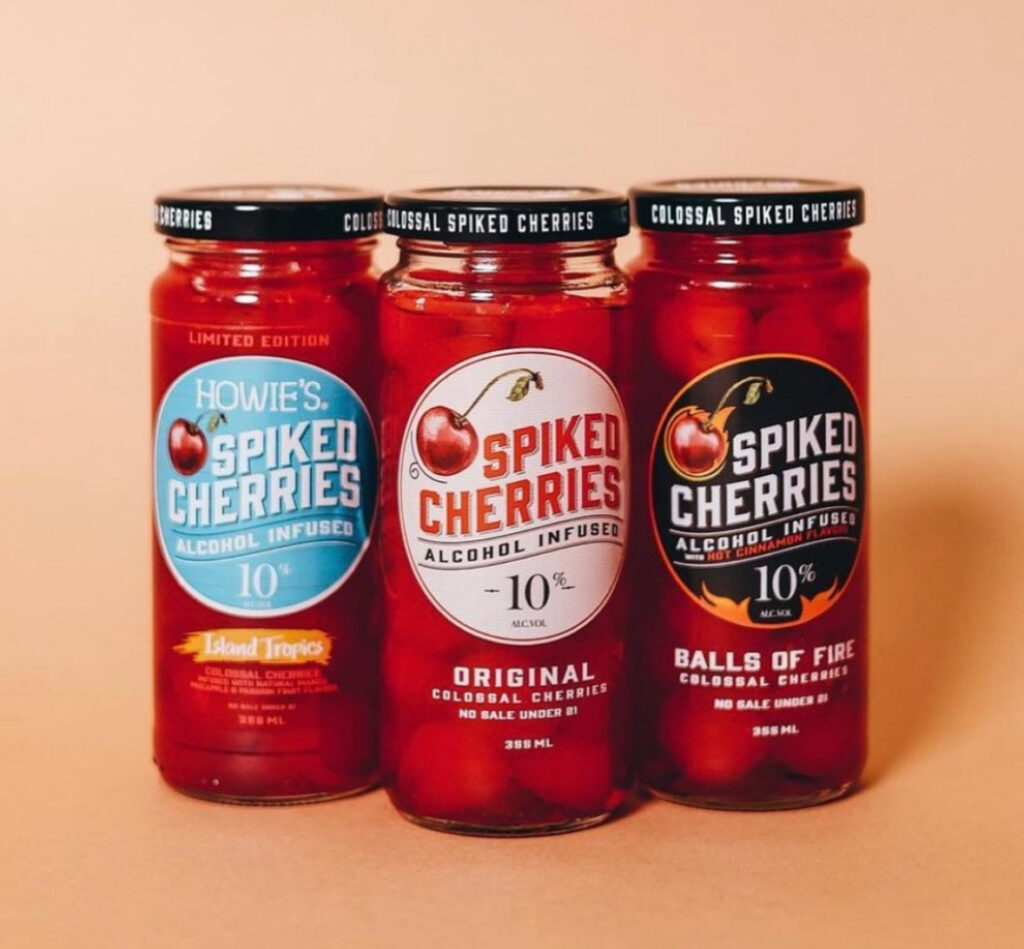
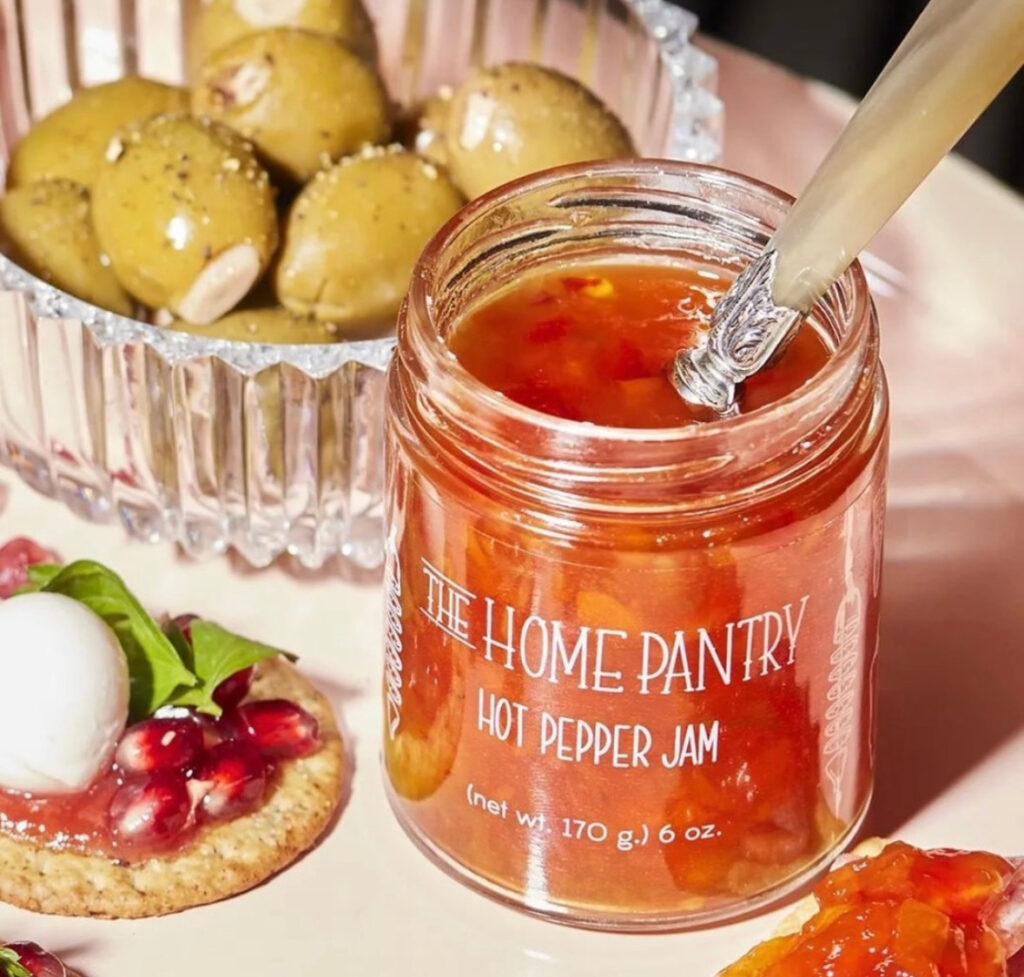
If you want your labels to shine, you’re going to like gloss laminates. These laminates reflect light off your label to add a smooth, glossy look that makes your design pop for passing customers.
Matte
If shiny isn’t your thing, a matte laminate creates a more subtle appearance for your labels. A matte finish dulls down your label surface so that it doesn’t shine much at all – but this means your label will be far from dull. These laminates can create a soft, subtle look that allows certain elements and colors appear deeper and brighter in contrast to the matte finish.
Soft touch
While matte finishes can make your labels look soft to the touch, other laminates can create a velvet-like, matte finish. Soft touch laminates add a tactile quality to your labels that consumers can feel. Research shows that the feel of a product can help sway buyers, which means that soft touch laminates can be a difference maker if you want that velvety aesthetic.
Thermal transfer
Unlike other types of laminates, thermal transfer finishes are chosen more for what you plan to print on your labels in the future. These laminates allow you to use thermal printers to print on top of your labels whereas other lamination may prevent the ink from sticking. For example, a deli with a branded label may want to print the weight and price for each order on its labels. Thermal transfer laminates allow these types of businesses to do so, all while adding a gloss, matte, or some other type of look to their labels.
Benefits of Laminated Labels
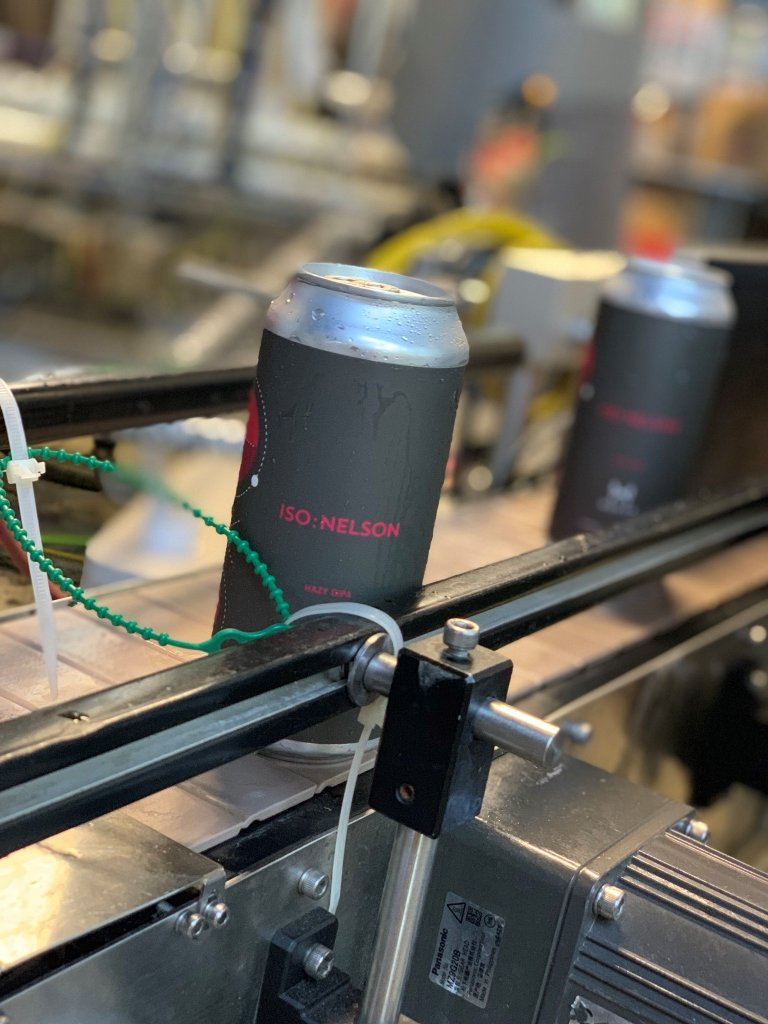
Durability
A key benefit of choosing laminated labels is that they improve the durability of your product labels. Lamination protects the label so it remains legible and intact over time. While regular labels can tear or fade with long-term use, laminated labels offer an extra level of protection.
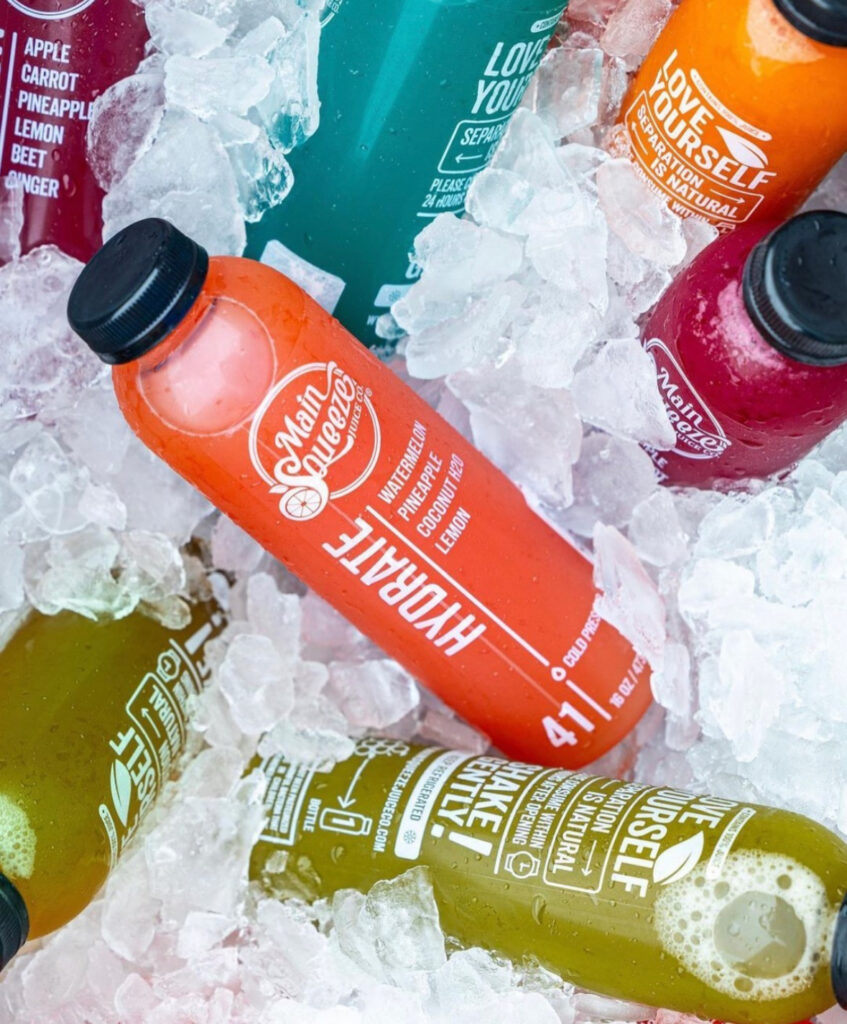
Moisture Resistance
The lamination on labels can resist exposure to water and chemicals, making them well-suited to products in humid or wet environments. For example, shampoo or lotion bottles that are kept in the bathroom.
UV Resistance
Applying a laminate over your labels can keep them from fading due to sunlight. Since sunlight has UV rays that lead to discoloration, laminated labels are great for outdoor use.
Chemical Resistance
Laminating your labels can protect them from exposure to cleaning agents, harsh chemicals, and oils. These substances are commonly associated with breaking down labels.
Materials That Laminated Labels Are Compatible With
Laminated labels are highly versatile, making them compatible with a wide range of materials. They adhere well to the following materials:
- Paper: It’s a standard label material used for indoor applications. Laminating paper labels improves their durability and makes them resistant to moisture, tearing, and smudges.
- Vinyl: It’s a common material used for making durable, moisture-resistant, and flexible labels. Laminates adhere well to vinyl labels, especially in outdoor applications.
- PET and Polypropylene: These are commonly-used plastic label materials that are used for their durability and moisture-resistance abilities. Laminates pair well with PET and increase the lifespan of polypropylene.
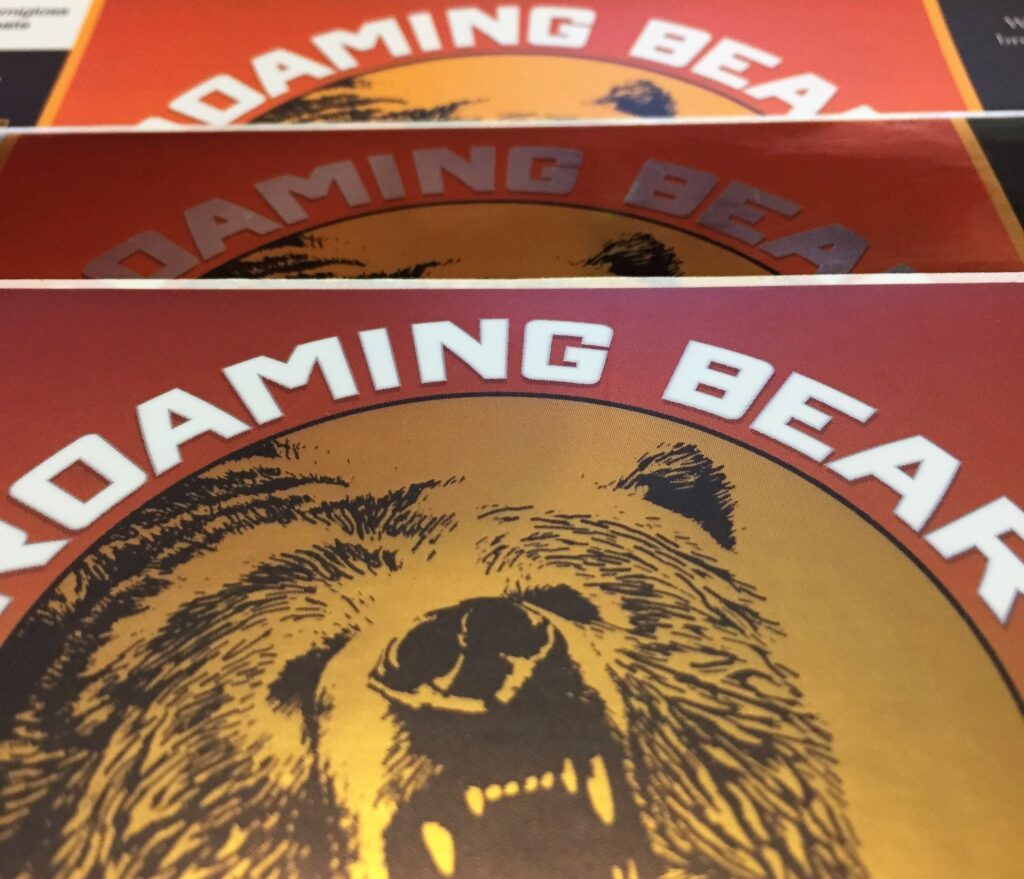
- Metal: Laminates adhere well to foils and other metallic materials for a premium, shiny look. They preserve the material’s metallic sheen while improving protection.
Though laminated labels are versatile, the label’s surface texture can affect how well a laminate adheres to it. Laminates adhere well to smooth surfaces, while textured materials may need special adhesives.
To know more about whether your labels are compatible with lamination, get in touch with our labeling experts.
Combining Lamination With Other Customization
You don’t have to limit yourself to laminating your product labels. You can combine it with other customization techniques for a layered and distinct appearance. Here are a few examples:
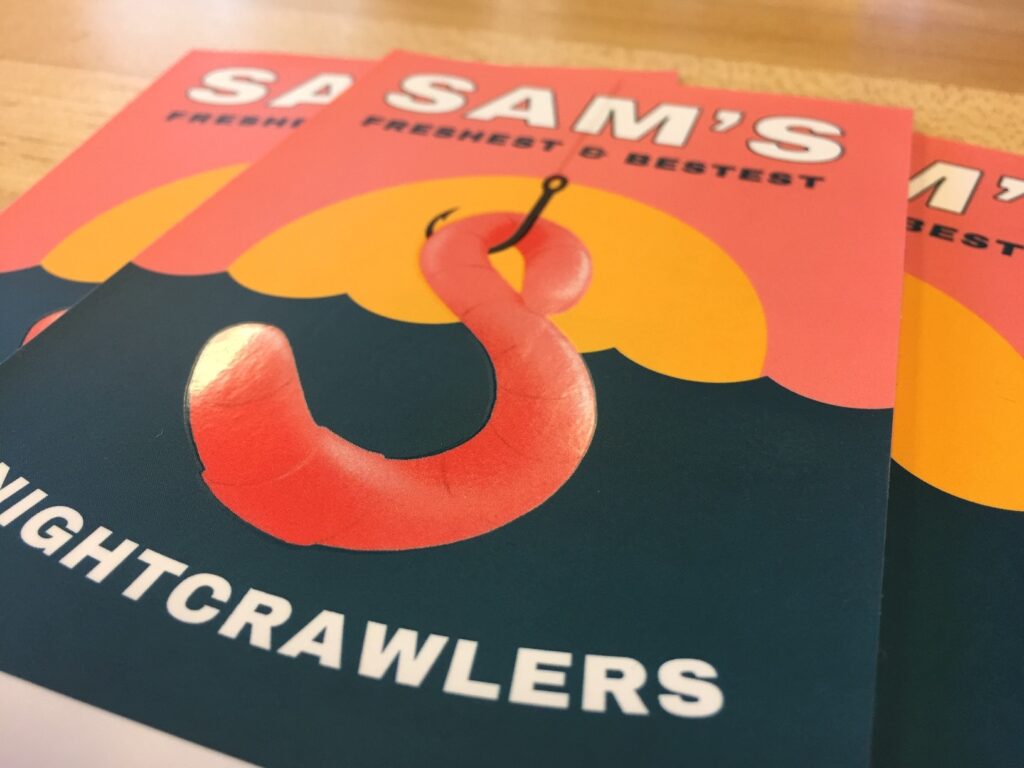
- Foil stamping applies a thin layer of metallic foil to specific areas of the label. Lamination can protect the label while contrasting with the foil’s metallic shine.
- Spot UV finish adds a thick coating to specific areas of the label to create a tactile contrast with the surrounding surface. It provides an engaging user experience that makes a positive impression on customers.
- Embossing (raising parts of the label) and debossing (pressing parts of the label) also give your label a 3D effect. Adding a laminate helps protect the surface without compromising the tactile effect.
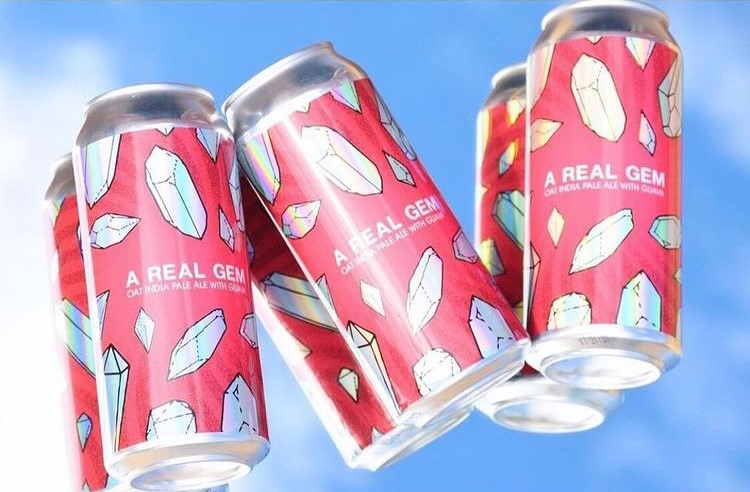
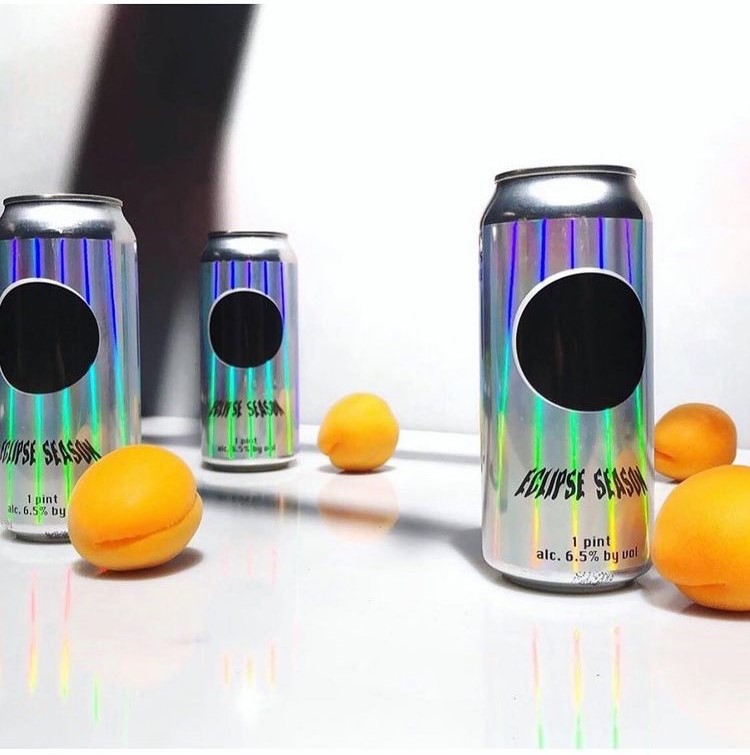
Other than these, you can also combine it with die-cutting, holographic effects, and textured finishes.
Invest in the Right Protective Film for Your Labels
Product labels come in so many different styles. No matter which aesthetic you prefer, it’s important to protect your label design from harm. To do so, you’ll need to figure out which form of protective film is best for your needs, whether it’s a laminate or some other option.
Label laminates typically adhere to film material better than paper, while varnishes conform to the nooks and crannies that can be found in paper materials. You can also add a varnish on top of a label laminate to really make certain design elements pop. There are so many possibilities to amp up your design and protect your label that it can be a bit overwhelming without some guidance.
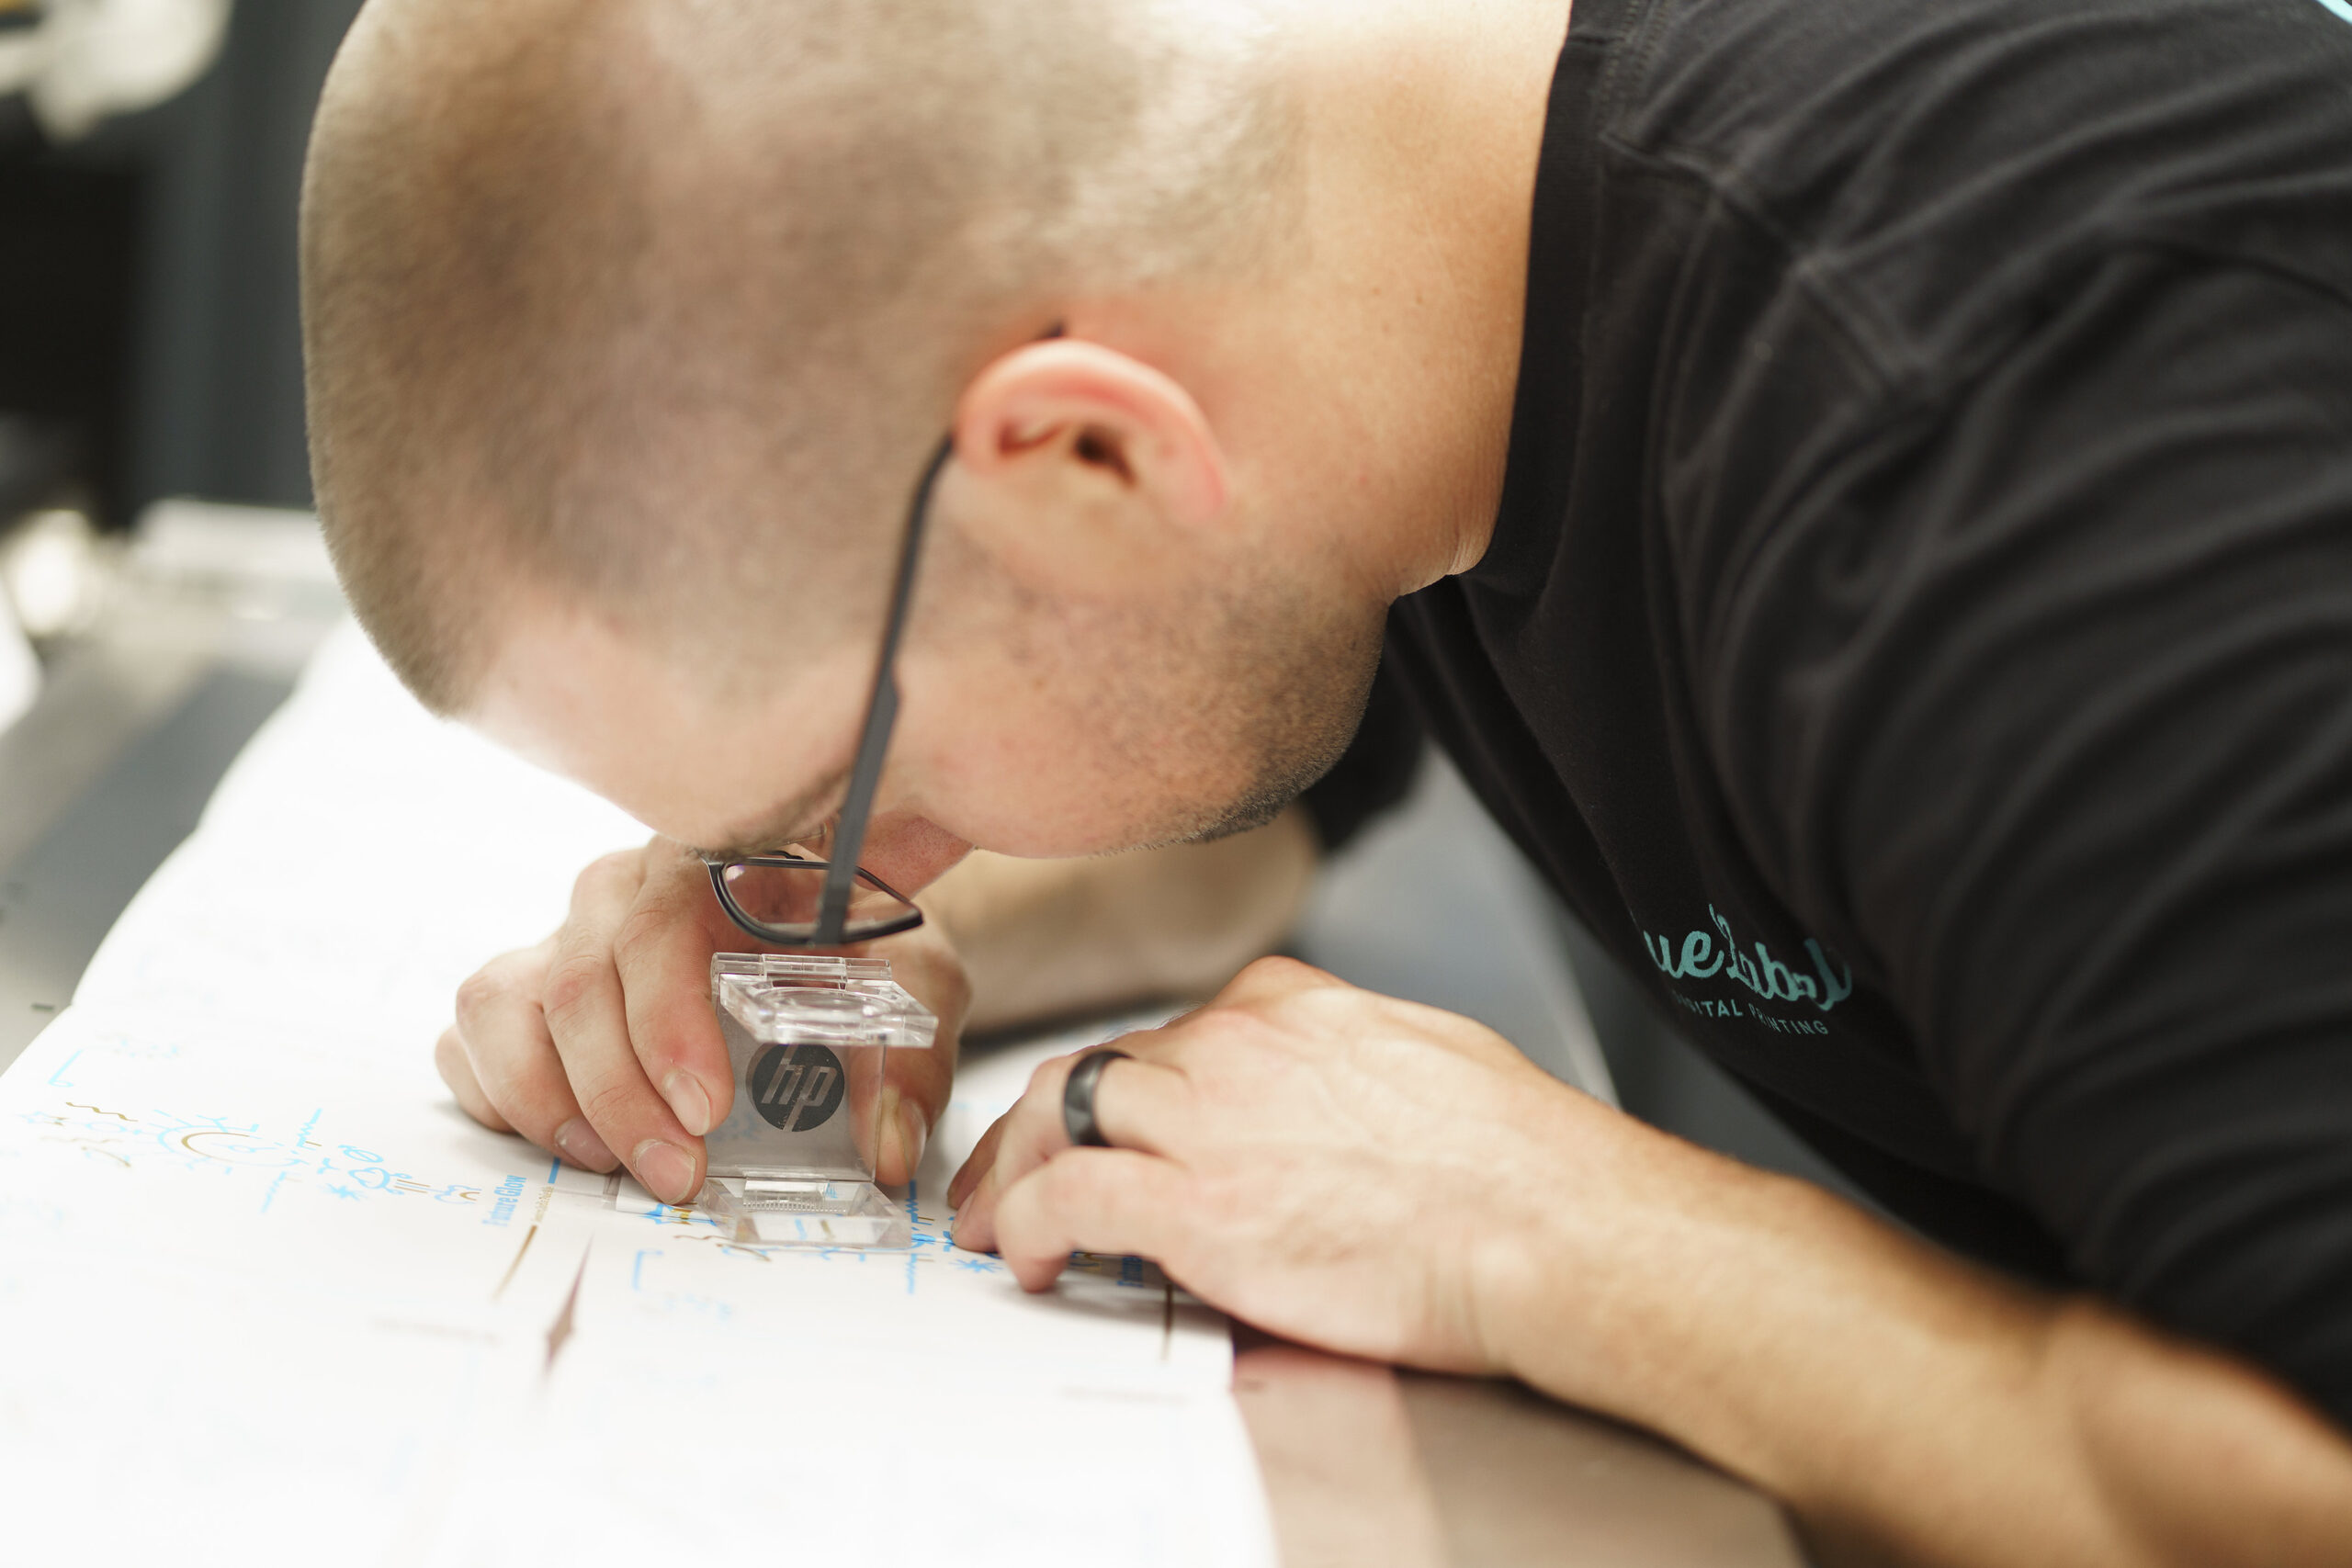
Fortunately, a good lamination packaging company can help you weigh your options. At Blue Label, we work with you to identify the right details for your design, including label material selection and protection. Contact us today to invest in the right labels for your business.