What Is Biaxially Oriented Polypropylene (BOPP) and Why Is It Good For Product Labels?
⚞ The Highlights:
- BOPP stands for biaxially oriented polypropylene. A plastic film that’s been stretched in two directions during manufacturing, which makes it stronger, clearer, and more dimensionally stable than standard polypropylene.
- BOPP is the workhorse of label films. It’s water-resistant, oil-resistant, UV-stable, and acid-resistant, and it works on glass, plastic, and metal containers.
- Available in white, clear, silver/holographic, and squeezable formats. Mid-priced. More durable than paper, less expensive than PET.
- Common uses: beverages, food, beauty and cosmetics, household products, anything that lives in moisture or humidity.
Choosing a label material shapes how the product looks on day one and how it looks six months later. You need a material that catches the eye but also holds up to the bottle going in and out of a refrigerator, the bottle being squeezed, the bottle sitting in a humid bathroom for a year. BOPP is the material most brands settle on for this job. Below is what BOPP is, what makes it the default choice for most product labels, and where it fits compared to the alternatives.
BOPP vs. paper vs. PET vs. vinyl: how it compares
| Feature | BOPP | Paper | PET (Polyester) | Vinyl |
|---|---|---|---|---|
| Type | Plastic film | Paper-based | Plastic film | Plastic film |
| Water resistance | High | Low (even with wet-strength treatments) | Very high | Very high |
| UV / outdoor stability | Mid | Low | High | High |
| Cost | Mid | Low | Mid–High | Mid–High |
| Available finishes | White, clear, silver, holographic; gloss, matte, soft-touch | Semigloss, gloss, textured, kraft, estate | Clear, white, vinyl-style | Various heavy-duty finishes |
| Best for | Beverages, food, beauty, household. Anything in moisture | Indoor products, premium and craft positioning, budget runs | Outdoor, industrial, automotive, harsh environments | Heavy-duty, signage, long-life outdoor |
The short version: BOPP is the default for most product labels in moisture or humidity. Paper is cheaper for indoor-only products. PET and vinyl are heavier-duty for outdoor and industrial. For a deeper comparison across every material, see Pros and Cons of Different Types of Label Materials.
Understanding BOPP
BOPP stands for biaxially oriented polypropylene. It’s a plastic film made by stretching standard polypropylene in two directions during manufacturing. First lengthwise, then crosswise. That biaxial stretching is what gives BOPP its key properties: higher strength, better clarity, and more dimensional stability than untreated polypropylene.
You’ve passed by BOPP labels thousands of times without thinking about it. It’s the film on most of the bottles, jars, and containers you’d find in a grocery store, beverage cooler, or beauty aisle.
Why BOPP is the default film for product labels
BOPP is durable
BOPP is one of the most durable label film options on the market. It resists peeling, wrinkling, and lifting, which are common failure modes for paper labels. On jars, bottles, tubes, and rigid containers, BOPP holds up for the long haul.
BOPP resists moisture, oil, and UV
Because BOPP is plastic, it doesn’t absorb water. Spills and splashes don’t smear the printing or warp the label.
BOPP also handles oils, solvents, and acids well. That makes it the natural fit for household products that live in bathrooms and kitchens (shampoo, dish soap, surface cleaners) and for food products with low pH (tomatoes, coffee, citrus, hot sauce, condiments) that would degrade or discolor a paper label over time.
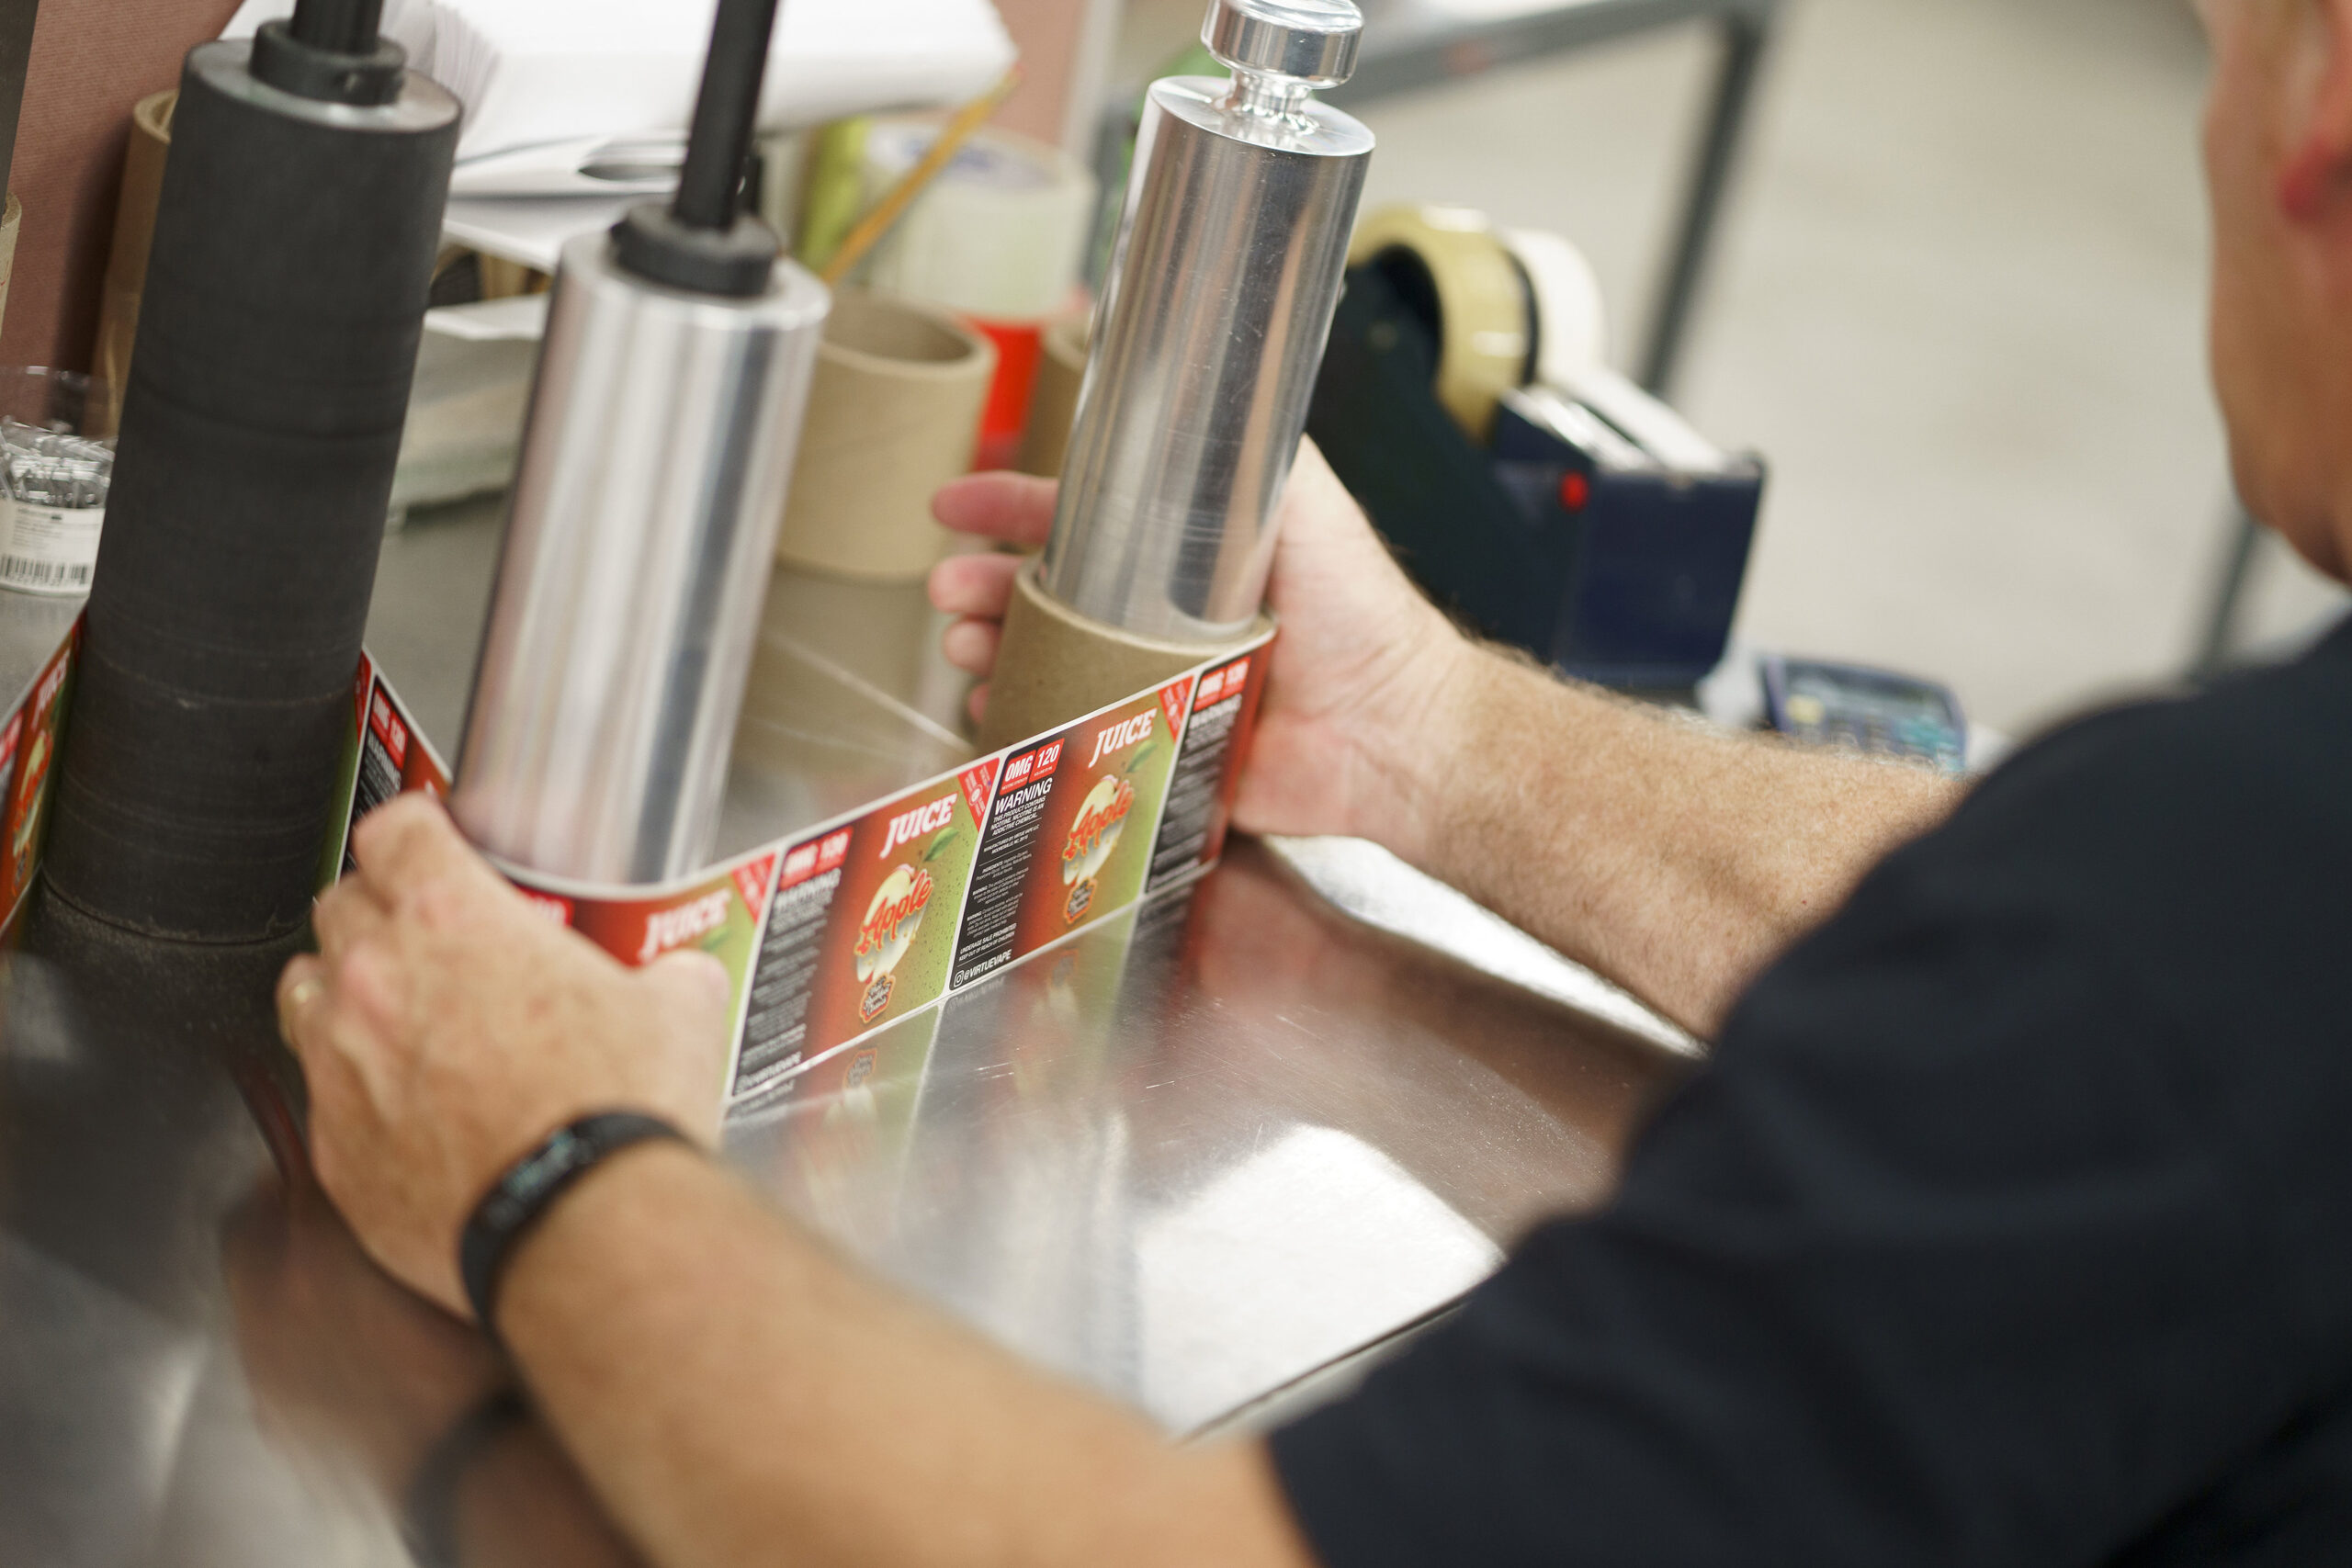
BOPP prints beautifully
BOPP film accepts both water-based and solvent-based inks, which gives you a wide range of color, finish, and effect options. Ink adheres well because the film goes through a surface-treatment step during manufacturing that improves printability. The result is sharp, vibrant prints that hold their color over the life of the product.
BOPP is flexible
BOPP is thin and flexible, which makes it easy to apply on rounded and flat surfaces alike. Because it’s so thin, the label can look as if the design was printed directly onto the container. A “second-skin” effect that’s especially clean on glass and clear plastic.
BOPP works on glass, plastic, and metal
BOPP is compatible with all the common consumer-goods substrates: metal cans, glass jars, plastic bottles, ceramic. The right pairing of BOPP film and adhesive lets you label across product lines without changing materials between SKUs.
BOPP is FDA-compliant for food packaging
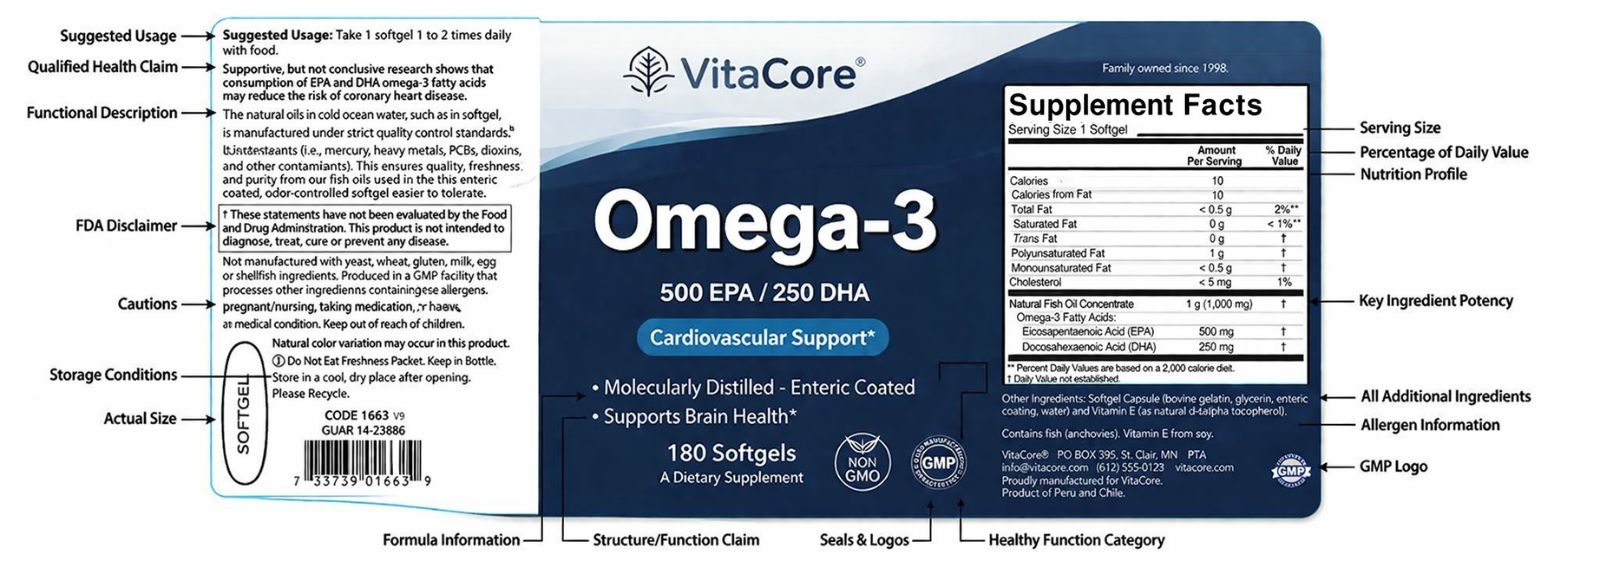
BOPP labels meet FDA food-contact compliance standards when they include the required information: a statement of identity, net quantity of contents, list of ingredients, and the name of the manufacturer, packer, or distributor. BOPP labels designed and manufactured by Blue Label Packaging meet these standards.
BOPP is cost-efficient
BOPP is more affordable than PET while offering similar durability and moisture resistance. Paper is cheaper per label, but in moisture-prone environments, paper labels often need to be replaced sooner. Which can cost more in the long run than choosing BOPP from the start.

BOPP label options
BOPP isn’t a single look. It comes in several variations.
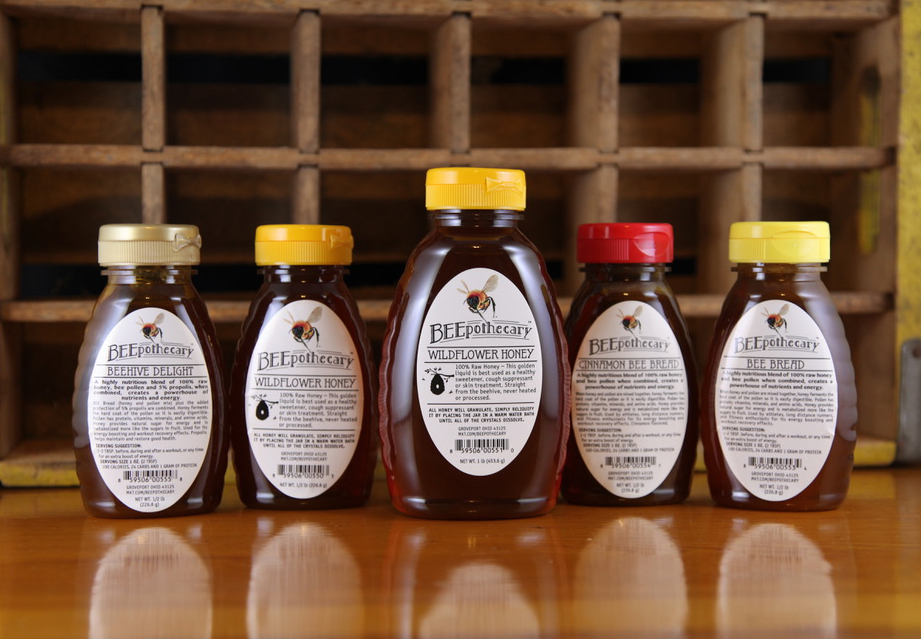
White BOPP
The most common BOPP option. Widely used in health and beauty, personal care, and cosmetic categories. White BOPP is also common on food products where bold branding needs a solid background.
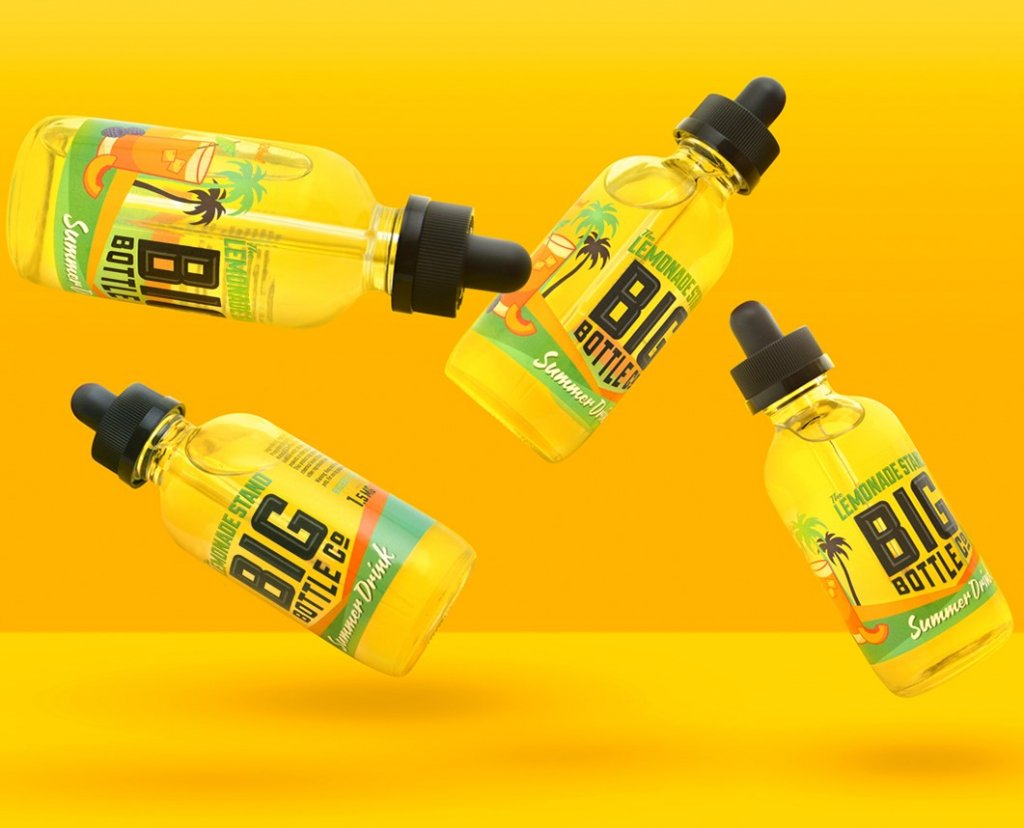
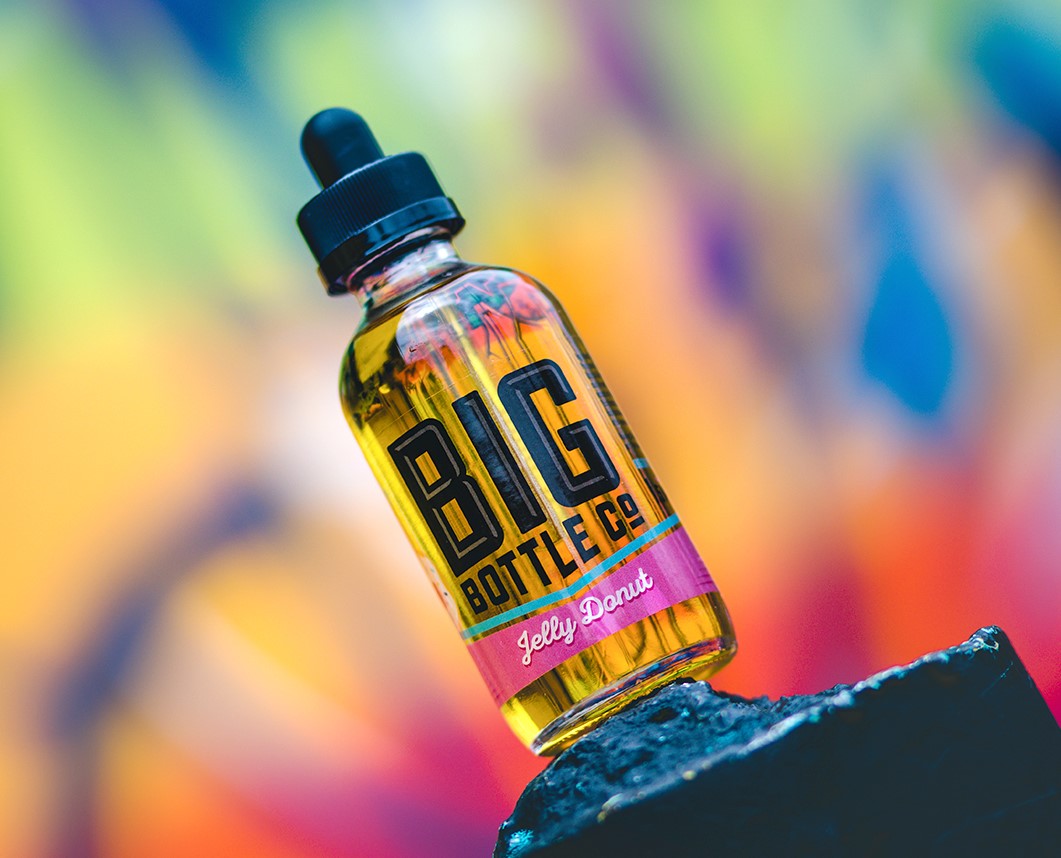
Clear BOPP
Transparent BOPP gives products a sleek, “no-label” look. The design appears to float on the container. Common on beverages, household products, specialty foods, and cosmetic products. Same moisture resistance as white BOPP, just with the substrate showing through.
Silver and metalized BOPP
For a more luxurious appearance, silver or holographic BOPP gives products a metallic or iridescent finish without the cost of hot foil stamping. Same durability and moisture resistance as standard BOPP.
Squeezable BOPP
Specialty BOPP designed for product containers that flex during use. Squeeze bottles for shampoo, condiments, lotions, and other products where the package contorts in the hand. Squeezable BOPP keeps adhesion and prints clean even with constant flex.
BOPP across industries
BOPP shows up across most consumer product categories. The patterns we see most often:
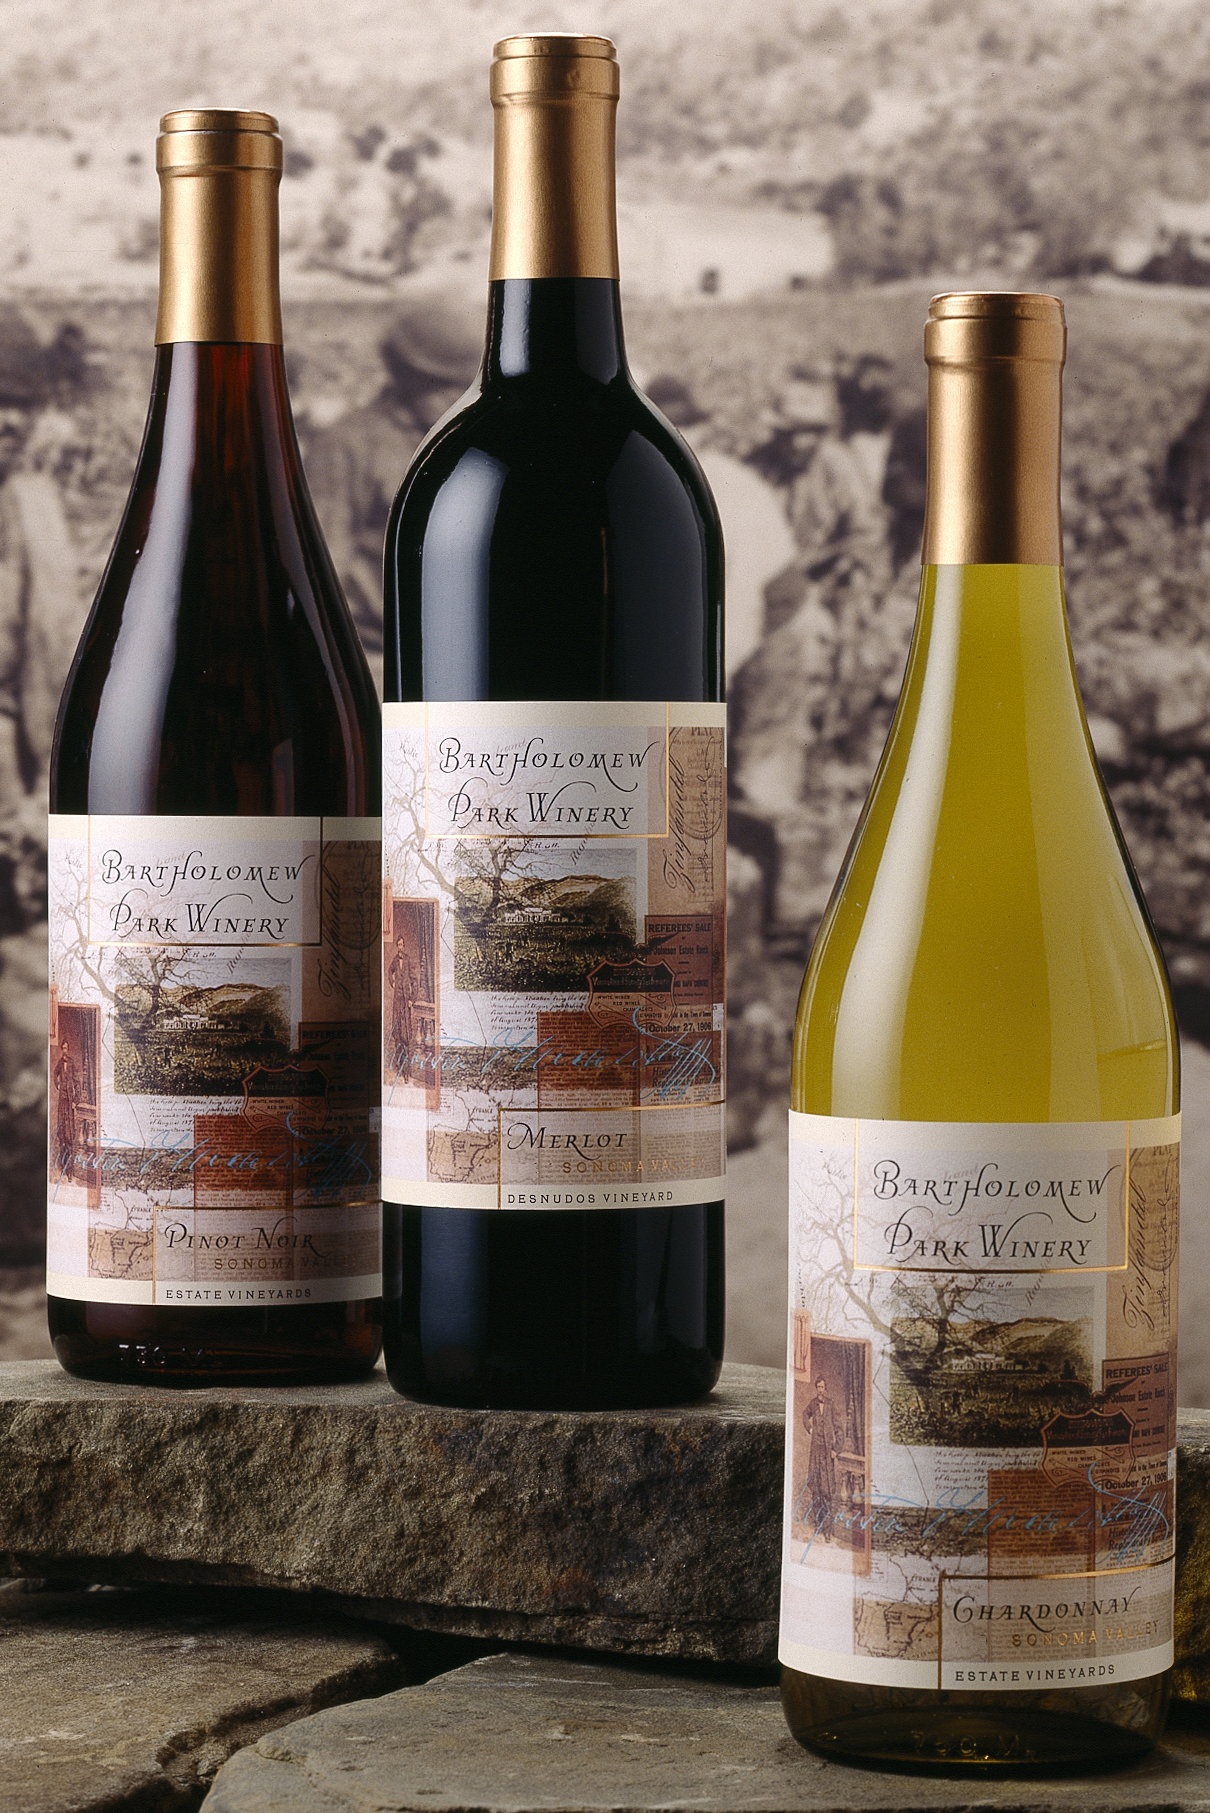
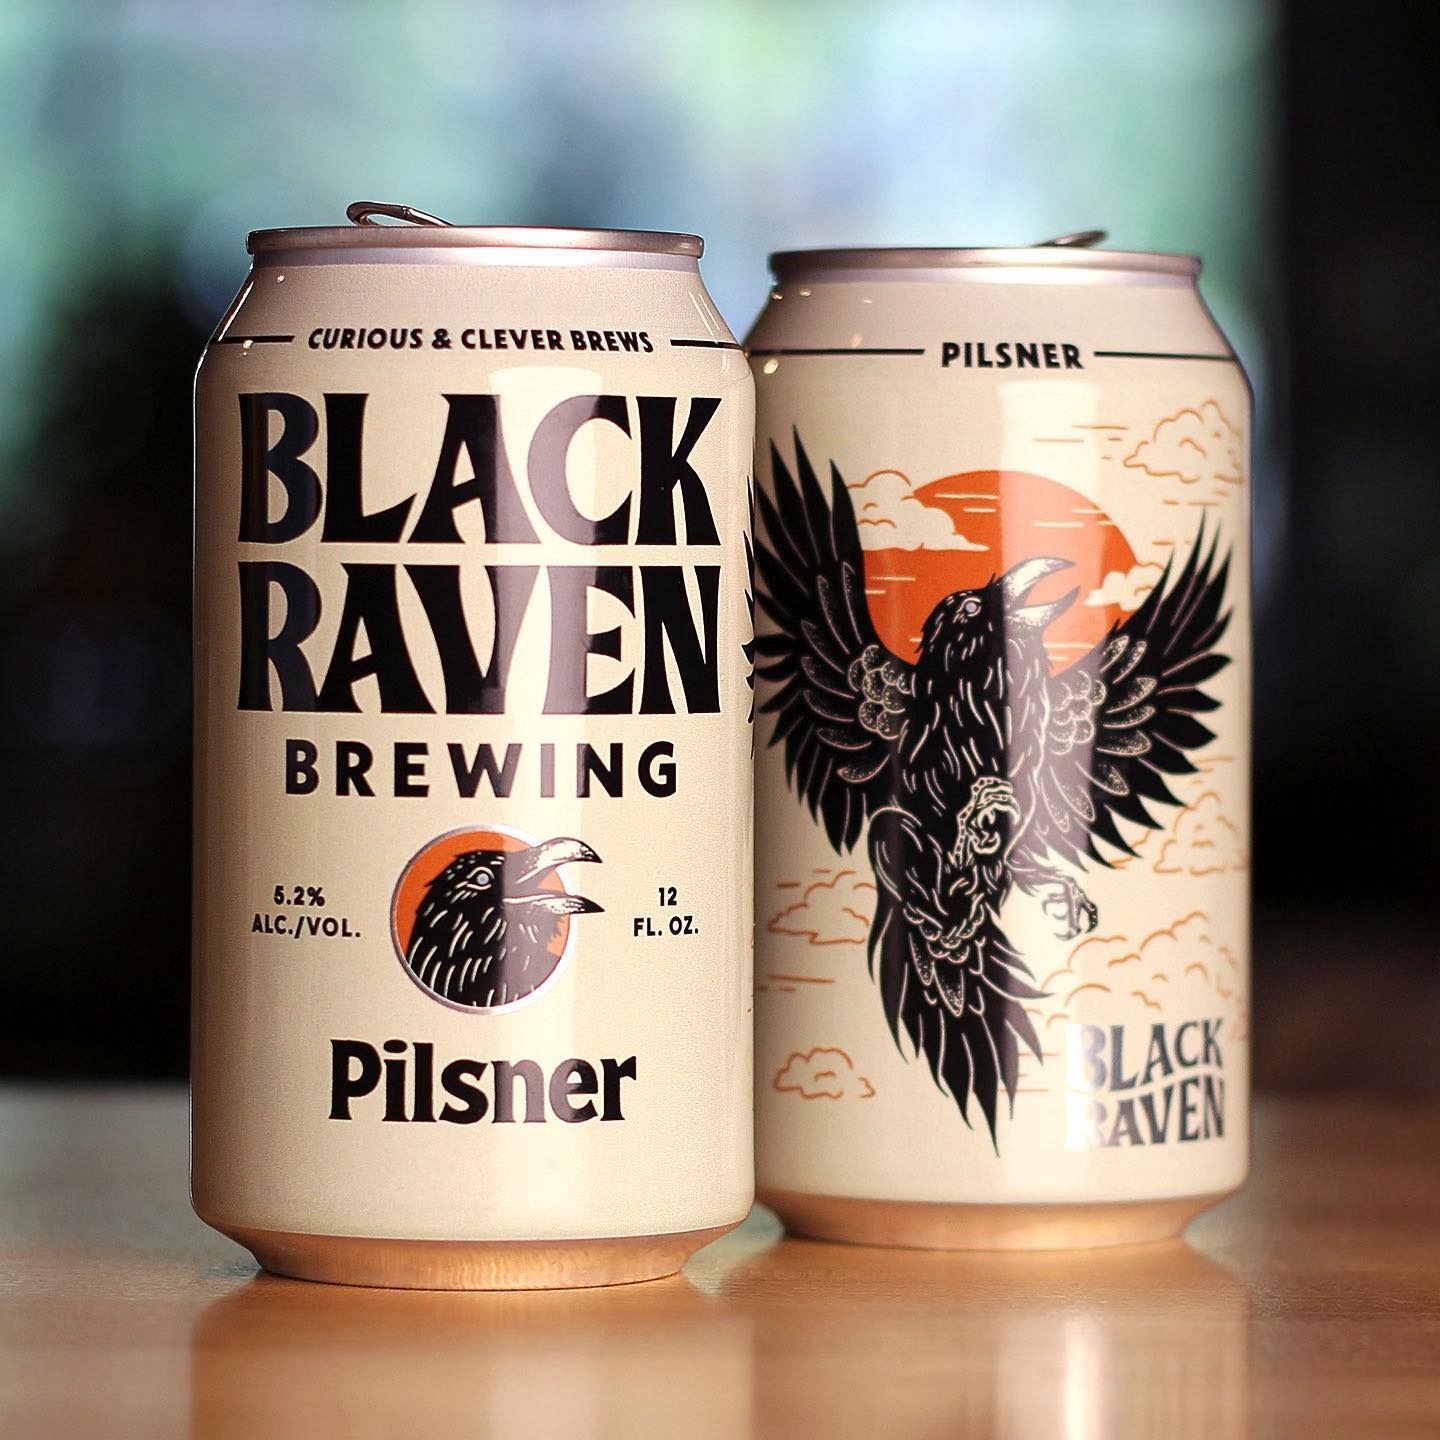
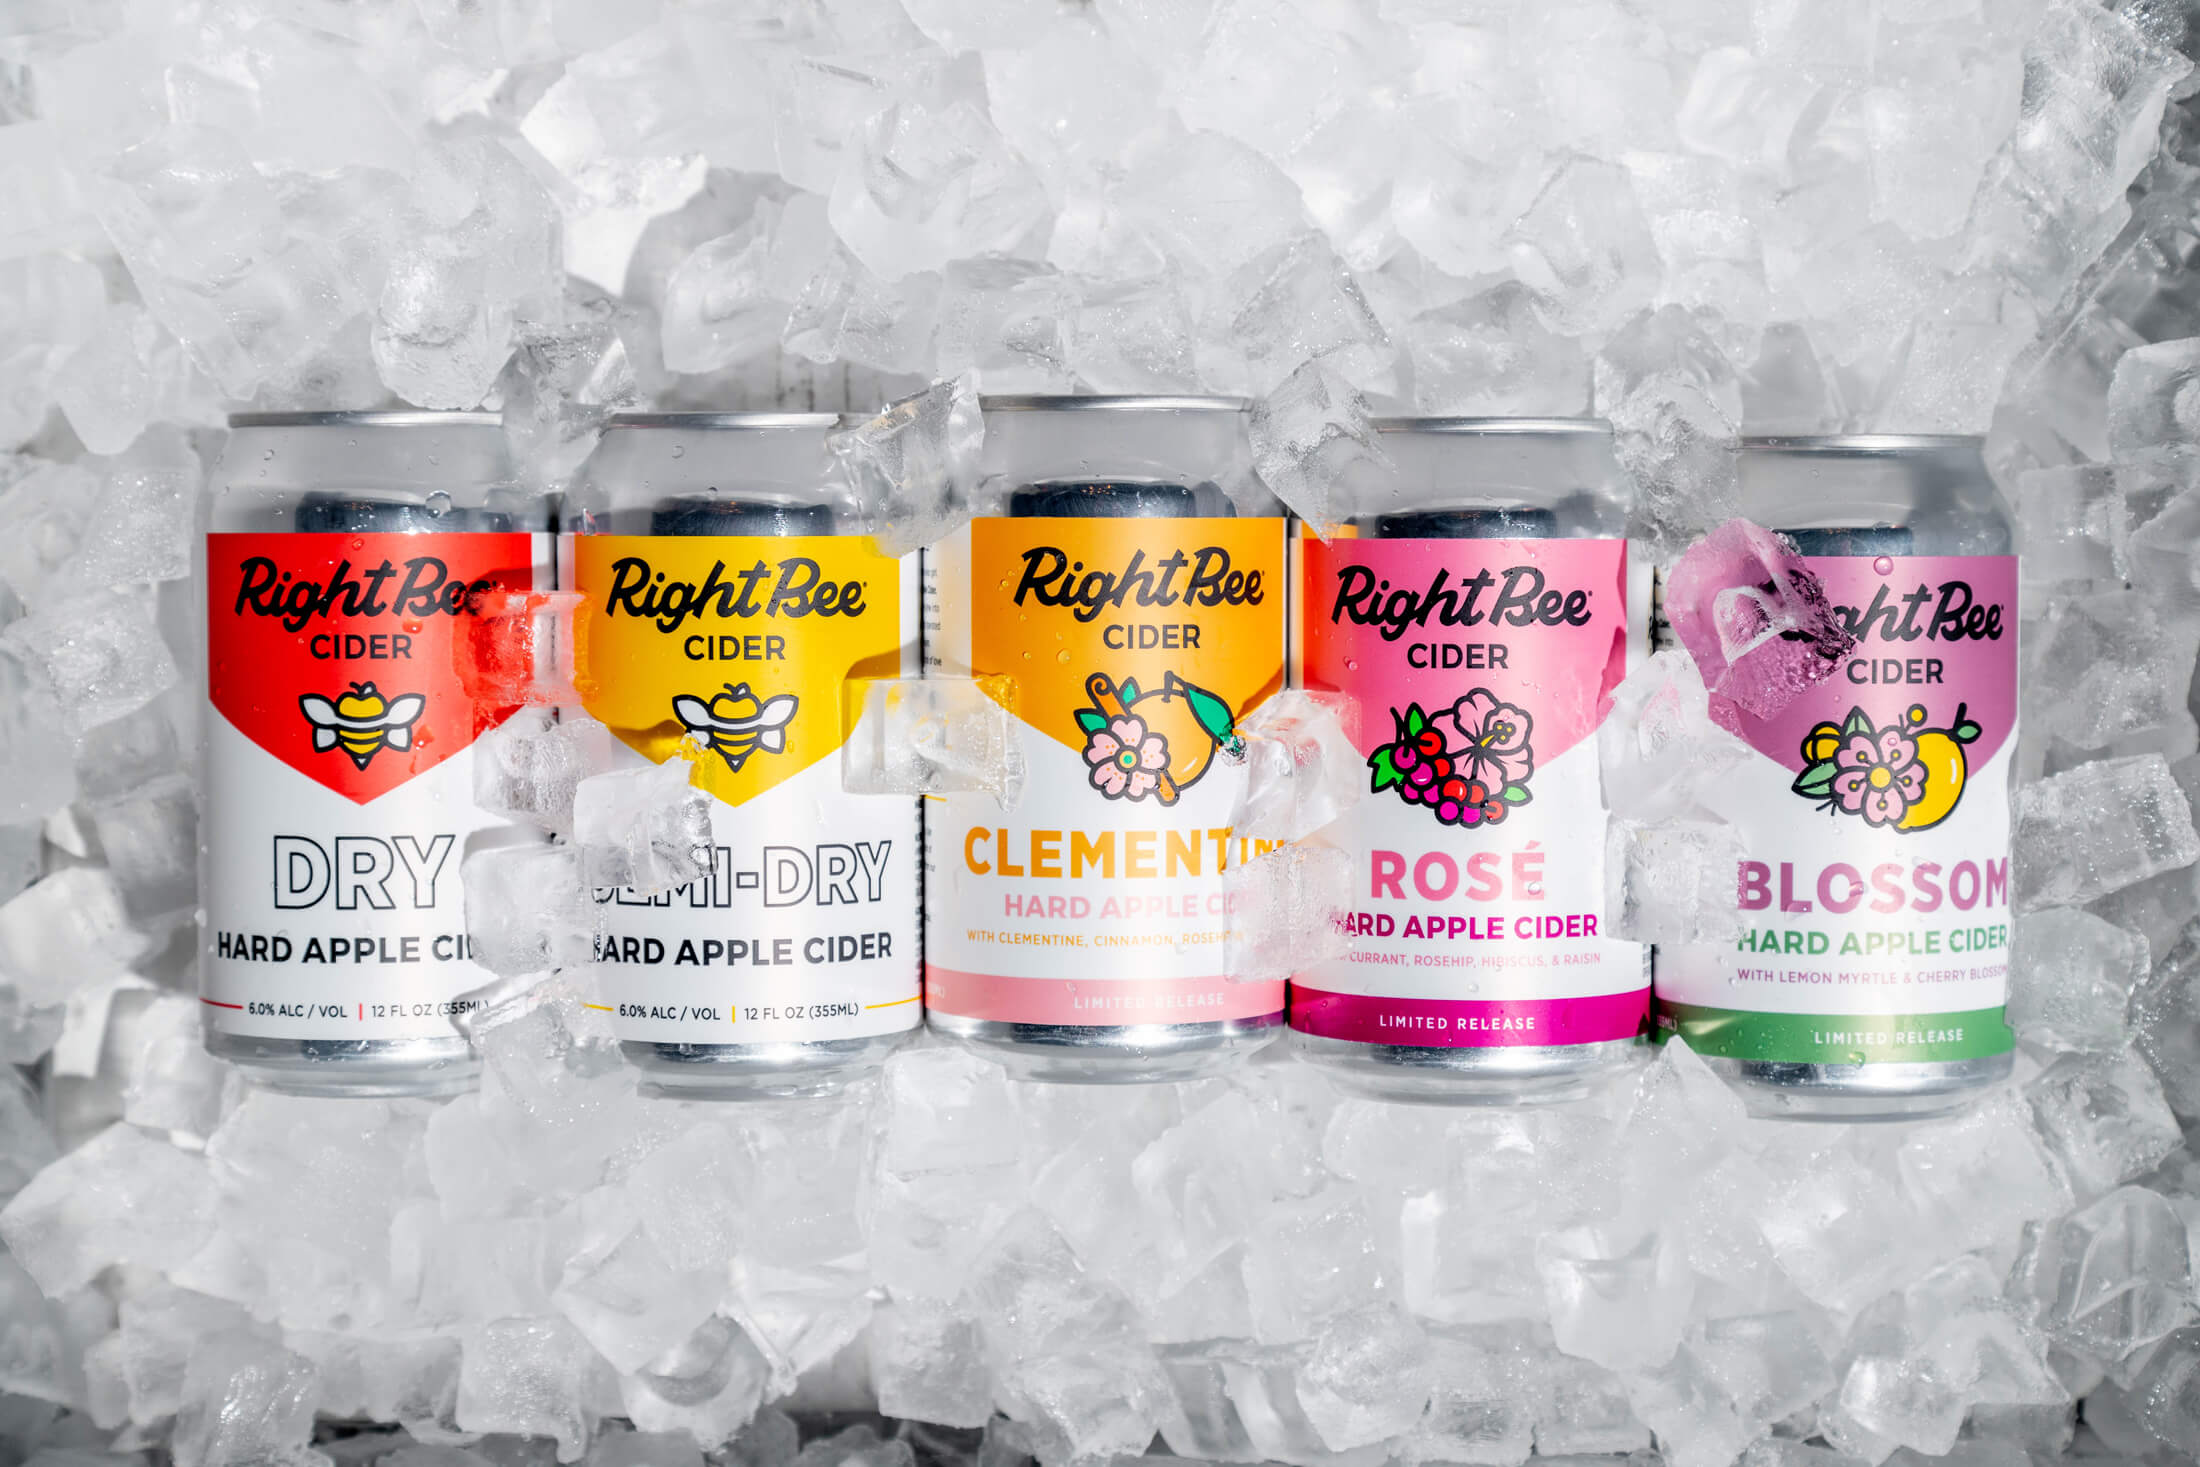
Food and beverage
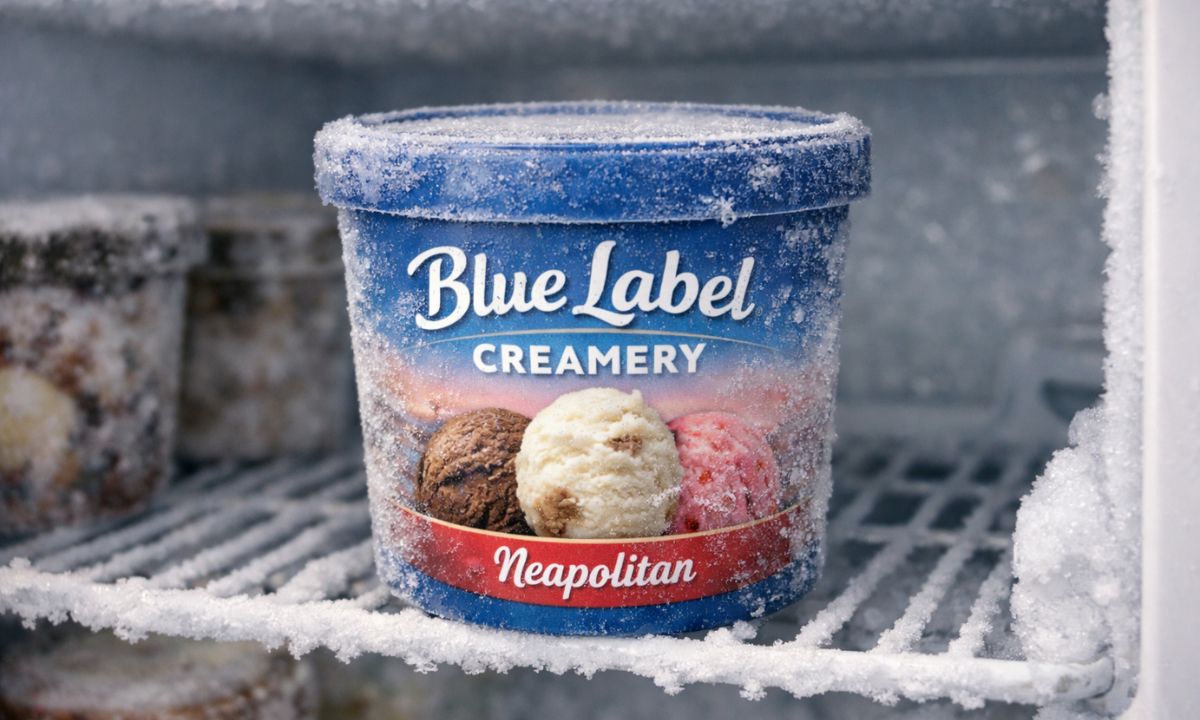
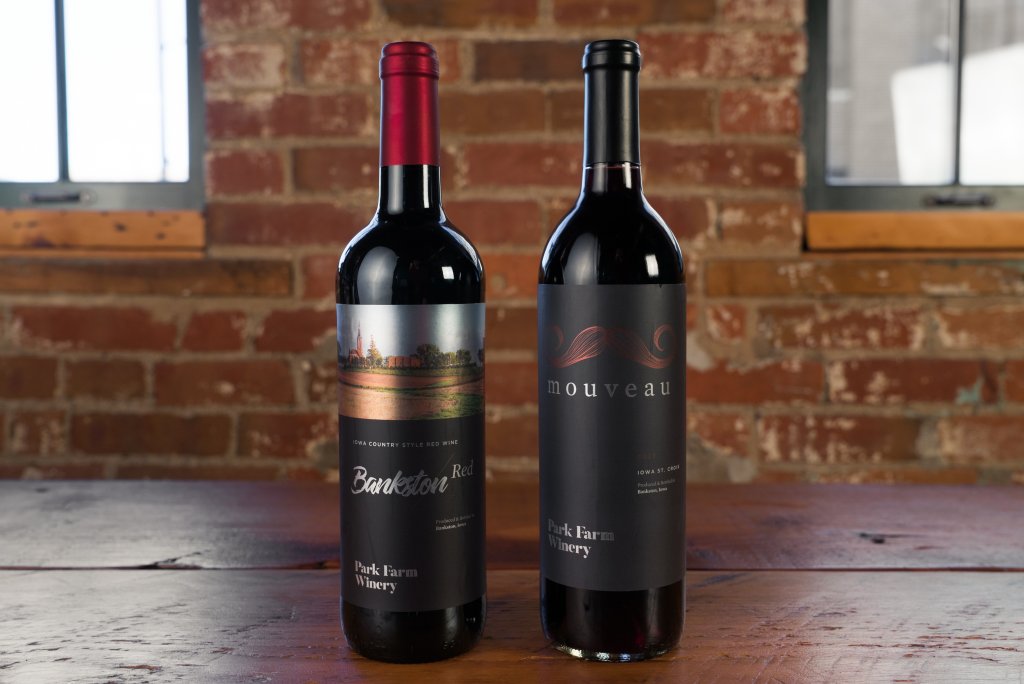
Beverages (beer, wine, spirits, kombucha, cold brew, juice, sparkling water), specialty foods, sauces, condiments, and packaged snacks. BOPP’s water resistance handles refrigeration and ice baths; acid resistance handles tomato, coffee, and citrus products that would discolor a paper label.
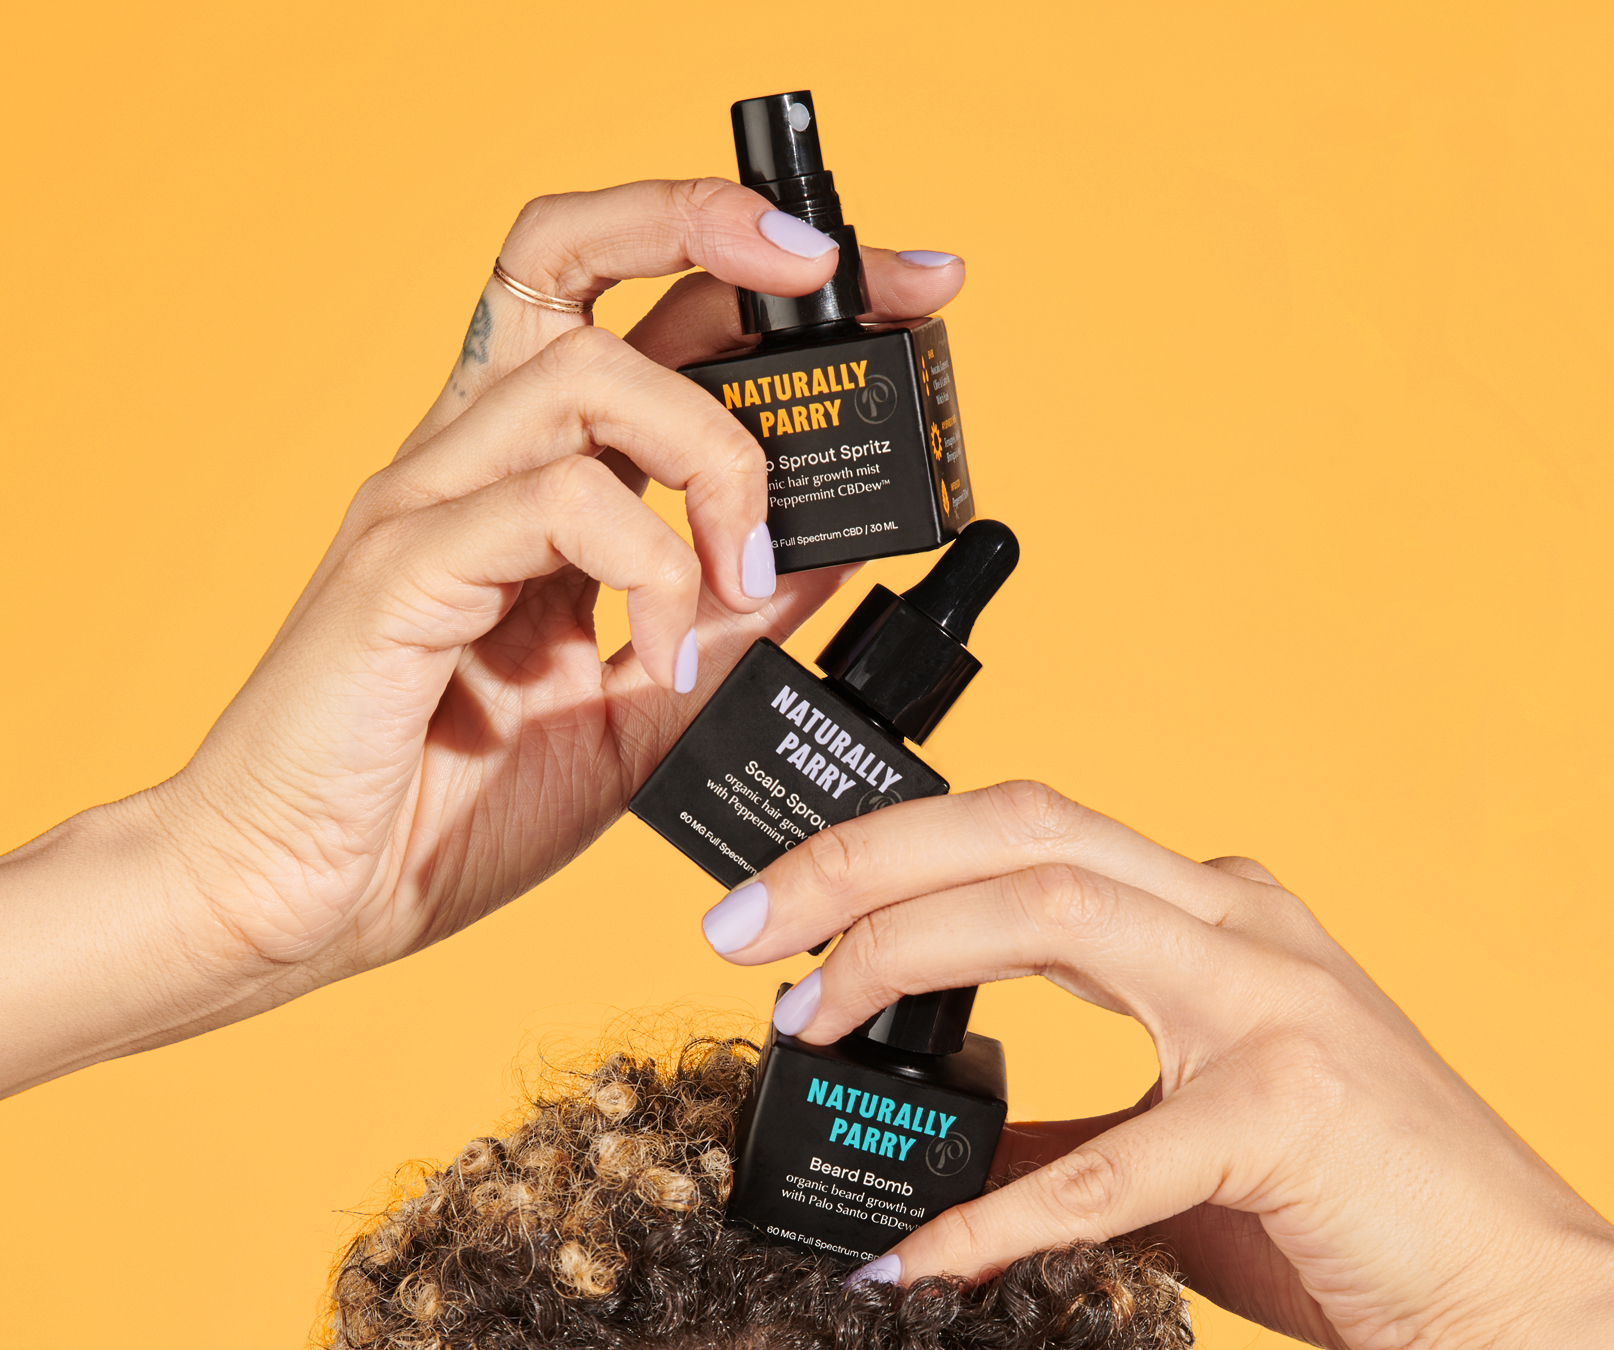
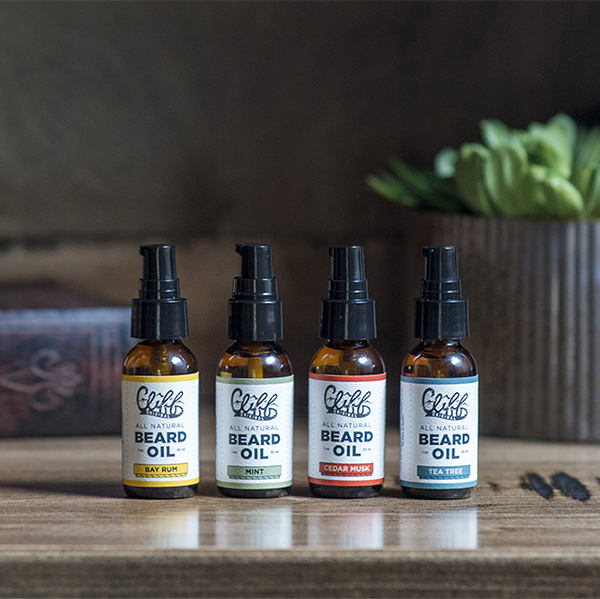
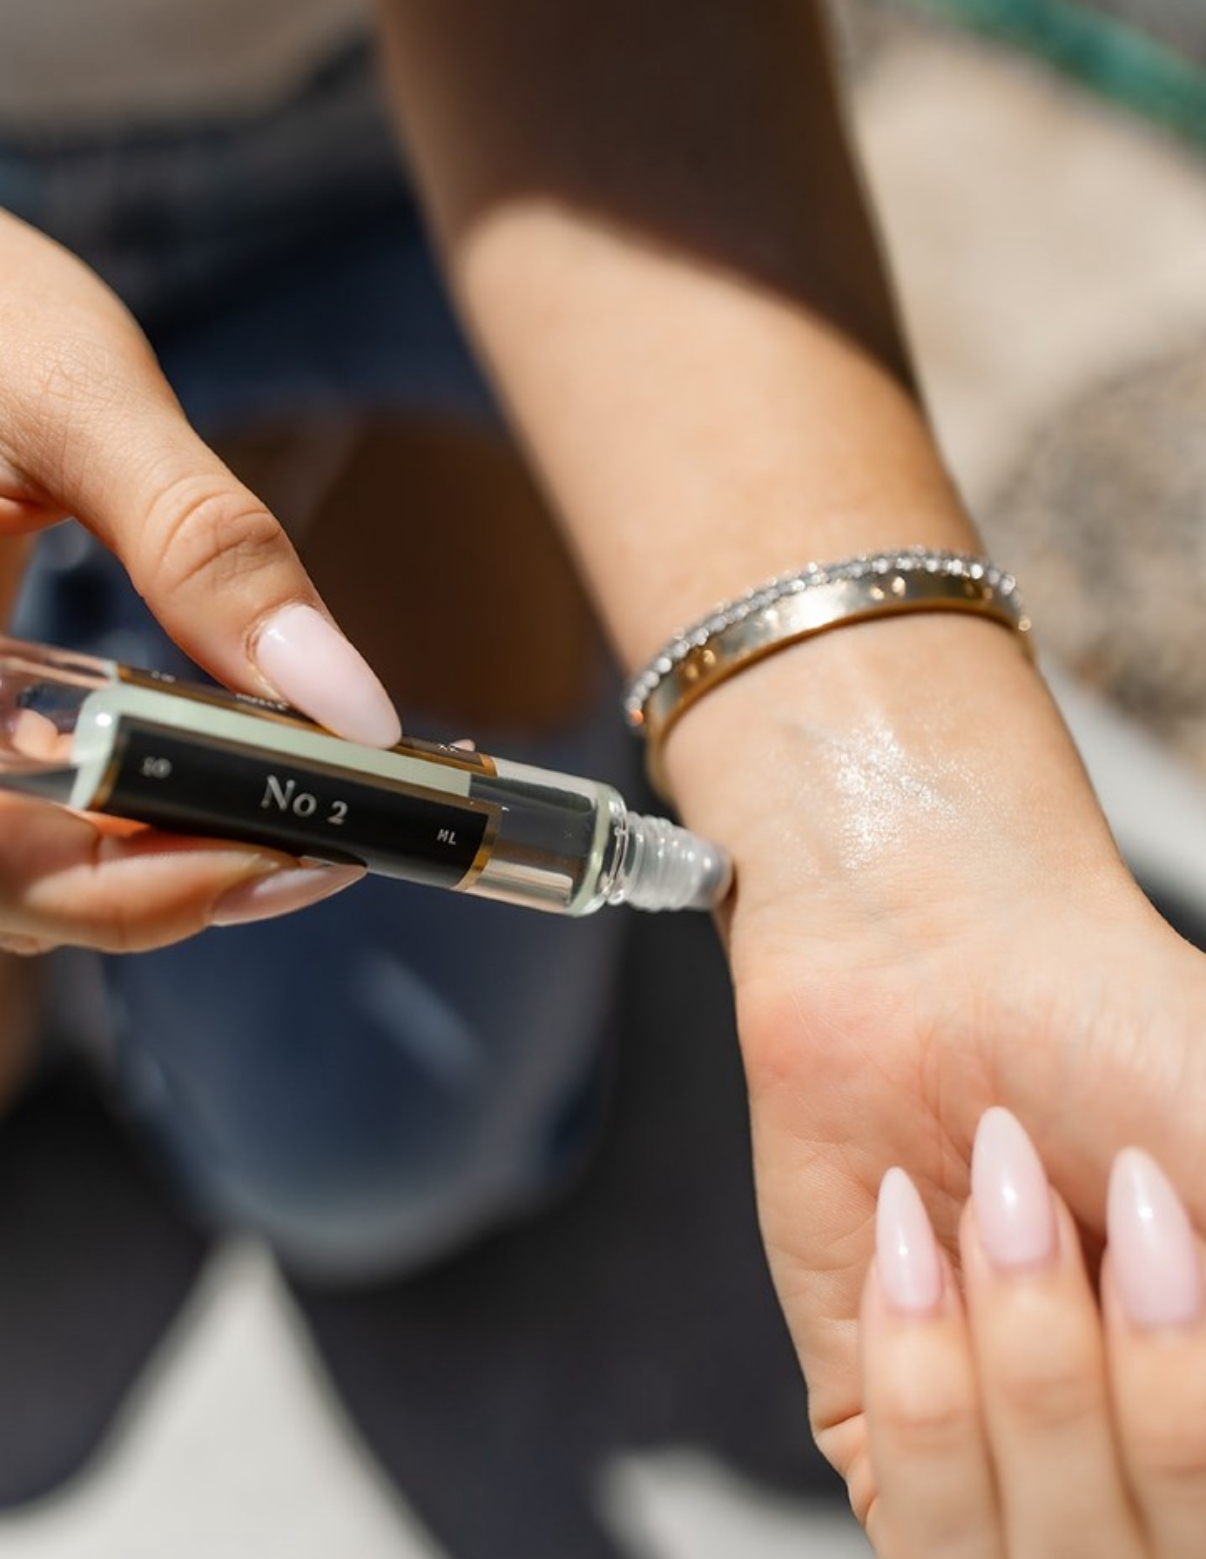
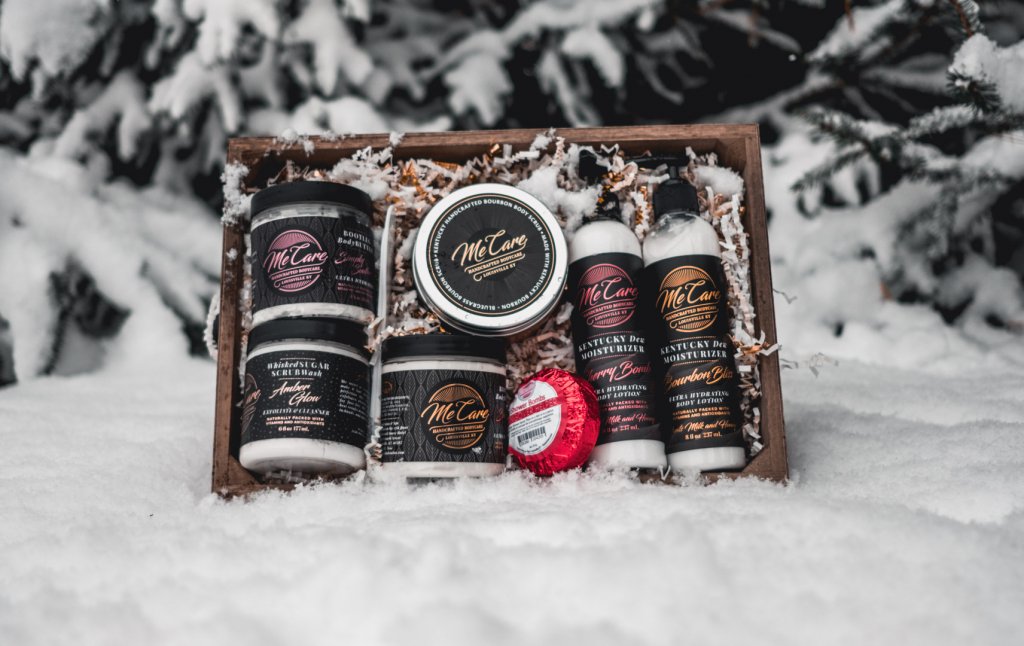
Health and beauty
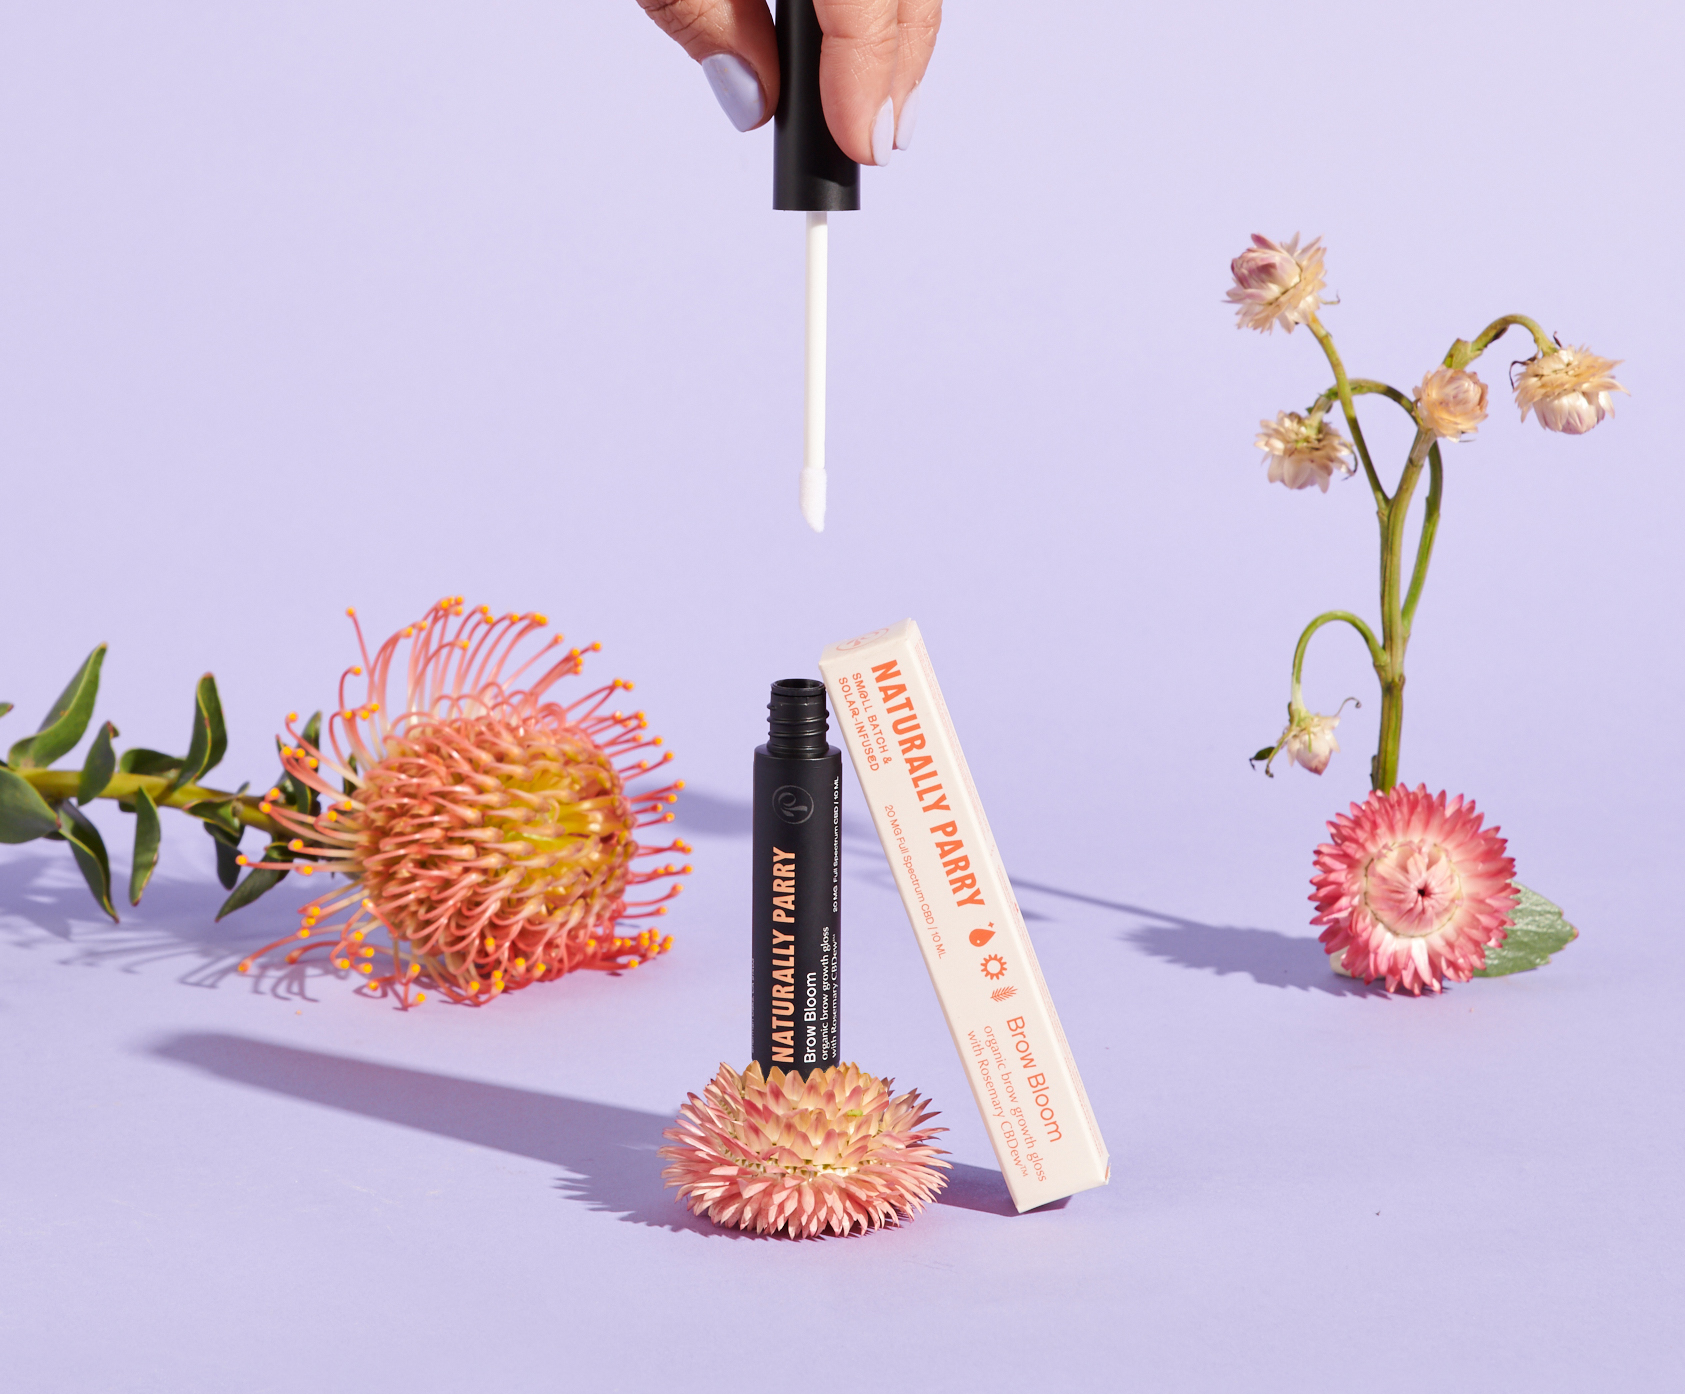
Cosmetics, skincare, haircare, body care, fragrance, and bath products. BOPP’s moisture resistance is critical here. These products live in bathrooms and showers where paper would warp or peel. Soft-touch laminates over BOPP add the velvety hand-feel premium beauty consumers expect.
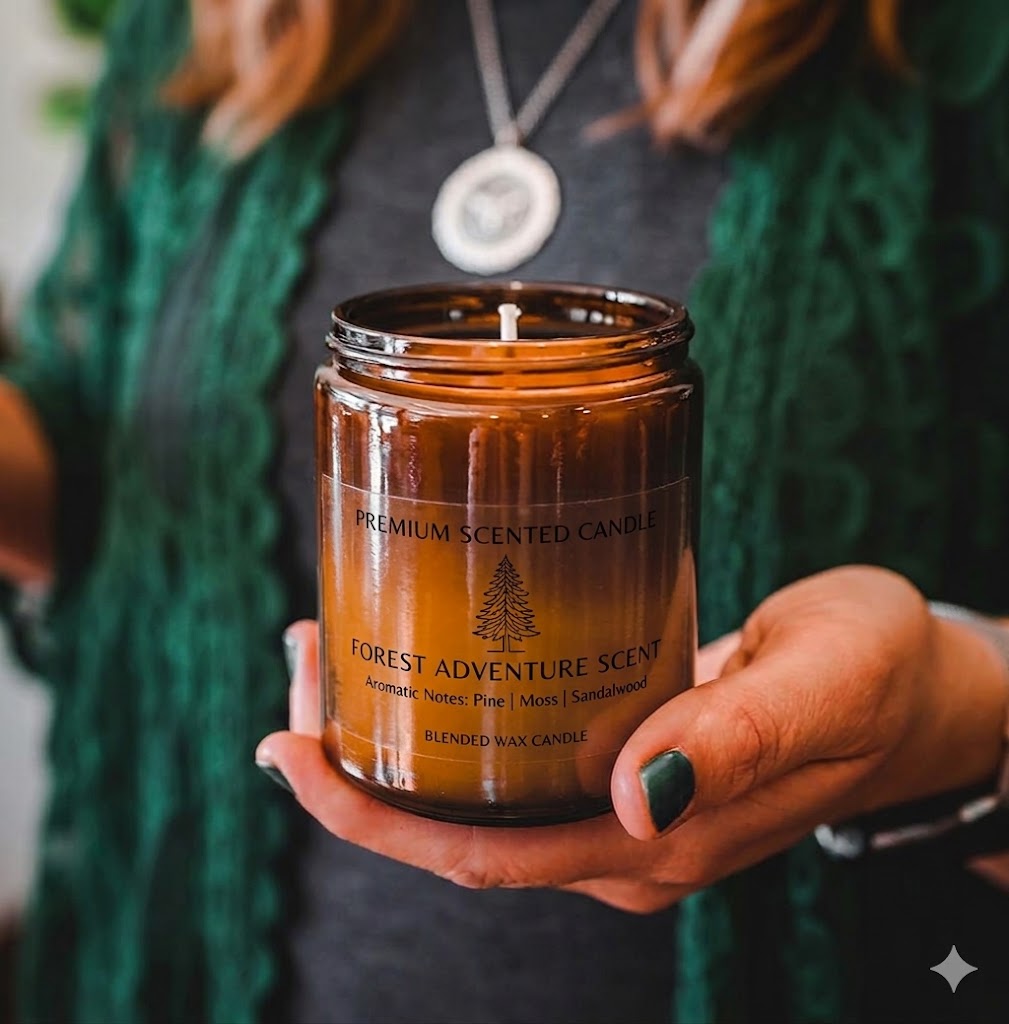
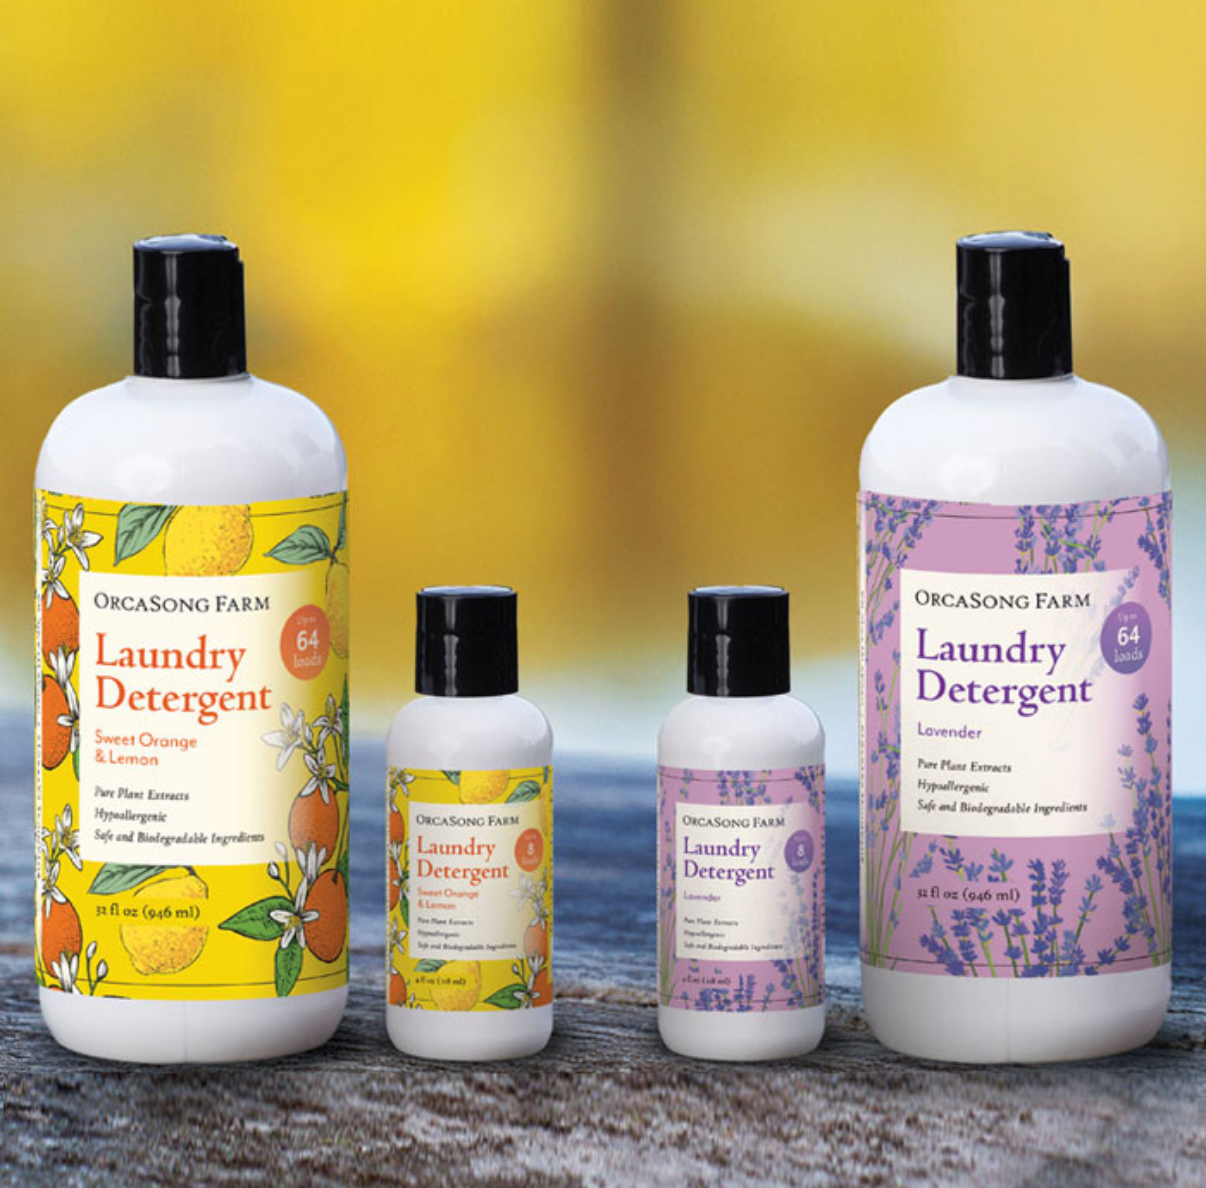
Household and cleaning
Surface cleaners, dish soaps, laundry detergents, and home care products. BOPP’s solvent and chemical resistance keeps the label intact when products spill or drip on the container during use.
Pet products
Pet food, treats, grooming products, supplements. BOPP works for both indoor pet products and outdoor pet supplies that face moisture or weather.
Cannabis and CBD
Glass and plastic packaging for flower, edibles, tinctures, and topicals. BOPP holds up to the moisture-controlled storage environments common in cannabis products and accepts the design detail and finishes the category often calls for.
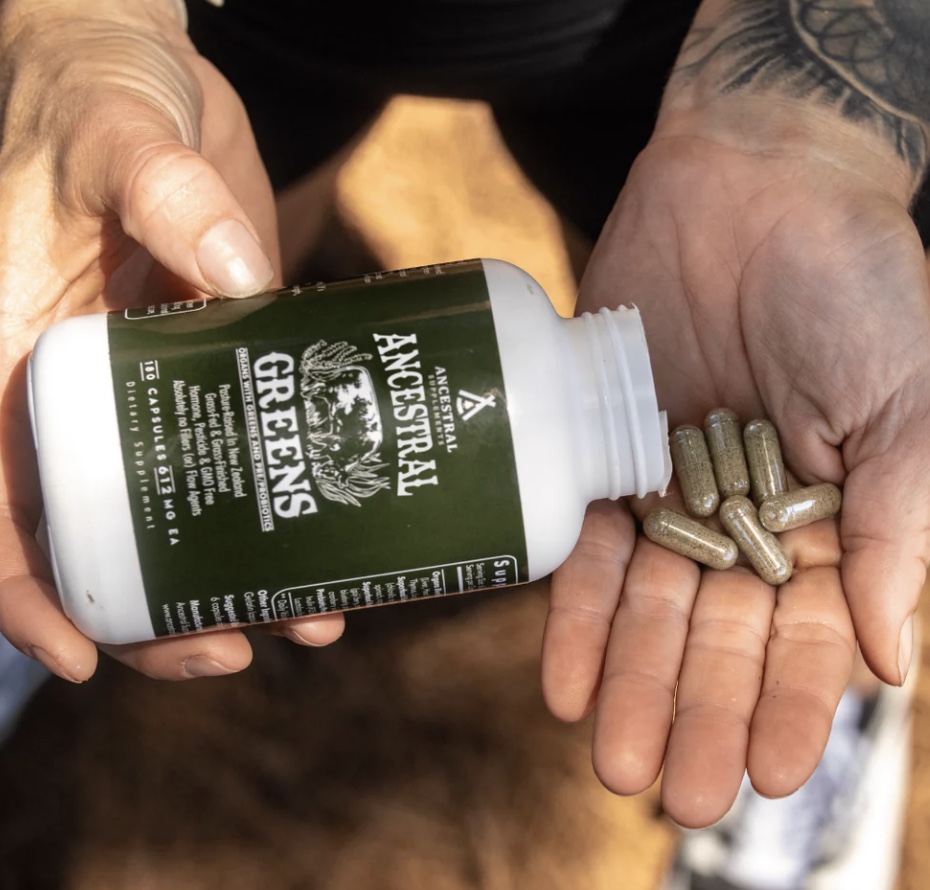
Health, supplement, and nutraceutical
Pill bottles, supplement jars, protein powders. BOPP’s compatibility with both glass and plastic substrates makes it flexible across SKUs.
Specialty and craft brands
Small-batch food and beverage brands often use BOPP because it accepts a wide range of finishes (matte, gloss, soft-touch, foil) without giving up the moisture resistance these products need on shelf and in the home.
Frequently asked questions
What does BOPP stand for?
BOPP stands for biaxially oriented polypropylene. It’s a plastic film that’s been stretched in two directions during manufacturing. First lengthwise, then crosswise. That biaxial stretching gives BOPP its key properties: higher strength, better clarity, and more dimensional stability than untreated polypropylene.
Are BOPP labels waterproof?
Yes. BOPP is a plastic film that doesn’t absorb water, so the label and its print stay intact through moisture, humidity, splashes, and even brief submersion. That’s why BOPP is the default for beverage labels, beauty products that live in showers, and household products in kitchens and bathrooms.
Is BOPP the same as polypropylene?
BOPP is a specific form of polypropylene. Standard polypropylene is the base plastic. BOPP is polypropylene that has been biaxially oriented. Stretched in two directions during manufacturing. To make it stronger, clearer, and more dimensionally stable. Most product labels described as “polypropylene” are actually BOPP.
What products use BOPP labels?
BOPP shows up across most consumer product categories: beverages (beer, wine, spirits, kombucha), food (sauces, condiments, packaged snacks), health and beauty (skincare, haircare, cosmetics), household products (cleaners, detergents), pet products, cannabis, supplements, and specialty craft brands. It’s the default for any product that lives in moisture, humidity, or contact with water.
Is BOPP recyclable?
BOPP can be recycled in some streams, but recyclability depends on the local recycling infrastructure and whether the label is paired with a compatible container. BOPP labels on PET bottles can sometimes contaminate the PET recycling stream, depending on the adhesive and the recycling facility. If sustainability is part of the brand promise, talk through specifics with your printer to find a configuration that fits your goals.
Is BOPP cheaper than PET?
Yes, generally. BOPP is mid-priced; PET is mid-to-high-priced. Both offer durability and moisture resistance, but PET is more rugged for outdoor, industrial, and high-temperature applications. For most retail product labels that don’t need PET’s extreme durability, BOPP delivers similar performance at a lower cost.
What finishes are available for BOPP labels?
BOPP accepts a wide range of finishes: gloss, matte, soft-touch lamination, spot UV varnish, hot foil stamping, embossing/debossing, and metallic or holographic effects. White BOPP, clear BOPP, silver/metalized BOPP, and squeezable BOPP are all available formats. The film’s strong ink adhesion means most printing techniques and finishes work well on it.
Choose BOPP for durable, attractive product labels
BOPP film is the default choice for most product labels for a reason. It’s resistant to moisture, oil, and UV. It comes in white, clear, metalized, and squeezable formats. It works on glass, plastic, and metal. It accepts a wide range of finishes. And it costs less than PET while delivering similar performance for most retail use cases.
If you’re sorting through label material options, take a look at our BOPP labels page for more on what we offer, or request a sample pack to feel BOPP next to paper and other film alternatives. Get in touch when you’re ready to talk through a project.