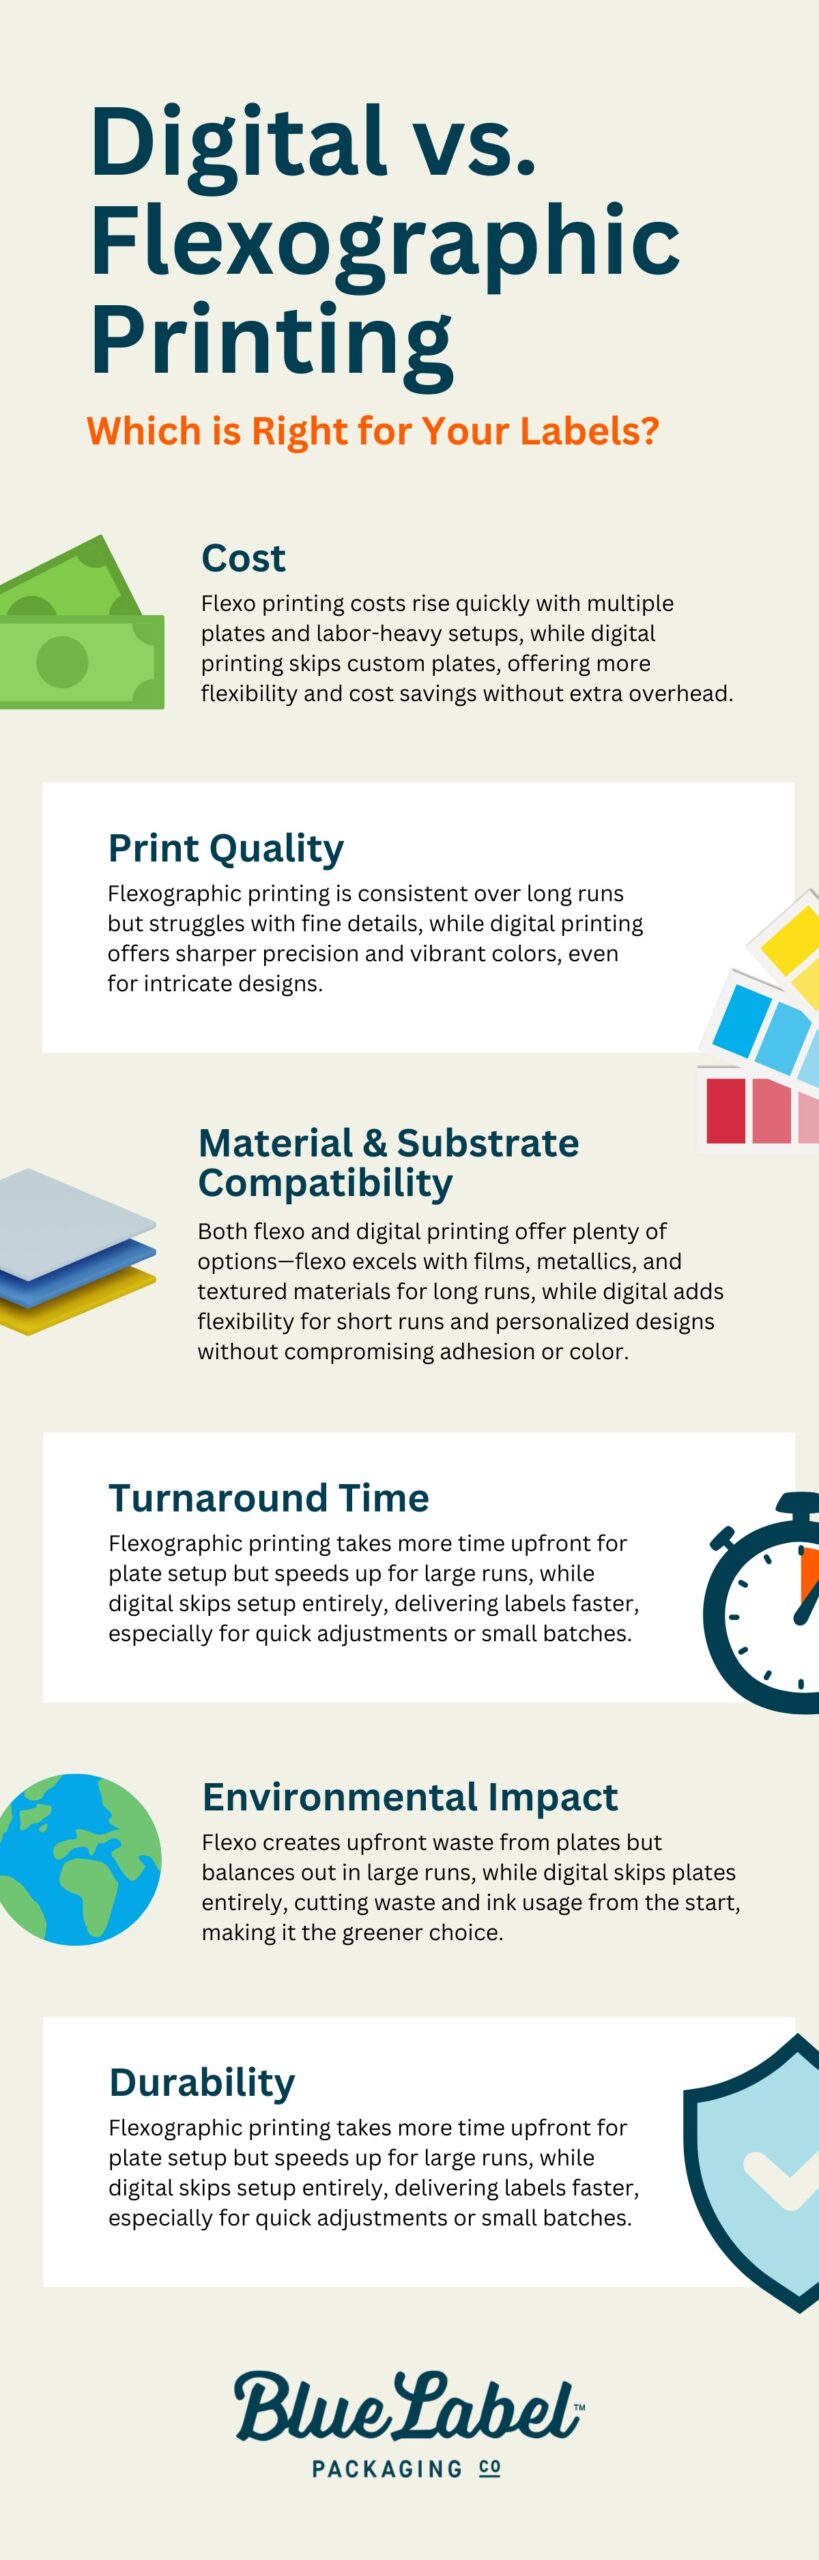
⚞ The Highlights:
- Digital printing is great for short runs, quick design changes, or multiple SKUs because it doesn’t require plates and can handle variable data easily
- Flexo printing can be more cost-effective for large orders, but it comes with higher setup costs and a longer lead time
- Your choice depends on how many labels you need, how complex your design is, and how fast you need them
Quality labels play a pivotal role in any product. However, there’s more than one way to manufacture your custom labels.
Digital and flexographic label printing are both viable ways to make product labels, but it’s not always obvious why one would be better than another for your business. Let’s break down the differences between the two printing processes (and how you don’t always have to decide between the two).
Flexographic Printing vs. Digital Printing: How They Work
The differences between flexographic and digital label printing largely boil down to how the two processes work. Each method aims to accomplish the same task – print product labels. However, the way they go about this task is very different.
The flexographic label printing process
Flexo label printing is the old-school approach where ink is physically pressed onto either film or paper. This process uses custom rubber printing plates to stamp your design onto the label material. These plates are attached to cylinders so that the flexographic printing press can make multiple imprints on a roll of labels. Larger projects will sometimes avoid the rubber plates and engrave the label design directly on metal cylinders instead to accommodate massive quantities.
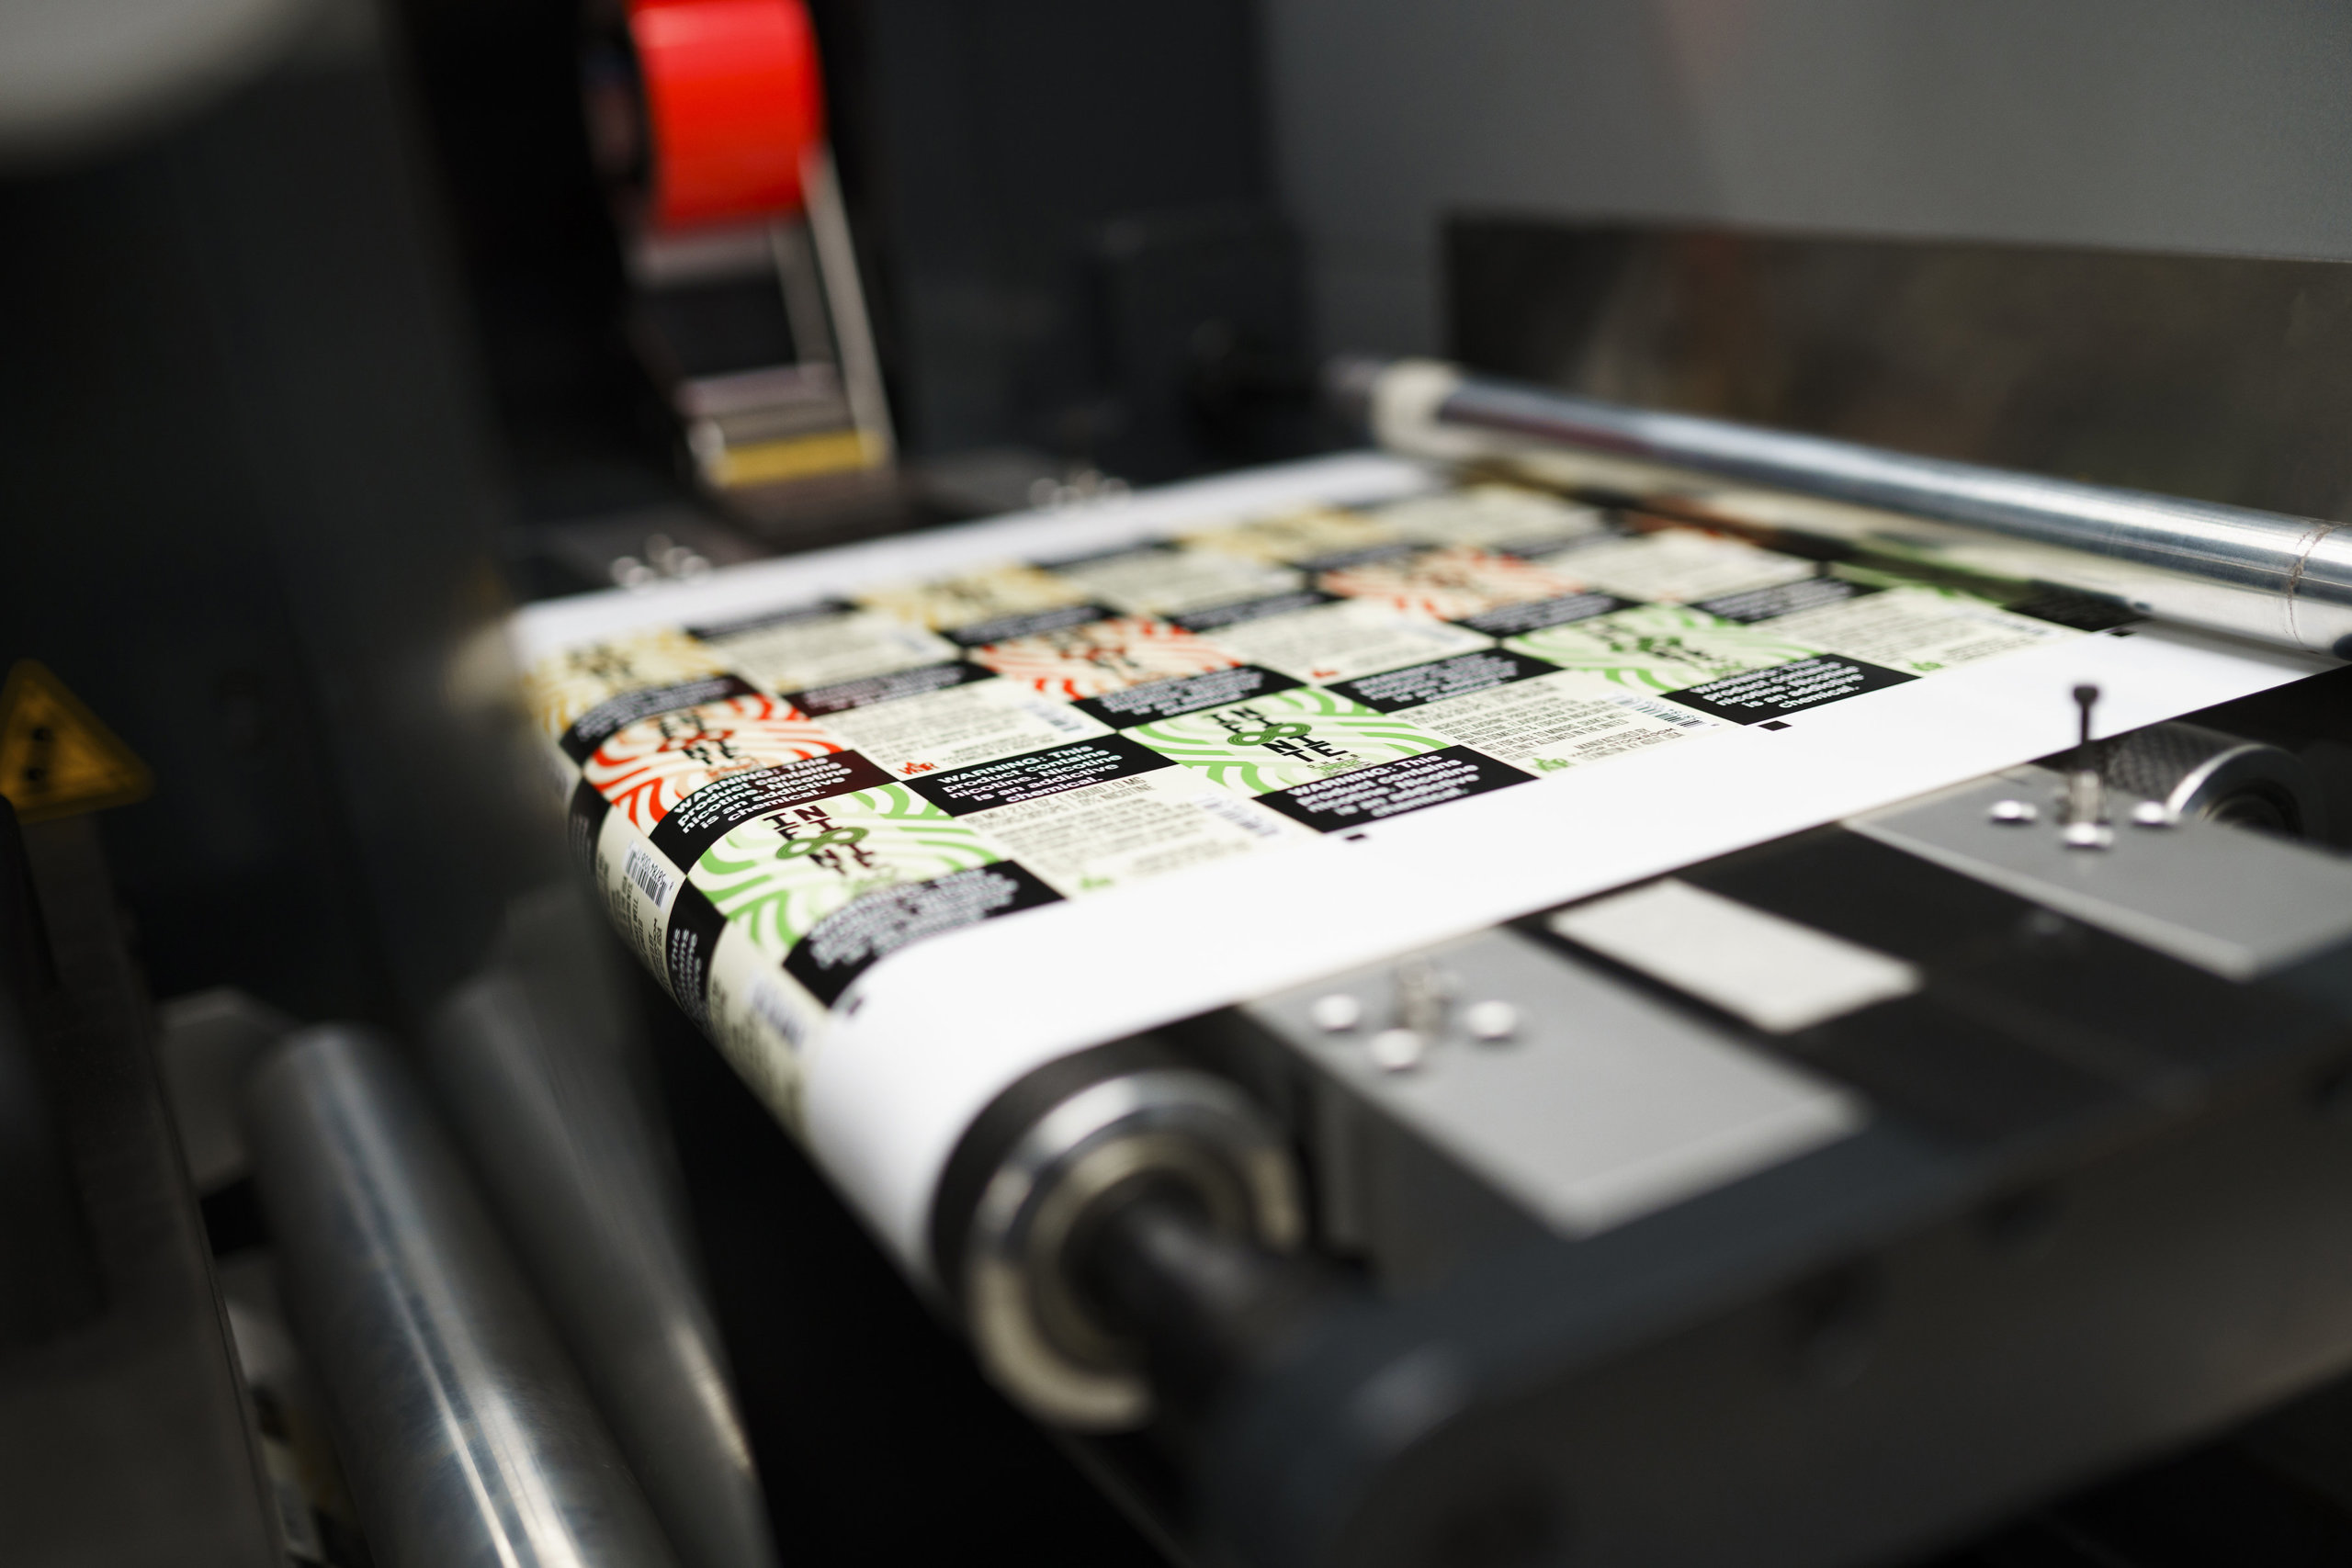
The digital label printing process
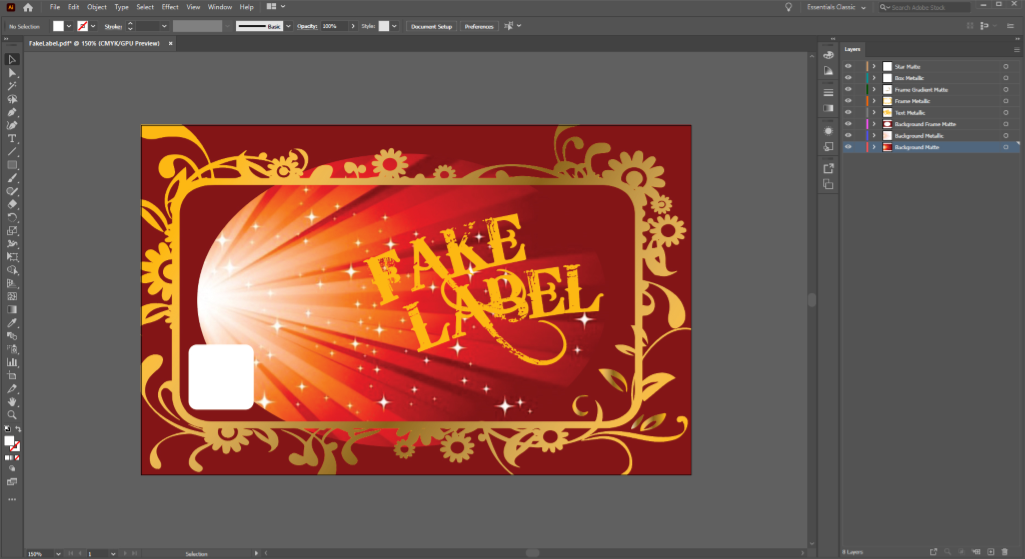
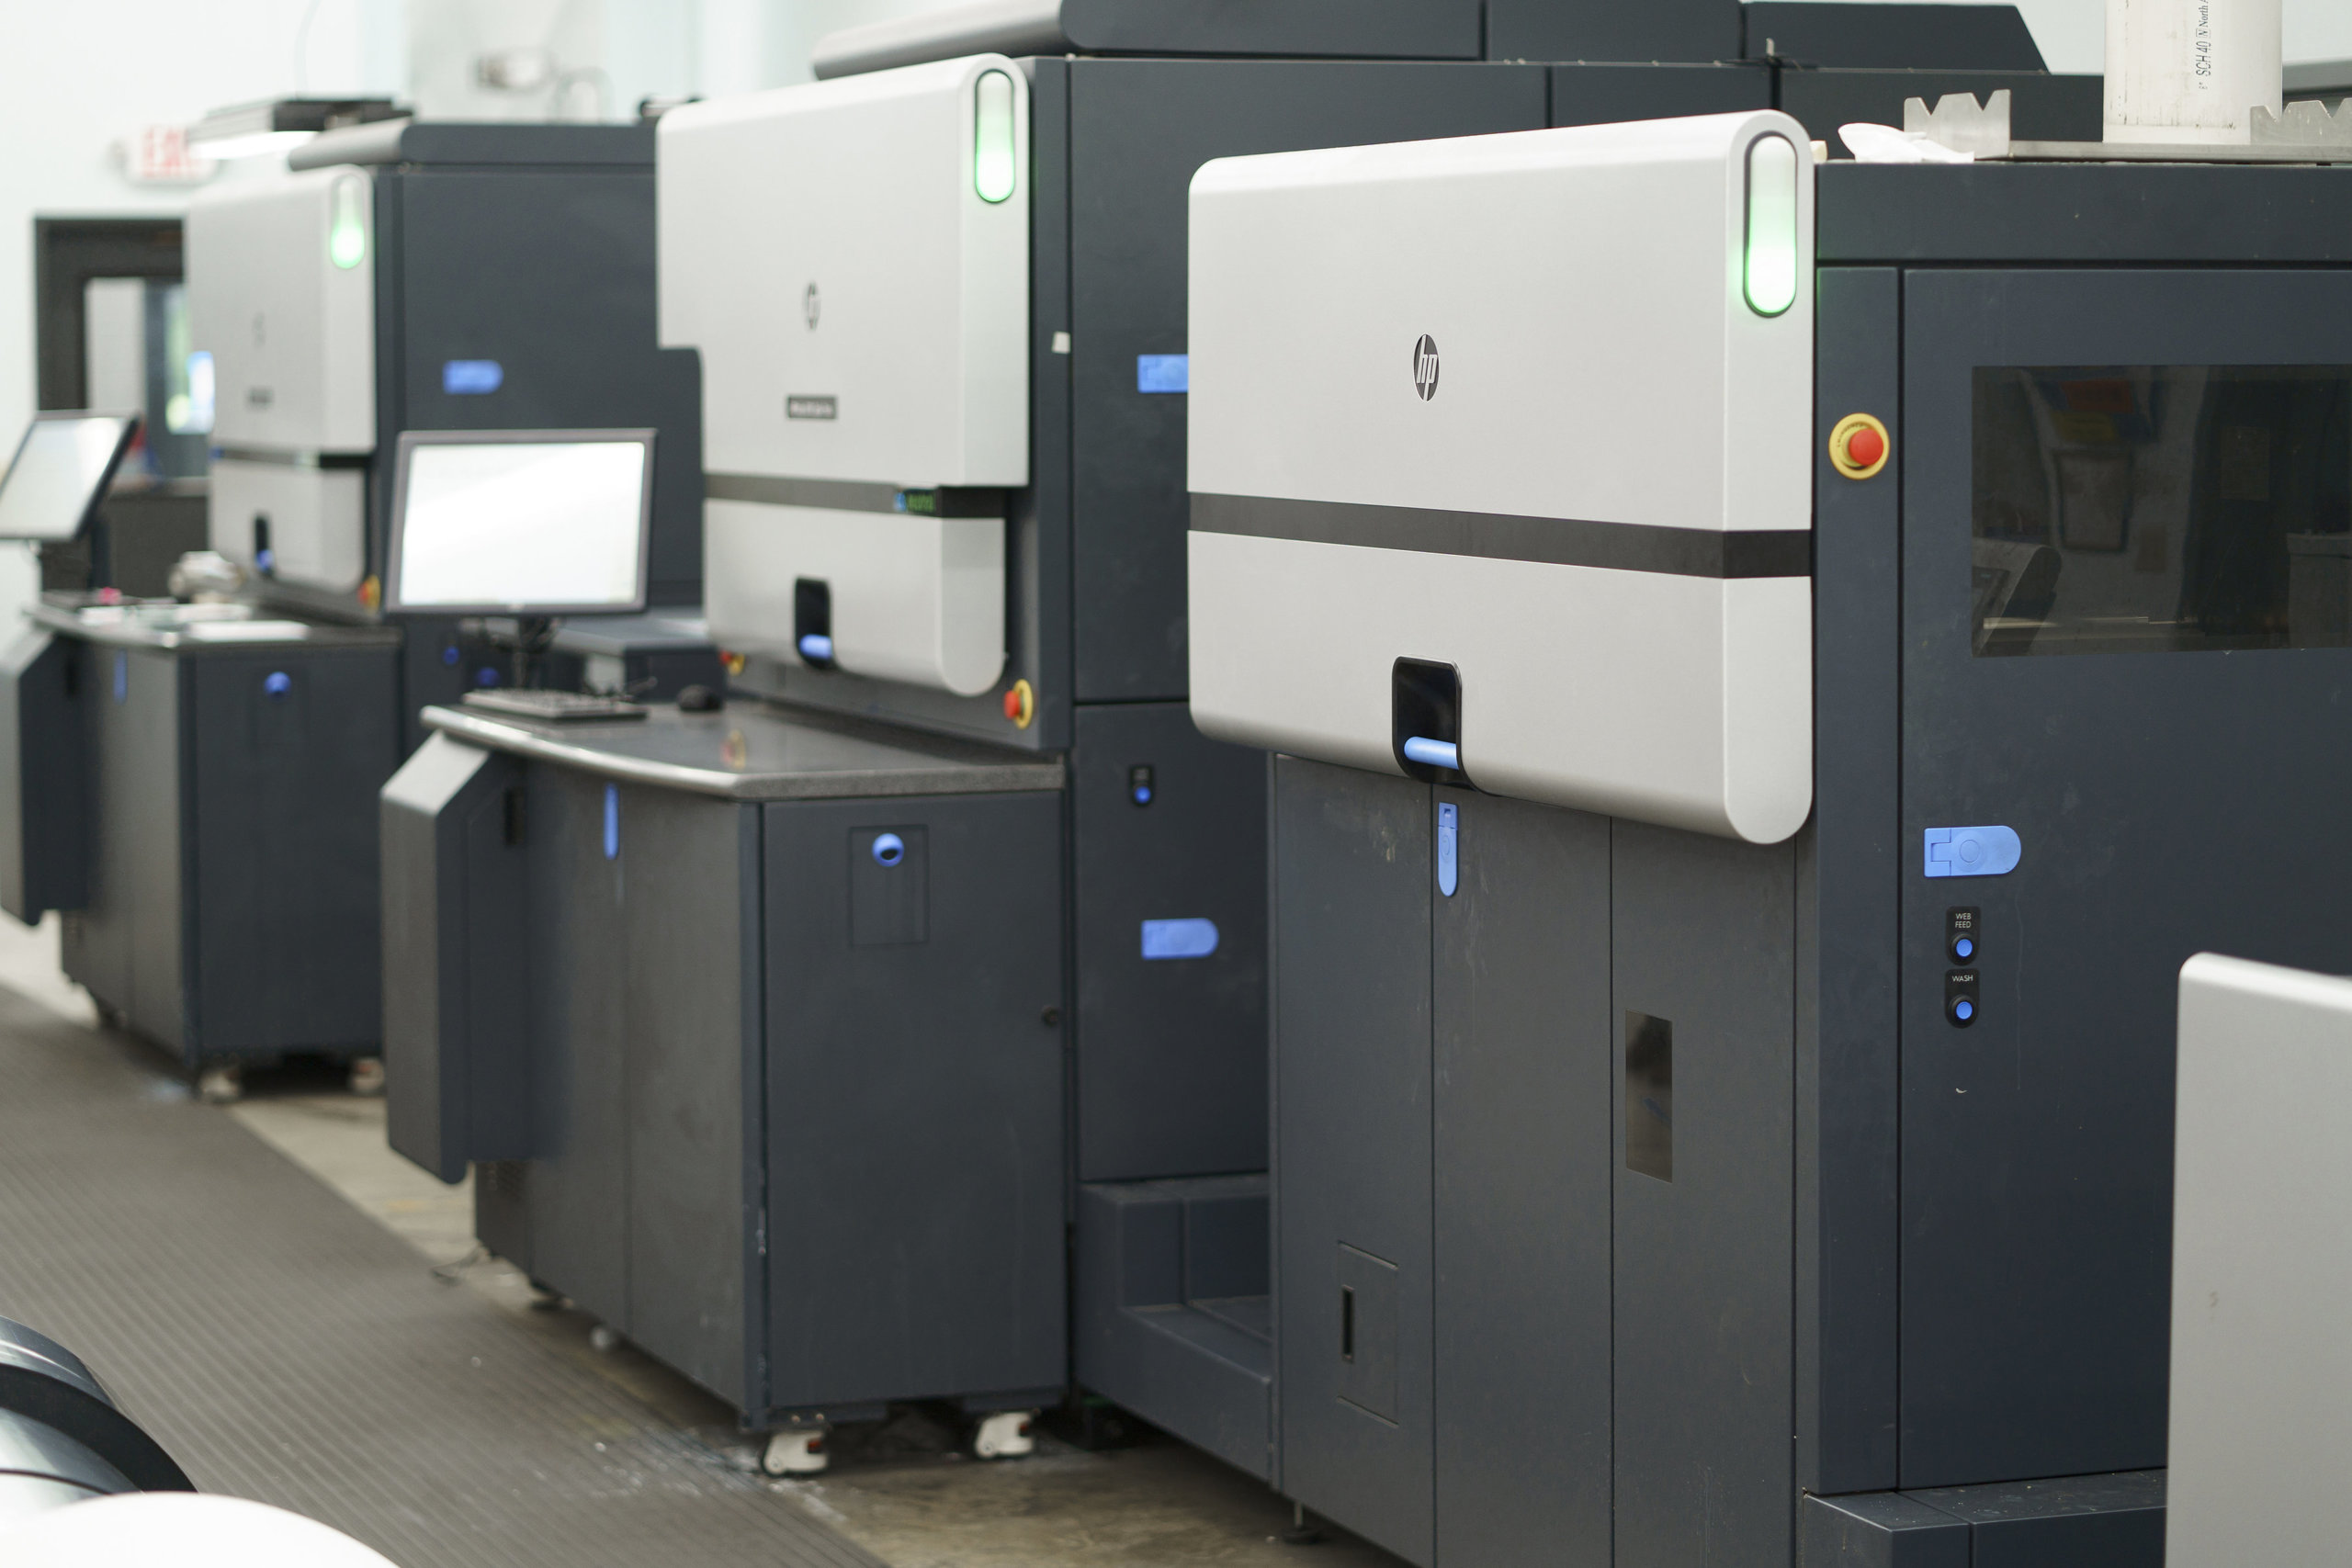
Digital printing eliminates the need for plates in favor of using technology. Digital label printing presses read art files that lay out your design and call out specific Pantone colors and other key instructions. The printer then uses an electrophotographic process to transfer images onto a material. HP Indigo printers use heated blankets to blend electronically charged particles into a smooth film. This process creates a defined image on the blanket, which in turn is transferred onto the label substrate.
Comparing Costs
The short version: Flexo printing costs can stack up fast with multiple plates and labor-intensive setups, while digital printing spares us from custom plates—making it a more nimble and cost-effective choice when we need label printing flexibility without the extra overhead.
Costs of Flexographic Printing
One challenge with flexographic printing is that its various costs can add up rather quickly. Every color will need its own plate for your design, which means you’ll need multiple custom plates for every design.
That number increases dramatically if you have multiple SKUs. Let’s say you need labels for four different SKUs and each of them needs four different colors. That’s 16 total plates that you’ll need to pay for if you go with flexographic printing.
There are additional costs associated with this flexographic printing. Time and labor is a factor as well. Flexographic printers need to align each plate to create a perfect imprint on each piece. This process isn’t short—some jobs can take days to set up properly. Testing these setups also requires a lot of waste material. It’s not uncommon that 15 percent or more of your material costs go toward waste accrued during flexographic setup.
So why would businesses turn to flexographic label printing if there are so many initial costs and delays? This method is well-suited to handle large-scale label printing projects. Larger quantities help amortize initial costs over a long print run of labels, which is why massive businesses, like Budweiser, use flexographic printing for millions of labels. However, that same scale is less likely to be realistic for small to mid-size businesses.
Costs of Digital Printing
Because of the lack of custom plates and lengthy setups, the digital printing process offers businesses a lot more flexibility and cost-saving capabilities. Because of how they’re made, flexographic presses will use a lot of spot colors. Digital presses do CMYK blending to achieve full color label printing without the need to source different inks for every hue.
Comparing Print Quality
The short version: Flexographic printing provides solid consistency over long runs but can run into issues on fine details and sharpness, while digital printing consistently delivers sharper precision and vibrant colors, even with intricate designs.
Print Quality of Flexographic Printing
When it comes to flexographic printing, you’ll get solid color consistency over long runs. However, it does come with some limitations—especially with finer details and high-resolution images. While flexographic printing does a great job with simple designs and bold colors, it can sometimes struggle with the sharpness and precision of more intricate artwork.
There are some occasions, though, when the flexographic printing technique is necessary for certain printing techniques. For example, plates are needed to apply flood or spot coats onto labels. Digital printing technology hasn’t quite come far enough to accommodate more than a few select metallic, fluorescent, and pastel inks. Until those specialty inks are developed, you’ll likely need some form of flexographic process to enjoy those capabilities.
One final aspect we should mention—flexographic printing uses rollers for ink transfers. When those rollers become worn or improperly calibrated, this can lead to uneven ink distribution or pressure, potentially resulting in blurred designs and inconsistent color quality.
Print Quality of Digital Printing
With a high-quality digital printing press like our HP Indigo, you’ll get a high-level of print precision. The resolution is razor-sharp, capturing every tiny detail and gradient accurately. Thanks to advanced color management and CMYK blending, colors are highly accurate.
Comparing Material & Substrate Compatibility
The short version: It’s good news here—both flexo and digital printing give us plenty of options. Flexo handles films, metallics, and textured materials like a pro, making it perfect for long runs and durable finishes, while digital lets us do all that with the added bonus of flexibility for short runs and personalized designs without compromising on label adhesion or color.
Materials & Substrates Compatible with Flexographic Printing
Flexographic printing shines when it comes to material versatility. It can accommodate films like BOPP, metallics, textured substrates, or flexible films. This flexibility makes it ideal for durable, high-end applications like cosmetics or even industrial products. Flexographic printing is an especially useful approach for long runs of labels that need to be waterproof, heat-resistant, or stand out with unique finishes.
Materials & Substrates Compatible with Digital Printing
Digital printing is also versatile in its own right, working with a wide range of substrates, from films and metallics to textured materials. Whether you need waterproof labels for cosmetics or eye-catching metallic finishes for luxury products, a high-quality digital printing press can handle it with ease. Plus, digital’s flexibility makes it perfect for short runs and personalized designs while maintaining excellent adhesion and color accuracy on different surfaces.
Comparing Turnaround Time
The short version: Flexographic printing takes more time upfront for plate setup, but once it’s rolling, it’s fast for large runs, while digital skips the setup entirely, letting us get our labels quicker, especially when we need fast adjustments or smaller batches.
Turnaround Time of Flexographic Printing
Flexographic printing requires a bit of patience at the start—setting up plates can take some time, especially for complex designs. But once everything’s aligned and ready to go, flexo can produce large volumes quickly and efficiently. (We should note, modern flexo presses are starting to incorporate more automation, helping to reduce setup time and labor intensity, and making them more efficient for future operations)
Turnaround Time of Digital Printing
Digital label printing tends to be a much more scalable option. By cutting out tooling and setup costs, digital printing can help accommodate your label needs with quicker turnaround times. That time savings means that you’ll get your labels sooner than you would if you had to wait for new plates any time you adjust your order.
Comparing Environmental Impact
The short version: Flexo may leave us with some upfront waste due to plates, but it tends to balance out on larger runs, while digital printing skips the plates entirely, reducing waste and ink usage from the start—making it the eco-friendlier option.
Environmental Impact of Flexographic Printing
Flexographic printing isn’t exactly a green dream—plates and setup waste can add up, especially for short runs. But for larger print runs, flexo can become more efficient, minimizing waste per label. So, while the upfront impact isn’t ideal, the efficiency on long runs helps balance things out if you’re looking for scalability with a lighter environmental footprint over time.
Environmental Impact of Digital Printing
Digital printing cuts out the need for plates, so we’re able to save materials and energy with every label printed. Digital presses also only use the exact amount of ink needed, so it minimizes excess while providing the flexibility and speed needed for print runs of all sizes.
Comparing Durability
The short version: For the toughest of environments (like moisture and heat), flexo is our go-to, but digital holds its own for everyday wear and tear.
Durability of Flexographic Printing
Flexographic printing delivers labels, especially when they need to withstand tough conditions—think moisture, heat, and abrasion. Flexo labels tend to be built to last, especially for industrial or outdoor applications.
Durability of Digital Printing
Digital printing holds its own when it comes to durability, especially with the right materials and finishes. From waterproof labels for bath and body products or scratch-resistant labels, digital labels can withstand everyday wear and tear. Just keep in mind that extreme conditions might require flexographic printing techniques for extra durability.
Combine Digital and Flexographic Label Printing for the Best of Both Worlds
While both digital and flexographic label printing offer certain advantages, you don’t necessarily have to settle for one or the other. Digital label printing is adaptable enough to include flexographic into its finishing processes so that you can enjoy the benefits of both.
During the digital label printing process, printed labels go through a finishing machine to put on final touches such as decorative treatments or print protection. However, some digital label printing companies have flexographic stations incorporated into the finishing process to address specific needs like flood coats or fluorescent inks.
As with traditional flexographic printing, these added finishing processes will still require plates for any custom designs. However, the costs and time associated with tooling and setup are drastically reduced since you’re only making a single plate. Flood coats of white ink or label varnishes won’t require any plates either, as they require a solid stamp that’s already available in-house.
Hybrid digital flexo presses, showcased at Labelexpo, combine the speed and efficiency of flexo with the flexibility of digital printing, allowing for seamless production transitions and enhanced features like inline embellishments in a single setup, making them ideal for short runs and customized labels.
Find the Right Label Printing Partner for Your Company
Both digital and flexographic label printing have their advantages, but it’s important to find the right solutions for your product labels. At Blue Label, our digital label printing technology and flexographic finishing stations allow you to invest in the best, most cost-effective labels for your company.
We strive to do more than simply print labels. Our experts work with you throughout the ordering process to enhance your designs and identify potential issues before they become a problem. Thanks to our flexibility, we can deliver stunning labels that cut out costly tooling costs and lengthy turnaround times. Contact us today to have Blue Label get to work on your next label project.