8 Steps to Great Label Design: Part 1
- brand
- design
- Labels
- materials
Blue Label is lucky enough to work with great clients, as well as talented designers during the process of collaboratively producing great labels. One of those designers, Madison McMullen has agreed to provide her insight into label design. Here are her 8 Steps to Great Label Design:
1. Invest in Your Brand
Don’t be afraid to invest in a quality designer. Your label is the first thing your customer will see before deciding whether to buy your product. Sure, your 16-year-old niece who “likes to use Photoshop” might be able to make you a label for fifty bucks, but chances are you’re going to get a label that looks… well… like your 16-year-old niece made it in Photoshop for fifty bucks. Good design is an investment in the foundation of your brand’s image – make a lasting and professional statement.
2. Prep Your Designer
Most designers work on an hourly rate, so you can save yourself a lot of time and money by simply being prepared. Write down everything that absolutely needs to be on your label, including:
- Mandatory information (Brand and Product Name, ABV, weight, Government Warning, etc.)
- Logo
- Nutrition information
- UPC Code
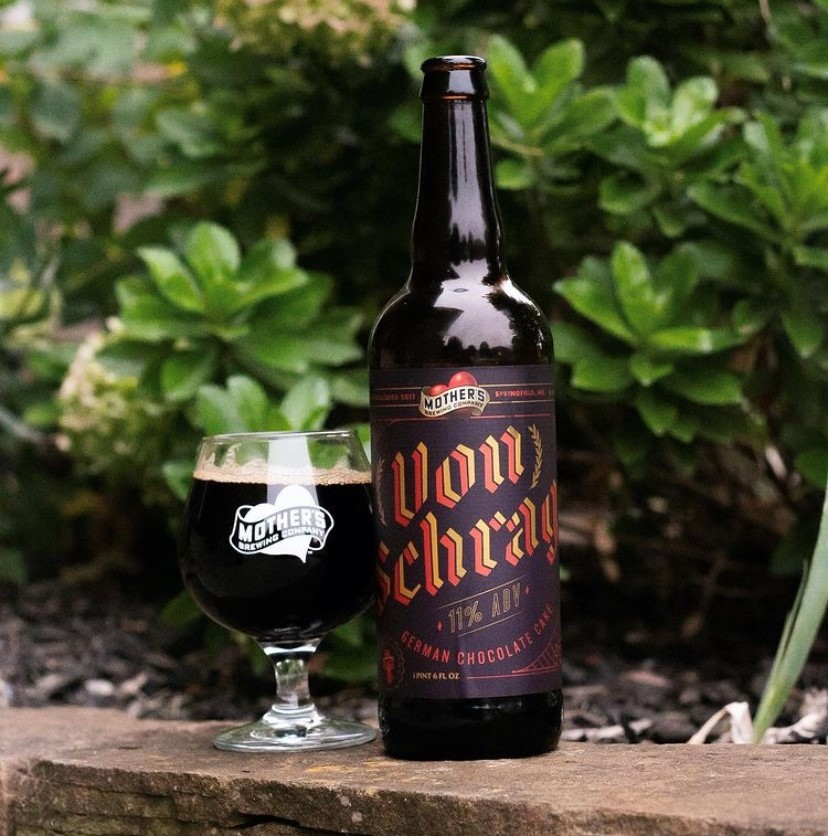
3. Think About Your Concept
Do you want your label to be bright or subdued, simple or intricate, modern or classic? Go for something that compliments your overall brand. It might help to include some photographs of your other labels (if you have them). Communicate your concept to your designer. If you can’t think of the right words to describe what you want, that is okay. We are visual people anyway. That’s where a mood board comes in handy.
4. Create a Mood Board
A mood board is a collection of design ideas that fit your style and brand. Do your research- find other labels, advertisements, or color schemes that you like and send them to your designer. You can do this by simply emailing photos or links to your designer. Or, if you want to get really organized with it, use a website like Pinterest.
Remember, this is just a collection of suggestions. Throw out as many ideas as your heart desires, but don’t expect to get it all. Trust your designer to use your suggestions and make you a coherent finished product. Think of it as putting together a dinner menu – just because you enjoy many different flavors, doesn’t mean they are all going to taste great together. Go for a cohesive and well-rounded meal, not a casserole.
5. Decide on Size
Make sure your label size is going to fit your product and work with your label application machine (if you have one). Label size adjustments take extra time. Give your designer and printer the exact size you need before beginning design work. This will save you time and money in the long run.
Don’t be afraid to go for a custom die-cut if you need it. You wouldn’t buy yourself a pair of shoes that don’t fit just because they were the only size left in the store. Same goes for your label size. If your printer already has the exact size or shape you want, great. If not, invest in a die that fits your product perfectly. It’s usually only a one-time charge of about $100 – 150, and I promise you’ll thank yourself later… maybe by buying yourself a new pair of shoes.
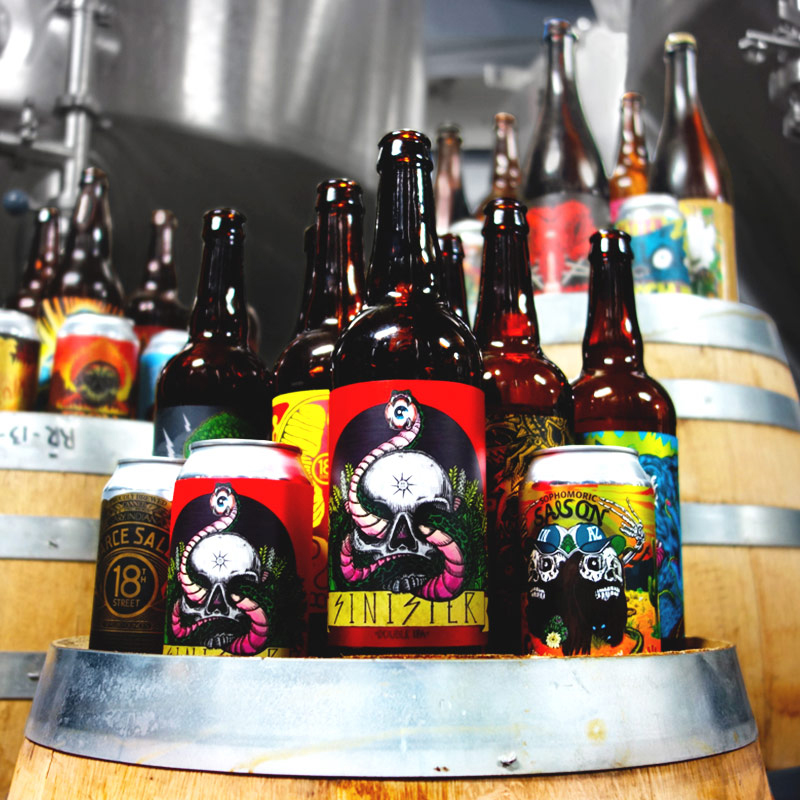
6. Select a Material
Think about what your label needs to accomplish. Get samples from your printer, feel them, put them on your product container, test them out for wear and tear. Choose a material that will not only be attractive but also practical, and make sure to communicate your decision to your designer.
7. Give Feedback
Every designer is different, but I will usually send my clients a couple very rough designs before going into too much detail with their label. Most of the time, this is just an affirmation that we are heading in the right direction. Don’t be afraid to give constructive criticism, a good designer won’t take it personally. However, also try to remember that the first design is not the finished product – tell your designer what you love and what you hate to get your label on the right track.
8. Proof Before You Print
Make sure to look at a sample of your label on your product before proceeding with a final print. Have your printer send you a sample on your chosen material so you can physically see the finished product and make adjustments if necessary.
Seriously… DO NOT give your printer the go-ahead until you have physically put a sample label on your product. Look at it up close, proofread it, feel it, admire it from afar, tweet a selfie with it giving “thumbs up” to the camera. 99% of the time it will be perfectly fine, but if there is just one thing wrong with the design, material or color, you’ll be happy to catch it early before spending money on unusable labels.
Photo Credit: Madison McMullen