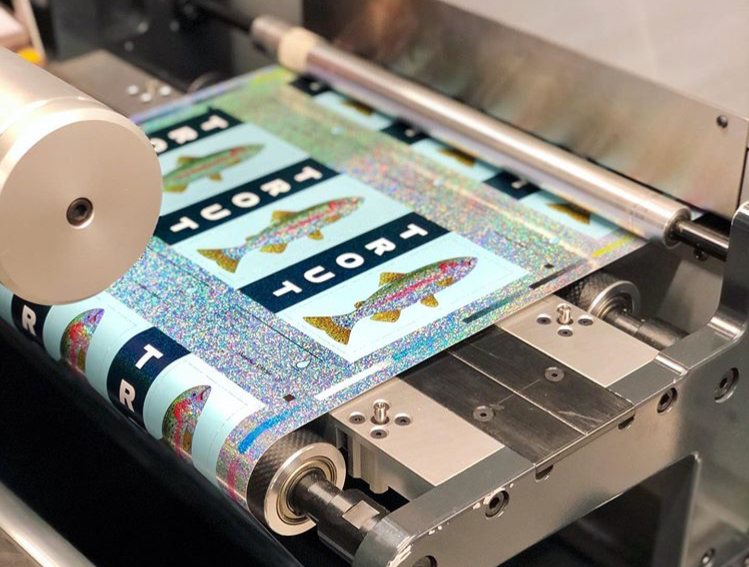
Holographic Labels: 4 Design Tips for Stunning Product Labels

When you have seconds to command consumers’ attention, holographic labels give you the means to keep all eyes on your products.

Holographic label materials are an increasingly popular packaging choice for good reason – these shimmering substrates add a whole new dimension for craft beer, specialty foods, and any other products in need of a visual spark. Let’s break down what goes into a holographic label and what you can do to get the most out of your packaging.

What are Holographic Labels?

The name “holographic label” comes from the iridescent effect these labels have on your packaging. The iridescent labels are made with a special film that creates a rainbow-like effect that allows your design to shimmer. Ink is printed on this holographic label material and protected with a laminate to protect your design. This helps protect your labels from scuffs, water, and any other potential hazards.

It’s also important to note that there’s a difference between holographic labels and hologram stickers. A security hologram is a sticker made with serial numbers or logos. Hologram labels are hard to counterfeit, so brands can use them to show authenticity and ensure original product protection. Holographic labels simply refers to the holographic effect of the material that the artwork is printed onto.
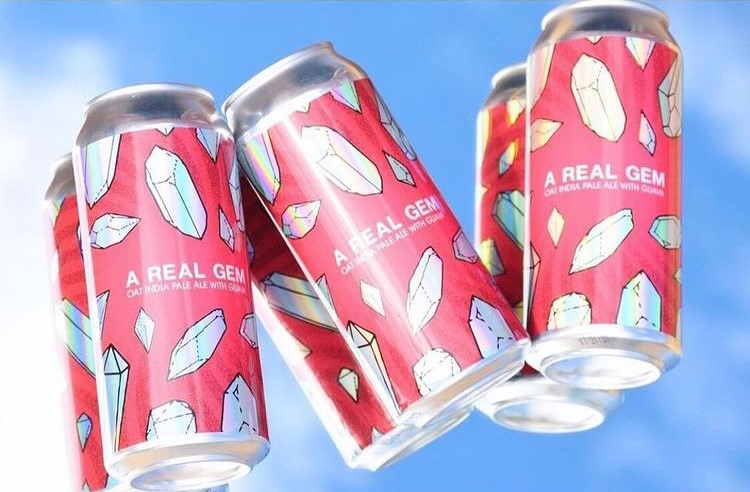
A six pack made with holographic labels.

Holographic Label Design Tips

A good holographic label is a great way to attract attention. However, these materials can pose some potential design challenges that can impact the overall look of your label. Here are some key considerations to help you make your holographic labels captivate your customers.

Give the holographic label material room to shine

When you have something as stunning as a holographic label material, it’s important to think about empty space. Empty spaces on your label design allow the holographic effect to shine through without any obstruction from ink or other printed elements.

That empty space could be the entirety of your label that’s not covered in printed details like your logo and text – that’s certainly one way to create a stunning effect from all sides of your container. Empty spaces within design elements can also allow certain aspects of your design to pop out to customers. Both routes will certainly attract attention, so just make sure you give the label material the space it needs to show its magic.

Avoid additional gradients

While color transitions are visually appealing, there can be too much of a good thing. Holographic label materials already add that color-shifting rainbow effect to your packaging. Adding a gradient will only jumble up the color transitions of your label even further.

Use white ink to block out the holographic effect where needed

While that holographic sheen is certainly stunning, there are some elements that need to stand out on their own. Certain label inks are translucent enough that the holographic effect can show through details like text or logos if you’re not careful. As such, you’ll need to take measures to block out that effect for any areas that should be opaque.

If you need to block out the holographic effects, have your printer lay down white ink to create opacity on holographic substrates. You’ll need to include a specific layer called a white file in the art file to lay out exactly where this white ink should go. If you need more information on how to go about this process, check out our post on white file best practices.

Pair holographic label materials with the right laminates and varnishes

The last thing you want to do after investing in gorgeous holographic labels is to cover up what makes them special. Laminates and varnishes play an important role in both print protection and the overall aesthetic appeal of your product labels. However, certain laminates and varnishes are better suited for holographic labels than others.

Glossy laminates and varnishes are generally the best options for holographic label materials. The reason for this is simple – matte finishes will end up dulling the holographic effect. A glossy laminate or varnish will not only allow the holographic material to completely shine through, but also protect your ink from scratches, scuffs, and other hazards.
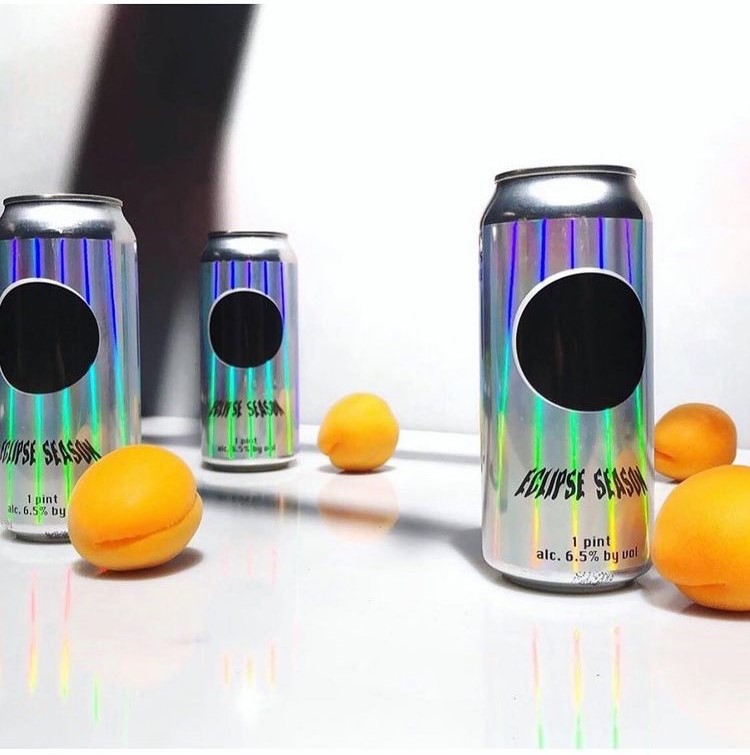
A trio of beer cans with holographic labels.

Invest in the Best Holographic Labels for Your Products

Holographic labels can add plenty of glitz and glam to your packaging whether you need a stunning can wrap or some other product label. Of course, you’ll need to work with the right label printing company to make sure you get the best, most cost-effective labels for your exact needs.

At Blue Label, we strive to do more than simply print labels. We work with you from start to finish to guide you through the printing process. From assisting with identifying the perfect holographic material to double checking your art files, we put in the time to understand your needs and add value along the way. Contact us today to talk to one of our experts about holographic, eye-catching labels for your products.
White File Best Practices: The Importance of White Ink for Labels

Every great product label starts as an art file. These files play a key role in helping your label printing company take your design and turn it into a stunning label. In addition to your design, art files contain important details to create a specific look and avoid potential printing issues. One of the most important elements of this process is the white file.

Why White Files are Important

A white file is a specific layer included in your art file. This layer instructs the printing press to lay down white ink on a metallic, clear, holographic, or dark substrates to create opacity. This process is important because label printing companies use the CMYK color format for physically printed items like product labels.

White files play a key role in supporting the CMYK color format because it can help you capture the correct color for metallic, clear, and other types of substrates. A full coat of white ink allows you to mask the substrate – it’s like printing on white paper at that point.. You can also do a partial coat of white to allow some portion of the substrate to show through, such as a slight metallic sheen. Either way, the white file allows you to capture the color you want instead of the color or effect of the material over powering your design.

Different Methods for White Files

There are a couple of different ways to use white ink for your labels. These approaches differ largely based on what you want to achieve with your design. These methods are:

  • Flood coats
  • Spot applications

A flood coat is used when you need to cover an entire surface with white ink. Since a flood coat covers the entire surface of a substrate, you don’t need any additional file preparation. In some instances, it is good to note that a white material might be a more economical choice if you are needing to flood coat.

Spot applications are used to apply specific patterns of white ink to substrates. The white file is used to indicate to a printing company’s prepress team exactly where the white ink should be applied for your design. For example, you may want a clear product label to showcase your container (or even the products within that container. A spot application notes exactly where a base coat of white ink should go to support the individual elements of your design.

White File Creation Best Practices

You’ll need to prepare an appropriate layer to call out spot applications of white ink in your art file. Our white file creation guide can give you need a step-by-step breakdown on how to prepare your art file for white ink. In addition, it’s important to remember the following best practices to make sure your white file is set up for success.

Use vector images if possible

While you can create art files for labels with both Adobe Illustrator and Photoshop, Illustrator can lead to a smoother process. Photoshop uses pixel-based raster images, while Illustrator works using layered vector files. These layers allow you to make your desired white file clear, whereas a label prepress team would need to make some design decisions with raster images.

For example, a prepress expert may need to make pixel-by-pixel judgments for where your white file ends in a flat raster image. That judgment call could leave a white fringe around a certain element of your design, which you may or may not want. By using a vector image in Illustrator, you can make your design preferences clear.

Mark white files as a layer above your label art

While the white ink is printed onto the substrate before the CMYK ink, white files should be added above the label art in your art file. This process makes it very clear on label proofs where white ink should be added during the printing process. When white files are placed below the CMYK layer, it can hide key information that’s important for your design.

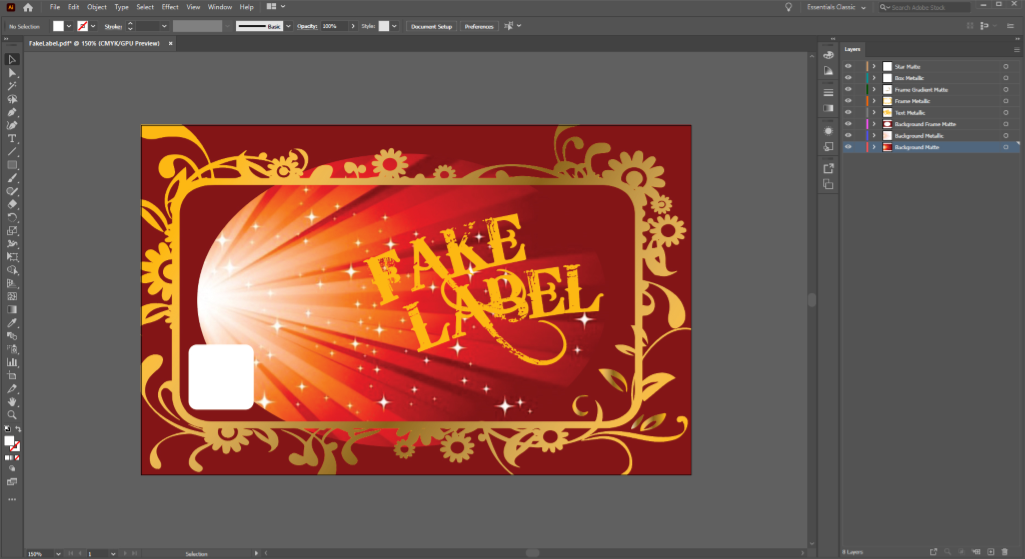
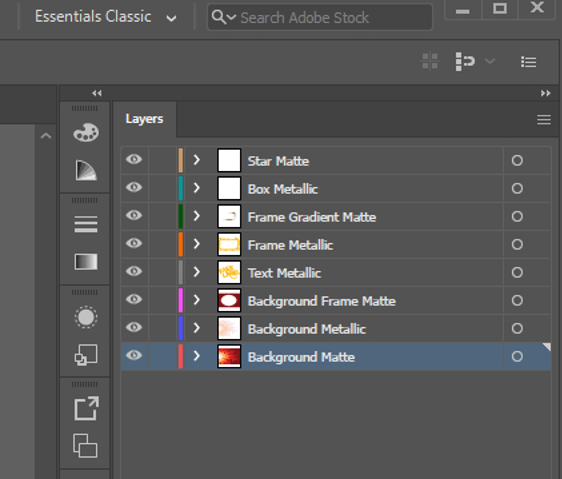
This process can be tricky, especially if you have certain design elements within other elements. Let’s say you want a label with a matte background, but you have an information box that you want to be metallic. That information box should be in a layer above the label background. The white file for the lettering within that information box should then be in another layer above that information box layer. If the white file were tucked below, it could get lost in translation. As such, keeping white files above their respective art layers can make sure white ink is applied exactly where it’s needed.

A white ink layers setup for a label.

Clear, consistent terminology

It’s important to be as clear and consistent as possible when naming art file layers. In general, it’s good to name your layers as “white ink” or with a description of how you’d like the layer to look.

For example, you may need a white file that still allows some amount of the metallic substrate to show through the ink. In this case, naming the layer “50 percent metallic” will clearly show how much white ink is needed under the CMYK ink. By using clear, consistent layer names, you can reduce the amount of back-and-forth discussions necessary to achieve your ideal label.

Simplify barcodes

While you may be tempted to do a metallic barcode or some other interesting design, it’s best to use a simple color scheme for your barcodes. You want to have enough contrast between the bars and the background to ensure that scanners can read your barcode.

Black bars on a white background is typically the safest route. A solid base of white ink to support your barcode in this scenario is a great way to support the barcode.

A label with a metallic substrate made with white file best practices.

Set Up Your Product Labels for Success

A little preparation can make a massive difference for your product labels. However, certain art file and design issues aren’t always obvious. At Blue Label, our prepress team works with you to eliminate potential problems and identify opportunities to enhance your finished product labels.

Ready to invest in stunning labels for your products? Contact us today about your labeling needs.