How Labels are Made: Digital Printing from Design to Finished Product
Ever wondered what it takes to turn your label design into a finished product? We’re here to walk you through the digital label printing process—from getting a quote to the final shipment. We’ll address what matters most to you: getting your labels fast, controlling costs, and getting top quality labels.
The Label Printing Process
We’ve broken down the process into four clear steps.
Step 1: Label Quotes, Design, and Prepress
Before printing even begins, we start by gathering the essential details—like your label size, material, and order quantity—to give you a quote. Once you approve the quote, we ask for your artwork and send you a digital proof for your final go-ahead.
With your approval, your artwork moves to our prepress team—the last checkpoint before printing. This is where we make sure your file is ready for production.
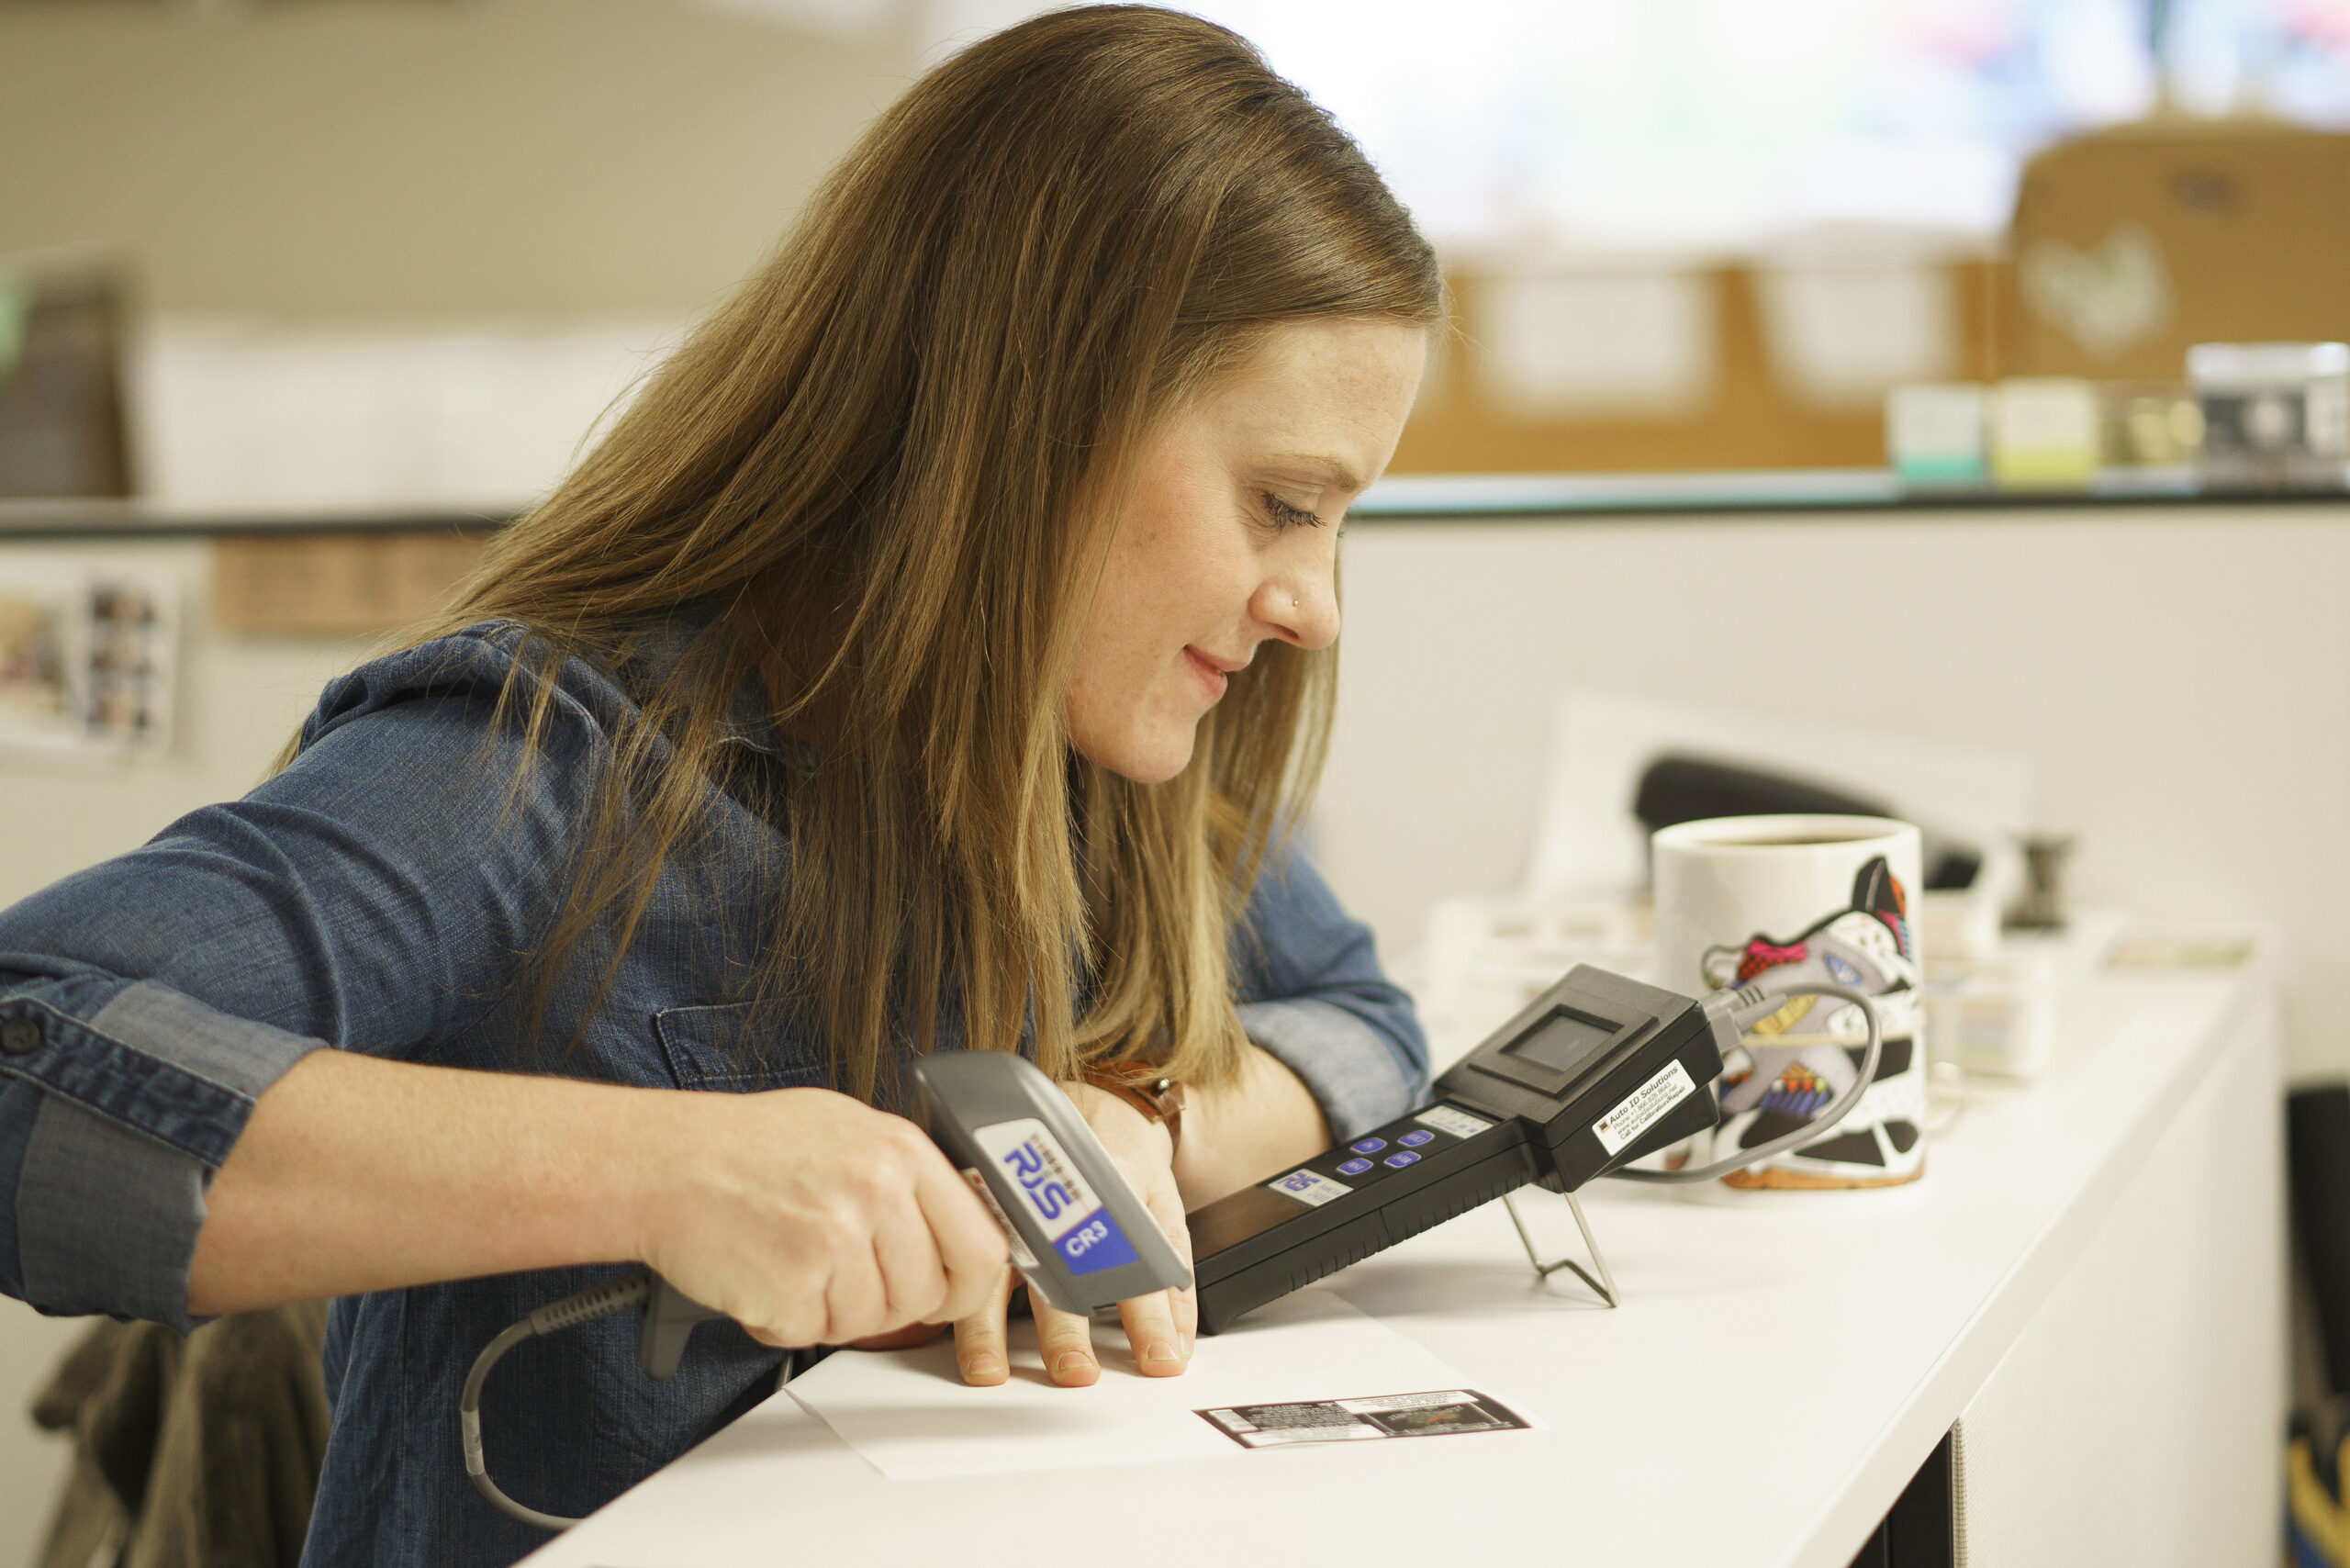
In this stage, we check every detail, from fonts to colors and images. We’ll make sure your label is ready for production—for example, if your label includes a barcode, we’ll do a quick test print to confirm it scans perfectly, so you don’t run into delays later.
Looking for Custom Labels?
We put our all into every custom label we make. No exceptions. And with no minimum order quantities and a 5-day turnaround for digital label printing, we take pride in helping you perfect your first impression.
Request a Quote Get a Sample Pack
Step 2: Printing
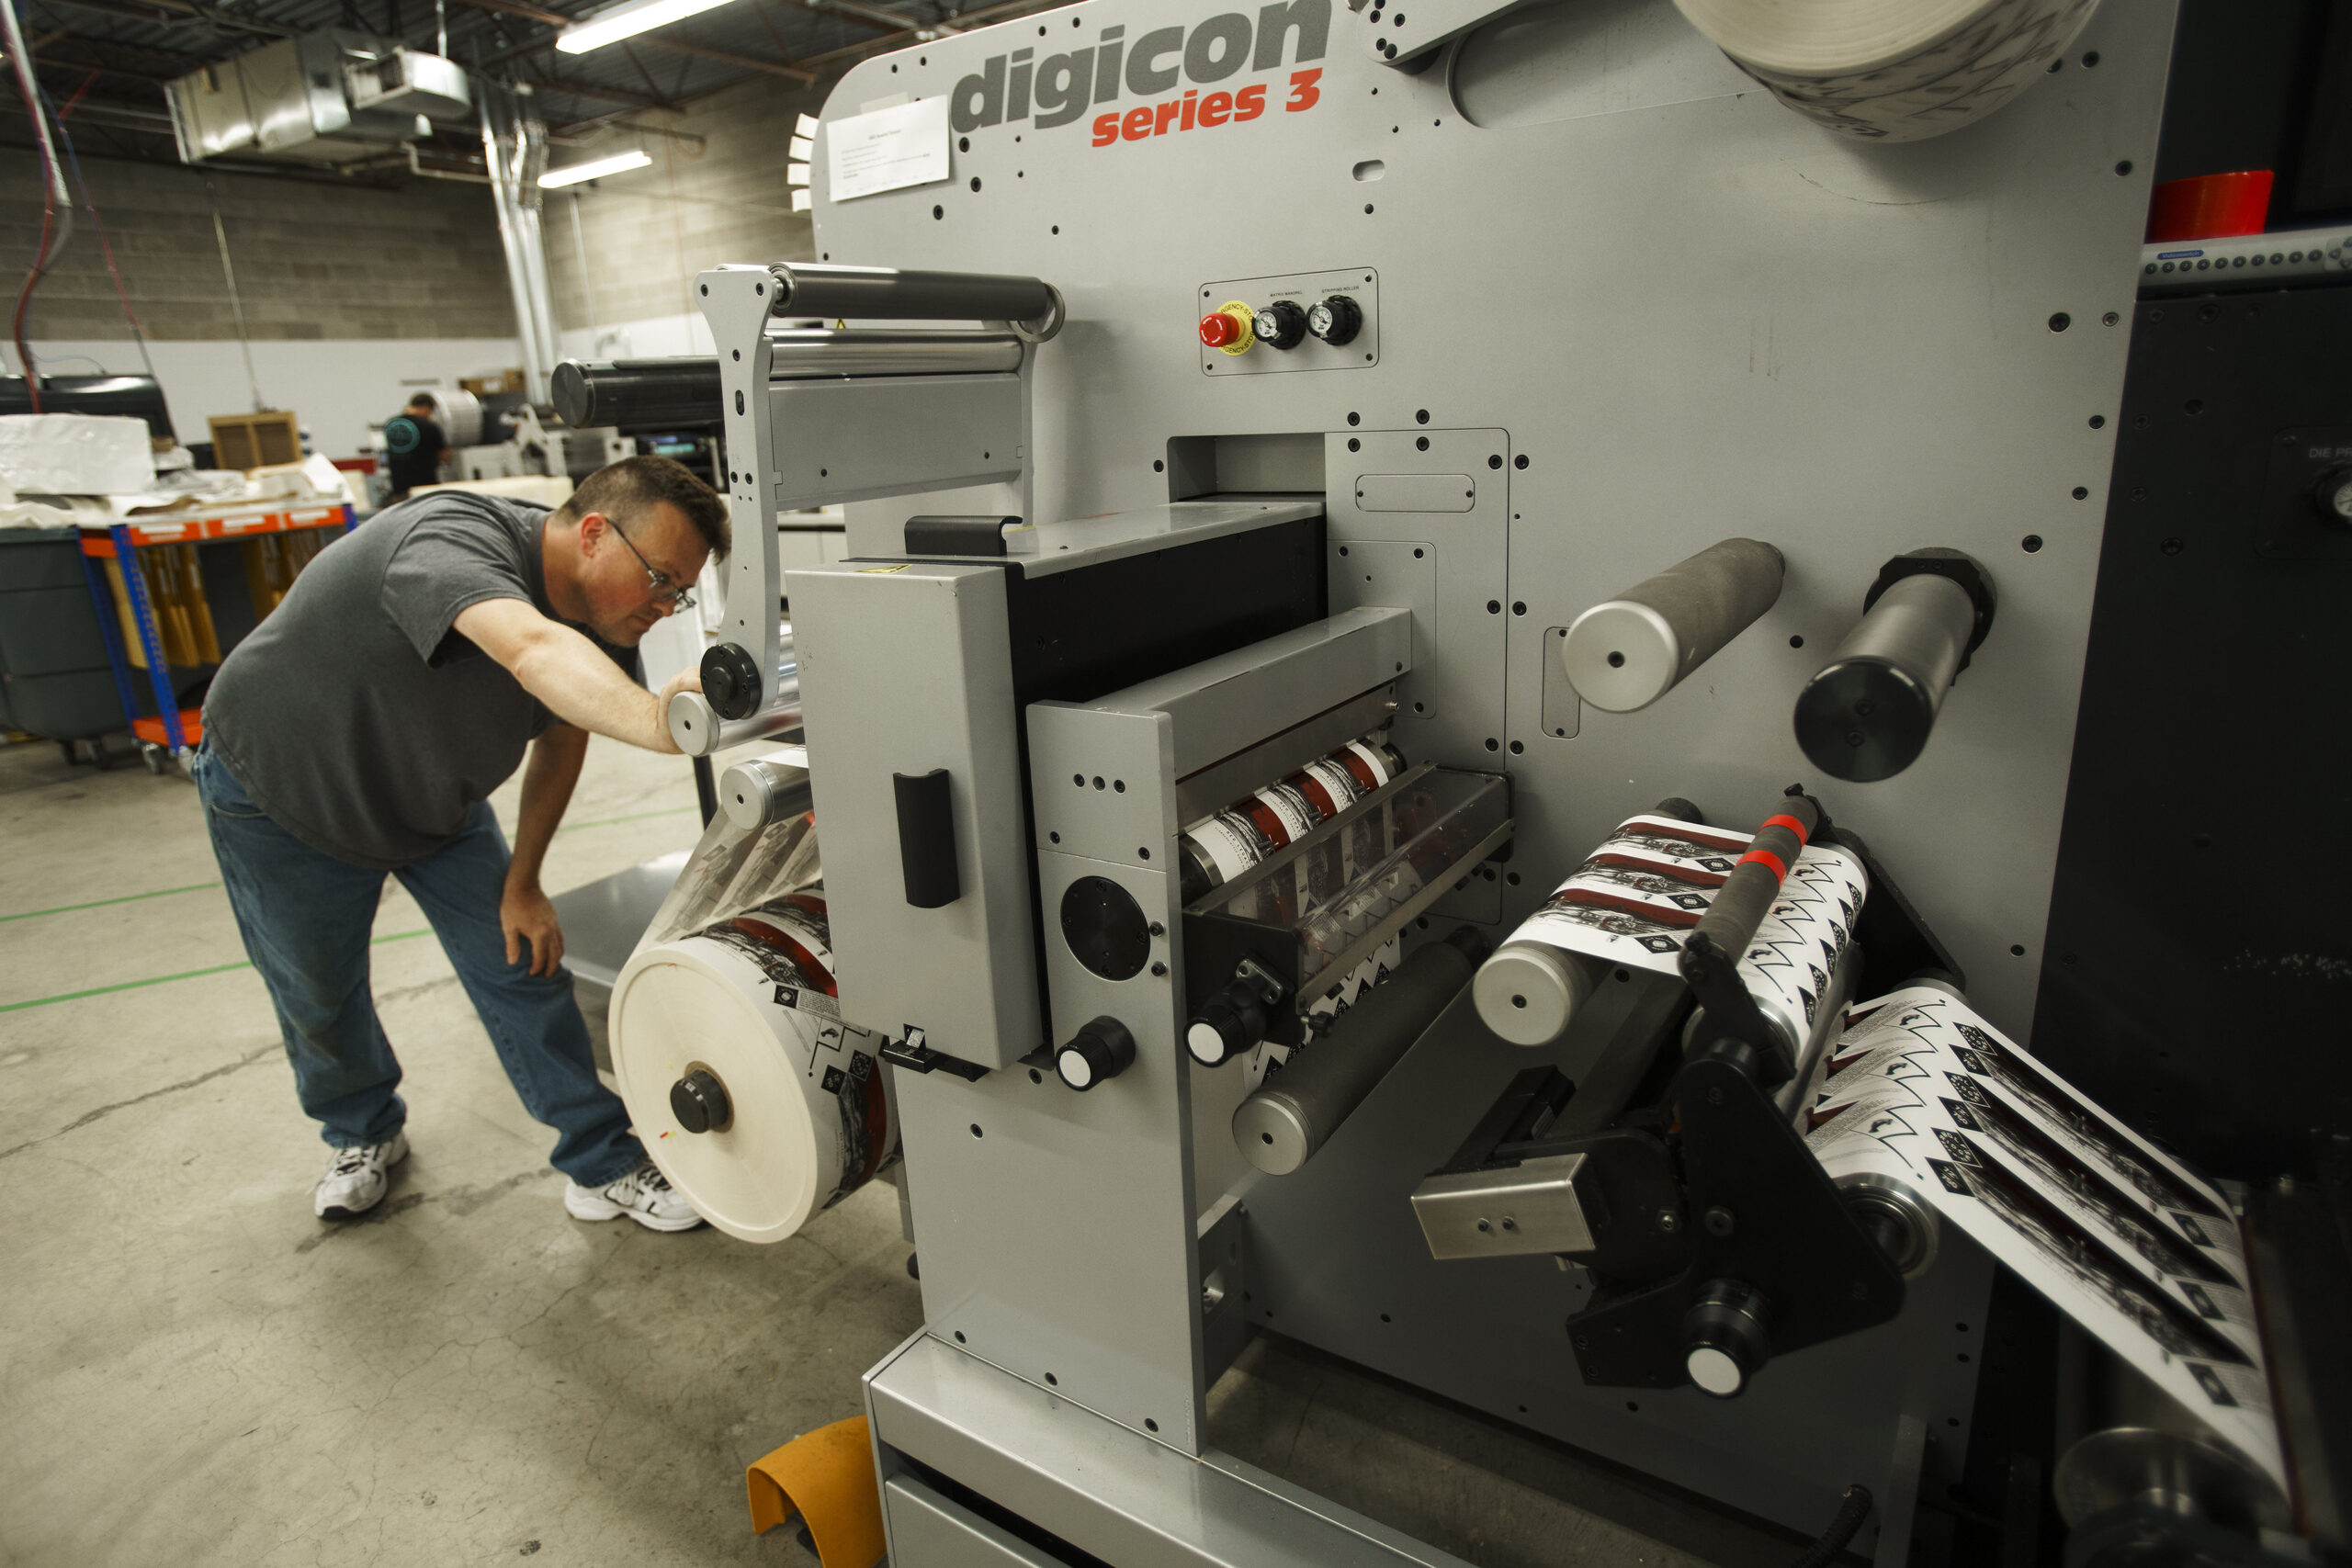
Once your file is ready, it heads to our state-of-the-art HP Indigo digital presses. This approach skips the expensive plate setup you have with traditional printing, saving you money and speeding up production.
According to studies from Smithers, under optimal conditions, digital printing can cut lead times by up to 40%—especially for short-run orders.
After printing, the label material comes in long rolls, ready for the next step.
Step 3: Finishing, Die Cutting, and Quality Assurance
After printing, your labels move on to the finishing stage. Our finishing technology can add a range of treatments—like embossing (which creates a raised, textured effect), hot foil stamping (for a shiny, metallic look), laminates (protective coatings that extend label life), and UV varnishes (clear, durable coatings cured with ultraviolet light for extra gloss and protection). These enhancements not only impact the look of your labels but also make them more durable.
Your labels may come in a standard size, or they may be die cut. This is where we use a custom metal blade to cut your labels out of a large printed roll. Die cutting can minimize waste, cut costs, and give your label a unique shape to fit your container.
Step 4: Winding, Packaging, and Shipping
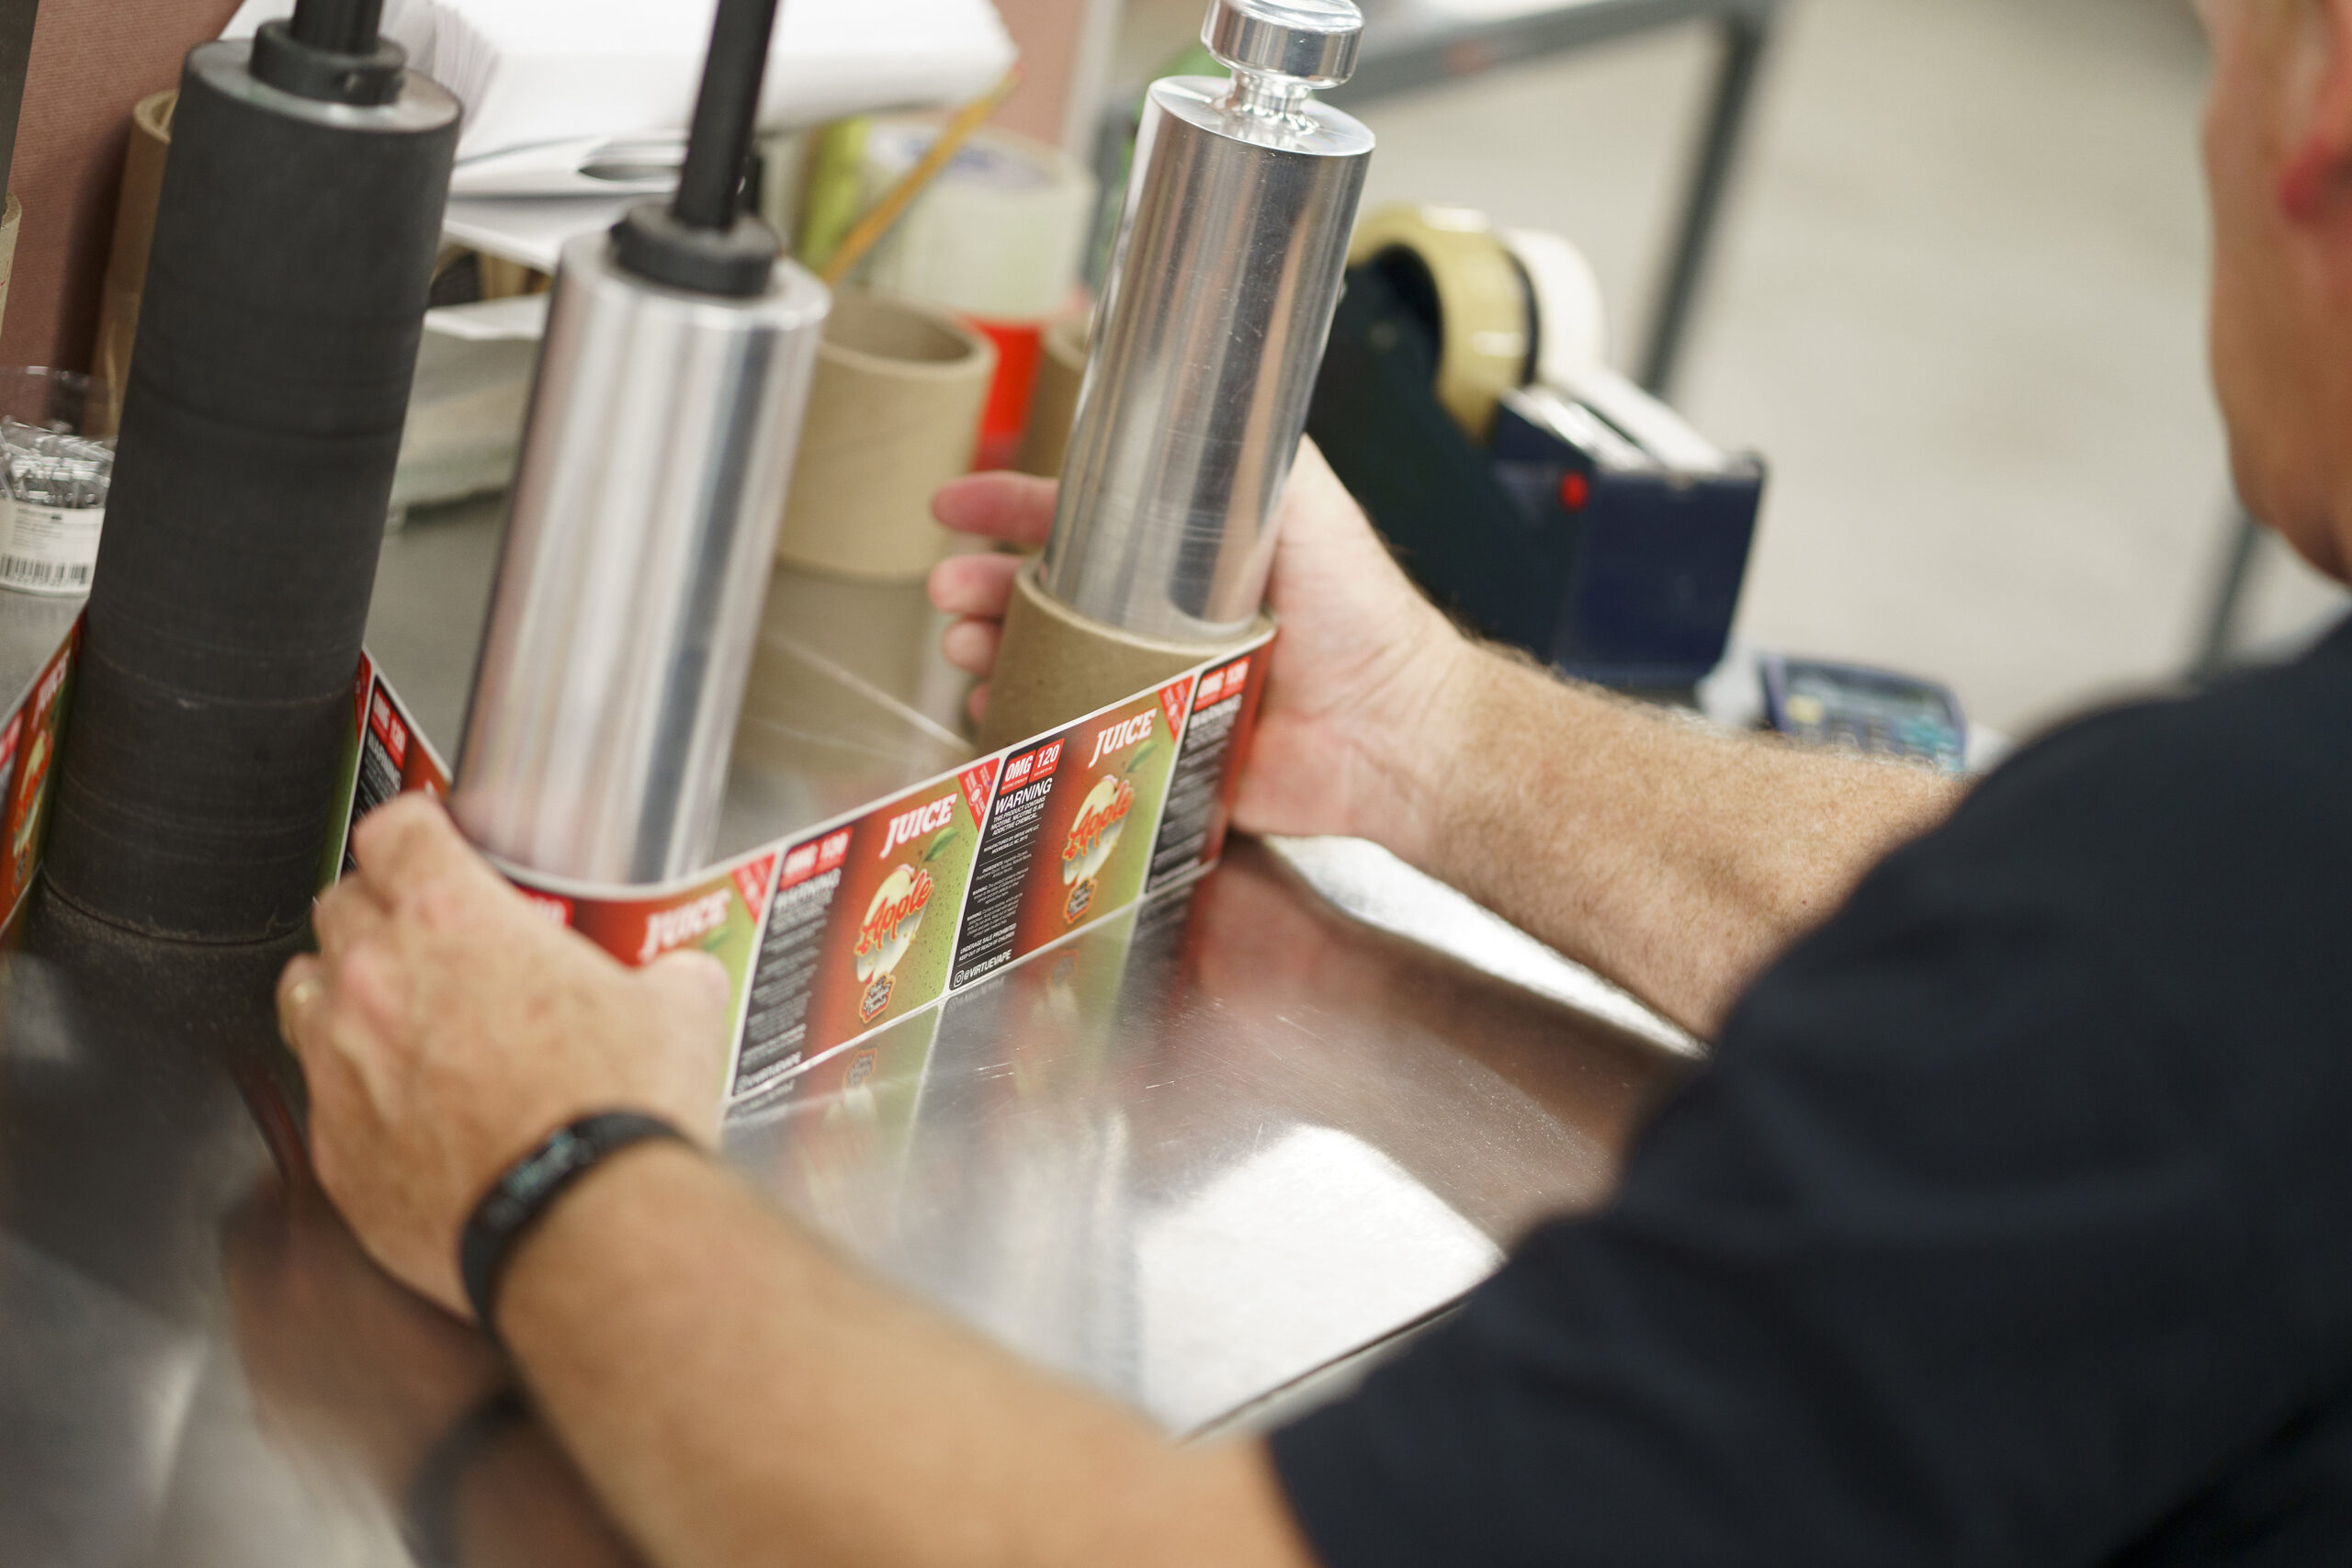
In the final stage, we re-roll your labels into the right quantities. Since the labels come off the finishing machines in huge rolls, our rewind machines re-roll them into sizes that work perfectly with your applicators (the machines or processes that stick your labels on your product).
After one last quality check by our packaging team, your labels are carefully packed and shipped.
How to Make the Right Digital Label Printing Choices
Understanding the digital label printing process can help you make the best choices for your products and your operation. Here’s what to keep in mind:
Costs
As we mentioned earlier, digital printing eliminates expensive plate setups and reduces turnaround times—sometimes by as much as 40% under the right conditions. This means lower production costs and a faster path to seeing returns on your investment.
Picking the Right Label Printing Partner
When evaluating label printers, think about a few key things:
- What are their turnaround times?
- How do they handle quality control?
- How well do they integrate digital workflows?
- Do they offer post-production support?
Eco-Friendly Label Printing Considerations
Eco-friendly practices are a big deal nowadays, but there’s not a “one size fits all” approach. If you’re considering the environmental impact of your labels, look for vendors who:
- Offer sustainable materials
- Use processes that cut down on waste
- Embrace green initiatives without skimping on quality
Simplify the Label Printing Process for Your Business
At Blue Label, we’re all about guiding you through every step—from design to delivery. Our process is designed to give you high-quality labels that meet your needs, all while keeping costs in check and production running smoothly. We’re here to help you make informed decisions and get great results.
Ready to get started? Contact us today for a free consultation or quote.