The Craft Beverage Brand’s Guide to Labels & Packaging
- cannabis labels
- FDA
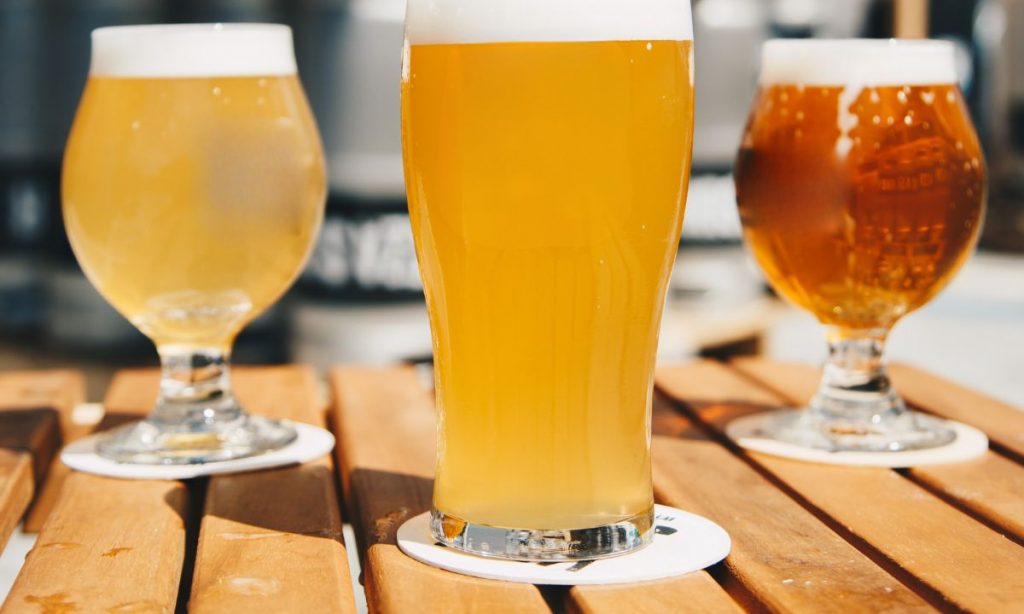
If you make beer, hard seltzer, canned wine, kombucha, cold brew, RTDs, or non-alcoholic drinks, you know how important packaging is. By the time someone reaches for your can or bottle, they’ve already decided it looks like something worth trying. That decision happens fast, and it happens almost entirely on the strength of how the package looks and feels.
This guide is built for craft beverage brands trying to make smart packaging decisions. We walk through format choices, materials, finishes, minimum quantities, lead times, compliance basics, and the mistakes we see new brands make most often.
We have spent years working with breweries, distilleries, kombucha makers, and emerging beverage brands of every shape, so our goal here is to flatten the learning curve so you can get to a label or a printed can you feel great about.
Why the Label Decision Decides So Much for a Craft Beverage Brand
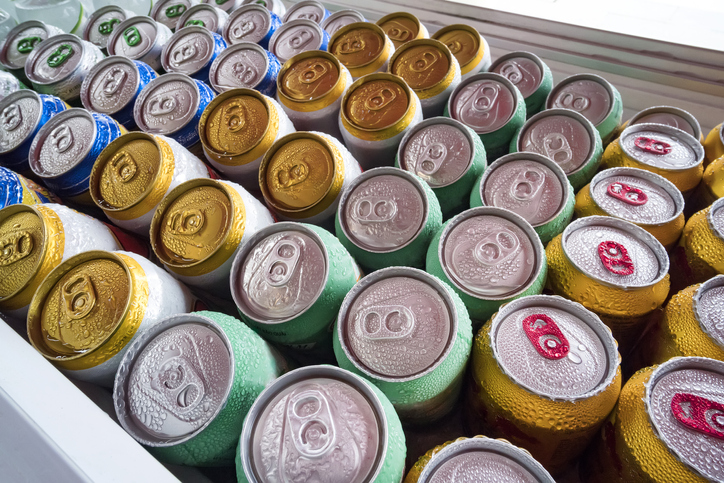
There is a saying in craft beverage circles that packaging is your brand’s dating profile. It is the first thing a stranger sees, and a lot of strangers never get past it. That feels dramatic until you spend time at a store watching people decide what to buy.
There are more than 9,000 craft breweries in the United States according to the Brewers Association, and the rest of the cooler is now packed with canned wine, hard seltzer, kombucha, cold brew, and a fast-growing field of non-alcoholic brands.
That’s why we treat the decoration layer as the most important packaging decision a craft beverage brand makes.
The Three Main Ways to Decorate a Craft Beverage Can or Bottle
Most craft beverage brands end up choosing between three formats:
- pressure-sensitive labels (often just called can labels or bottle labels)
- shrink sleeves
- printed cans
Each one fits some scenarios better than others.
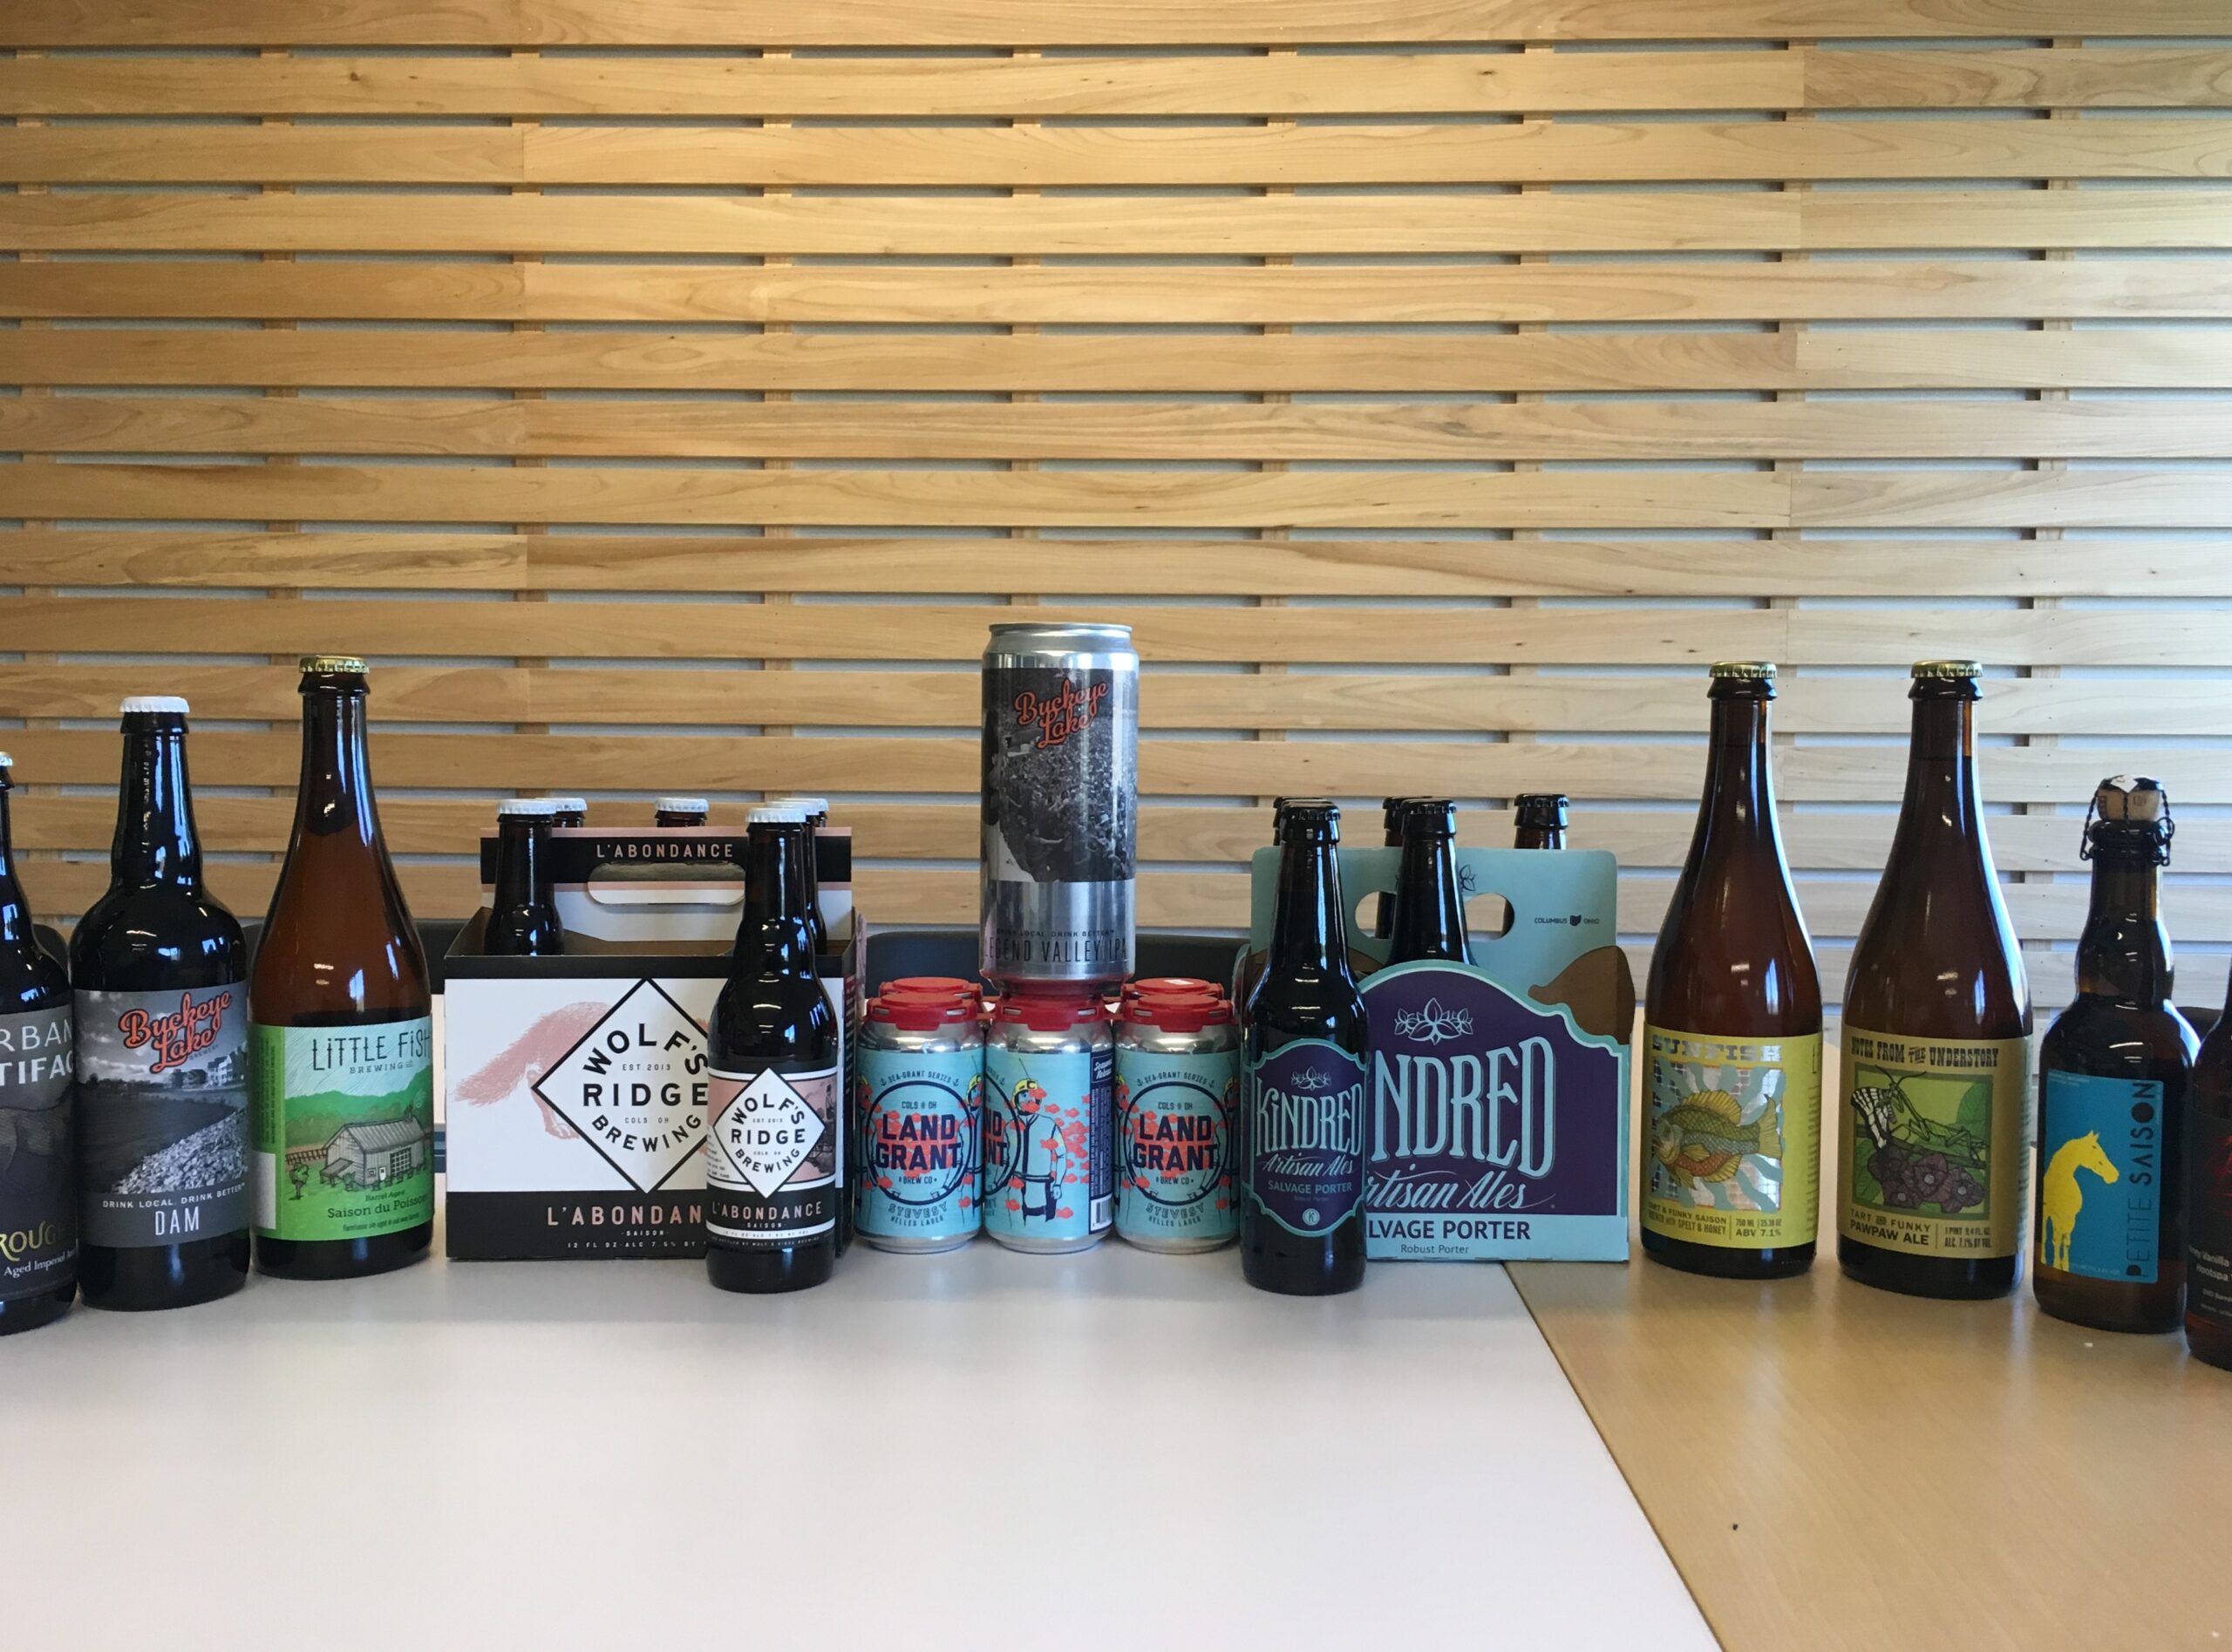
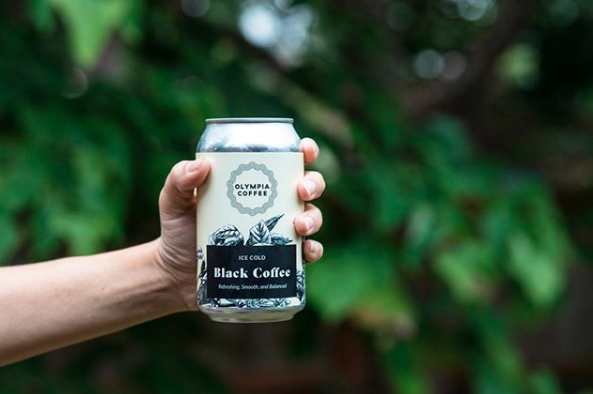
Pressure-Sensitive Labels
Pressure-sensitive labels are the most common choice for most craft beverage brands. The label is printed on a flexible material, cut to the right shape, and applied to the can or bottle with an adhesive.
Pressure-sensitive labels go on cans, bottles, growlers, and crowlers. They print in just about any finish you can think of, including matte, gloss, foil, embossing, and soft touch.
The reason most breweries and emerging beverage brands start here is simple: digital pressure-sensitive label printing has very low or no minimums, fast turnaround, and lets you run multiple SKUs in a single production run without setup penalties.
That means you can run 1,000 labels of a porter, 3,000 of an IPA, and 2,000 of a pilsner in the same order if you want to.
Shrink Sleeves
Shrink sleeves are printed on a flexible plastic film that wraps around the entire can or bottle and is then heat-shrunk to fit. They cover the full surface, letting your design wrap continuously around the package without a seam. They look great on shelf, especially for hard seltzers, RTDs, and any brand whose design is built around bold, photo-realistic, full-body artwork.
The application process can introduce distortion at the can shoulders if the artwork isn’t laid out for it. And per-unit cost is usually higher than a comparable pressure-sensitive label.
Printed Cans
Printed cans skip the label entirely. The artwork is printed directly onto the aluminum can using a digital printing process called direct-to-object, sometimes called direct-to-can. There is no label, no adhesive, no shrink film. What you see is ink cured onto the can.
Printed cans look the most premium of the three formats because there is no label edge or sleeve seam. Finishes like matte, gloss, embossed (high build), selective metallic effects, and spot varnish all work.
The minimums for digital printed cans have come way down over the past few years. A typical small-run on a 12oz standard can is in the 1,900 to 2,000 cans per SKU range, which is much more accessible than the old offset-printed-can world. (We will get to that in the minimums section.)
Quick Comparison of the Three Formats
| Format | Best fit | Typical MOQ per SKU | Strengths | Considerations |
| Pressure-sensitive labels | Most craft brands, multi-SKU lineups, small batches | Often no minimum on digital | Cheapest at small volumes, fast, every finish, easy SKU mixing | Material and adhesive must match the environment |
| Shrink sleeves | Full-body artwork, mixed lines on shared blank cans | Often no minimum on digital | 360-degree design, same blank can across SKUs | Shoulder distortion if artwork is wrong |
| Printed cans (digital DTO) | Brands ready to scale a SKU, premium look without label edges | ~1,600–2,000 | Most premium look, selective metallic, no label issues | Higher MOQ than PS labels, requires a pilot can step |
If you want a deeper comparison of cost, lead time, and performance across all three, we wrote a full breakdown in Printed Cans: How to Compare with Shrink Sleeves and Labels.
Picking Label Materials That Survive Coolers, Ice, and Condensation
One of the most common issues we hear from craft beverage brands unhappy with their current printer is some version of “our labels are coming off.”
Almost every time, the root cause is a material or adhesive choice that did not match the environment the can or bottle actually lives in.
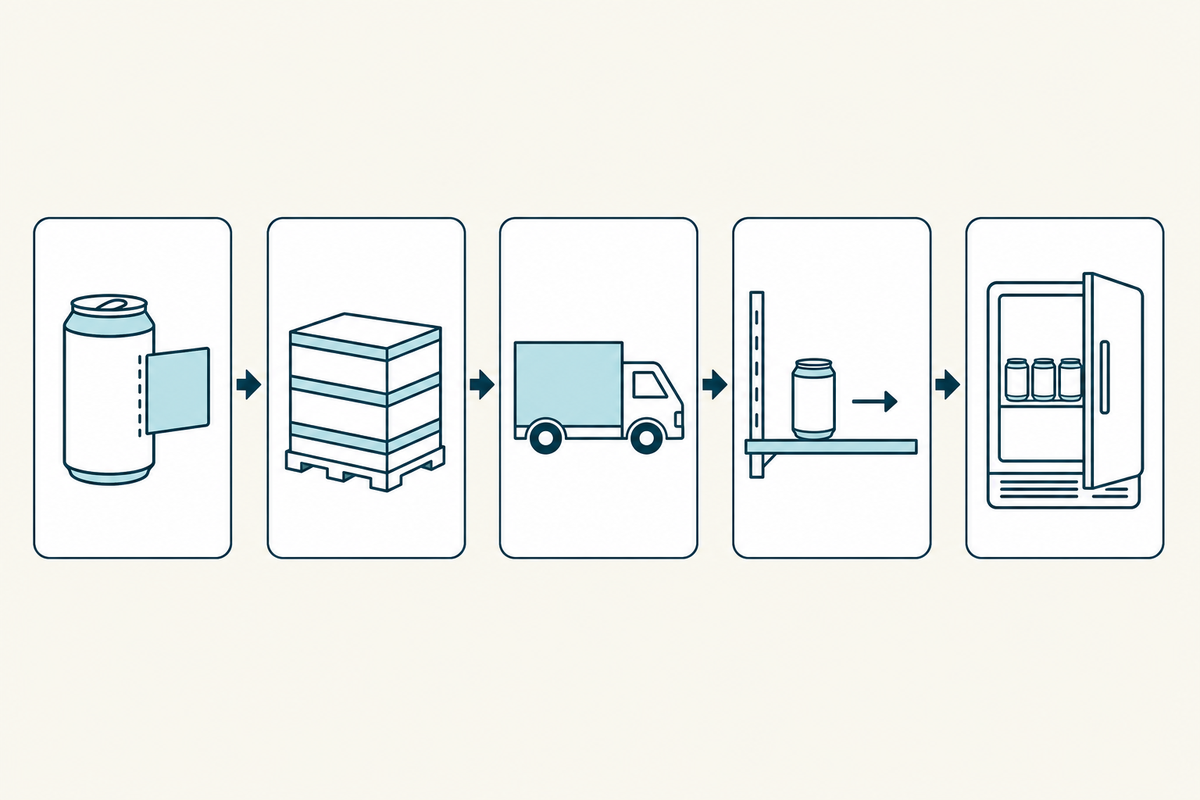
Craft beverage packaging goes through a lot of handling and environments. It sits in coolers, gets buried in ice, comes out covered in condensation, and rides around in delivery trucks. The label has to survive all of that and still look like the brand promised.
There are a handful of label face materials that do most of the work in our world.
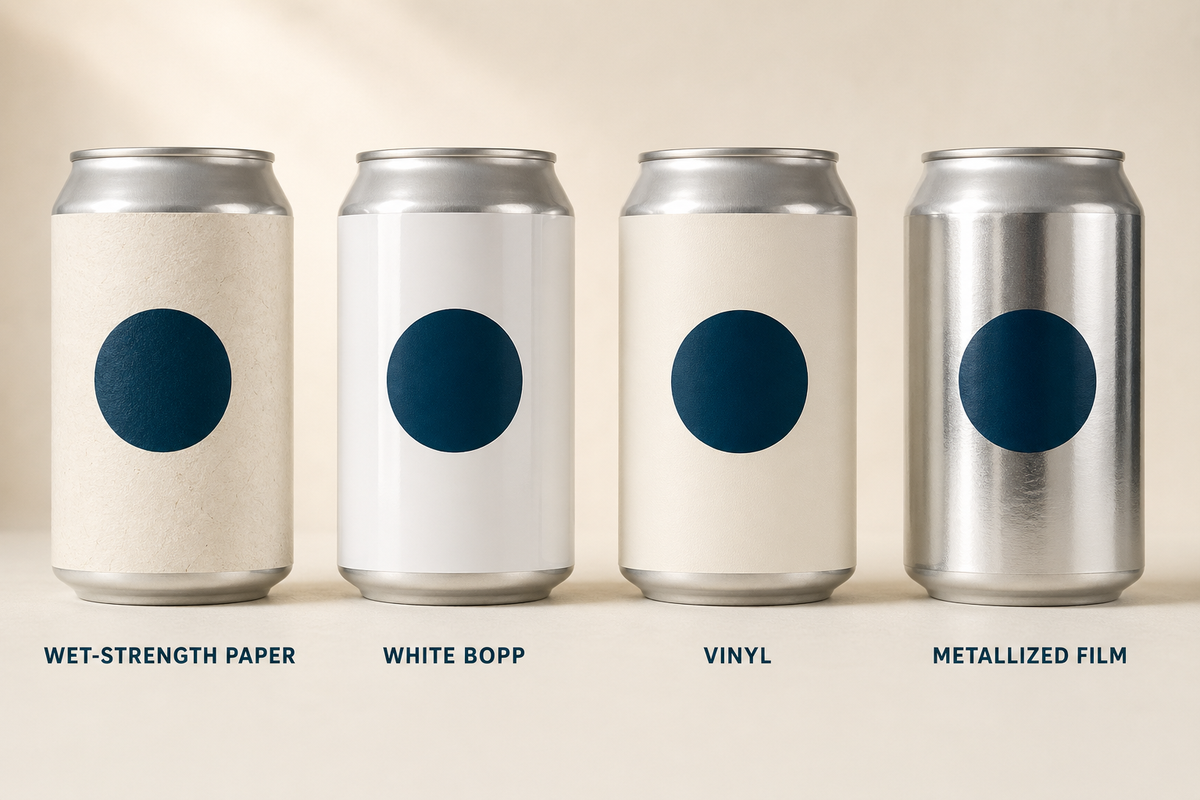
Paper Labels
Paper labels look great and have a craft, hand-made feel. Standard paper falls apart fast in cold and wet conditions, which is why most beverage brands either skip paper entirely or use a wet-strength paper.
Wet-strength paper is treated so it does not break down from condensation or light moisture, which is what you want if you are committed to a paper aesthetic.
BOPP
BOPP is the workhorse film material. It stands for biaxially-oriented polypropylene, which is a fancy way of saying a thin, durable plastic film that does not soak up moisture. White BOPP and clear BOPP are the two common versions. They are water-resistant, tear-resistant, and they hold up to ice baths, cooler doors, and damp delivery trucks without complaining.
Vinyl
Vinyl is similar to BOPP in durability but tends to feel slightly heavier. It is fine for beverage applications, especially when paired with certain finishes, though it costs a bit more.
Metallized Film
Metallized films give you a silver mirror surface to print on. They are not just for decorative effect. The metallic underlayer changes how colors read and lets the label do things paper or BOPP cannot. They cost more than standard films and they are worth considering for premium positioning, especially in spirits and canned wine.
The other half of the durability question is the adhesive. The face material can be perfect, but if the adhesive is not made for cold or wet application, you will still get peeling.
Permanent adhesives rated for refrigerated and frozen surfaces are a different formula from standard ones. If your can is going straight from a 38-degree cold room to a 38-degree cooler, your printer should be specifying an adhesive built for that.
One thing to watch: A lot of label issues are actually material-environment mismatches. Always ask your printer whether the materials are matched to your real-world conditions (think cooler doors, ice buckets, cold trucks, wet hands). A good printer will know the answer.
Finishes That Make a Craft Beverage Label Look Like It Belongs on a Real Brand
If material is the durability decision, finish is the personality decision. Finish is what makes a label feel premium, vintage, modern, hand-drawn, foil-stamped, or any of the other things craft brands are trying to be.
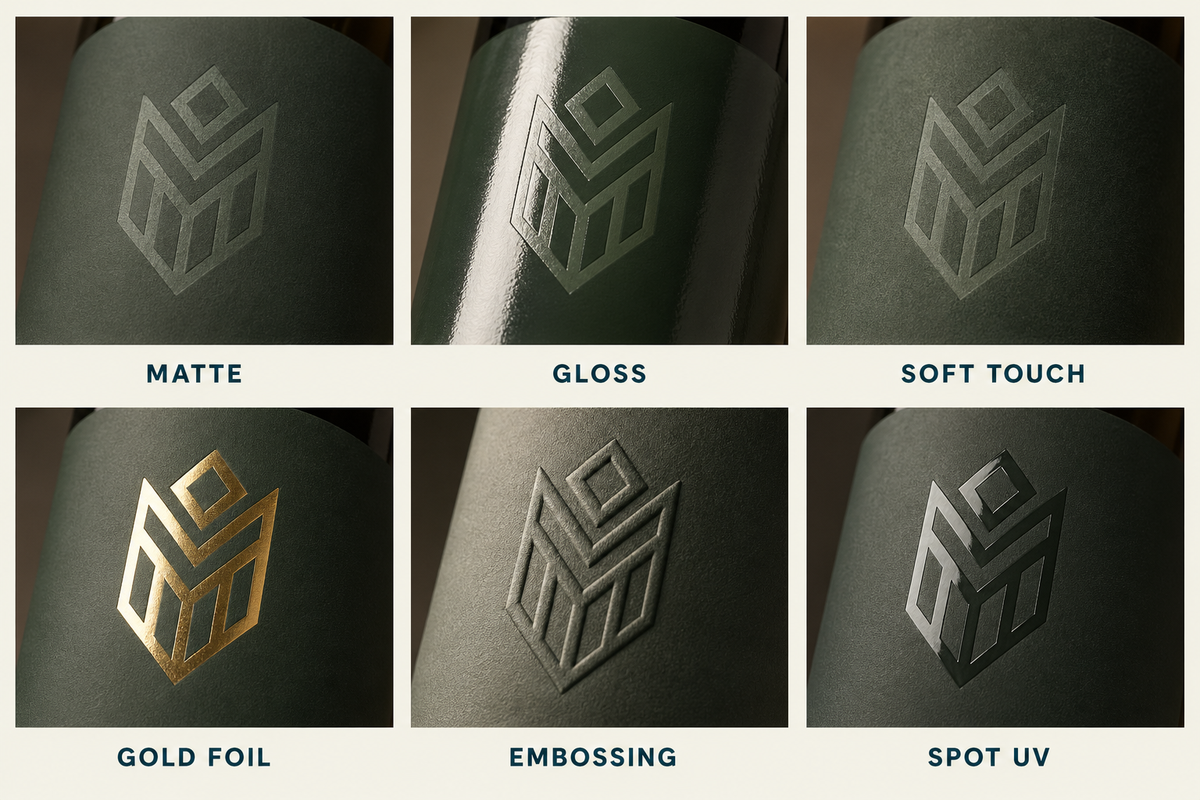
Matte and Soft Touch (The Premium Default)
Matte finishes have become the default for craft brands that want to feel modern and intentional without going maximalist. Matte films absorb light instead of reflecting it, which makes designs read as quieter, more confident, and less “shouting on shelf.”
Soft touch is matte’s velvety cousin. The finish has a slight grip to it that changes how the can feels in someone’s hand, which is something gloss cannot do. Soft touch tends to cost more than standard matte and shows up most often on premium positioning where the brand wants the can to feel like part of the experience.
Matte is a strong default for craft beer cans, hard seltzer, kombucha, cold brew, and non-alcoholic beverages going for a clean, modern look. Soft touch shows up on canned wine, premium hard seltzer, and high-end non-alc.
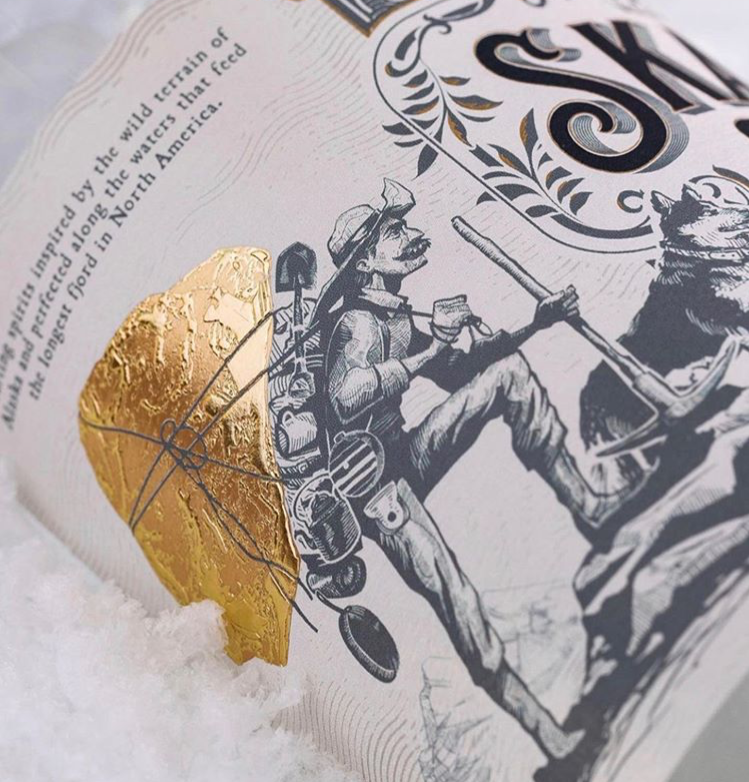
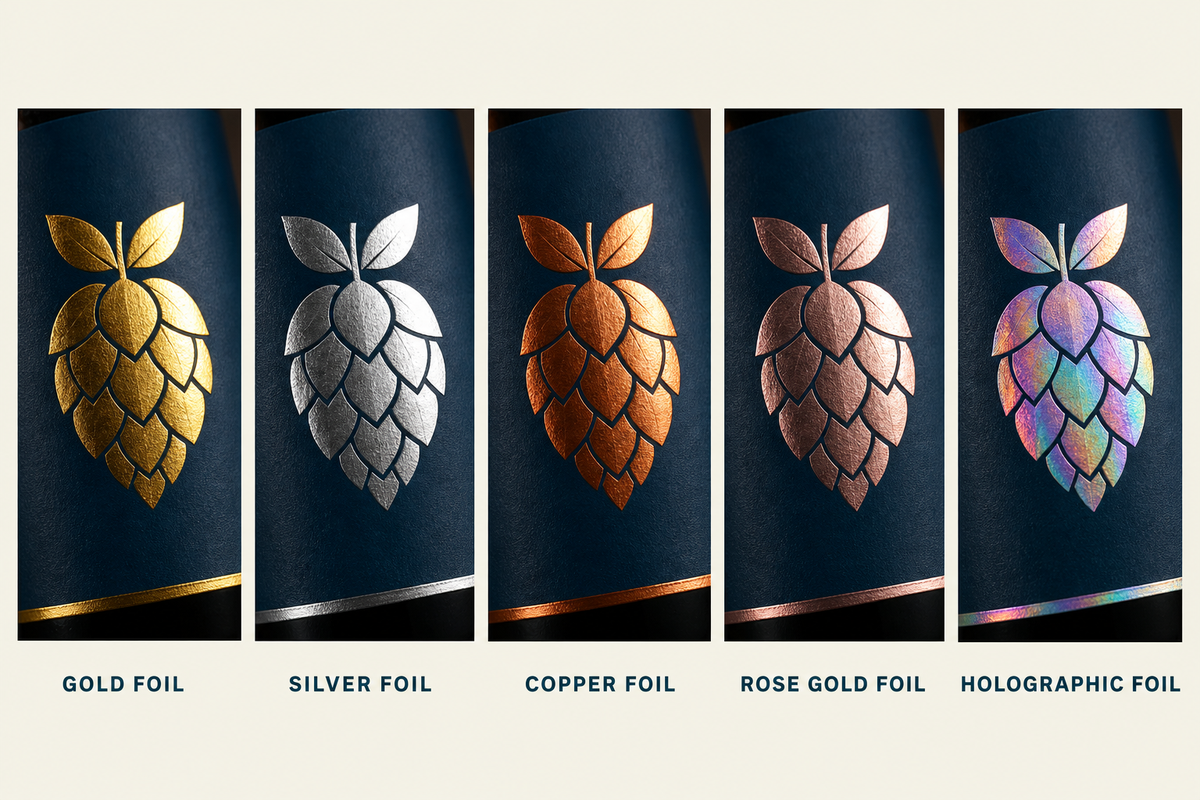
Foil and Metallic Inks
Foil stamping is a separate decoration step where a thin metallic foil is applied to specific parts of the design. Gold and silver are the classics, though copper, rose gold, and holographic foils all exist.
Wineries and distilleries have used foil for decades because it reads as luxury. Breweries used to skip it because it added a step and a cost, but more breweries are using it now for flagship beers and limited releases where the price-per-can supports it.
Embossing, Debossing, and Spot UV
Embossing raises a portion of the label off the surface.
Debossing presses it down.
Spot UV applies a glossy coating to specific shapes within an otherwise matte design, which gives a contrast you can feel.
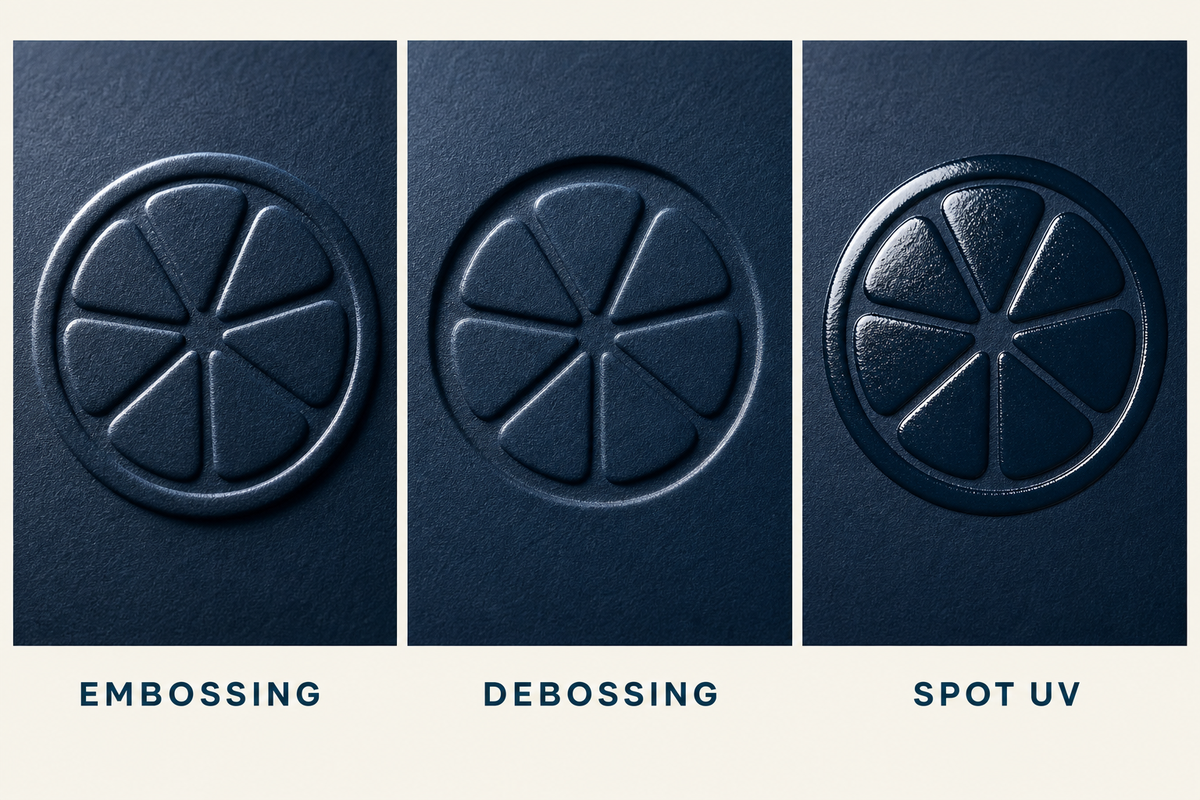
These are the finishes that turn a label into something a customer can run a thumb across. They are most common on wineries, distilleries, and premium beverage launches, but they also show up on flagship craft beers and limited-release hard seltzer.
Also worth noting: Finishes do extra work outside the cooler. A label with foil, embossing, or selective metallic photographs better on social media than a flat label, which means your customer is more likely to share it.
Some of the strongest organic marketing a craft brand gets is people posting cans they thought looked cool. Your finish choice is partly a content strategy.
How Minimum Order Quantities Work for Craft Beverage Labels and Printed Cans
You’re wondering: “What’s a realistic minimum on printed cans?” The answer changed a lot in the past few years, and most online content is still using outdated numbers.
The Old World: Why Printed Cans Used to Be Out of Reach
Until recently, the only way to get printed cans was through traditional offset (or “offset litho”) printing. That process required physical printing plates per design, which meant the economics did not work below very large volumes. Ball Corporation’s well-known move to a five-truckloads-per-SKU minimum, somewhere in the 250,000-can range, priced most craft brands out of printed cans entirely.
That left two options: print pressure-sensitive labels or use shrink sleeves. Both work, and both are still the right answer for plenty of brands. But for any brand that wanted the look of a printed can without warehousing five truckloads of inventory, the barrier to entry was too high.
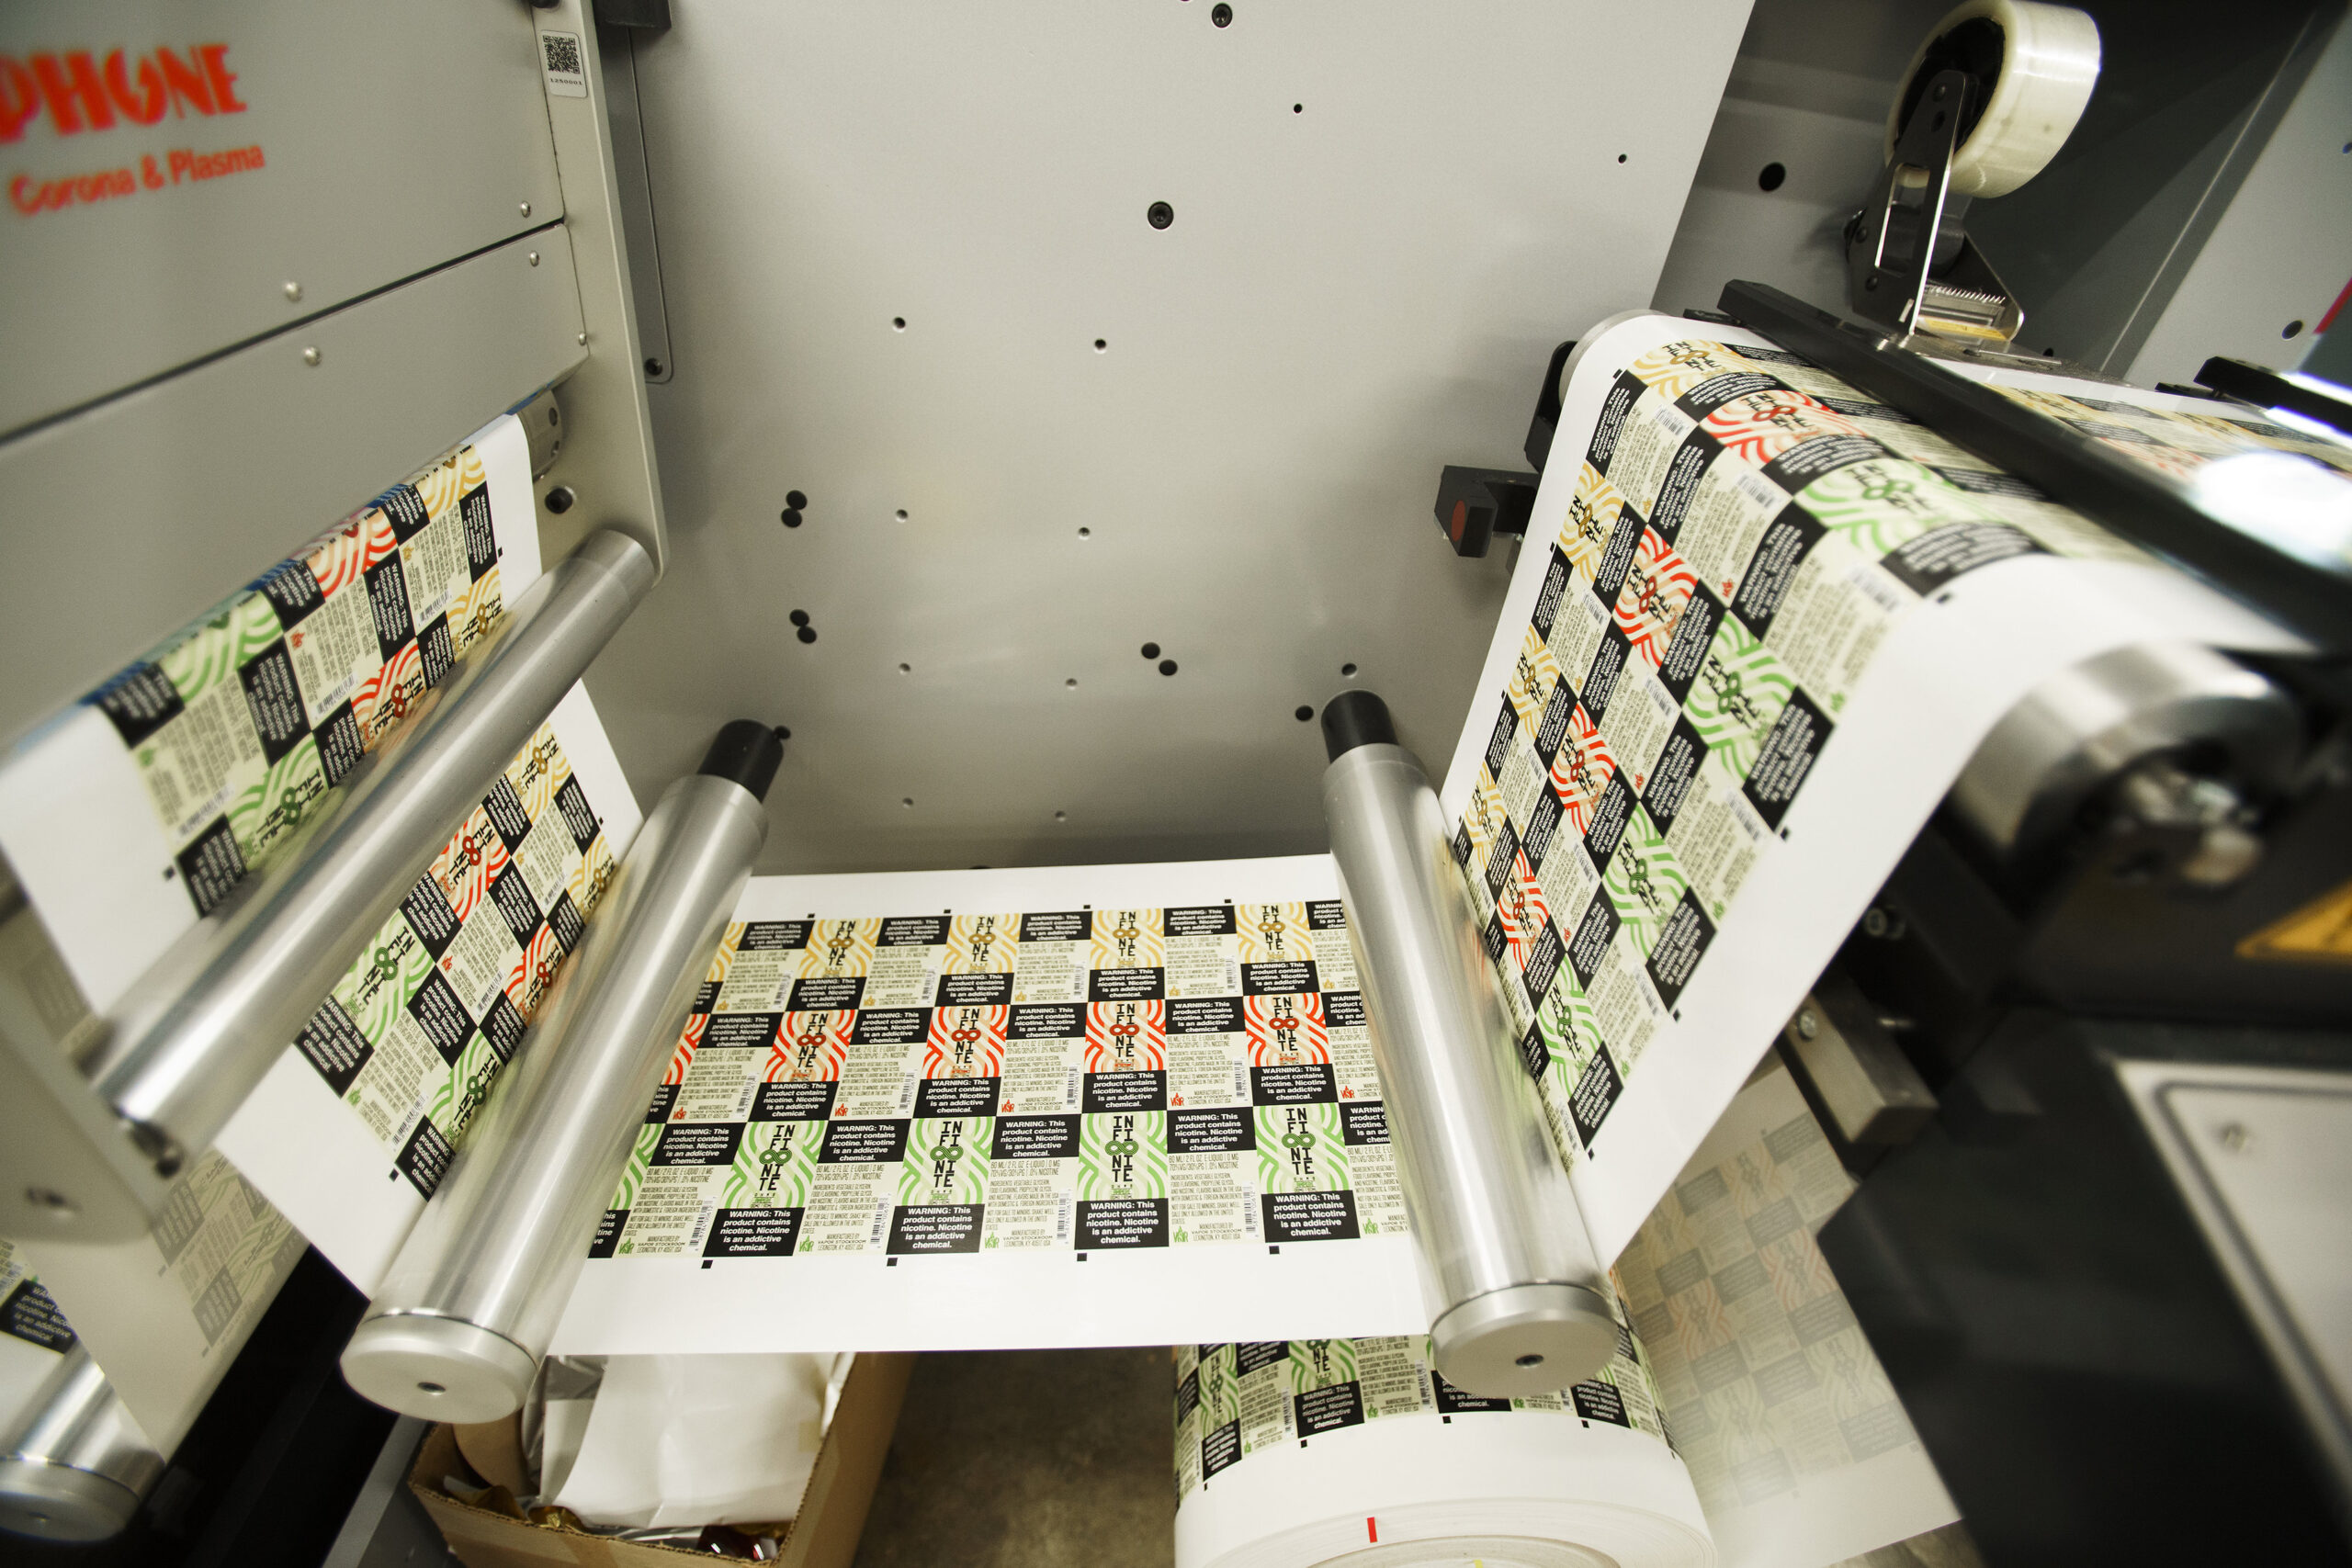
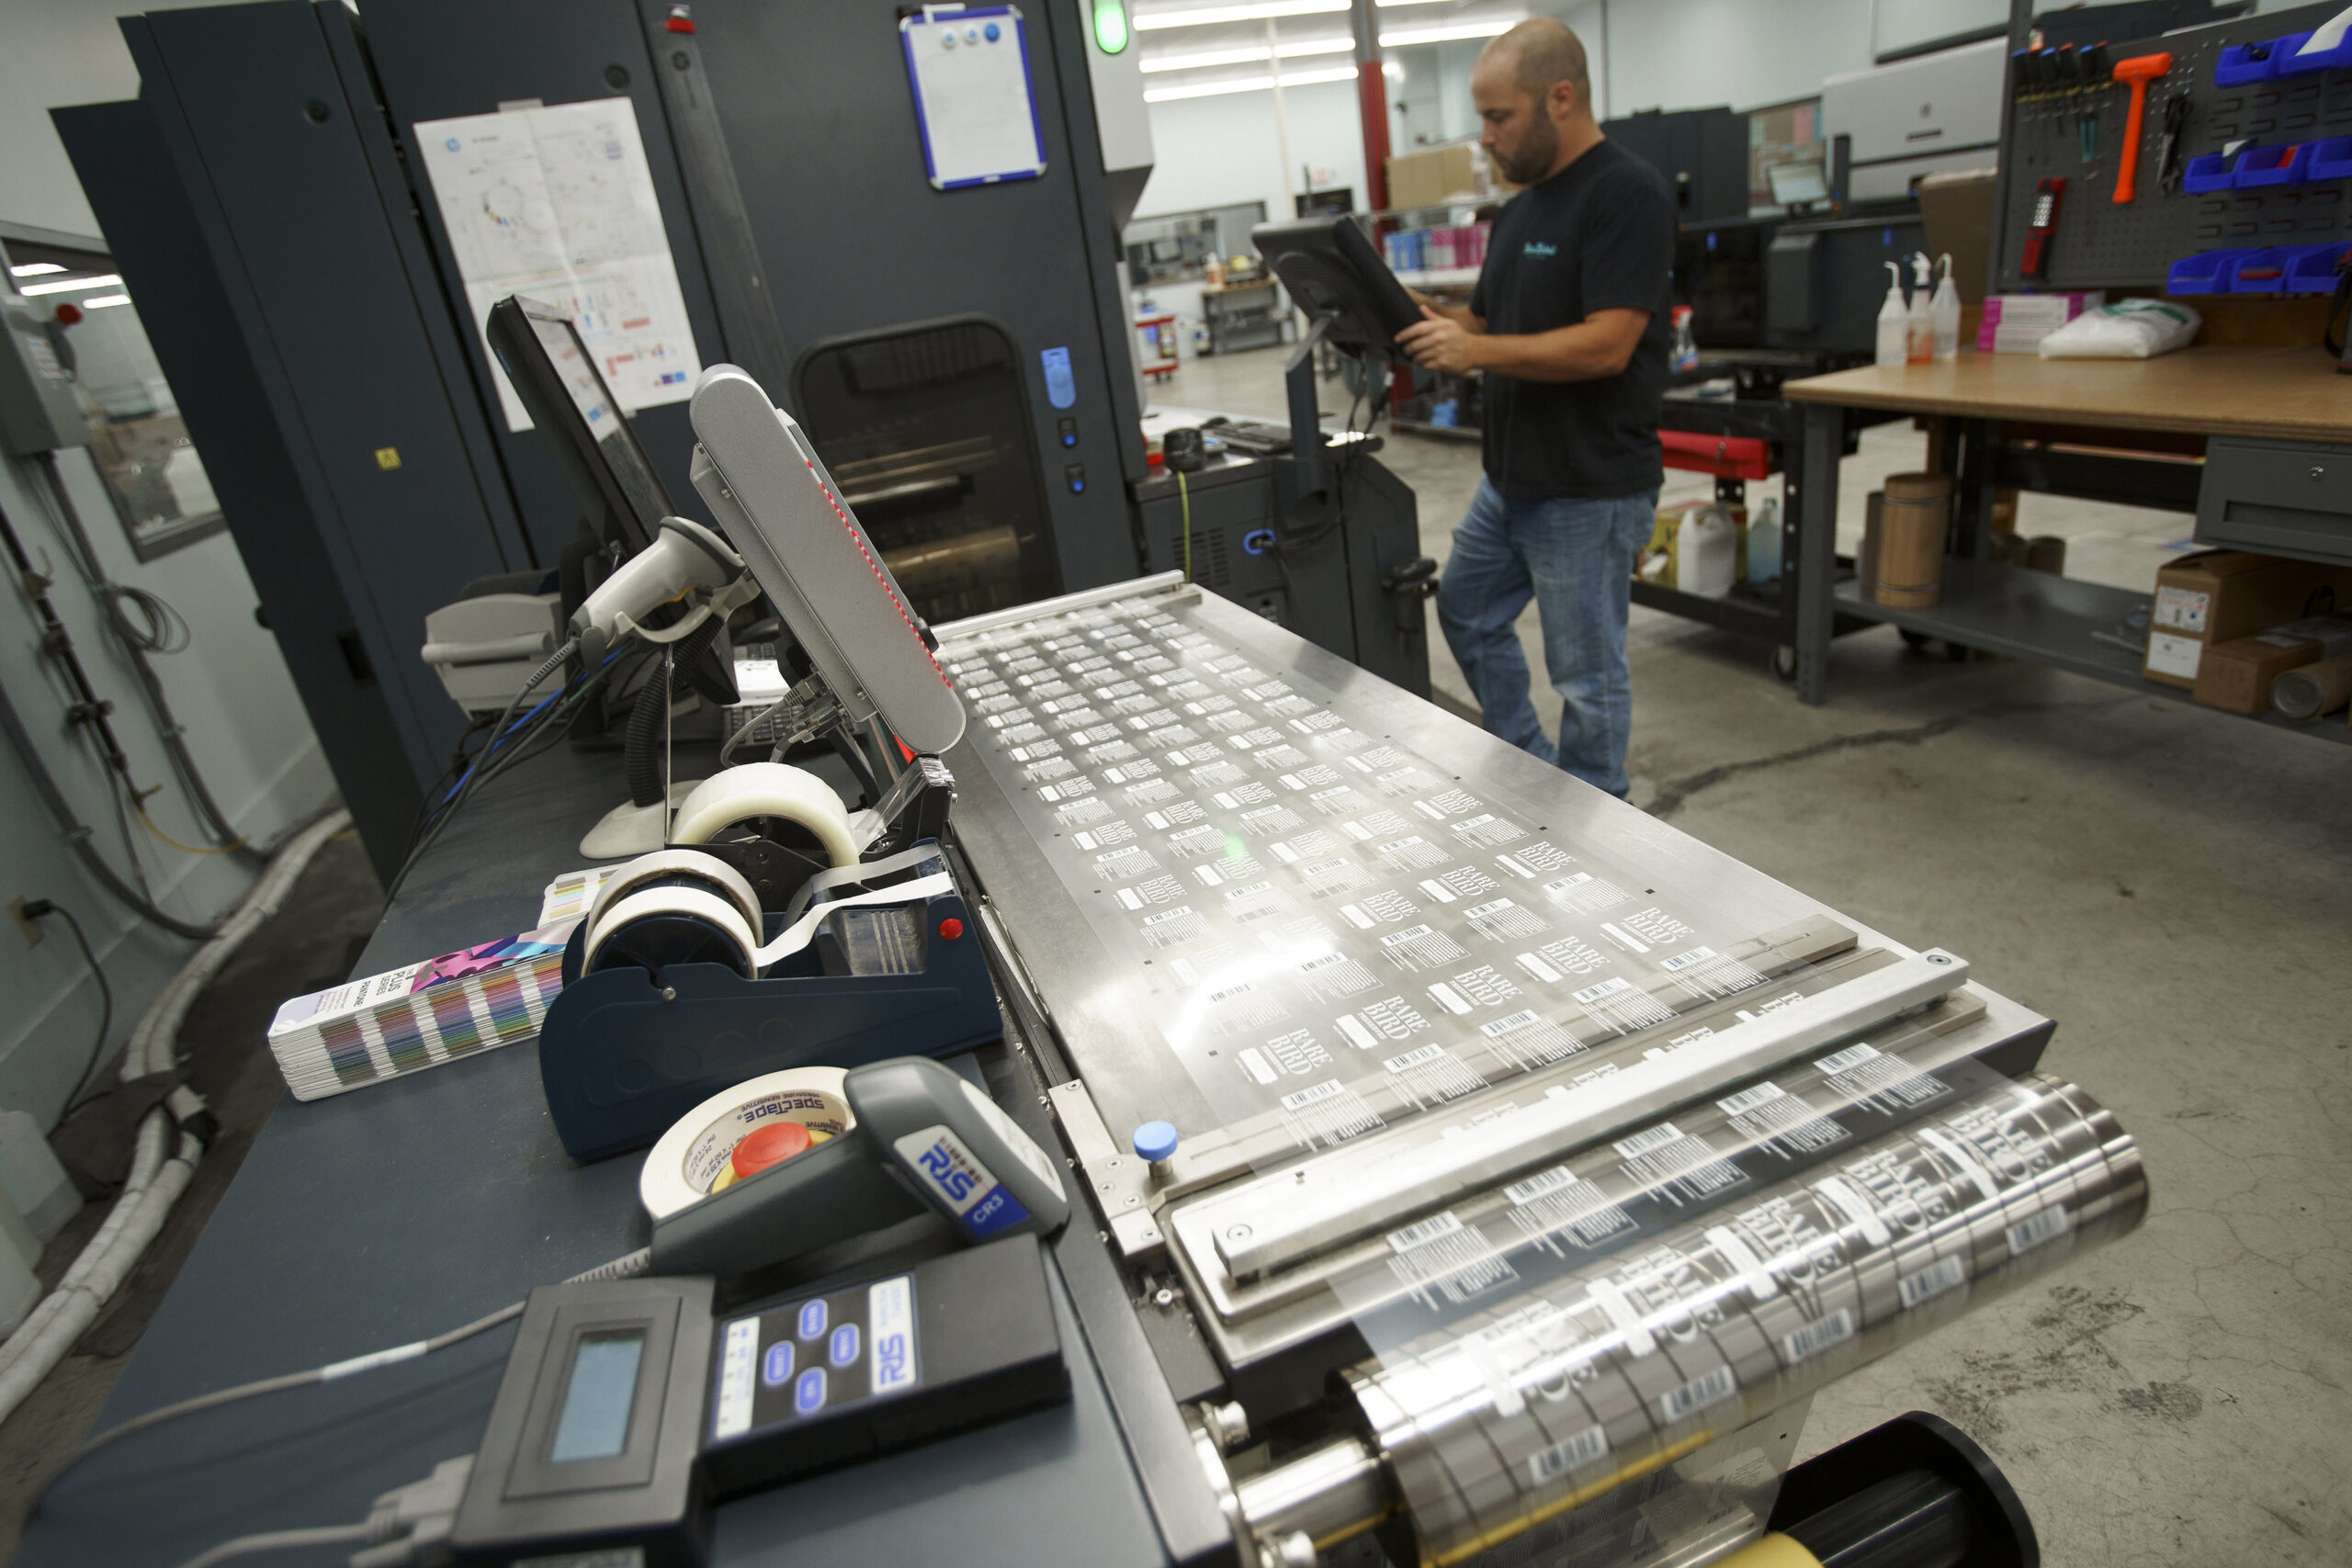
The New World: Digital Direct-to-Object Printing
Digital direct-to-object printing changed the math. The artwork is printed directly onto the can using a UV-cured inkjet process, with no plates. Because there are no plates, there is no plate cost, which means smaller runs become economical.
Typical minimums on digitally printed cans now look more like this:
- 12oz standard cans: around 1,945 per SKU
- 12oz sleek cans: around 2,024 per SKU
- 16oz standard cans: around 1,556 per SKU
These are real ranges, and smaller quantities can sometimes be accommodated as a special request. The point is that printed cans are now a legitimate option for a brewery doing 1,500 to 2,000 cans of a release, not just global beverage brands.
Realistic Minimums for Pressure-Sensitive Labels and Shrink Sleeves
For pressure-sensitive labels printed digitally, no-minimum and very-low-minimum runs are normal. We’re able to run 250-label and 500-label orders for small breweries or brands testing new SKUs. There’s no plate cost and no setup costs for splitting a run.
Shrink sleeves are different and also have to be seamed which means most printers will want a 5,000 to 7,000 minimum per SKU before the math works for them. We’re different from most printers and don’t have an MOQ on shrink sleeves.
Realistic Turnaround Times
Speed is the second-biggest anxiety we hear about, after minimums. “How fast can you turn this around?” shows up in nearly every quote request that comes in. And it makes sense. The quicker you’re able to get your packaging, the quicker your beverage can hit the shelves.
So here’s the honest reality:
- Pressure-sensitive labels (digital): roughly five business days for production once your artwork is approved..
- Printed cans (digital direct-to-object): about five business days from digital proof approval to a physical pilot can, then about ten business days production after pilot can approval. So a fresh design from artwork to filled cans is roughly three weeks if everything goes smoothly.
- Shrink sleeves: comparable to pressure sensitive labels for the print, plus the application step, which depends on whether you are sleeving in-house or using a co-packer.
Those numbers assume your artwork is print-ready.
The most common causes of delays that we see:
- Artwork that is not actually print-ready. Files in RGB instead of CMYK, no bleed, low-resolution images, missing fonts, or dielines that do not match the can or bottle size.
- Color decisions made off a screen instead of a physical proof. What looks like a deep maroon on a laptop is often a brick red on a printed can. The fix is a printed proof or a pilot can, not another screen comparison.
- TTB COLA approval running behind schedule. Beer COLAs are usually quick, spirit and wine COLAs less so. Plan around the regulatory step.
- Late changes to the SKU lineup. Adding a fourth SKU after the first three are in production turns a one-week project into a three-week project.
TTB, COLA, and FDA: The Compliance Basics by Beverage Category
Compliance is the cheapest part of any project to get right and the most expensive to get wrong. Here is the short version by category.
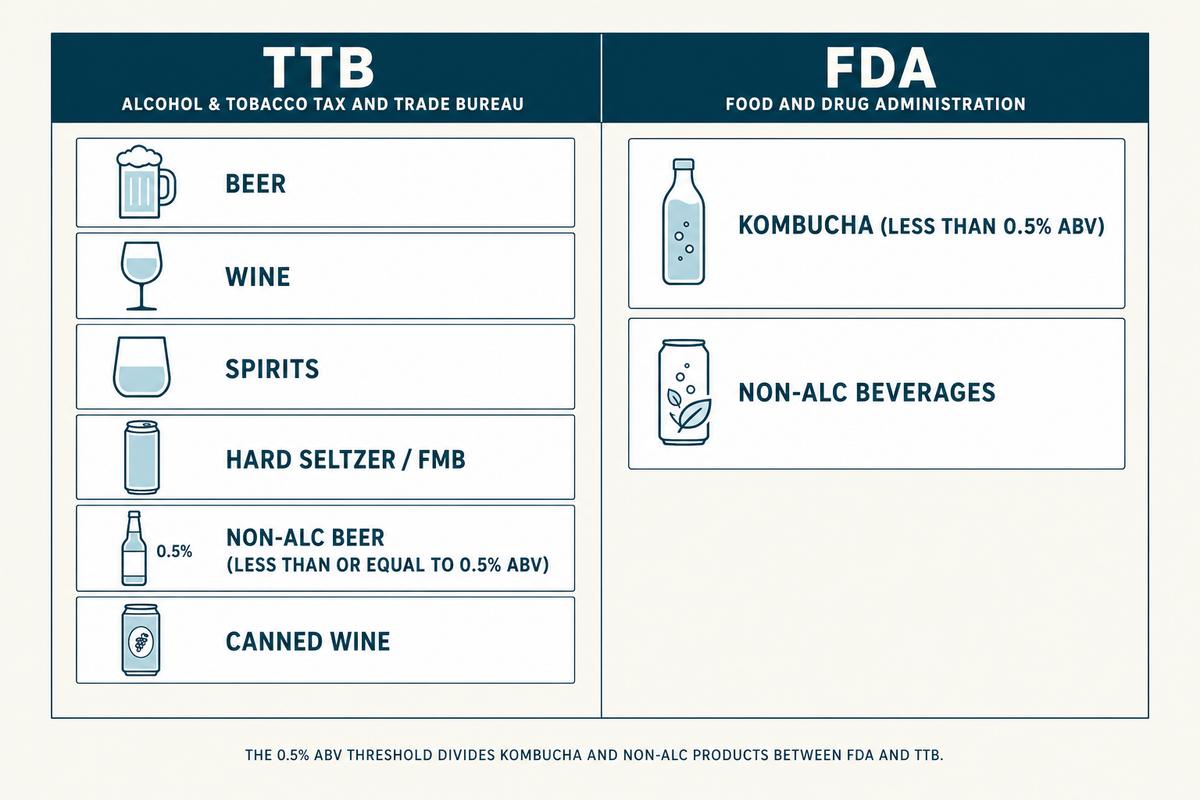
Beer Compliance
Regulated by the Alcohol and Tobacco Tax and Trade Bureau (TTB). There are eight specific elements that must appear on a beer label. We covered them in detail in our guide to TTB Beer Label Requirements, so we will not duplicate it here. The thing to know is that the TTB cares about exactness. A missing comma can fail a COLA.
Wine Compliance
TTB-regulated, COLA process is more involved than beer, with vintage, varietal, appellation, and other label elements that have their own rules. If you are launching a wine brand or running a new vintage, build TTB review time into your timeline. Our Spirits Label Printing page has more detail on the spirits-and-wine compliance side.
Spirits Compliance
TTB-regulated, similar to wine. The COLA process is involved and the label content has tighter rules than beer.
Hard Seltzer Compliance
Where it lives depends on the base. Flavored malt beverages are TTB-regulated like beer. Spirit-based seltzers fall under the spirits side. Read the regulatory category before you spec the label.
Kombucha Compliance
Regulated by the FDA under 0.5% alcohol by volume, TTB-regulated above. The watch-out with kombucha is live ABV testing. A kombucha that ferments in the can past 0.5% becomes a TTB problem fast.
Non-alcoholic Beer Compliance
TTB has its own rules for malt beverages at or below 0.5% ABV. We wrote about it specifically in Dos and Don’ts for Non-Alcoholic Beer Labels because it catches new brands by surprise.
Canned Wine Compliance
TTB COLA still applies. The can format does not change the rules.
The Most Common First-Time Mistakes Craft Beverage Brands Make with Labels
Most of the painful, expensive label experiences we see come down to a small number of repeatable mistakes. Knowing about them in advance is most of the fix.
- Designing in RGB and hoping it prints. RGB lives on screens and CMYK lives on print, so design in CMYK from the start and settle color on a physical proof rather than a monitor.
- Skipping the proof or pilot can. The proof or pilot can is the cheapest insurance you can buy, and brands that skip it are the brands that end up reprinting.
- Over-ordering to hit a per-unit price. Buying twelve months of a SKU you have not validated is almost always more expensive than buying two months and reordering once you know it sells.
- Choosing the wrong material for the environment the can lives in. If your can lives in ice buckets and cold trucks, you need a film face and an adhesive rated for cold and wet, so match the spec to the real conditions.
How to Brief a Label Printer
A brief saves everyone time and money. It doesn’t have to be formal, but having the right information and files makes the entire process (quoting, ordering, delivery) smoother.
A brief includes:
- Artwork in print-ready format. PDF or AI files, in CMYK, with bleed, with fonts outlined or included. If you do not know what print-ready means, your designer should.
- The dieline. This is the template that defines the exact size, shape, and unwind of the label or sleeve. The printer can supply one for any standard product.
- Format choice. Pressure-sensitive label, shrink sleeve, or printed can.
- Material and finish. Or a description of the look and the environment, so the printer can recommend a material.
- Quantity per SKU. And whether you want to split SKUs across one production run.
- Deadline. Including any hard date driven by a release, an event, or a retail commitment.
- Distribution and use context. Cooler, shelf, ice bath, taproom, retail, DTC. The environment shapes the spec.
What you should ask the printer in return:
- What is your minimum order quantity for this format?
- What is your real turnaround time once artwork is approved?
- Do you provide a physical proof or pilot can before production?
- How do you handle color matching across runs?
- What happens if there is a print issue on the order?
- Who is my point of contact, and is it the same person from quote through delivery?
- Are there setup fees, plate fees, or overage charges I need to know about?
Here’s a little secret: A real partner will sometimes tell you not to do something. Not because they do not want the order, but because they have seen the version of the project you are about to start three times before, and they know how it ends. That’s the kind of conversation worth paying for.
What’s Next
Want to talk about your project? We’re happy to walk through the specifics. We have done this with hundreds of breweries, distilleries, kombucha brands, and beverage companies, and most of the value is in the conversation that happens before anyone places an order.
This guide is the high-level overview. If you want to dig into a specific topic, we have written dedicated pieces on the parts that need more depth:
- Printed Cans: How to Compare with Shrink Sleeves and Labels. The apples-to-apples breakdown of cost, lead time, and performance across the three main formats.
- TTB Beer Label Requirements: 8 Elements You Need on Craft Beer Labels. The compliance checklist for beer labels.
- Dos and Don’ts for Non-Alcoholic Beer Labels. Non-alc-specific TTB rules.
- Designing Beer Labels: Bottle or Can Sizes and Dimensions. Exact dieline dimensions and how to brief your designer.
- Craft Brewery Branding: 6 Ways to Build Trust Through Beer Labels. The brand-and-trust side of the label conversation.
- How to Find a Beer Label Designer. For brands at the very start of the process.
- Custom Beer Can Labels, Crowler Labels, and the full Craft Beer Labels overview for product-level details.